Mom's Best Recipes
Recipe

Artisan Sourdough Bread

A crackly, golden sourdough loaf with an open crumb and deep, tangy flavor. No mixer, no fuss, just a dependable dough and a hot Dutch oven (or a solid backup plan).

Author By Matt Campbell
4.8
A golden-brown artisan sourdough loaf with a deep ear and blistered crust cooling on a wire rack in a bright home kitchen

Sourdough can feel like a secret club. Fancy scoring, mysterious starters, and a lot of people acting like your bread will sense fear. Here is the good news: artisan sourdough is absolutely learnable at home, and you do not need a bakery schedule to make it happen.

This loaf is my go-to when I want crisp edges, a chewy, glossy crumb, and that classic pleasant tang without turning my day into a science fair. We lean on a few simple habits that make sourdough way less dramatic: a healthy starter, gentle folds, and fermentation you can actually read with your eyes and hands. You will taste the payoff.

Quick sample timeline (flexible on purpose):
3:00 pm mix and rest
3:50 pm add starter and salt
4:20 to 6:20 pm stretch and folds
6:30 to 10:00 pm finish bulk (depending on dough temp)
10:15 pm shape, then fridge overnight
Next morning bake

A glass jar of bubbly sourdough starter at peak rise on a kitchen counter next to a rubber spatula

Why It Works

  • Big oven spring and a defined ear thanks to a tight shape, good fermentation, and a properly preheated baking vessel.
  • Crackly crust, not jawbreaker crust by baking covered first for steam, then uncovered to brown and dry the exterior.
  • Open, tender crumb using a moderate-high hydration dough with just enough structure from stretch and folds.
  • Reliable timing with temperature cues and visual markers, so you can bake even when your kitchen runs warm or cool.

Pairs Well With

Storage Tips

Day 1 and 2: Keep the loaf cut-side down on a cutting board, or wrap it loosely in a clean towel. This keeps the crust crisp while protecting the crumb.

After that: Slice the remaining bread and freeze in a zip-top bag. Pull slices as needed and toast straight from frozen.

Skip the fridge: Refrigeration stales bread quickly. If you need longer storage, freezing is the move.

Revive a tired loaf: Mist the crust lightly with water, then warm at 350°F for 8 to 12 minutes. Let it cool a few minutes before slicing.

Common Questions

Do I have to use bread flour?

No, but it helps. Bread flour gives more structure and a taller loaf. If you only have all-purpose flour, use it. The loaf may spread a little more, but it will still be delicious. If your dough feels very slack, hold back 20 to 30 grams of water during mixing and add only if needed.

How do I know my starter is ready?

After feeding, it should double (or more) within about 4 to 8 hours at room temperature and look bubbly and domed. A mild, pleasantly tangy smell is good. Strong acetone smell usually means it is hungry. Feed it and give it time.

What “active starter” means here: recently fed and at peak (or just past peak). A common feed is 1:1:1 by weight (starter:water:flour), but any routine is fine as long as it reliably rises and looks lively.

My dough is sticky. Did I mess up?

Sticky is normal early on. Wet your hands for stretch and folds and use a bench scraper for shaping. As gluten develops, the dough becomes smoother and more elastic. If it is still soup-like after a couple rounds of folds, your flour may be lower protein or your kitchen may be warm. Next time, reduce water slightly.

What if I do not have a banneton?

Use a medium bowl lined with a clean kitchen towel dusted generously with rice flour (or a 50/50 mix of rice flour and all-purpose). Rice flour is clutch because it does not absorb water the same way and helps prevent sticking.

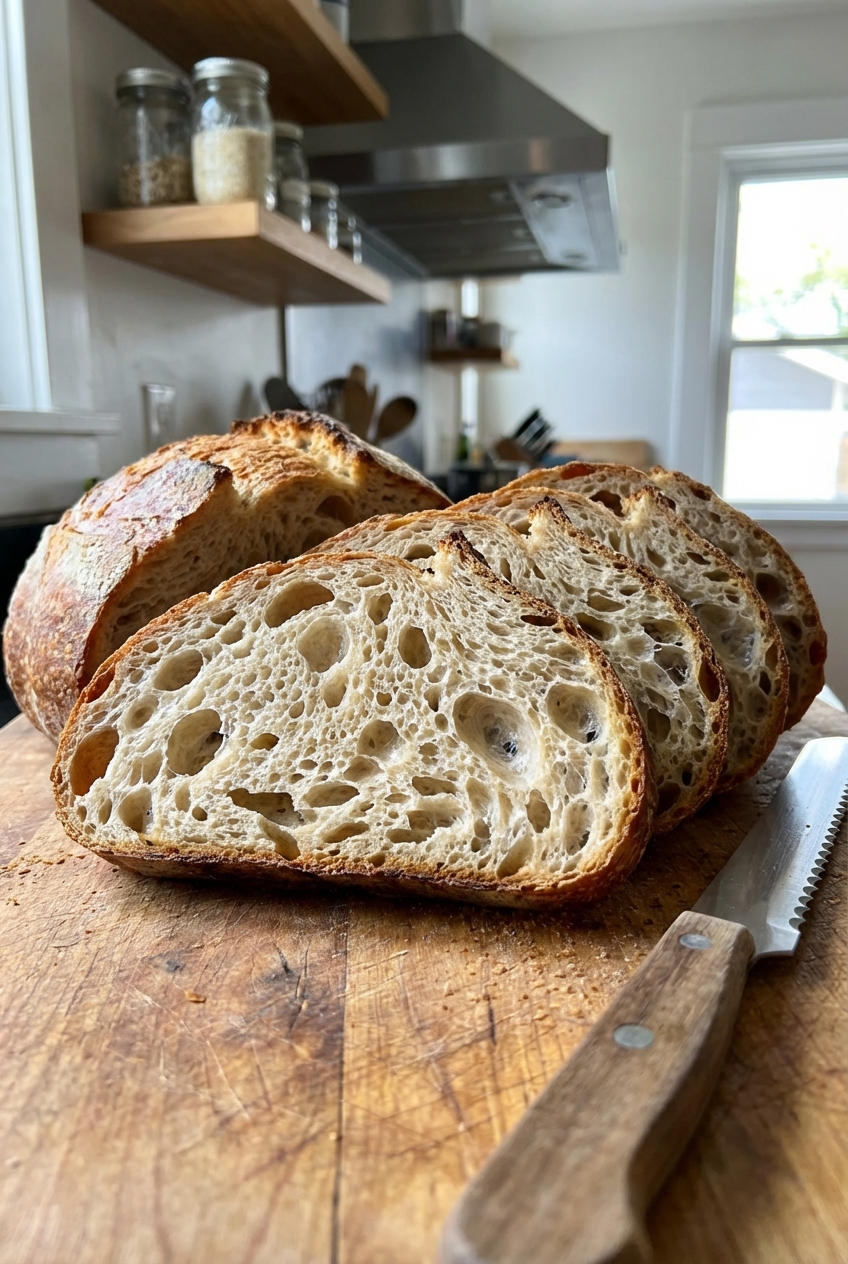
Why did my loaf turn out dense?

Most often: under-fermentation (not enough rise during bulk), starter not strong enough, or dough too cold. Let bulk fermentation continue until the dough looks puffier, jiggles slightly, and has visible bubbles along the sides. If your kitchen is cool, extend the time. If you can, aim for a dough temp around 74 to 78°F for a smoother, more predictable bulk.

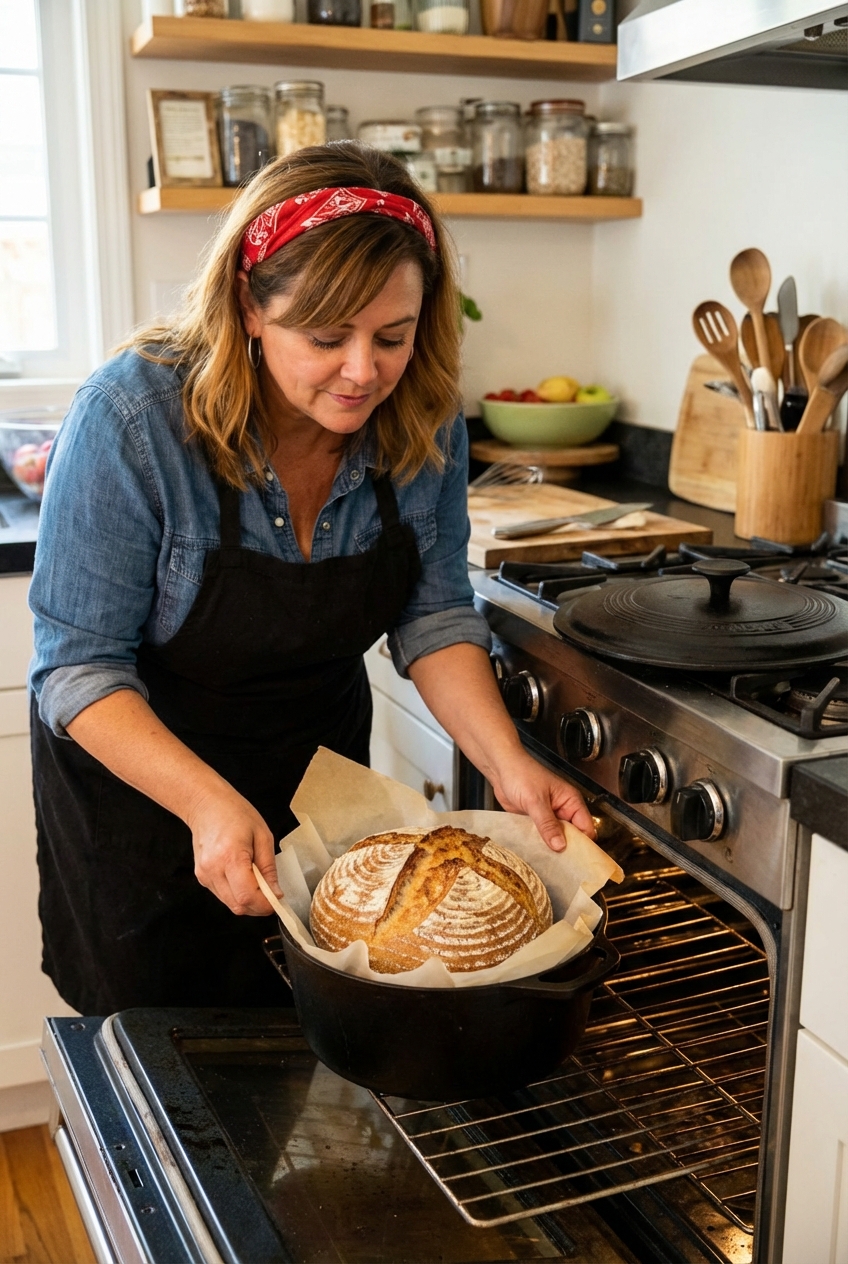
Can I bake this without a Dutch oven?

Yes. Bake on a preheated baking stone or inverted sheet pan and add steam by placing a sturdy metal pan on the bottom rack. Pour in about 1 cup of boiling water when the bread goes in, then close the door quickly.

Safety note: steam is intense. Keep your face and hands back, and avoid glass pans (they can crack). Use an old metal tray you do not mind getting a little battle-scarred.

The first time I made sourdough that actually looked like sourdough, I stared at it like it had personally validated my entire personality. It had the ear, the blisters, the whole crunchy, dramatic situation. The funny part is that nothing about that loaf was magical. It was just a starter that was truly awake, a dough that got a little attention every so often, and a Dutch oven that did the heavy lifting.

Now this is the bread I make when I want my kitchen to smell like a real bakery and I want dinner to feel like a moment, even if the rest of the day was chaos. Slice it warm (okay, slightly warm, try to wait), drag it through soup, or turn it into toast that makes Tuesday feel like a win.