Mom's Best Recipes
Recipe

Bookshelf Sheet Pan Nachos

Stacked like tidy little “books” so the cheese melts deep and the chips stay crisp, with a bright salsa drizzle to finish.

Author By Matt Campbell
4.8
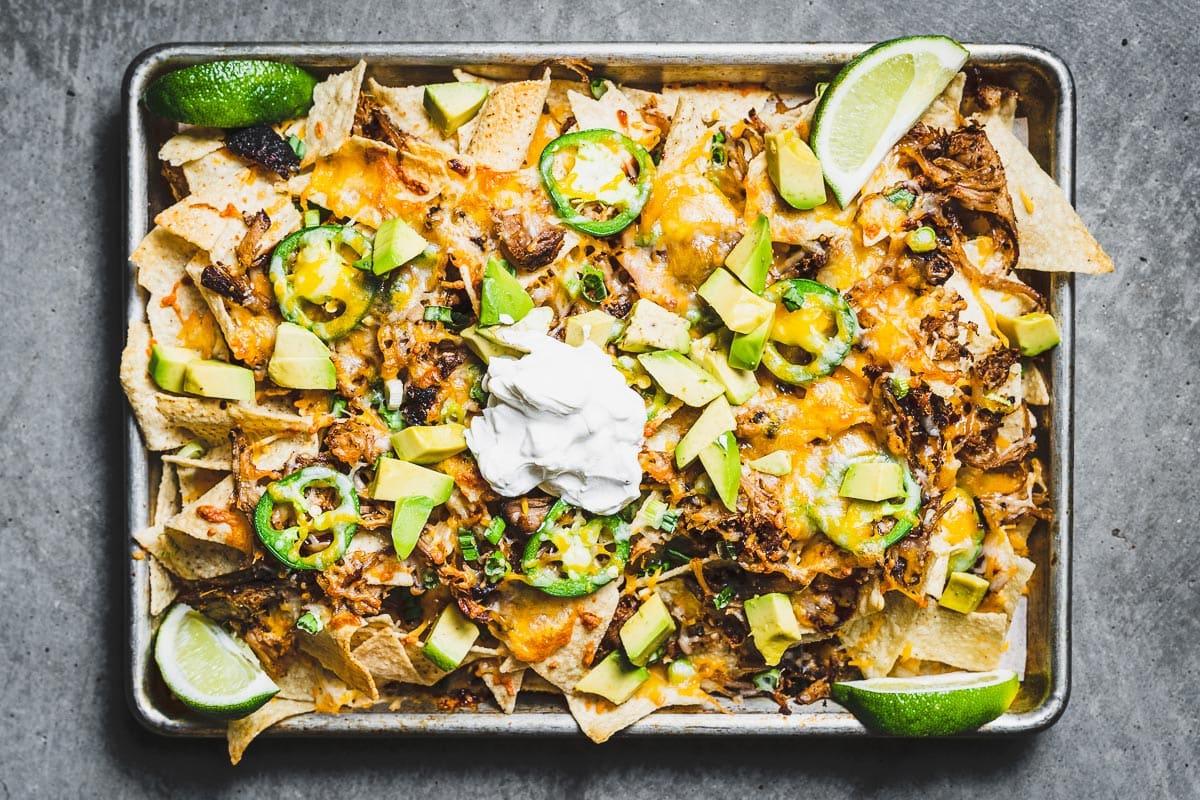
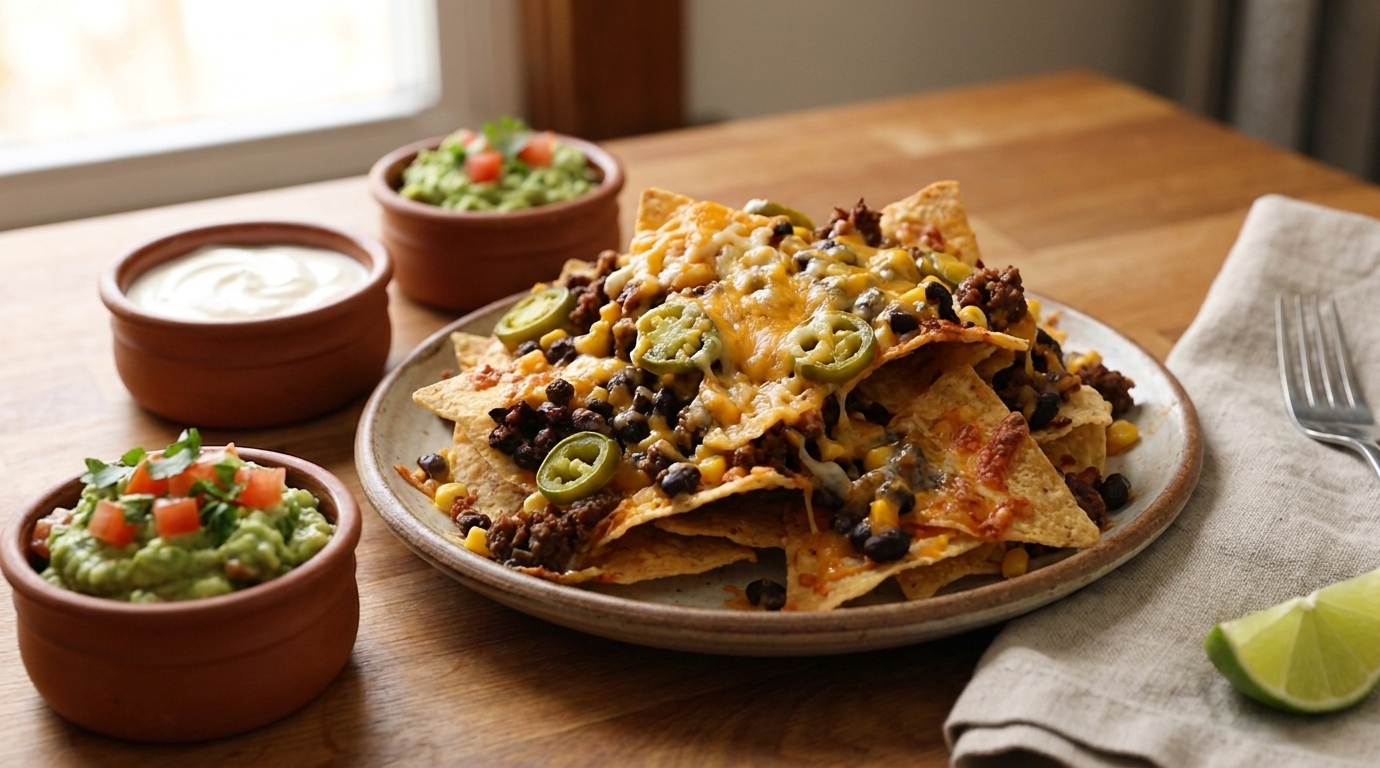
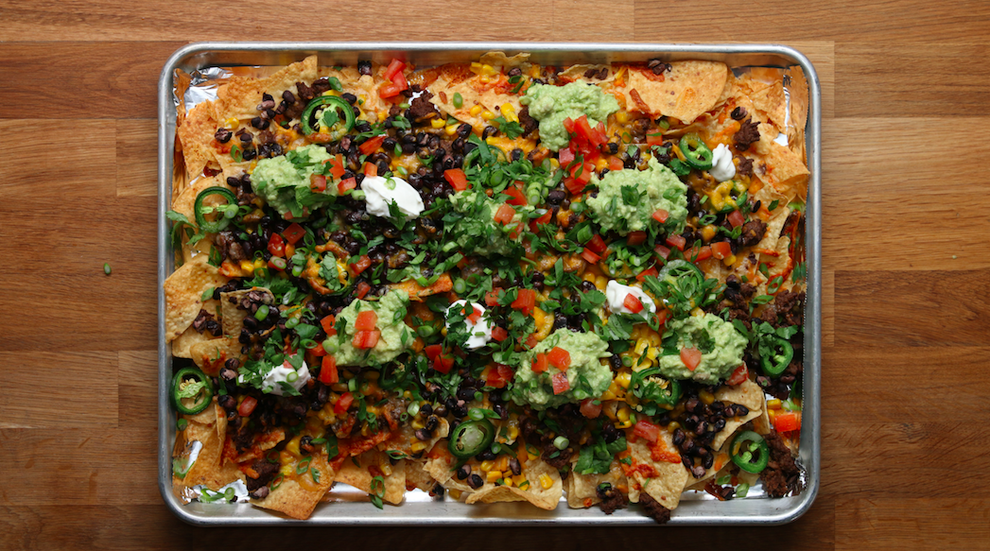
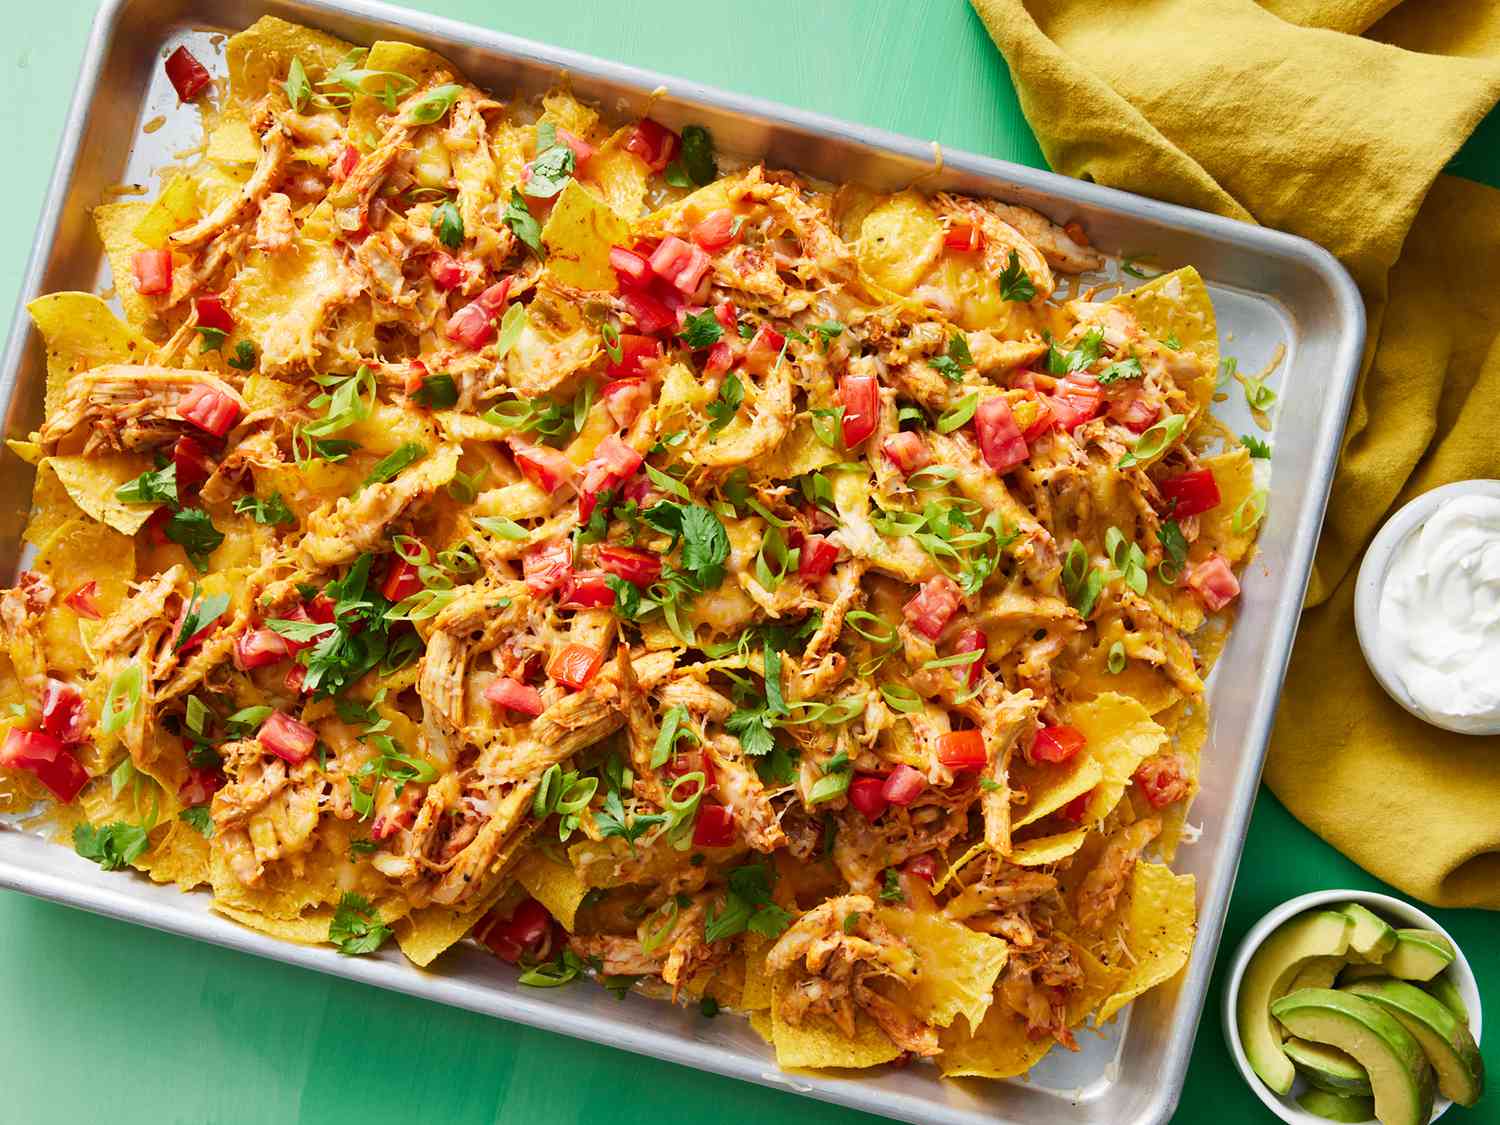
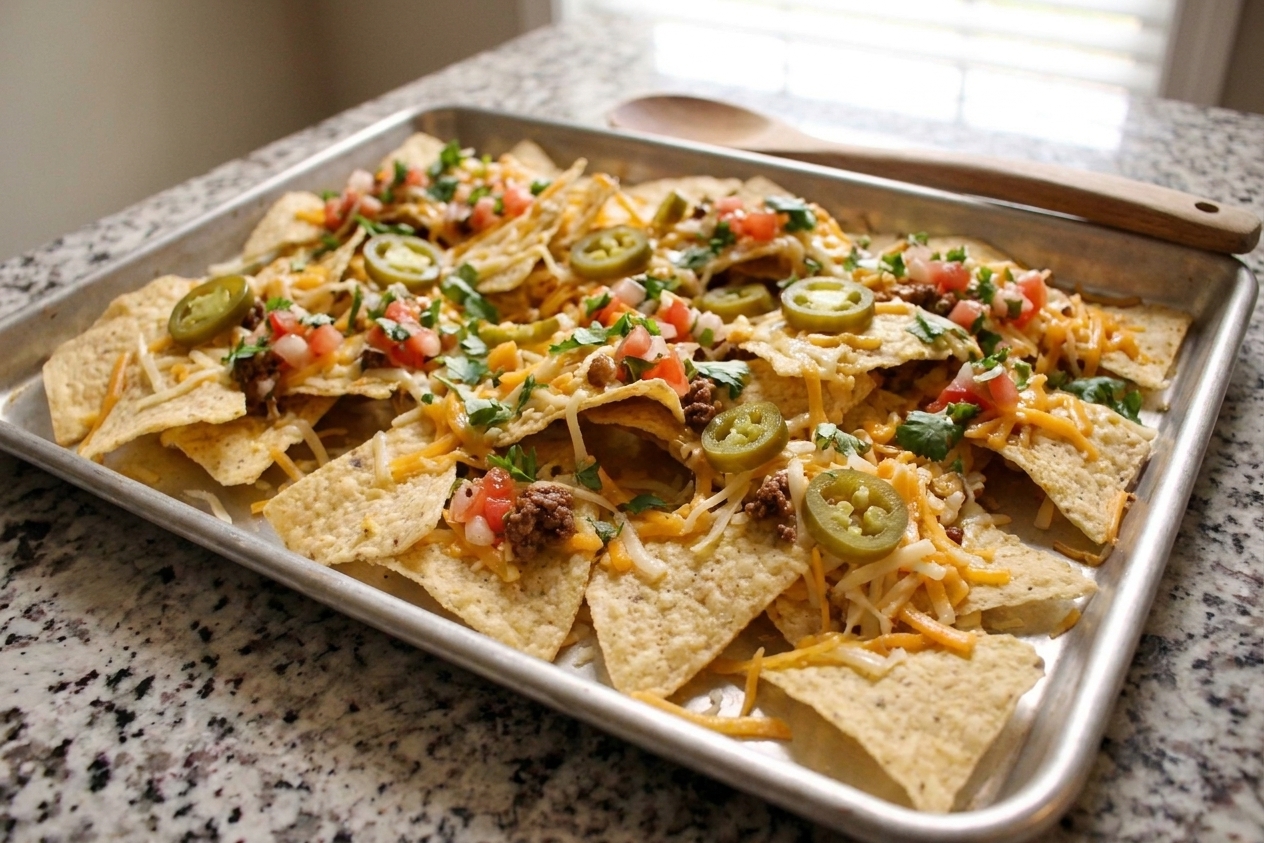
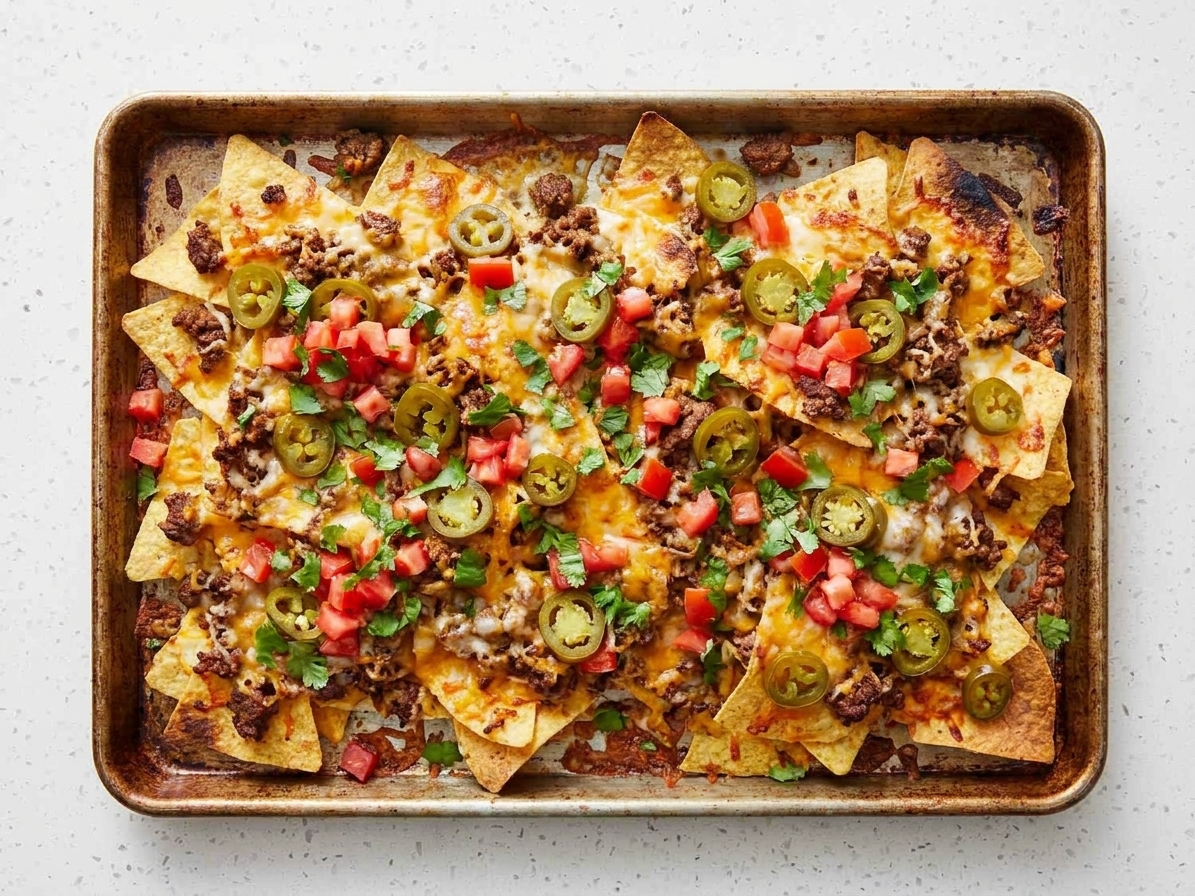
A sheet pan of stacked nachos arranged in neat rows like little books, with melted cheese, pickled jalapeños, diced tomatoes, and cilantro on a parchment-lined pan on a warm kitchen counter

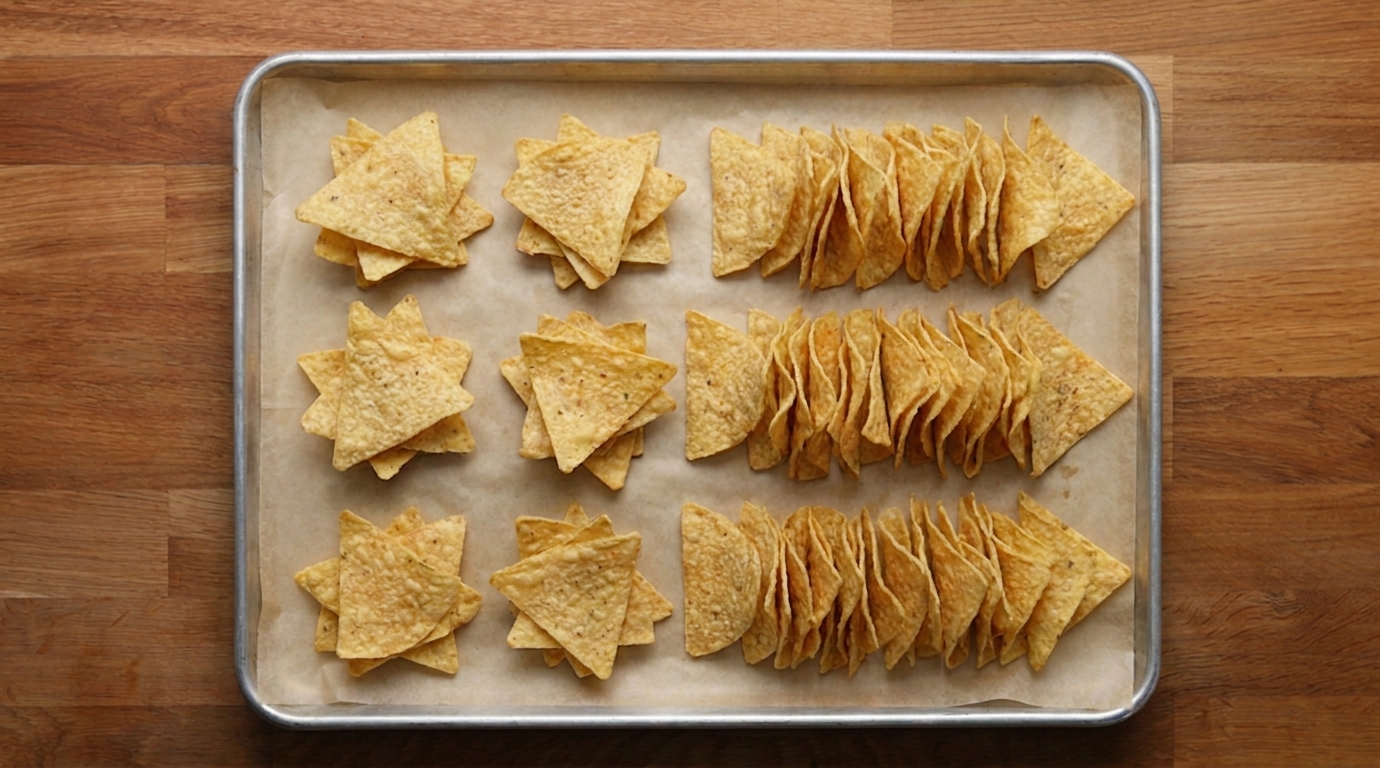
If you have ever made nachos and ended up with two sad categories, soggy chips on the bottom and naked chips on top, welcome. Today we are building Bookshelf Nachos, which is my goofy name for a very specific nacho layout: you stand little piles of chips up like books on a shelf, so cheese can slide down into the gaps, heat can circulate, and every bite has a fighting chance.

It is still nachos, so we are not getting precious about it. The goal is crisp edges, cozy melt, bright sauce, and a method you can repeat on a Tuesday without turning your kitchen into a crime scene. You can keep it vegetarian, add beef, use leftover chicken, or go full pantry mode. Just promise me one thing: shred your own cheese. Pre-shredded works in a pinch, but it can melt a little less smoothly because of anti-caking agents. We want lava, not confetti.
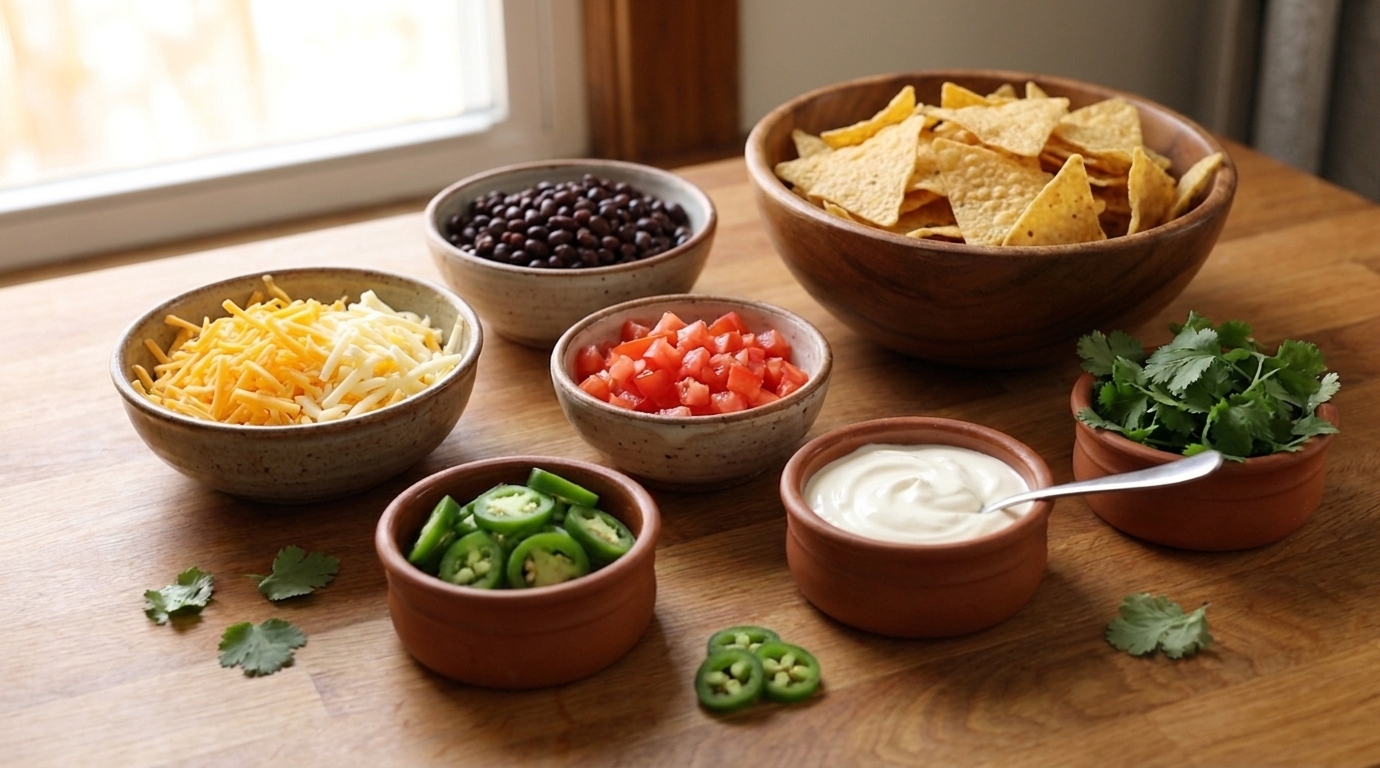
Bowls of tortilla chips, shredded cheddar and Monterey Jack, black beans, diced tomatoes, sliced jalapeños, sour cream, and cilantro laid out on a clean kitchen counter with warm natural light

Why It Works

  • Crispier chips: The vertical stacking reduces the steam blanket that turns bottom chips limp.
  • Better cheese coverage: Cheese falls between chips and glues the stacks together in the best way.
  • Fast, even heating: Small stacks heat quickly, so you get melt without overbaking.
  • Built-in portioning: The rows make it easy to serve without bulldozing the whole pan.
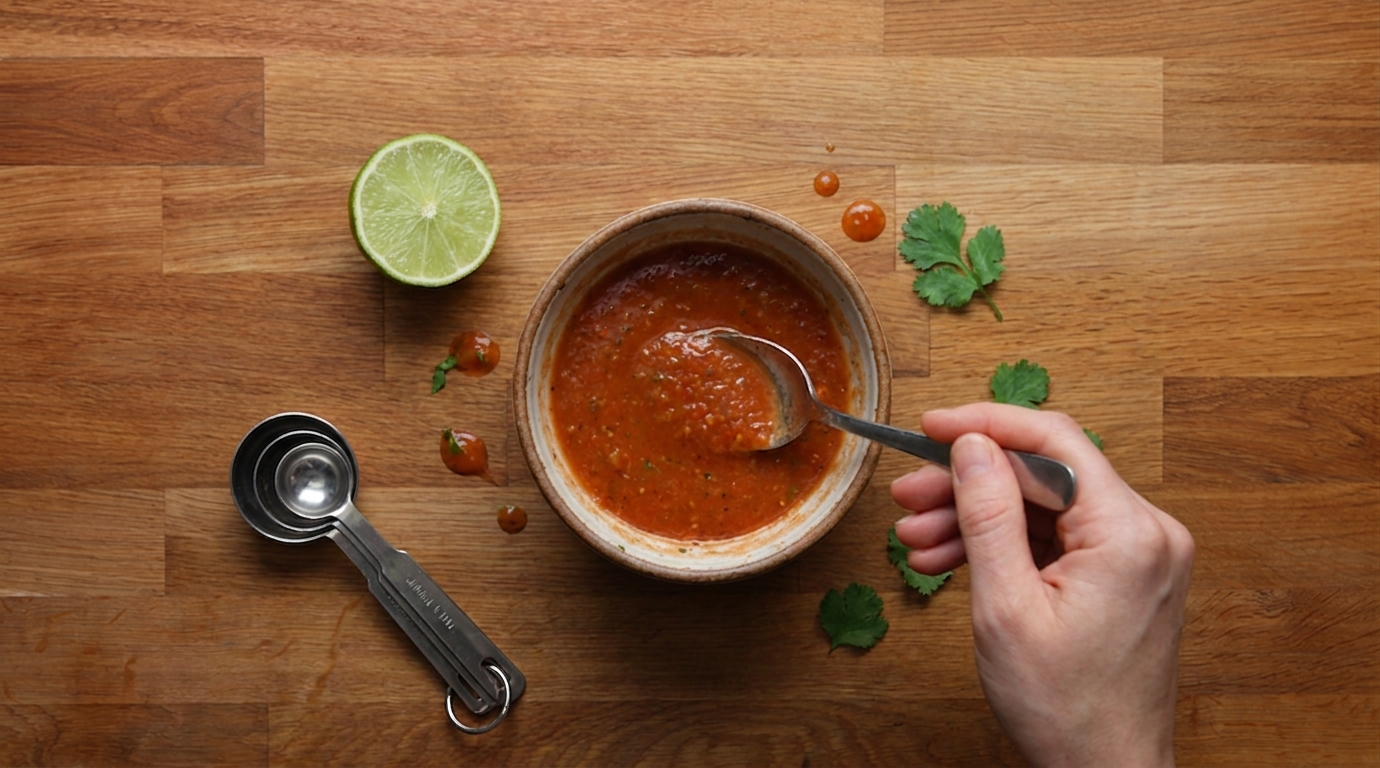
  • Bright finish: A quick salsa drizzle and lime keeps everything tasting alive, not heavy.

Pairs Well With

Storage Tips

Nachos are at their peak right out of the oven, but leftovers can still be good if you store them like you actually want them to live.

Fridge

  • Cool completely, then transfer to an airtight container. Refrigerate up to 3 to 4 days, but for best crunch and overall vibes, try to eat them within 2 days.
  • If you can, store wet toppings (sour cream, pico, guac) separately.

Reheat

  • Oven or toaster oven: 375°F for 6 to 10 minutes on a sheet pan until hot and re-crisped. Start checking at 6 minutes so the chips do not go from crisp to charcoal.
  • Air fryer: 350°F for 3 to 6 minutes, shaking once, works great for smaller portions. Start checking at 3 minutes.
  • Microwave: Only if you accept the consequences. It will soften the chips.

Freezing

I do not recommend freezing assembled nachos. Freeze cooked meat or beans separately instead, then rebuild fresh.

Common Questions

What does “bookshelf” mean for nachos?

It is the layout. Instead of spreading chips flat, you make small stacks and stand them up in tight rows, like books. It creates gaps for cheese to melt into and helps chips stay crisp.

How do I keep nachos from getting soggy?

  • Use sturdy chips (thicker restaurant style).
  • Keep wet toppings off the pan until after baking.
  • Drain and pat dry watery toppings like tomatoes, olives, and pickled jalapeños.
  • Do not overload with beans or meat juices. If using taco meat, simmer until thick and drain well.

What cheese melts best?

A mix is perfect. I like Monterey Jack for melt and sharp cheddar for flavor. Oaxaca, low-moisture mozzarella, or pepper jack also work. Shred it yourself if you can. Pre-shredded works in a pinch, but it can melt a little less smoothly because of anti-caking agents. We want lava, not confetti.
Can I make these vegetarian?

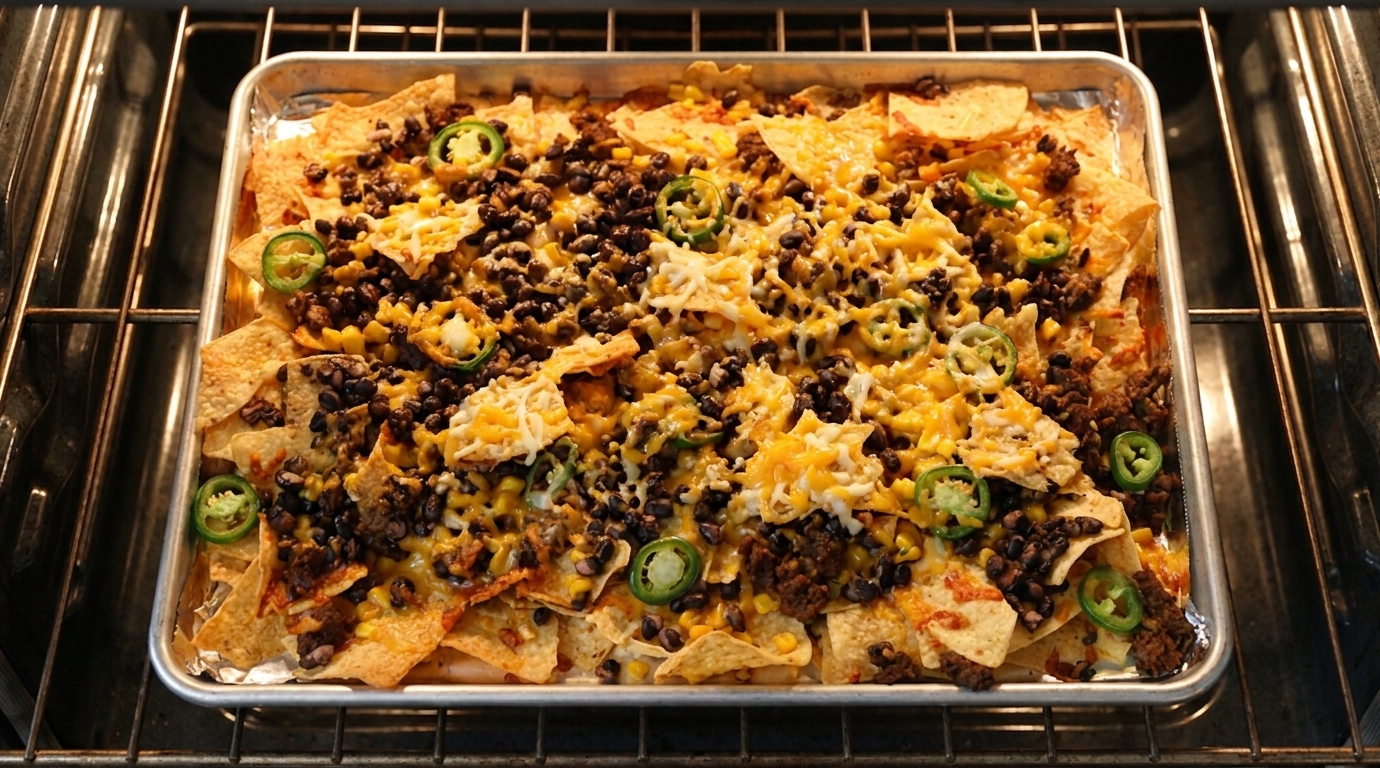
Absolutely. Double the beans, add corn, sautéed peppers and onions, or roasted sweet potato cubes. Season aggressively with cumin, chili powder, and lime.

Can I add meat?

Yes. Add 1 to 1 1/2 cups cooked shredded chicken or 1/2 pound cooked taco beef (drained well). Scatter it on with the beans so it heats through while the cheese melts.

Can I prep anything ahead?

Yes. Shred cheese, rinse beans, and make the quick salsa drizzle up to 2 days ahead. Assemble and bake right before serving.

I love cooking for people, but I also love not babysitting the oven while everyone is hungry and hovering. The first time I did the “stand the chips up” thing, it was honestly an accident. I was trying to fit more chips on one pan and started stacking them like I was organizing a tiny tortilla chip library. It came out shockingly better: more crispy corners, more cheese in the middle, and fewer sad bare chips. Now it is my go-to when I want nachos that feel a little extra without requiring a single fancy ingredient.