Mom's Best Recipes
Recipe

Cheeseburger Sliders

Juicy, melty, buttery-topped cheeseburger sliders baked all at once for easy serving.

Author By Matt Campbell
4.8
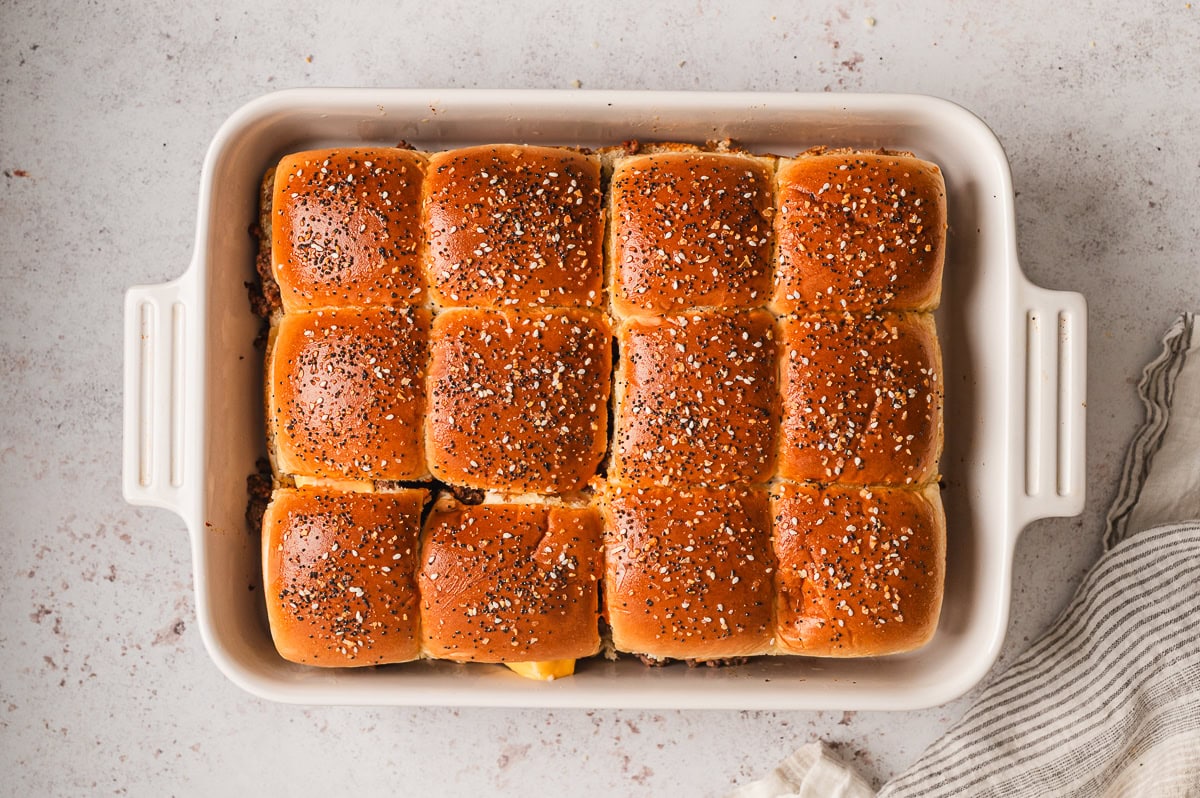
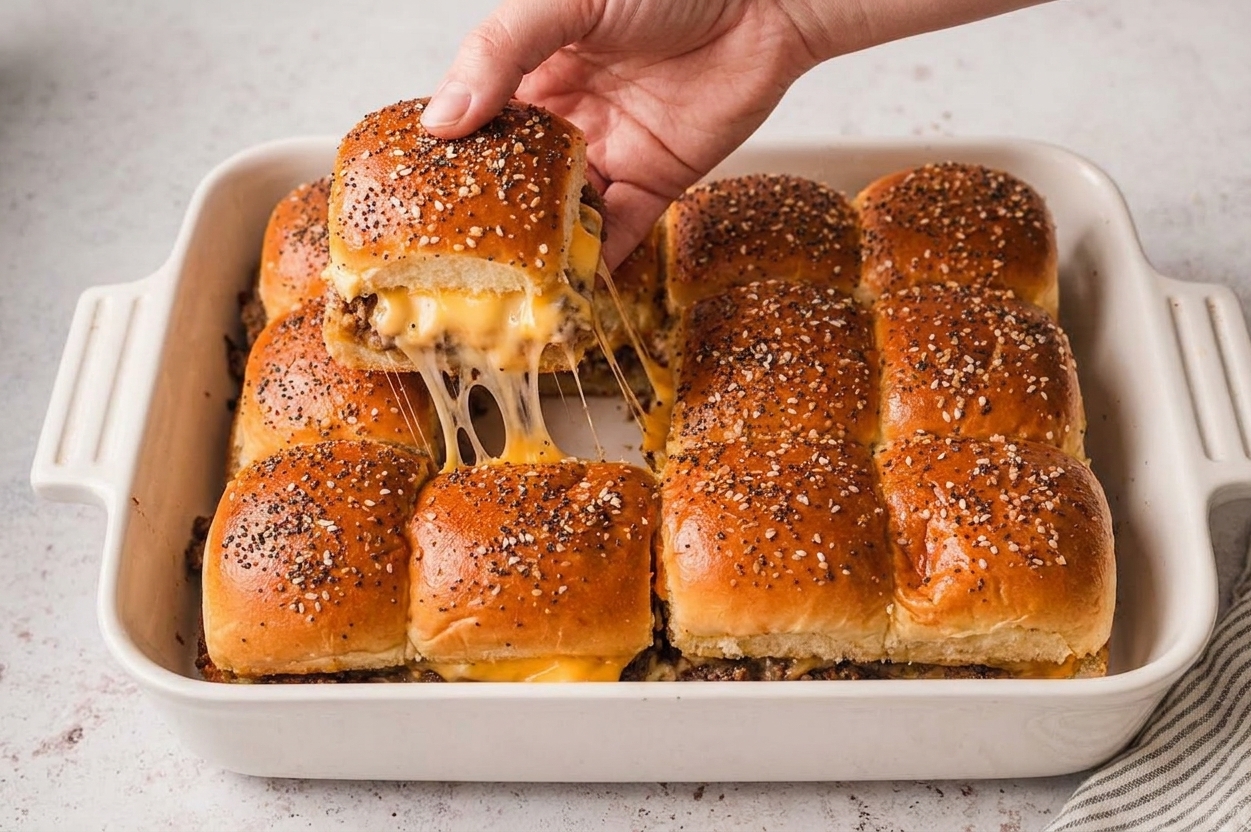
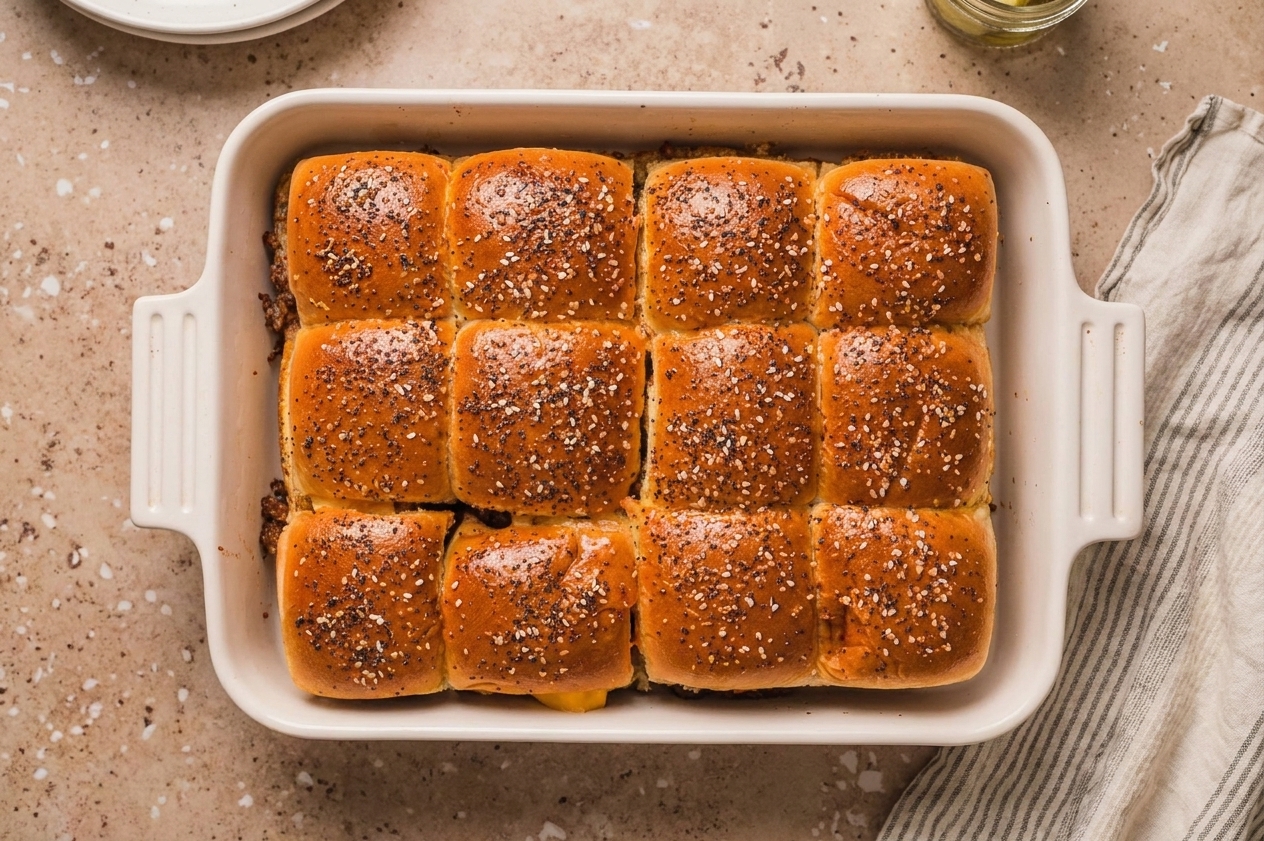
A baking dish filled with cheeseburger sliders on soft rolls, topped with glossy melted butter and sesame seeds, with browned edges and melty cheese visible between layers, on a warm-toned kitchen counter

Cheeseburger sliders are my favorite kind of kitchen math: one pan in, a dozen little burgers out, and somehow everyone is happier. You get the juicy beef, the melty cheese, and that perfect soft-roll bite, plus the secret bonus: buttery tops that bake into golden, crisp edges.

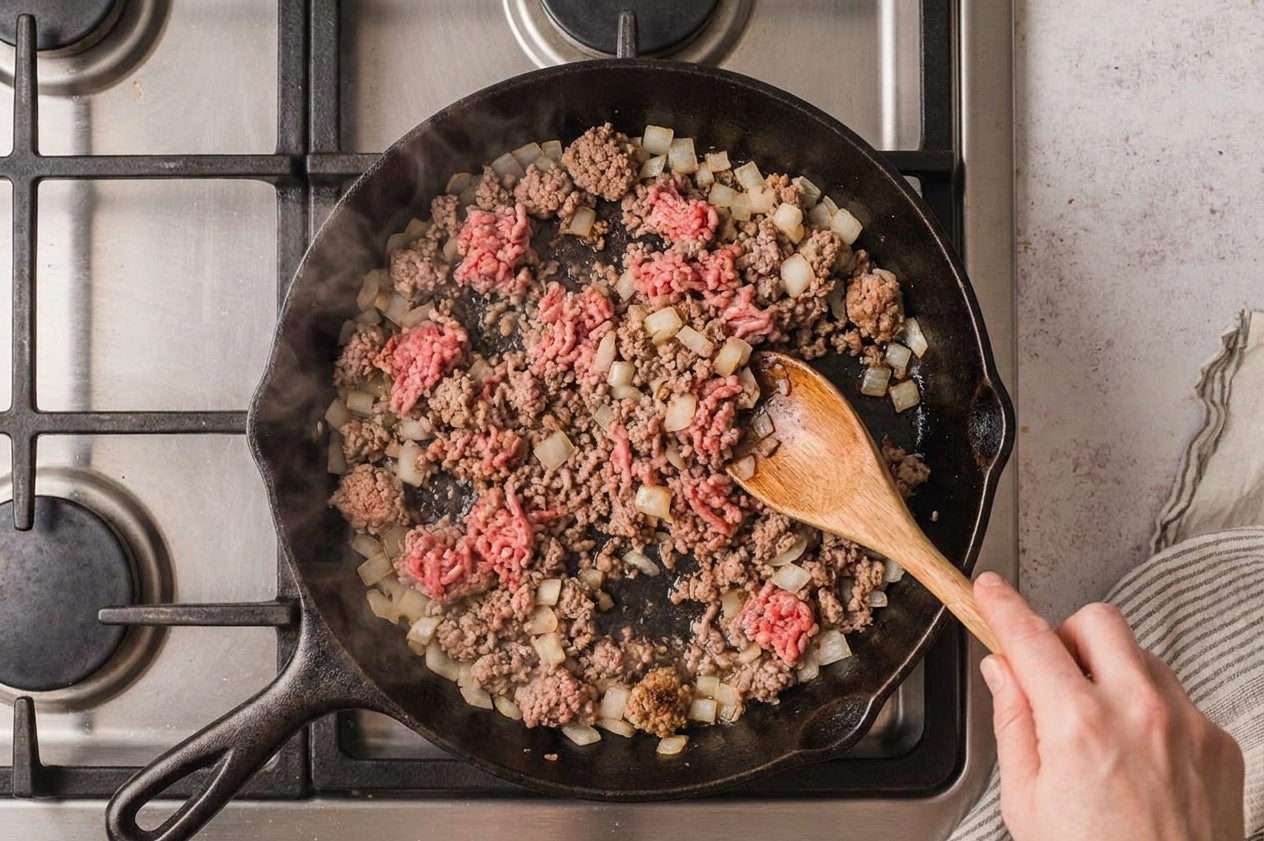
This is the low-drama way to feed a group, or to make a regular Tuesday feel like you planned something. We cook the beef first (so nothing turns gray and sad), tuck it into the rolls, blanket it with cheese, then bake until the whole tray turns into one pull-apart, gooey situation. Add pickles and your favorite sauce, and you are in business.
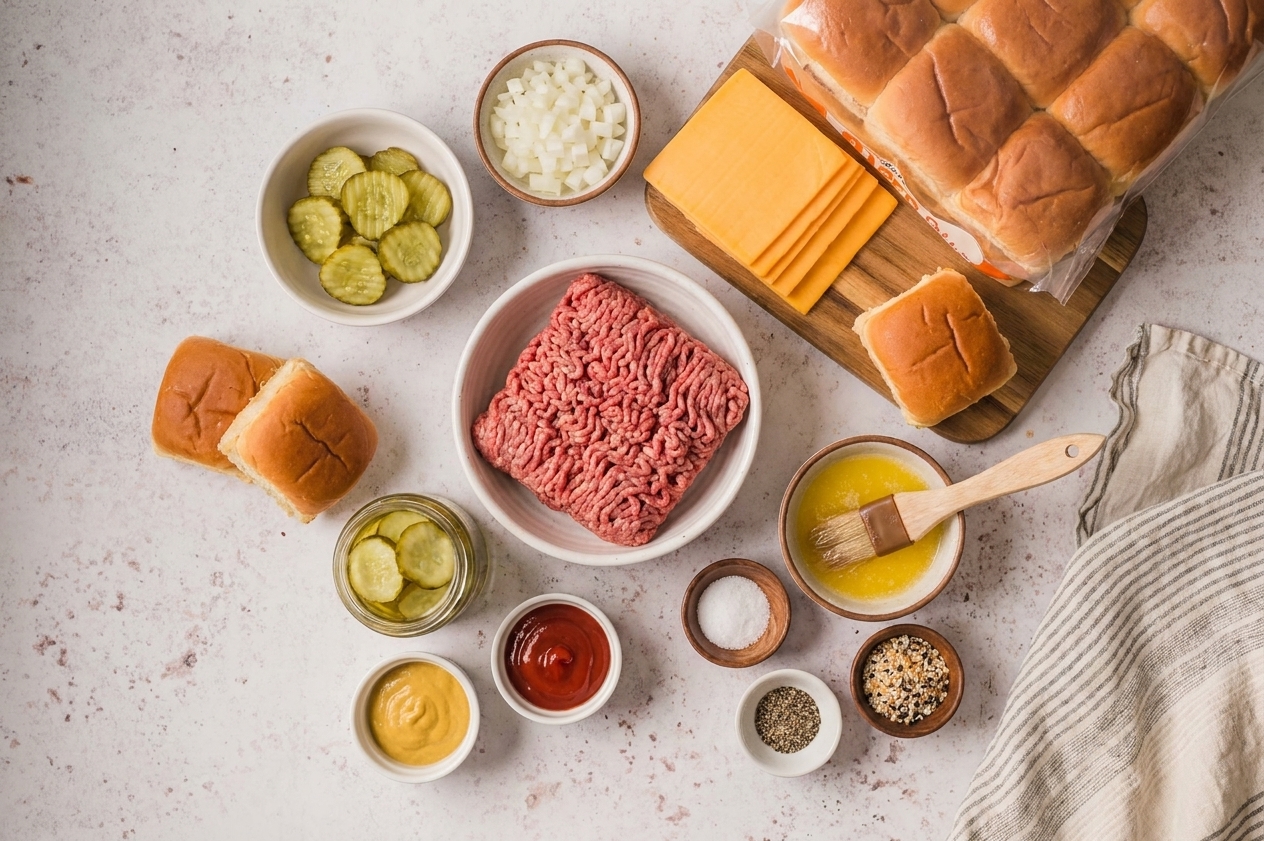
Ground beef, slider rolls, sliced cheddar, diced onion, pickles, ketchup, mustard, butter, and seasonings arranged neatly on a clean kitchen counter in warm natural light

Why It Works

  • Juicy, not greasy: We brown the beef first, drain if needed, then season it like we mean it.
  • Even melts, no slipping: Cheese goes directly over the warm beef so it grabs and melts into every corner.
  • Golden tops with crisp edges: A quick butter brush turns soft rolls into that irresistible bakery-style finish.
  • Fast serving: Everything bakes together, so you are not flipping tiny patties one by one.
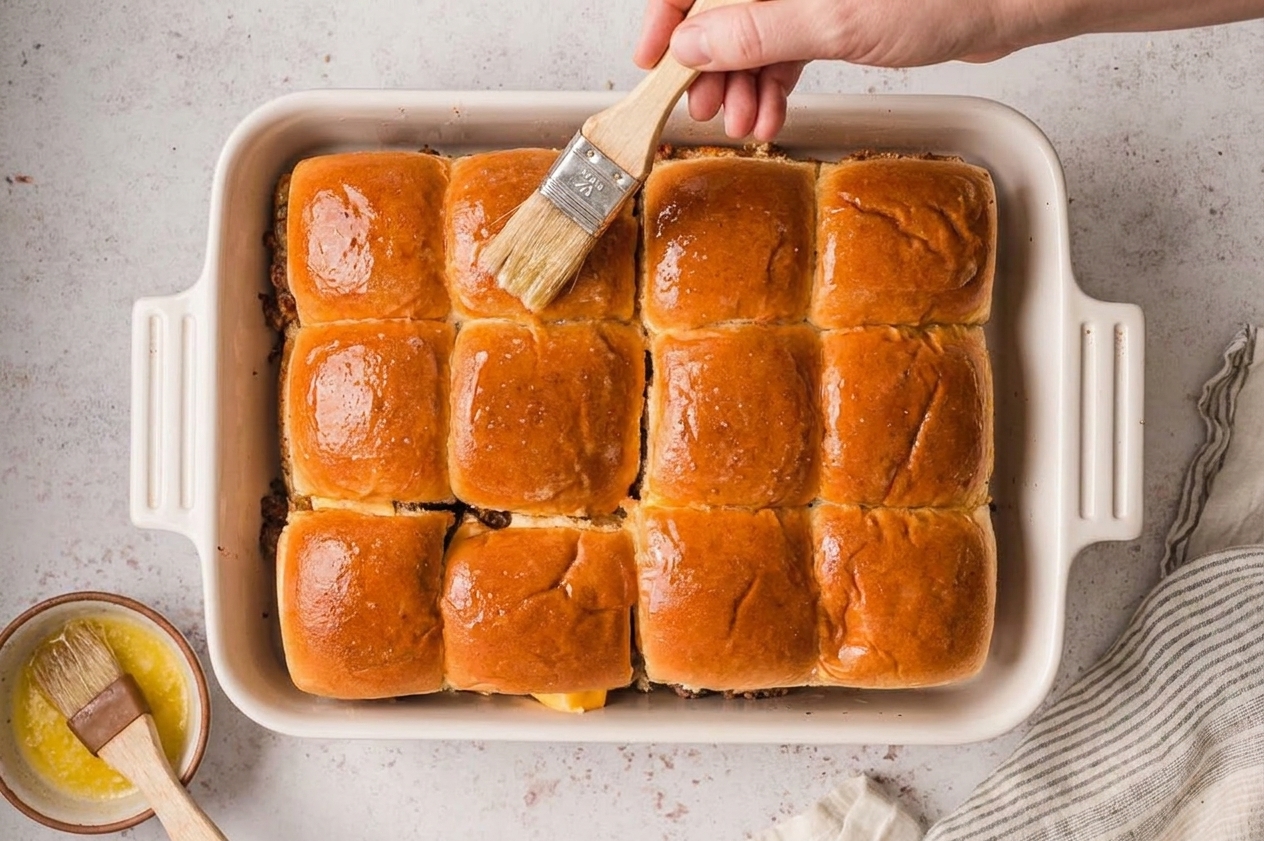
A pastry brush spreading melted butter over the tops of slider rolls in a baking dish before baking, with a small bowl of butter nearby

Pairs Well With

Storage Tips

Refrigerator: Store cooled sliders in an airtight container for 3 to 4 days. If you know you will have leftovers, keep pickles and any cold toppings on the side so the buns stay fluffy.

Freezer: Wrap individual sliders in foil, then place in a freezer bag for up to 2 months. Thaw overnight in the fridge for best texture.

Reheat: Warm in a 325°F oven until heated through, about 10 to 15 minutes (keep them covered with foil so the tops do not over-brown). For a quick option, microwave in 20 to 30 second bursts, then crisp the bottoms in a skillet if you want that fresh-baked vibe back.

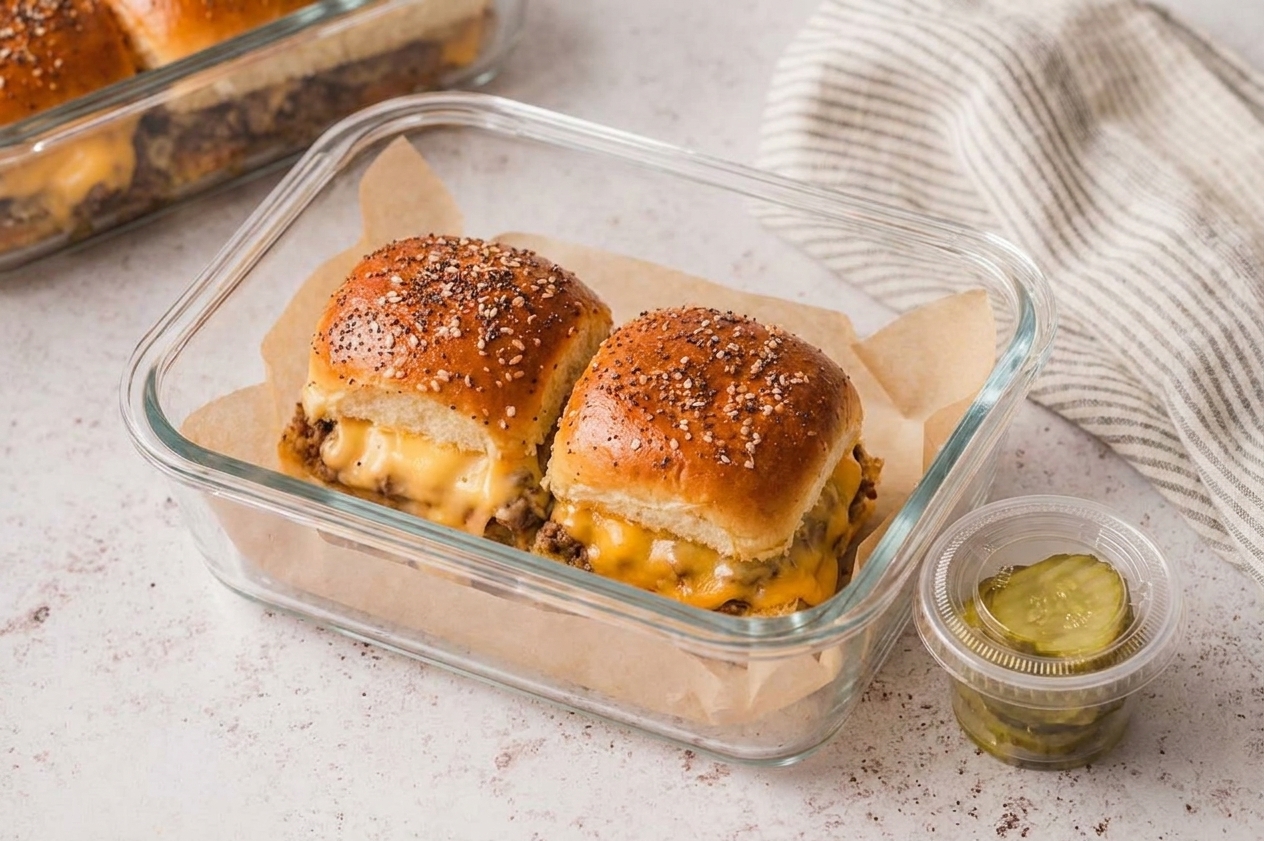
A glass meal prep container holding two cheeseburger sliders with parchment paper, placed on a kitchen counter next to a small lidded cup of pickles

Common Questions

Do I have to use Hawaiian rolls?

Nope. Hawaiian rolls are classic because they are soft and slightly sweet, but any slider buns or dinner rolls work. If your rolls are taller or sturdier, you may want a little extra sauce inside so everything stays juicy.

How do I keep sliders from getting soggy?

Two moves: let the cooked beef cool for a minute so steam calms down, and keep pickles and cold sauces off until after baking. Also, do not drown the buns. We are going for glossy and flavorful, not soup.

Can I make these ahead of time?

Yes. Cook the beef mixture up to 2 days ahead and refrigerate. When you are ready, rewarm the beef, assemble, and bake. If you fully assemble ahead, keep the butter topping off until right before baking.

What cheese melts best?

American melts the smoothest, cheddar brings the bite, and Monterey Jack is a great middle ground. My favorite is cheddar plus one slice of American for each row, because I am not above a little melt insurance. If you want full coverage, use 8 to 12 slices depending on how your cheese is cut.

Can I cook these on the grill?

For this specific pull-apart slider style, the oven is easiest. If you want grill flavor, cook the beef mixture in a cast-iron skillet on the grill over medium-high heat, then assemble the sliders in a grill-safe pan. Set the pan over indirect heat (burners off on one side, pan on the cool side), close the lid, and heat 10 to 15 minutes until the cheese is fully melted and everything is hot throughout.

The first time I made cheeseburger sliders for a group, I thought I was being clever. Mini burgers, easy win, right? Then I spent way too long trying to flip tiny patties while everyone hovered like hungry seagulls. Never again.

Now I do it the sane way: brown the beef once, bake the whole tray, and let the oven handle the melty magic. It is relaxed, reliable, and just chaotic enough when you pull the pan out and everyone suddenly remembers they have legs and can sprint.