Mom's Best Recipes
Recipe

Classic Gooey Rice Krispie Treats

Soft, buttery, extra-marshmallowy treats with that perfect chewy pull and just enough crisp snap. No hard blocks, no sad crumbs.

Author By Matt Campbell
4.9
A pan of thick, gooey Rice Krispie treats with a few squares lifted to show stretchy marshmallow strands

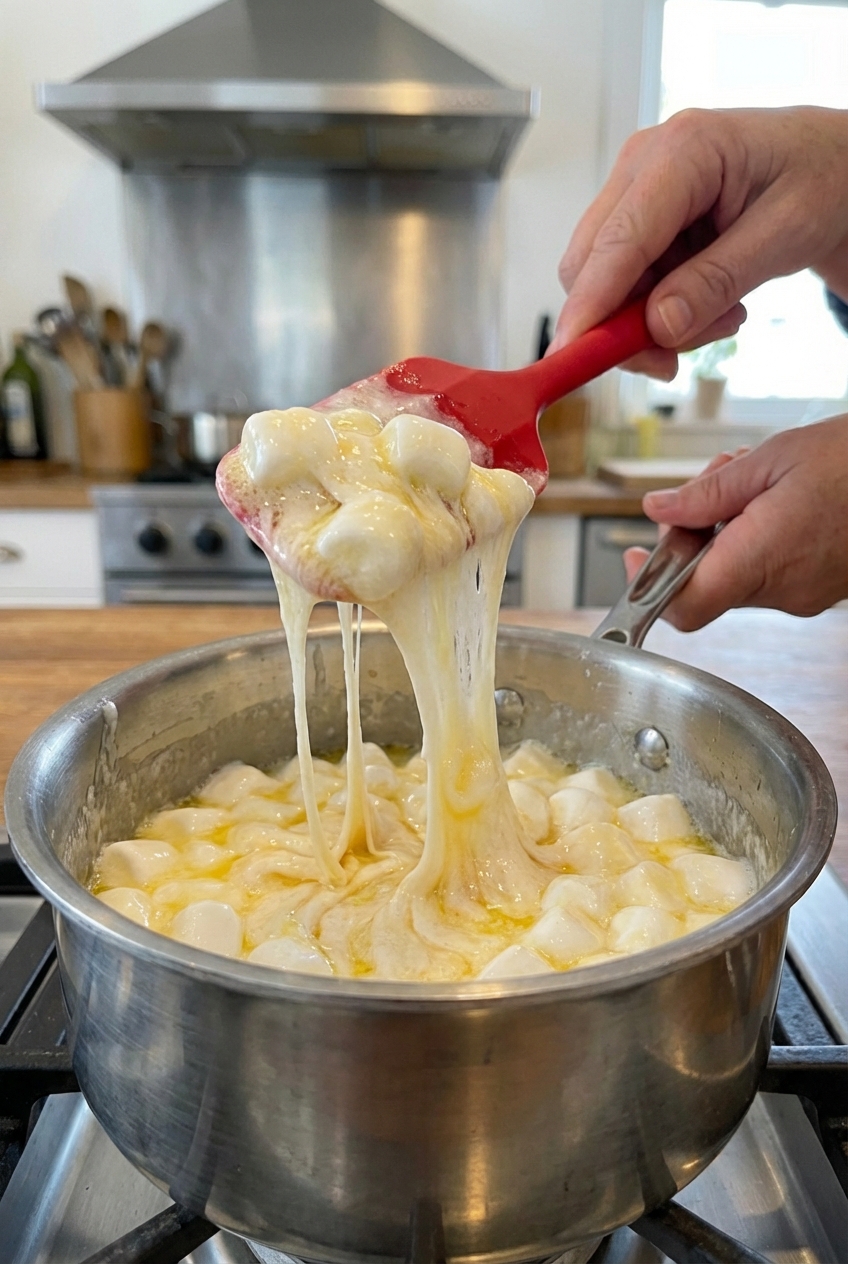
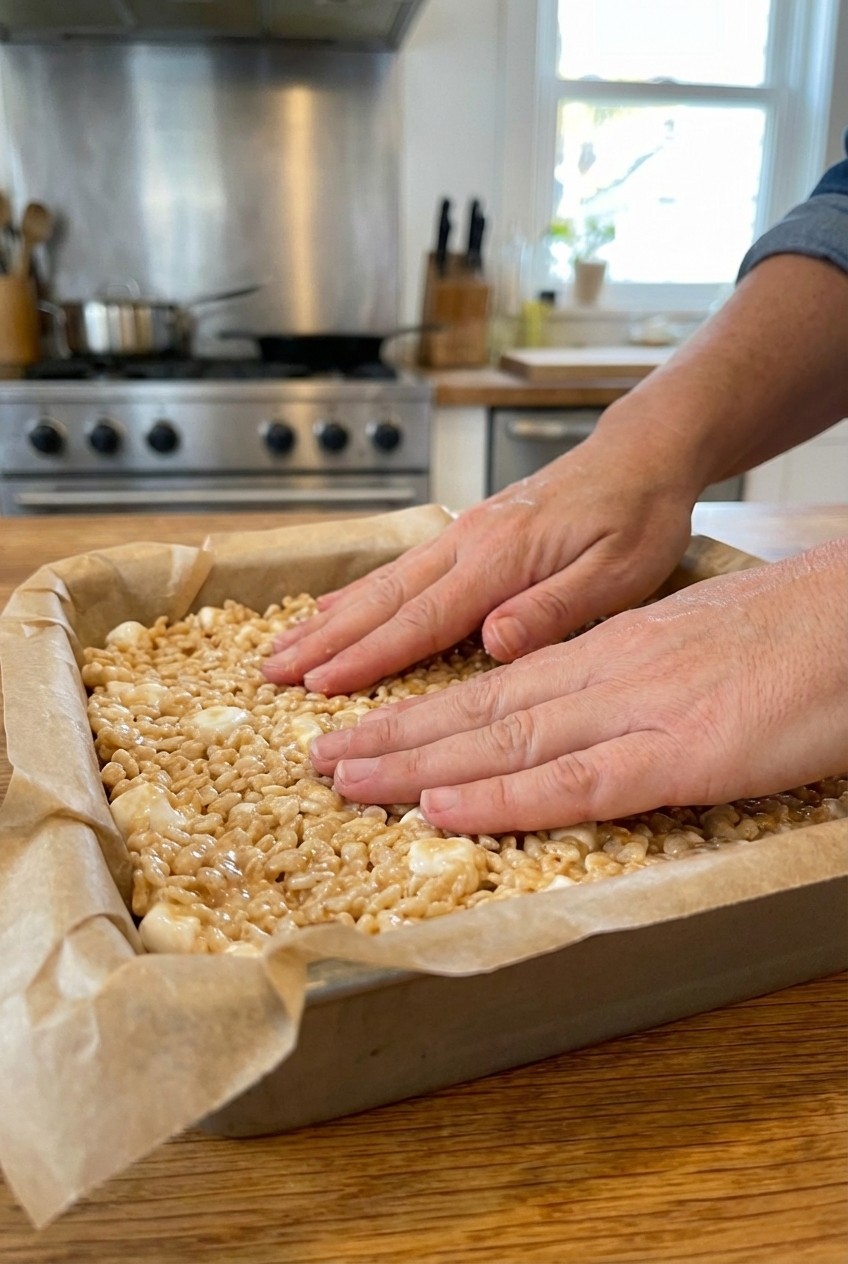
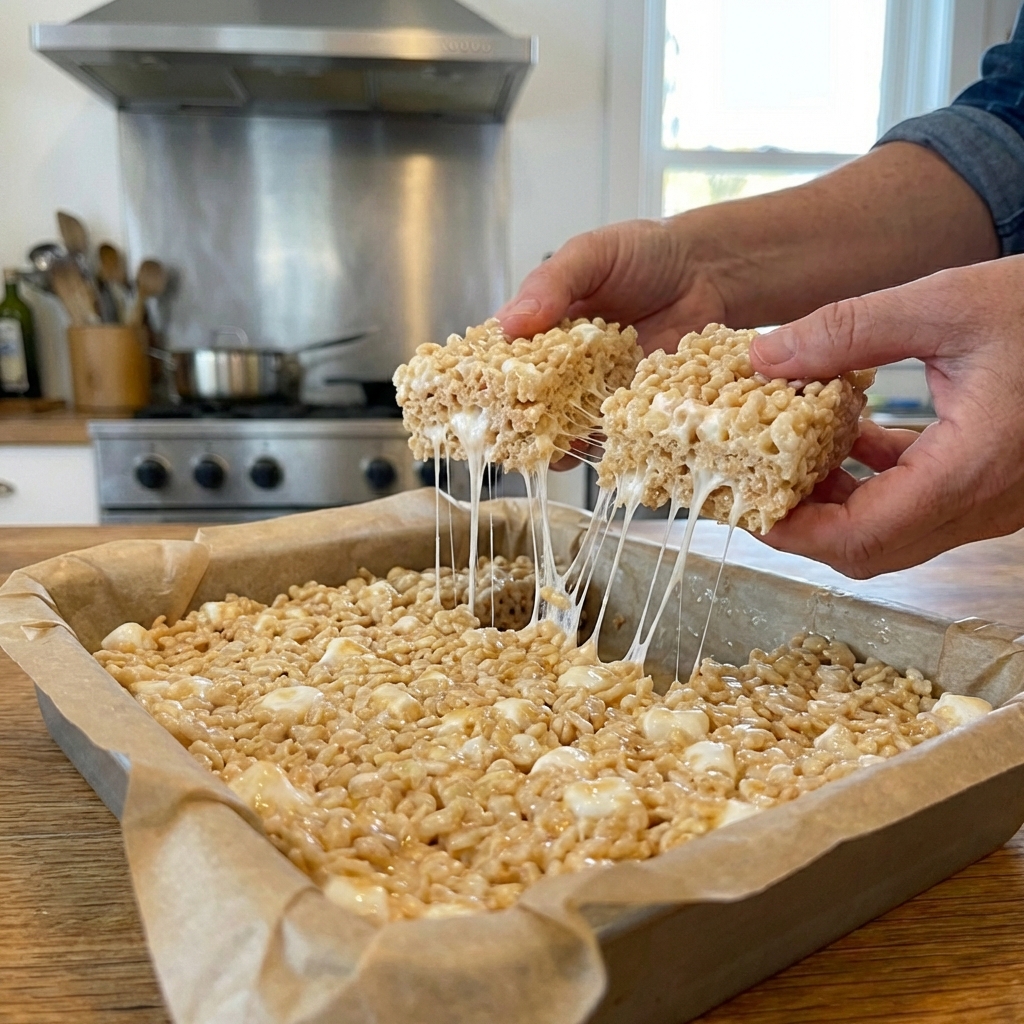
Rice Krispie treats should be gooey. Not “dental-work” chewy. Not dry and squeaky. Not the kind that shatters into sugary gravel the second you cut them.

This classic version leans into what we actually want: extra marshmallow, plenty of butter, and a few small moves that keep everything soft for days. We are talking pillowy squares with crisp edges and that marshmallow stretch that makes you pause mid-bite like, okay, wow.

A close-up photo of marshmallows melting in a saucepan with butter, stirred with a silicone spatula

Why It Works

  • Extra gooey texture: We use more marshmallows than the basic box recipe and hold some back to fold in at the end for pockets of softness.
  • No rock-hard treats: Low heat prevents scorching and keeps sugar from tightening up into a stiff, snappy bite.
  • Clean cuts: A gentle press (not a full-on smash) gives you thick, tender squares that still hold their shape.
  • Buttery, balanced flavor: A pinch of salt and a splash of vanilla make the sweetness taste intentional, not loud.

Pairs Well With

Storage Tips

Best storage: Keep treats in an airtight container at room temperature. Slip a piece of parchment between layers so they do not stick together like best friends who refuse to separate.

  • Room temp: 3 days for peak gooeyness, up to 5 days still very snackable.
  • Do not refrigerate: The fridge makes them firmer and less gooey.
  • Freezing: Wrap individual squares tightly in plastic wrap, then place in a freezer bag. Freeze up to 6 weeks. Thaw at room temperature, still wrapped, for about 1 hour.

Pro move: If a square feels a touch firm on day 3 or 4, microwave it for 5 to 8 seconds. It comes back to life.

Common Questions

Why are my Rice Krispie treats hard?

The usual culprits are too much heat (marshmallows boil and tighten), pressing the mixture too firmly in the pan, or not enough butter and marshmallow. Keep the heat low, stir gently, and press like you are tucking it in, not compacting concrete.

Can I use marshmallow fluff instead of marshmallows?

You can, but it is less predictable. Fluff melts differently and can throw off the sweetness and structure fast, so consider this an experiment. Aim for a similar total marshmallow weight as the recipe (about 16 oz / 455 g marshmallow total). A decent starting point is 1 jar (7 to 7.5 oz) fluff plus 8 to 9 oz mini marshmallows, melted slowly with the butter. The minis help keep the classic chew.

How do I get clean cuts without ripping?

Let the pan cool for 30 to 45 minutes. Then use a sharp knife lightly coated with butter or neutral oil. Wipe the blade between cuts.

Can I brown the butter?

Yes, and it is delicious. Brown the butter first, then turn the heat to low before adding marshmallows. Expect a toasty, caramel-nutty vibe that makes these taste like they grew up.

Gluten-free?

Important: standard name-brand Kellogg’s Rice Krispies (U.S.) are not gluten-free because they contain malt flavoring (from barley). Many “Rice Krispies style” cereals also use malt. If you need gluten-free, buy a cereal that is explicitly labeled gluten-free (often called gluten-free crisp rice or brown rice crisps) and always double-check the ingredient list for malt.

I started making these the way everyone does: melt, stir, smash into the pan, done. And every time I’d get that same result: a top layer that looked cute and a bottom layer that could double as a building material. So I started treating Rice Krispie treats like an actual recipe, not a craft project. Low heat. More marshmallows. A little salt. A gentle press. The first batch that came out truly gooey felt like a tiny kitchen win, the kind you want to hand to someone and say, “Try this. Trust me.”