Mom's Best Recipes
Recipe

Classic Vanilla Milkshake

A thick, creamy, old-school vanilla milkshake with simple ingredients and a reliable method.

Author By Matt Campbell
4.8
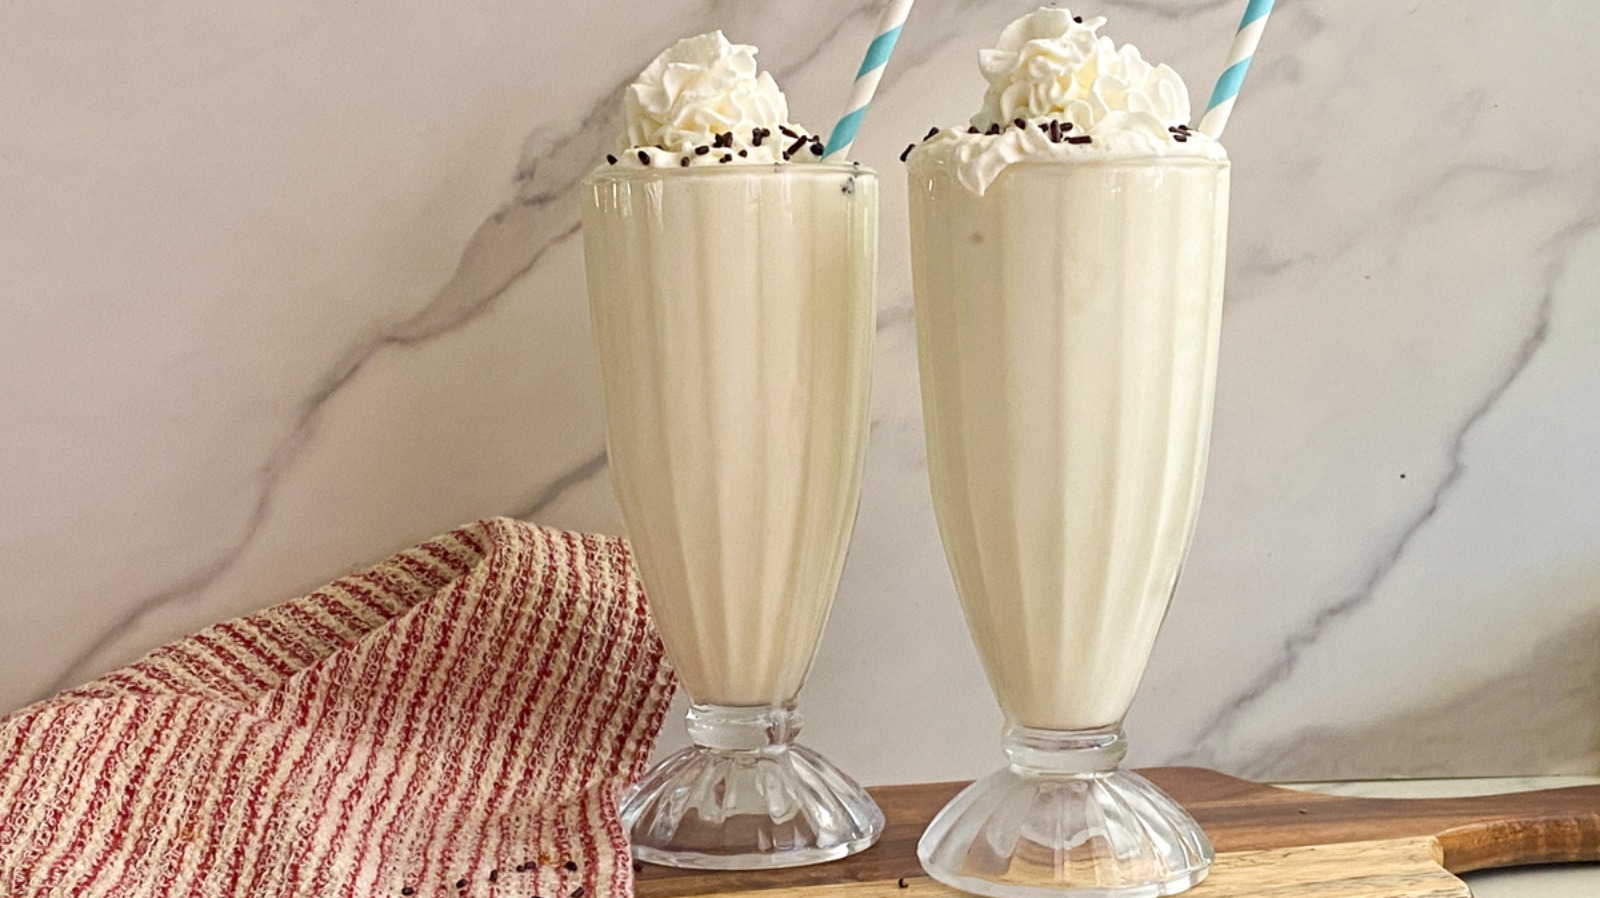
A tall glass of thick vanilla milkshake topped with whipped cream and a cherry on a wooden kitchen counter with a straw beside it

If you want a milkshake that feels like it came from a diner booth with slightly sticky menus and perfect fries, this is it. Thick enough to cling to the straw, smooth enough to sip, and vanilla-forward in that clean, cozy way that makes you take a second sip immediately.

The secret is not fancy ingredients. It is more ice cream than milk, a tiny pinch of salt, and a quick blend that stops before things go soupy. One practical note: very cold, rock-hard ice cream can be a workout for some blenders, so do not be afraid to add that splash of milk to get things moving.
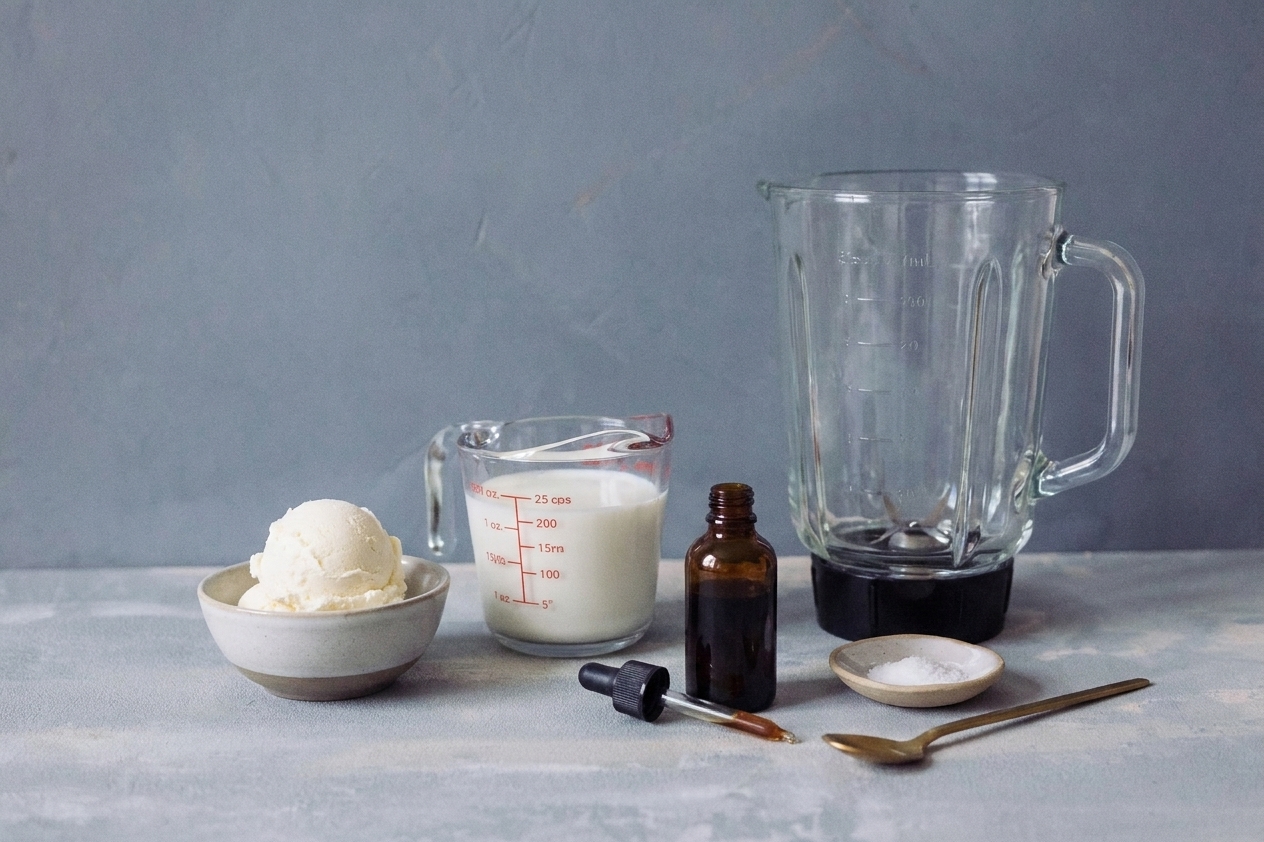
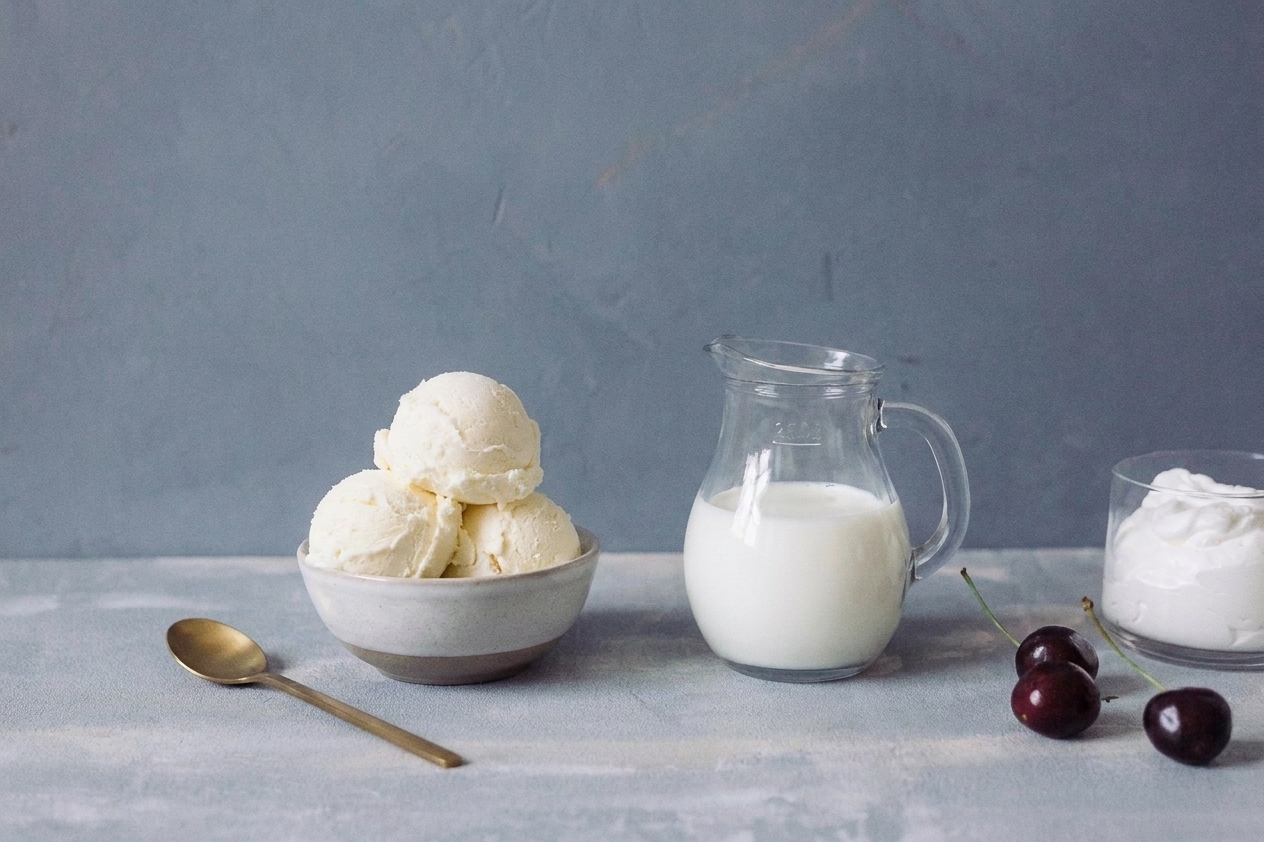
Vanilla ice cream, milk, vanilla extract, and salt measured on a light kitchen counter next to a blender jar

Why It Works

  • Classic texture: A thick, spoonable shake that still sips nicely through a straw.
  • Big vanilla flavor: Vanilla extract and a tiny pinch of salt make the ice cream taste more like itself.
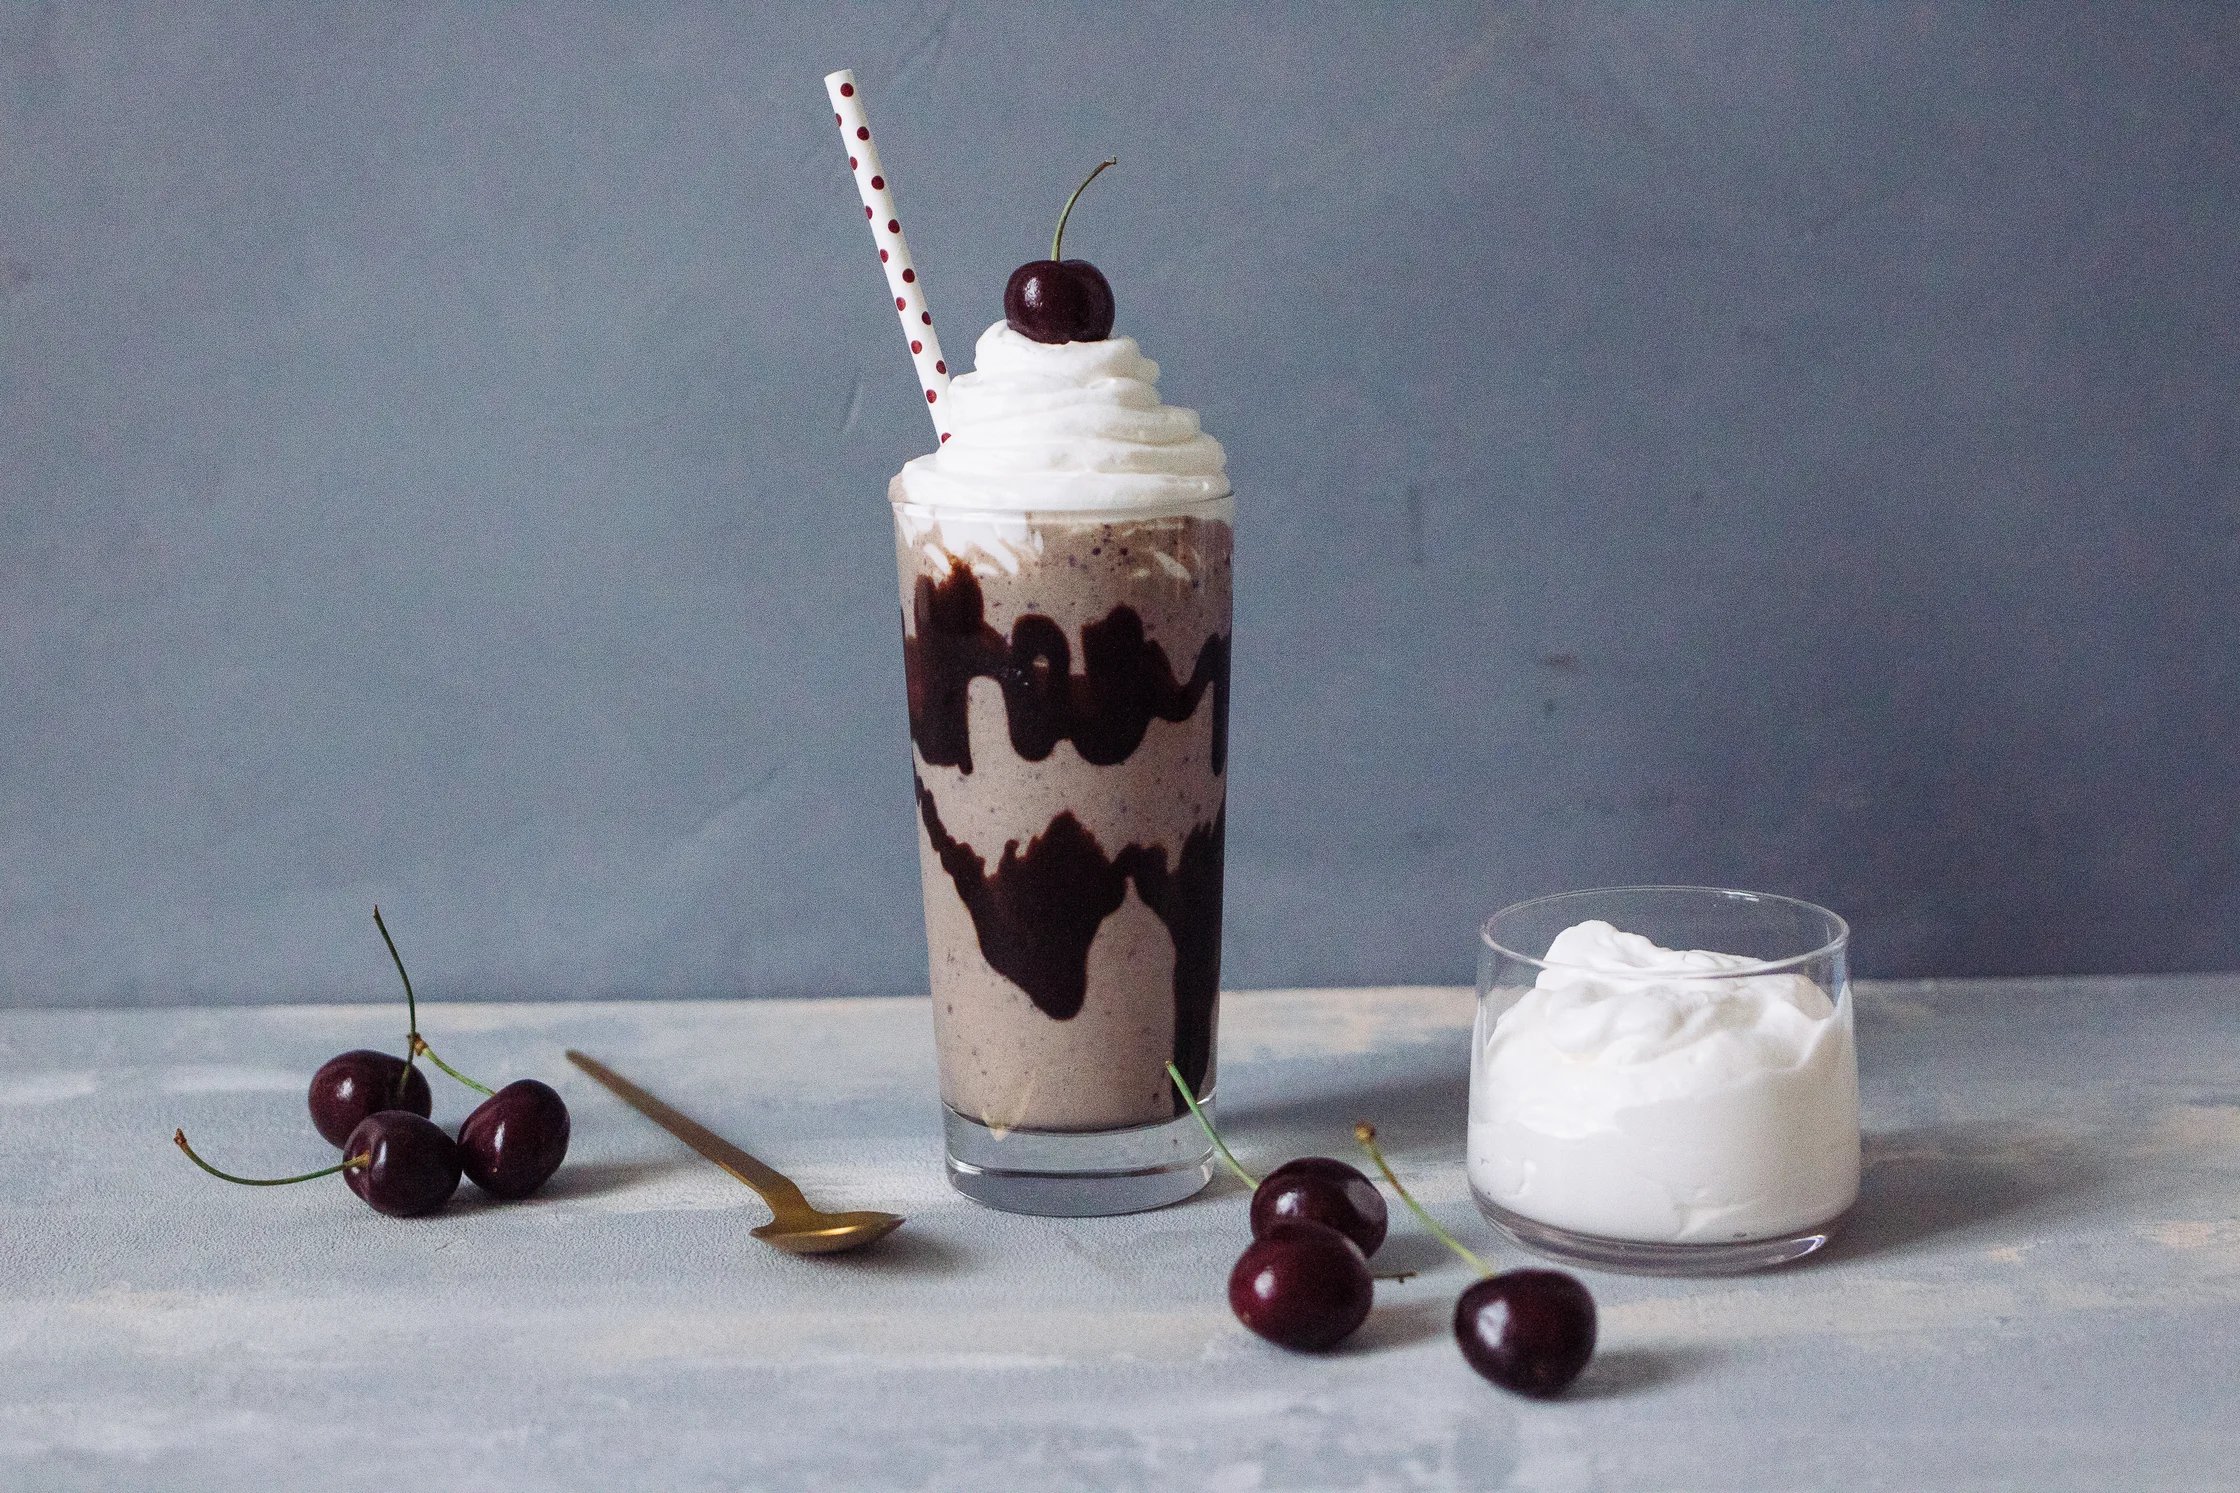
  • Fast and flexible: Base recipe in minutes, with easy add-ins like berries, peanut butter, or chocolate syrup.
  • Family friendly: No raw eggs, no complicated steps, and you can scale it up for a crowd.

Pairs Well With

Storage Tips

Milkshakes are best right after blending, but if you have leftovers (or you are purposely planning ahead), here is how to keep them decent.

Fridge (short term)

  • Store in a covered jar for up to 12 hours, but it is best within 2 to 4 hours for the closest-to-fresh texture.
  • It will separate. Shake hard or whisk, then pour.
  • Texture will be thinner than fresh. That is normal.

Freezer (best option)

  • Pour into a freezer-safe container and freeze for up to 1 week. For the best texture, aim for 1 to 2 days.
  • Freezer storage can get a little icy. Let sit at room temp for 10 to 15 minutes, then stir aggressively. For a smoother texture, re-blend for a few seconds.

Tip: If you know you will have leftovers, skip the whipped cream topping until serving time.

Common Questions

How do I make my milkshake thicker?

Use less milk and colder ice cream. Start with the amount listed, blend, then add milk in tiny splashes only if the blender needs help moving. If it is already thin, add 1 to 2 more scoops of ice cream and blend again.

How do I fix a milkshake that is too thin?

Add more ice cream first. If you are out of ice cream, add a handful of ice cubes and blend briefly (it will be slightly icier), or freeze the shake for 20 to 30 minutes and stir.

Can I make this without a blender?

Yes. Let the ice cream soften for 5 to 8 minutes, then mash and whisk in a bowl until smooth. It is a bit more rustic but still delicious.

What milk is best for milkshakes?

Whole milk gives the creamiest result. You can use 2 percent, but it will be a little less rich. Non-dairy milks work too, especially oat milk for a creamy vibe.

Can I use gelato or frozen yogurt?

Absolutely. Gelato tends to make a dense, rich shake. Frozen yogurt makes it tangier and slightly lighter.

Do I need pure vanilla extract?

Pure vanilla extract gives the cleanest, coziest vanilla flavor. Imitation works in a pinch, but since this shake is vanilla-forward, using the good stuff is noticeable.

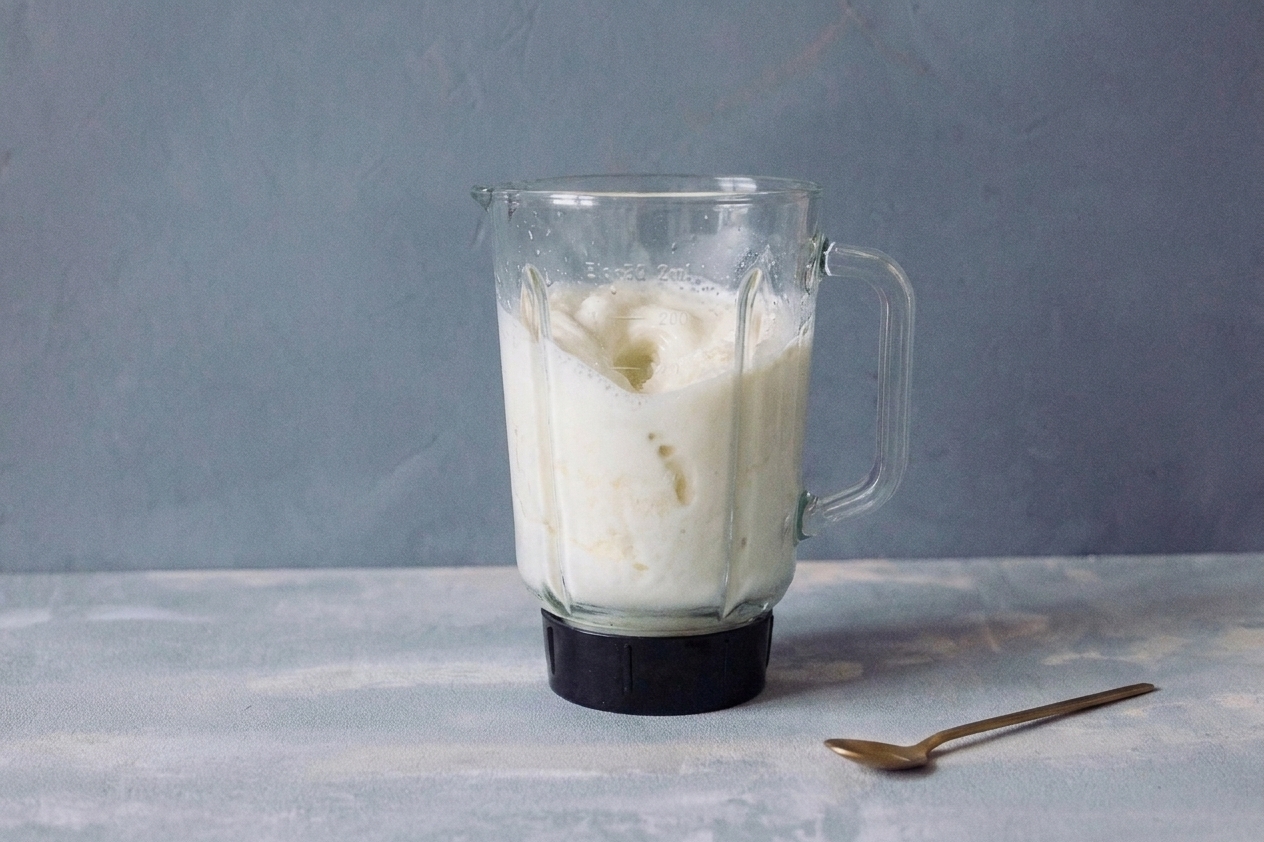
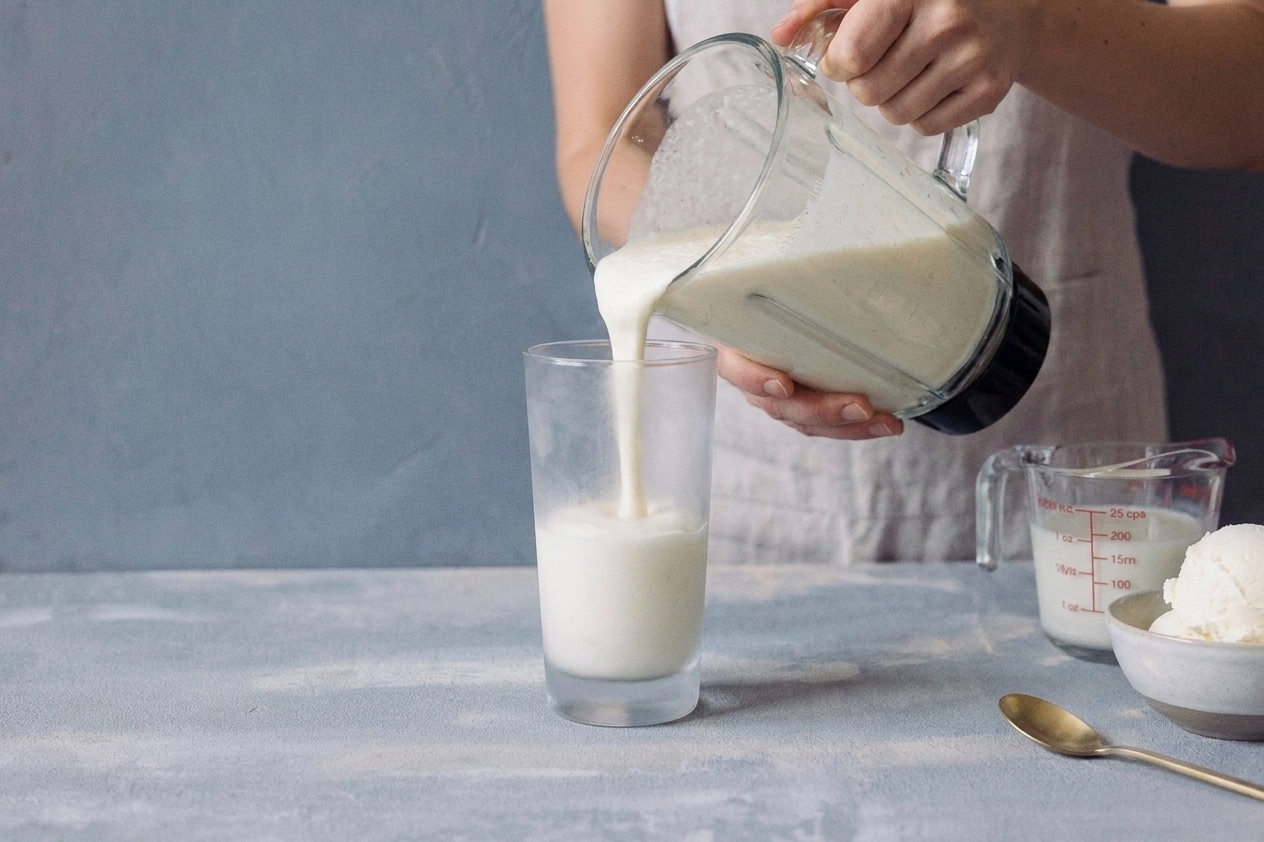
A blender jar filled with vanilla ice cream and milk mid-blend on a bright kitchen counter

I love ambitious cooking projects, but milkshakes are my reminder that joy can be aggressively simple. When I was learning to cook more hands-on instead of chasing a perfect classroom version of everything, I started paying attention to the little stuff that makes comfort food hit harder. For milkshakes, it is that pinch of salt and the discipline to stop blending before it turns into vanilla milk. It is low effort, high reward, and it makes the kitchen feel like a hangout spot, which is always the goal.