Mom's Best Recipes
Recipe

Cozy Pita Bread

Soft, puffy pitas with golden skillet spots and a steamy pocket inside. No fancy flour, no drama, just warm bread you will want to wrap around everything.

Author By Matt Campbell
4.8
A stack of warm homemade pita breads wrapped in a kitchen towel on a wooden board, with a cast iron skillet in the background

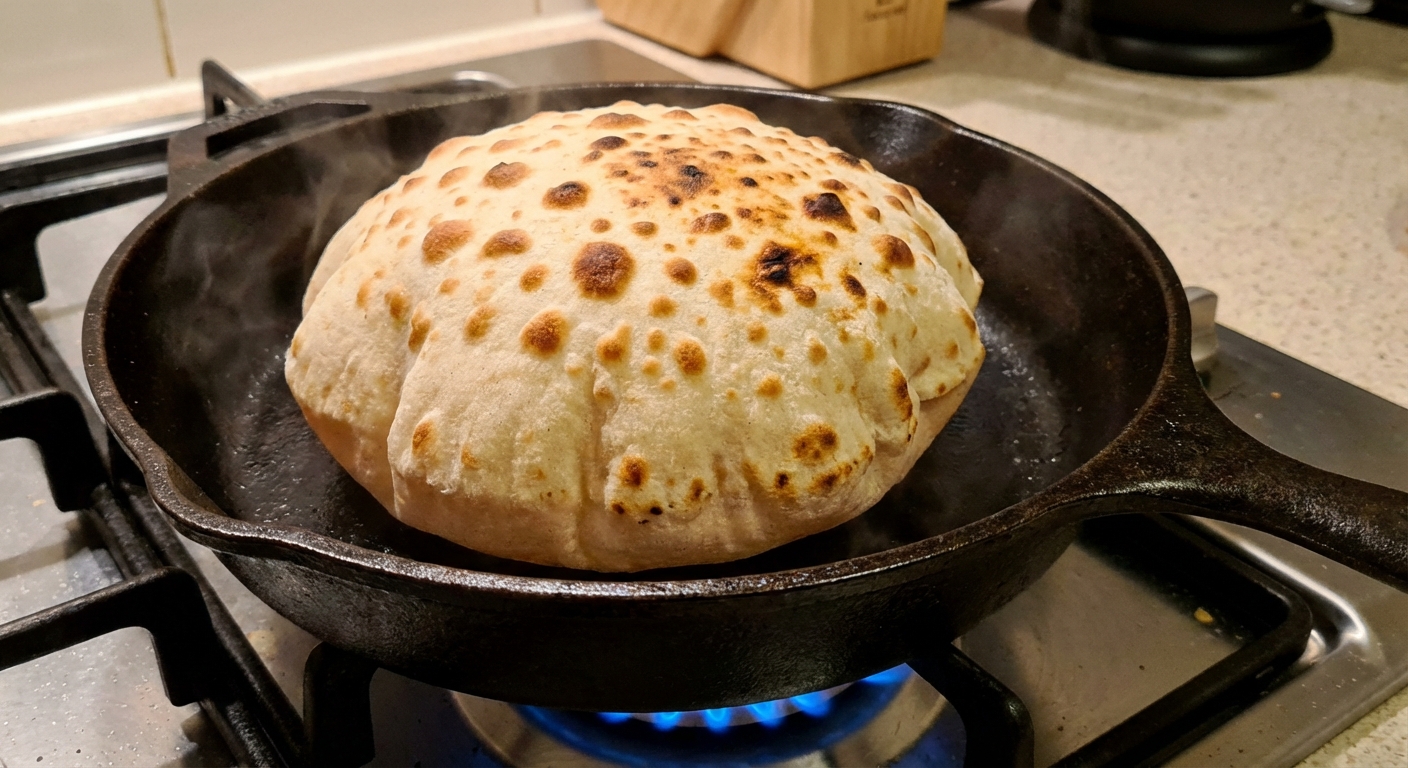
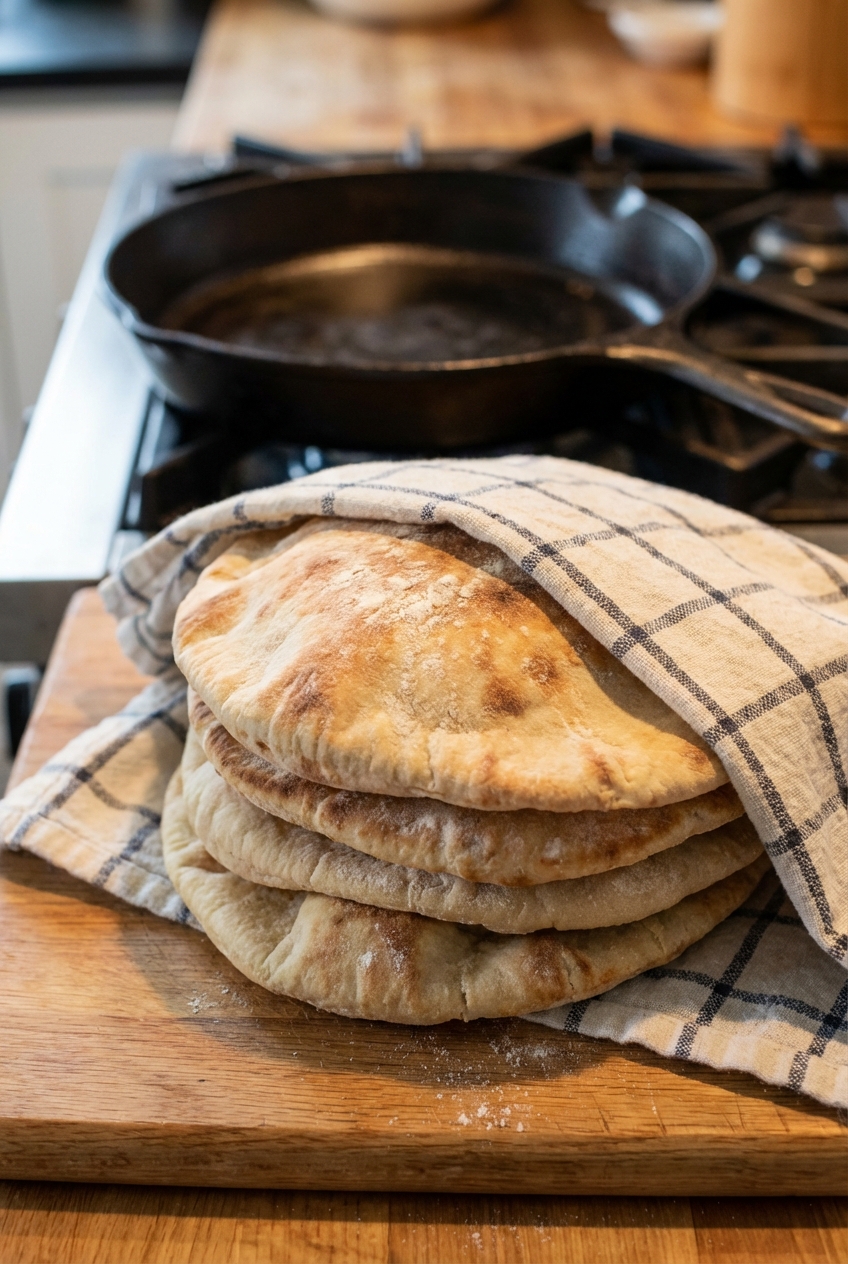
There is something wildly comforting about fresh pita. It is warm, a little chewy, and somehow manages to feel like both a snack and a whole plan for dinner. This is my cozy, home-kitchen version: a simple yeast dough that puffs on a hot skillet, then gets a quick kiss of steam under a towel so it stays soft and pliable.

If you have ever bought pita that tears like paper or tastes like a sponge, this is the redemption arc. You will get real toasted spots, a tender interior, and that magical moment when you slice one open and find an actual pocket. Also, if a couple do not puff perfectly, congratulations: those are now personal pizzas. That is not a mistake, that is a perk.

Hands rolling pita dough rounds on a lightly floured countertop with a rolling pin

Why It Works

  • Soft and warm: A short rest after cooking lets the steam finish the job so the pitas bend instead of crack.
  • Real puff and pockets: High heat plus even rolling creates the steam that inflates the center.
  • Accessible ingredients: Pantry staples, all purpose flour, and a basic yeast dough you can repeat on autopilot.
  • Weeknight friendly: Most of the time is hands off while the dough rises.

Pairs Well With

Storage Tips

Keep Them Soft

  • Room temp: Cool completely, then store in a zip top bag or airtight container for up to 2 days. Add a paper towel in the bag if your kitchen is humid.
  • Refrigerator: Not my favorite because it dries bread out, but it works for up to 5 days. Rewarm before serving.
  • Freezer: Freeze pitas with parchment between each one in a freezer bag for up to 3 months. Thaw at room temp, then reheat.

How to Reheat

  • Skillet: Medium heat, 30 to 60 seconds per side.
  • Oven: Wrap in foil and warm at 350°F for 8 to 10 minutes.
  • Microwave: 10 to 15 seconds wrapped in a slightly damp paper towel for emergency softness.

Common Questions

Why did my pita not puff?

The big three are: the pan was not hot enough, the dough was rolled unevenly, or the dough was a little dry. Preheat the skillet for a full 5 minutes, roll to an even thickness, and keep the dough covered while you work so it does not skin over.

Can I bake these instead of using a skillet?

Yes. Bake on a preheated stone or steel (or an inverted sheet pan) at 475°F for about 3 to 5 minutes per side, depending on your oven. Skillet gives you more control and those cozy toasted spots, but the oven is great for a bigger batch.

Can I use whole wheat flour?

Totally. Start with swapping in 1 cup whole wheat flour and keep the rest all purpose. You may need an extra tablespoon or two of water because whole wheat absorbs more.

Do I need a stand mixer?

Nope. This dough is friendly. A bowl, a spoon, and a little kneading on the counter gets you there.

How do I make them extra soft?

Two tricks: add the olive oil (it helps tenderness) and stack the cooked pitas under a clean towel for at least 10 minutes so they steam and relax. If you use the yogurt option, the pitas get even more tender. Just make sure you also use the reduced water amount listed in the ingredients.

I started making pita the way I make most comfort food decisions: I wanted something warm, carby, and capable of turning leftovers into a real meal. The first time I watched one balloon up in the pan, I just stood there like it was a tiny kitchen magic show. Now it is my go to when I want the house to smell like fresh bread and I want dinner to feel a little more cared for, even if the filling is just scrambled eggs and whatever sauce is hanging out in the fridge.