Mom's Best Recipes
Recipe

Crispy Baked Chicken Taquitos

Seasoned shredded chicken and melty cheese rolled tight in flour tortillas, brushed with oil, and baked until golden and crunchy. Includes a creamy green chile variation and the best dips.

Author By Matt Campbell
4.8
A sheet pan of crispy baked chicken taquitos with golden brown edges, served with small bowls of salsa, guacamole, and sour cream on the side, natural kitchen light

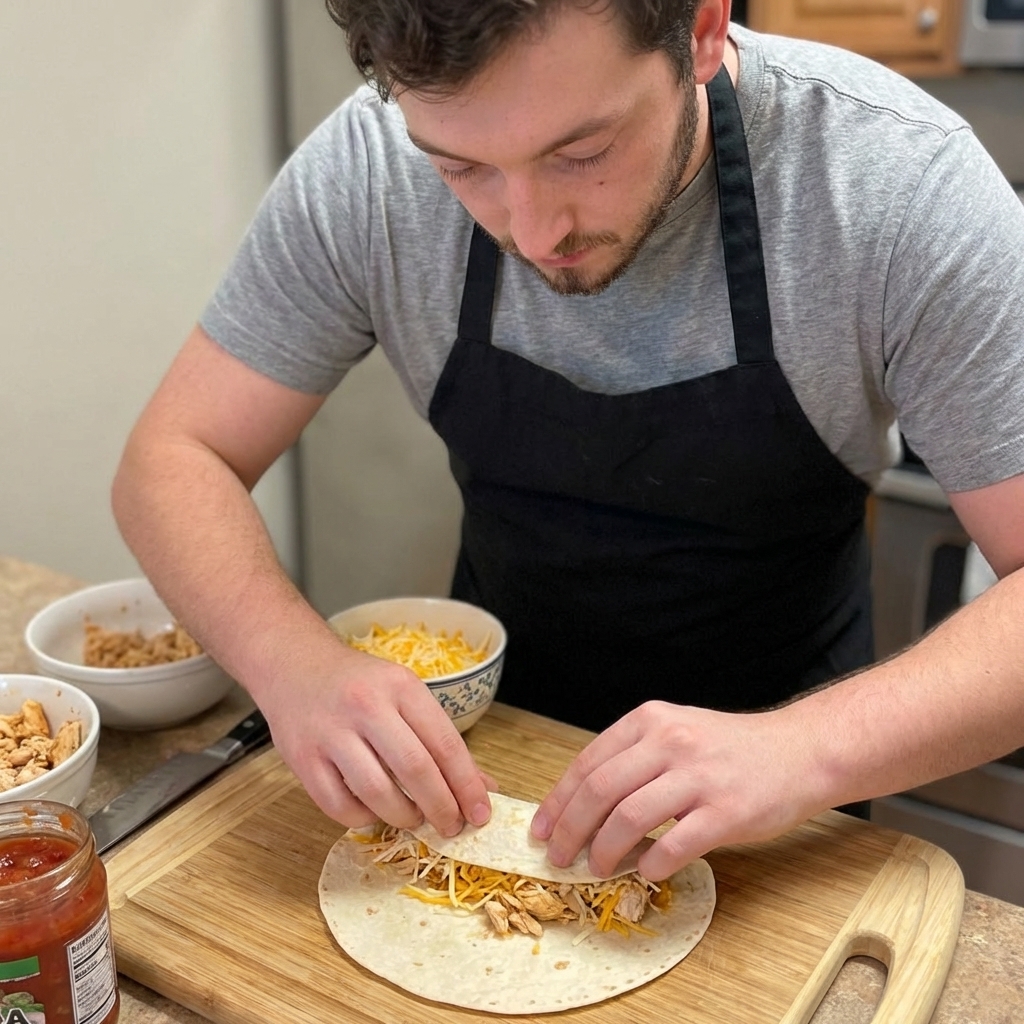
Taquitos are one of those foods that make everyone suddenly helpful in the kitchen. Somebody wants to shred chicken, somebody wants to sprinkle cheese, and somebody is definitely “quality testing” the salsa. I love them because they hit that sweet spot: crunchy, cheesy, and portable, but still easy enough to pull off on a weeknight.

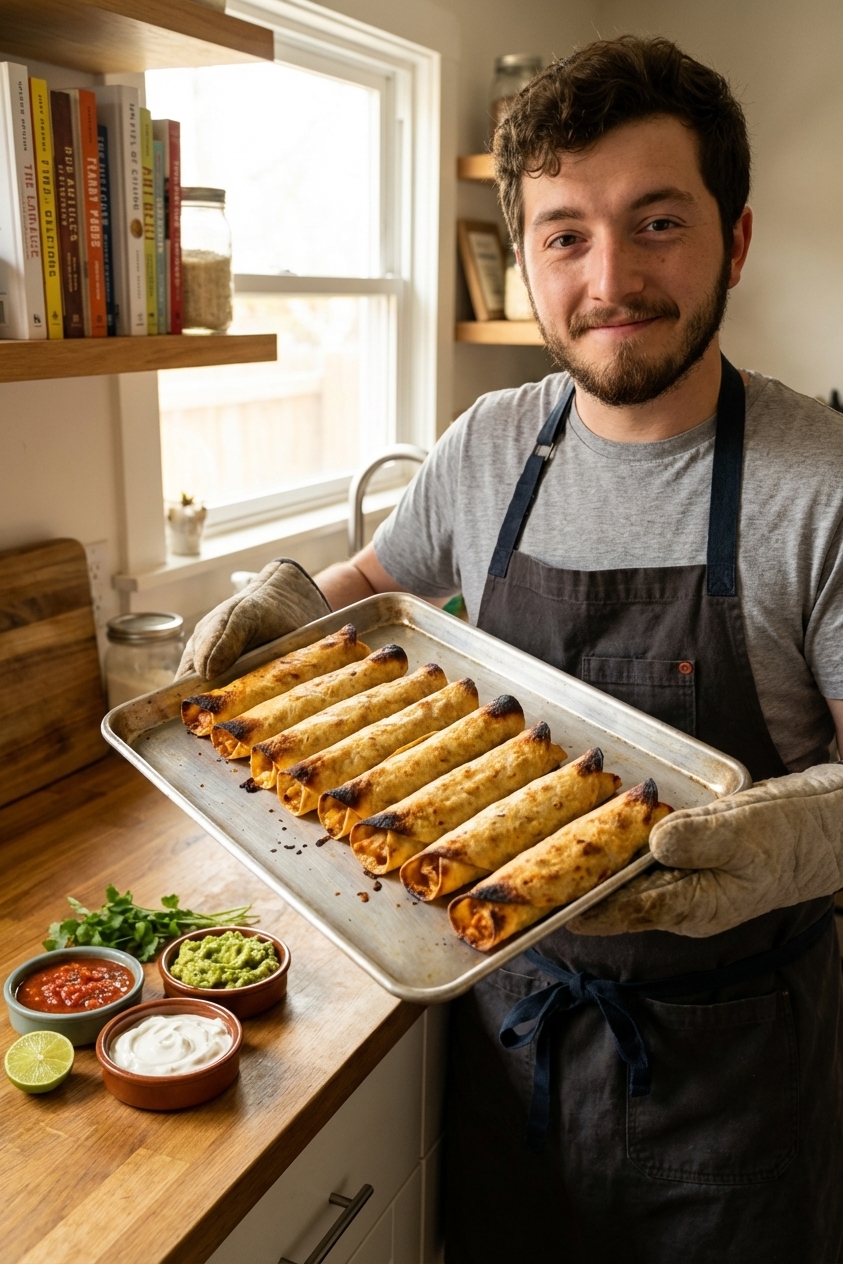
This baked version keeps the mess low and the payoff high. You get crisp edges and a toasty tortilla without babysitting a pot of oil. The key is a tight roll, seam-side down, plus a light brush of oil so they bake up golden instead of sad and dry.

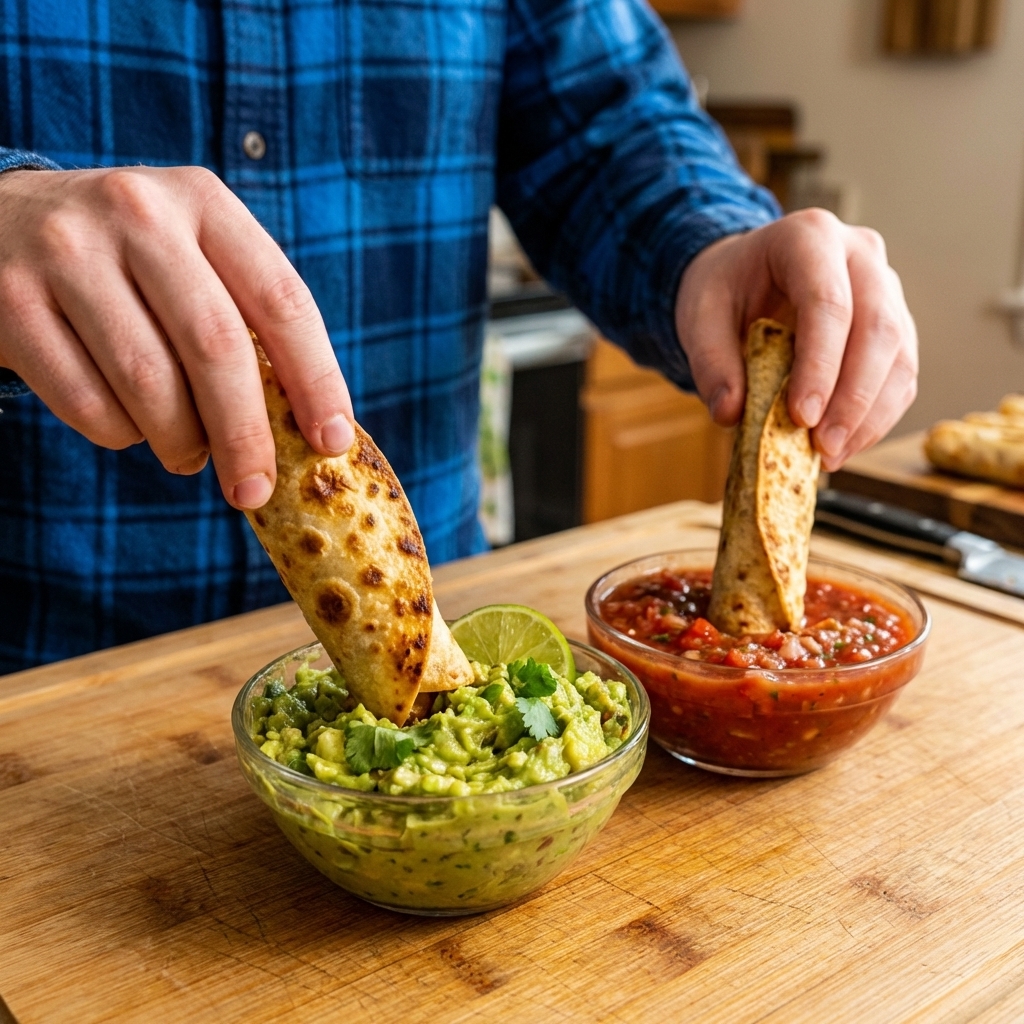
And because variety is the whole point of taquitos, I included my favorite upgrade: a cream cheese and green chile filling that turns basic shredded chicken into something you want to keep “taste testing” straight from the bowl.

A close-up of two baked chicken taquitos being dipped into guacamole and salsa on a wooden countertop, with crisp blistered tortilla texture visible

Why It Works

  • Crunch without frying: A quick brush of oil plus high heat gives you crisp, golden tortillas in the oven.
  • No blowouts: Rolling tightly and baking seam-side down helps the taquitos stay closed and tidy.
  • Big flavor, simple pantry spices: Chili powder, cumin, garlic, and lime make shredded chicken taste like you did something complicated.
  • Two filling options: Classic chicken and cheese, plus a creamy green chile version that feels extra cozy.

Pairs Well With

Storage Tips

Keep Them Crispy Later

  • Cool and chill fast: Refrigerate leftovers within 2 hours.
  • Fridge: Store leftover taquitos in an airtight container for up to 3 to 4 days. If you can, line the container with a paper towel to absorb moisture.
  • Freezer: Freeze baked taquitos on a sheet pan until solid, then transfer to a freezer bag. They keep well for 2 to 3 months.
  • Reheat (best methods):
    • Oven: 400°F for 8 to 12 minutes (longer if frozen) until hot, crisp, and heated through. For food safety, aim for 165°F in the center.
    • Air fryer: 375°F for 5 to 8 minutes, flipping once, until hot and crisp (and 165°F inside).
  • Skip the microwave if crunch matters to you. It will soften the tortillas fast.

Common Questions

Common Questions

How do I keep taquitos from unrolling?

Roll them tight, place them seam-side down, and do not overfill. If your tortillas feel stiff, warm them for 20 to 30 seconds in the microwave under a damp paper towel so they bend instead of cracking.

Can I use corn tortillas?

You can, but this recipe is written for flour tortillas because they roll easily and bake up evenly. For corn tortillas, warm them well so they are pliable (a quick pass in a dry skillet, or microwave them under a damp towel). If they still crack, try doubling up two tortillas per taquito for extra strength. Smaller corn tortillas also make smaller taquitos, so you will get more pieces.

What chicken works best?

Rotisserie chicken is the weeknight MVP here. Leftover roasted chicken or shredded slow cooker chicken also works great. If you are starting from scratch, poached chicken breasts or thighs shred easily.

How do I make them spicier for adults but still kid-friendly?

Keep the filling mild, then serve heat on the side: chipotle salsa, sliced jalapeños, hot sauce, or a spicy crema. Everyone wins.

Can I prep these ahead?

Yes. Assemble and refrigerate on a sheet pan (covered) up to 24 hours ahead. Note: tortillas can soften as they sit. For maximum crunch, keep the filling separate and roll right before baking, or brush with oil right before baking so the tortillas do not get soggy.

Taquitos are my favorite “everyone eats, nobody complains” dinner. The first time I baked them, I was sure they would come out pale and floppy. Turns out, they just needed two things: a confident roll and a little oil like you actually mean it. Now they are a regular in my kitchen, especially on nights when I want something fun, crunchy, and dip-friendly without turning my stovetop into a splatter zone.