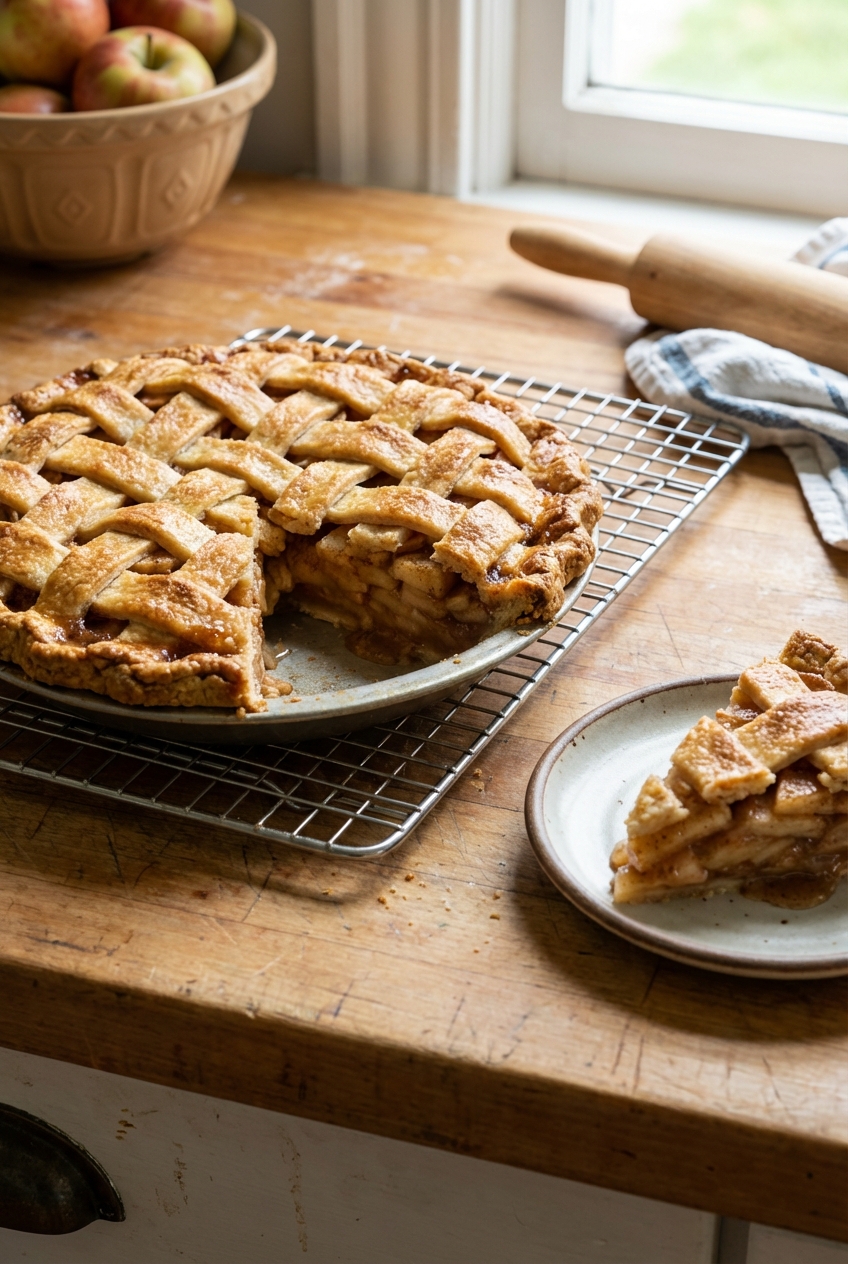
Mom's Best Recipes
Recipe

Flaky Pie Crust (Easy and Buttery)

A simple, reliable all-butter pie crust that bakes up crisp, tender, and seriously flaky. No fancy ingredients, just a few smart steps for dough that behaves.

Author By Matt Campbell
4.9
A real photo of a golden brown baked pie with a visibly flaky butter crust on a wooden countertop

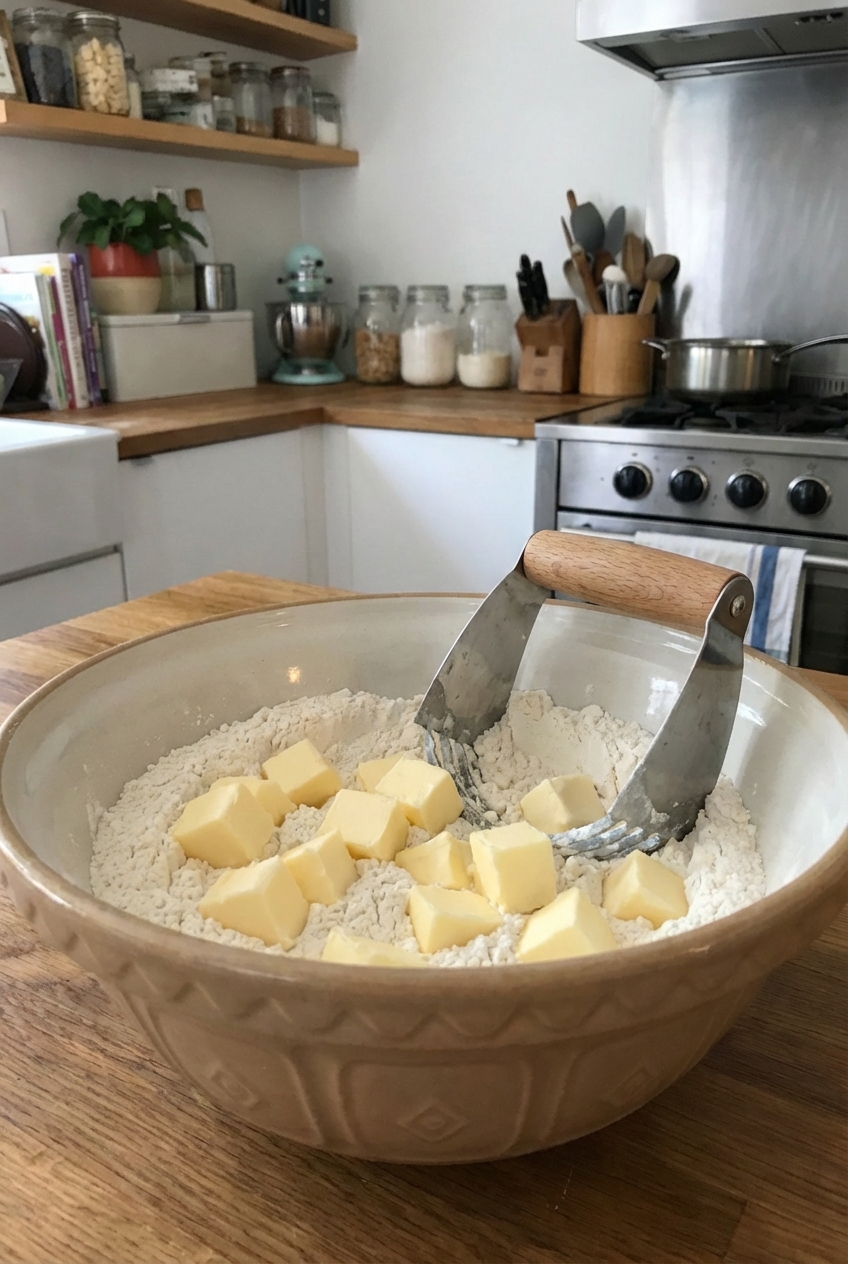
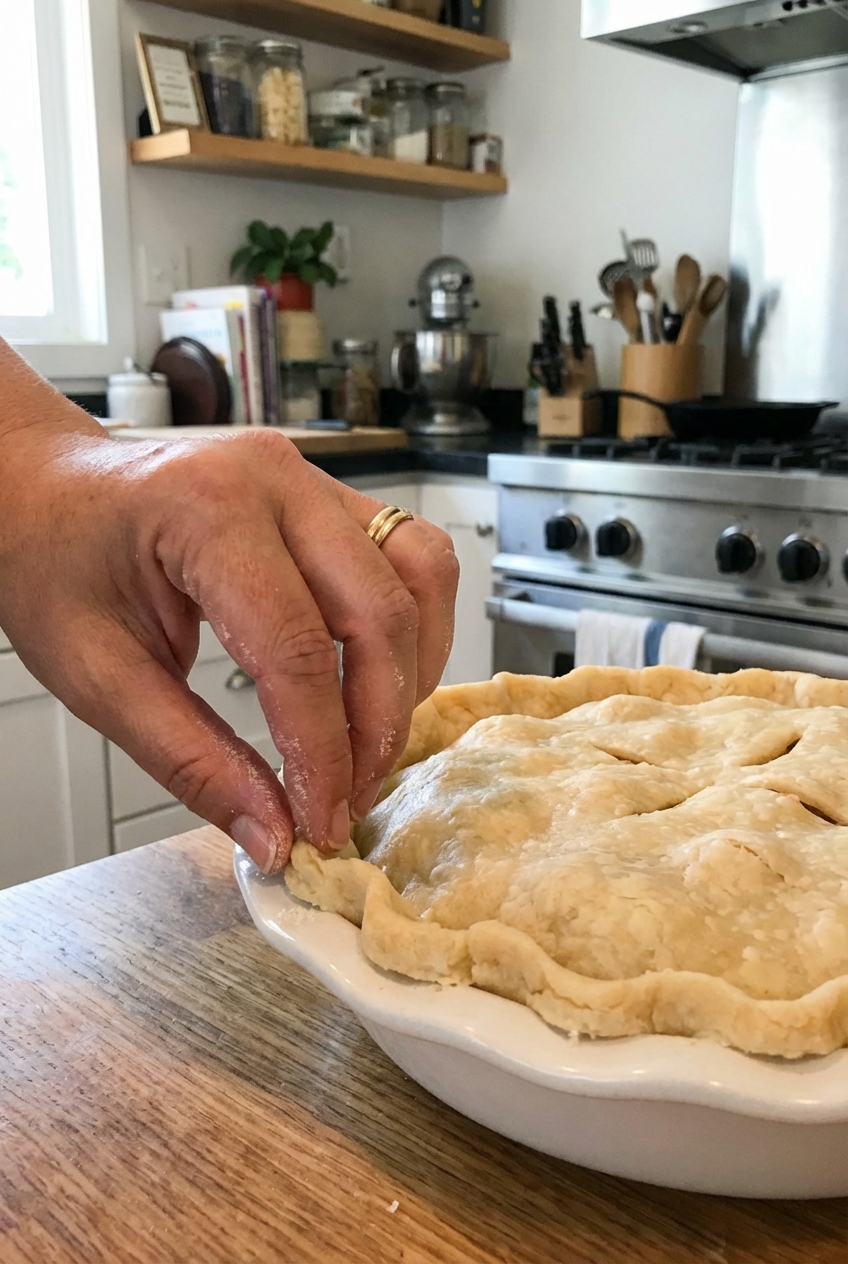
Pie crust has a reputation for being dramatic. Too dry, too sticky, shrinking, cracking, or just kind of sad and tough. This is the crust I make when I want the opposite: buttery layers, crisp edges, and a dough that feels like it is on your side.

It is an all-butter crust with a small trick that makes it easier to roll: we use cold butter, a quick chill, and a gentle fold that builds flake without turning this into a weekend project. If you can keep butter cold and resist overworking the dough, you are going to nail it.

A real photo of cubed cold butter and flour in a mixing bowl with a pastry cutter

Why It Works

  • Flaky layers without fuss: Leaving some butter pieces a little larger creates steam pockets as it bakes, which equals flakes.
  • Buttery flavor, not greasy: All-butter gives the best taste, and a light hand keeps the texture tender.
  • Flexible for sweet or savory: Use it for apple pie, quiche, chicken pot pie, galettes, and hand pies.
  • Make-ahead friendly: The dough can be refrigerated or frozen so you can bake when you are ready.

Pairs Well With

Storage Tips

Fridge (dough disk): Wrap tightly in plastic wrap, then place in a bag. Refrigerate up to 3 days. Let sit at room temperature for 10 to 15 minutes before rolling if it feels rock hard.

Freezer (dough disk): Wrap well, then freeze up to 3 months. Thaw overnight in the fridge.

Freezer (rolled crust): Roll the dough, fit it into the pie plate, and freeze until firm. Wrap the whole plate tightly and freeze up to 2 to 3 months (best flavor in the first 2). For blind baking, you can bake from frozen, but plan to add a few extra minutes as needed, especially with glass or thicker ceramic.

Baked empty crust: Cool completely, cover, and store at room temp for 1 day or freeze up to 2 to 3 months. To recrisp, bake at 350°F for 5 to 8 minutes. If your crust was frozen in a glass or ceramic pie dish, thaw the dish in the fridge first, then let it sit on the counter for a few minutes before going into a hot oven to avoid thermal shock.

Note on weights: If you use dry beans or rice as pie weights, keep them labeled and reuse them for weights only (not cooking).

Common Questions

Why is my pie crust tough?

Tough crust usually comes from overworking the dough or adding too much water. Mix just until it holds together and you still see streaks of butter. Also, do not knead it like bread. Gentle is the whole vibe.

Why did my crust shrink in the oven?

Two common causes: the dough was stretched when you fitted it into the pan, or it did not chill long enough. Ease it into the plate, do not pull it tight, and chill the shaped crust for at least 20 to 30 minutes before baking.

Can I use salted butter?

Yes. Salted butter varies by brand, so start by reducing the added salt to 1/2 teaspoon. If you know your butter is on the saltier side, you can reduce it a bit more (down to about 1/4 teaspoon).

Do I need a food processor?

No. A pastry cutter or even your fingers work great. The only rule is keep everything cold and stop mixing early.

How do I blind bake this crust?

Blind-bake time depends on your pie plate (glass and thicker ceramic often need a few extra minutes). Chill the shaped crust, dock it with a fork, line with parchment, fill with pie weights or dry beans (fill to near the top edge), then bake at 400°F for 15 to 18 minutes, or until the edges are set and just starting to color. Remove the parchment and weights, then bake 5 to 10 minutes more (add a few minutes as needed) until the bottom looks dry and lightly golden. If the rim browns too fast, use a foil shield.

Cook-time note: This recipe is for the dough. Baking time depends on what you are making. For blind baking, plan on roughly 20 to 28 minutes total depending on your pie plate and oven.

The first time I tried making pie crust, I treated it like a teamwork exercise with my hands doing the most. I kneaded. I fussed. I overmixed. The result tasted like a butter-flavored cracker that had been through something. Now I do the opposite. I mix less, chill more, and let those little cold butter chunks do the heavy lifting. This crust is my go-to when I want that bakery-style flake but I still want to enjoy my afternoon.