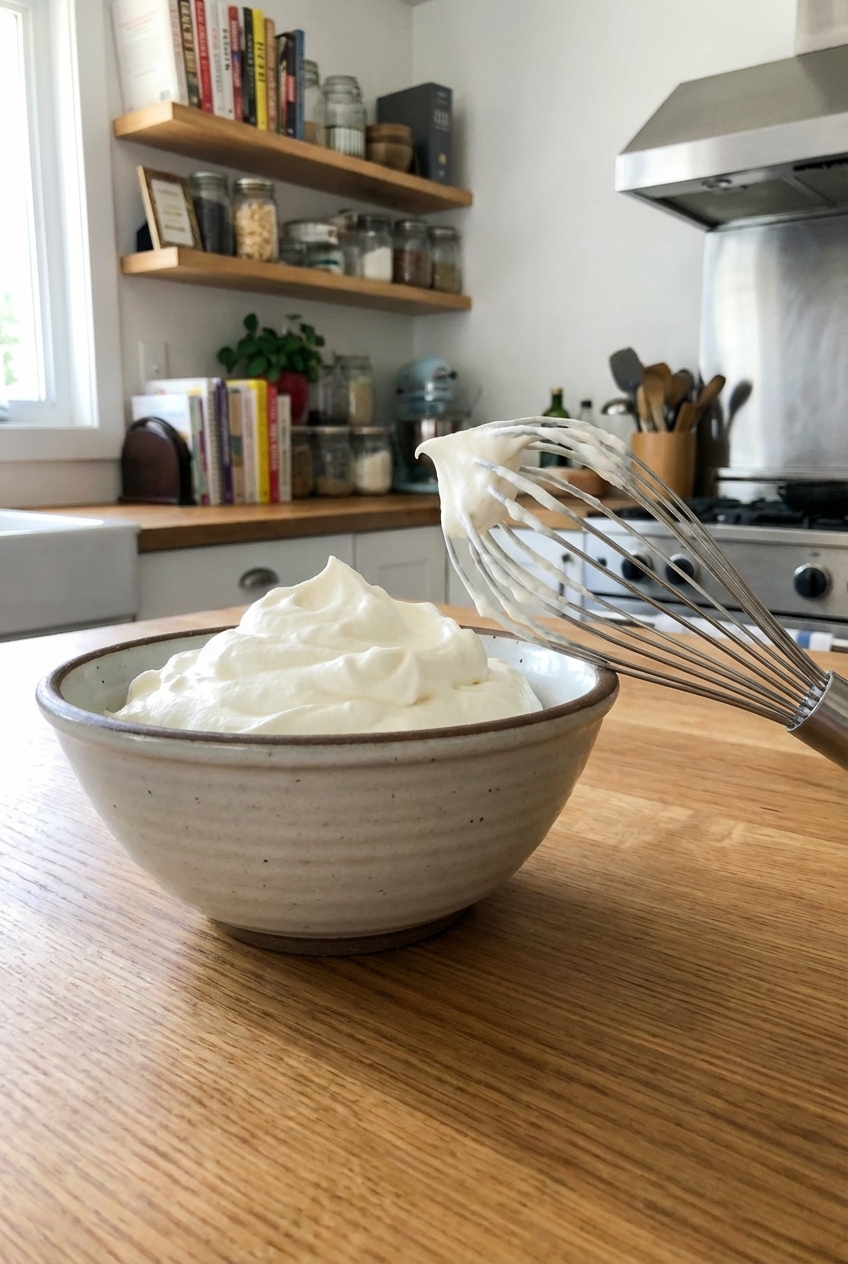
Mom's Best Recipes
Recipe

Easy Crepe Recipe

Thin, tender crepes that cook in minutes with pantry staples. Perfect for sweet or savory fillings and forgiving enough for first-timers.

Author By Matt Campbell
4.8
A stack of thin golden crepes on a white plate with a pat of butter melting on top on a sunlit kitchen table

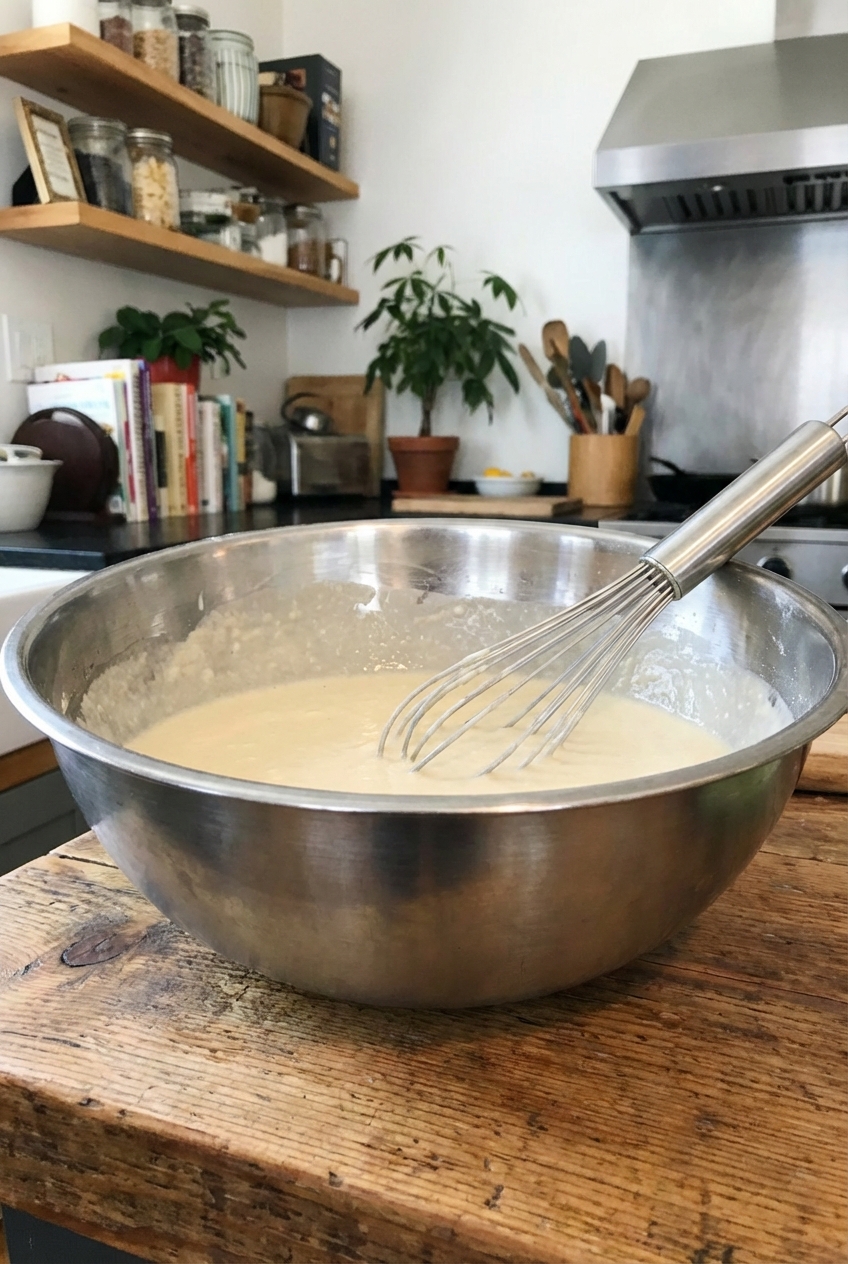
Crepes are one of those foods that look fancy on purpose. Meanwhile, the batter is basically a thin pancake that decided to go to finishing school. If you can whisk, you can make crepes. A blender just makes it extra smooth with zero effort.

This easy crepe recipe gives you light, delicate crepes with lacy edges and a soft, flexible center. They are perfect for weekday breakfasts, last-minute desserts, and that moment when you realize you have a couple of eggs and some milk and still want something that feels special.

A stainless steel mixing bowl with pale crepe batter and a whisk resting inside on a wooden counter

Why It Works

  • Tender, not rubbery: A rested batter lets the flour hydrate and relax, so the crepes stay soft and flexible.
  • Thin and easy to spread: The batter is loose enough to swirl quickly across the pan before it sets.
  • Reliable browning: Medium heat plus a lightly buttered skillet gives you golden crepes without burnt spots.
  • Sweet or savory: A tiny touch of sugar and vanilla is optional. You can leave them in or out depending on your filling plans.

Expect: About 10 to 12 crepes in an 8 to 10 inch pan, depending on how much batter you pour and how thin you swirl.

Pairs Well With

Storage Tips

Crepes store like a dream, which is why I like making a batch even if I only need a few.

Fridge (best for 3 days)

  • Let crepes cool completely.
  • Stack them with a small piece of parchment or wax paper between every few crepes to prevent sticking.
  • Store in an airtight container or zip top bag for up to 3 days.

Freezer (best for 2 months)

  • Stack with parchment between crepes.
  • Freeze in a flat stack in a freezer bag for up to 2 months.

How to reheat

  • Microwave: 10 to 20 seconds for a small stack, covered with a damp paper towel (timing depends on microwave wattage).
  • Skillet: Warm 15 to 30 seconds per side over medium-low heat for the freshest texture.

Common Questions

Do I need a crepe pan?

Nope. A nonstick 8 to 10 inch skillet works great. The real key is a smooth surface and even heat.

Why are my crepes tearing?

Usually one of three things: the pan is not hot enough, the crepe is being flipped too early, or the batter is too thick. Let the first side set until the edges look dry and lift easily. If the batter pours like heavy cream, you are in the zone. If it pours like pancake batter, whisk in milk or water 1 to 2 tablespoons at a time until it loosens up.

Why is the first crepe always weird?

Your pan is getting calibrated. The first one tells you if the heat needs a nudge up or down and whether you need a touch more butter. Consider it the cook's snack.

Can I make the batter ahead?

Yes. Make it up to 24 hours ahead and keep it covered in the fridge. Whisk again before cooking. If it thickens overnight, add a splash of milk (or water in a pinch).

Can I make these dairy free?

Yes. Use an unsweetened plant milk and swap butter for neutral oil or vegan butter. The browning may be slightly lighter but the texture still works.

Can I make these gluten free?

Often, yes. A 1 to 1 gluten free flour blend usually works, but results vary by brand. Let the batter rest 20 to 30 minutes and be gentle when flipping.

The first time I made crepes, I treated them like pancakes and got exactly what I deserved: thick, patchy circles with the attitude of wet cardboard. Then I learned the two secrets that change everything. Make the batter thinner than you think, and swirl fast like you mean it. Now crepes are my go-to when I want something that feels a little restauranty without turning my kitchen into a stress zone. Also, I still eat the first ugly one. Tradition is tradition.