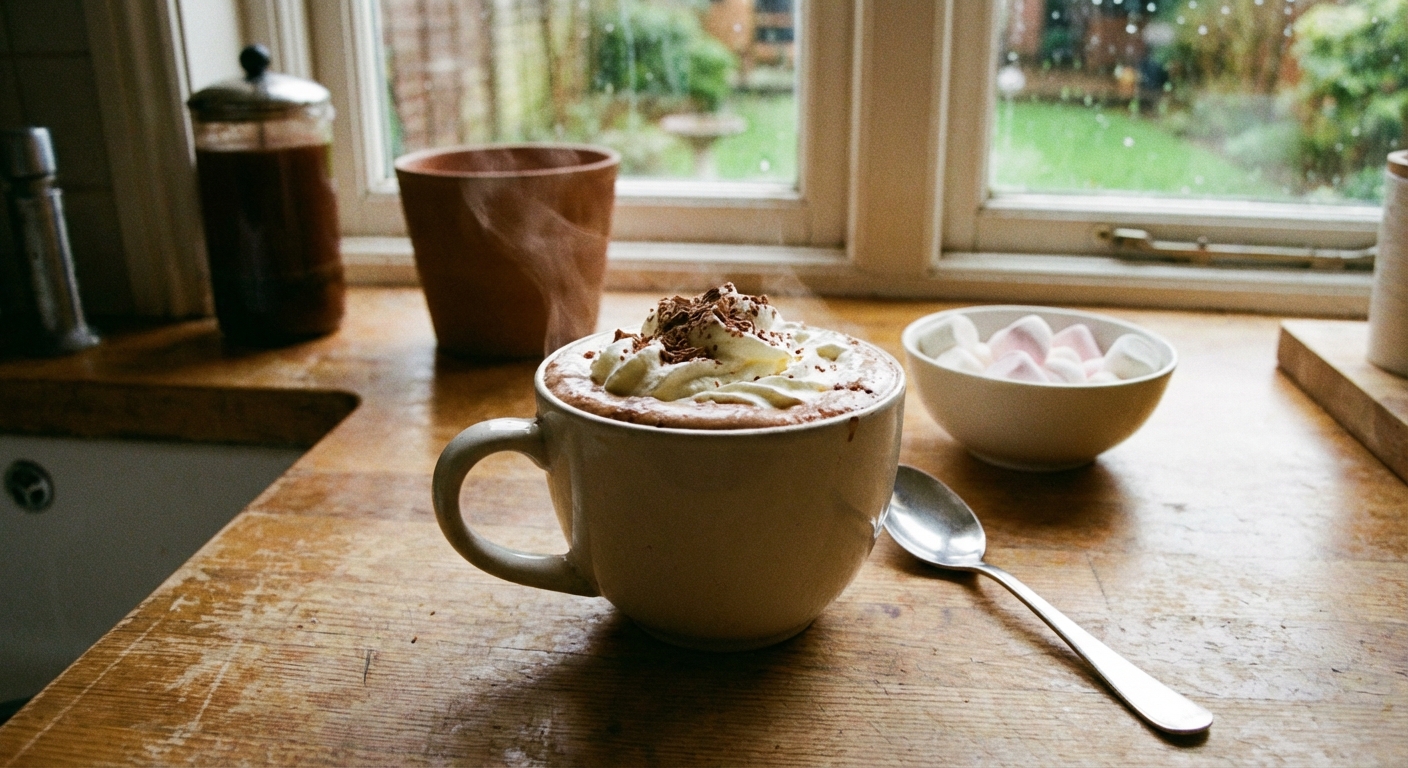
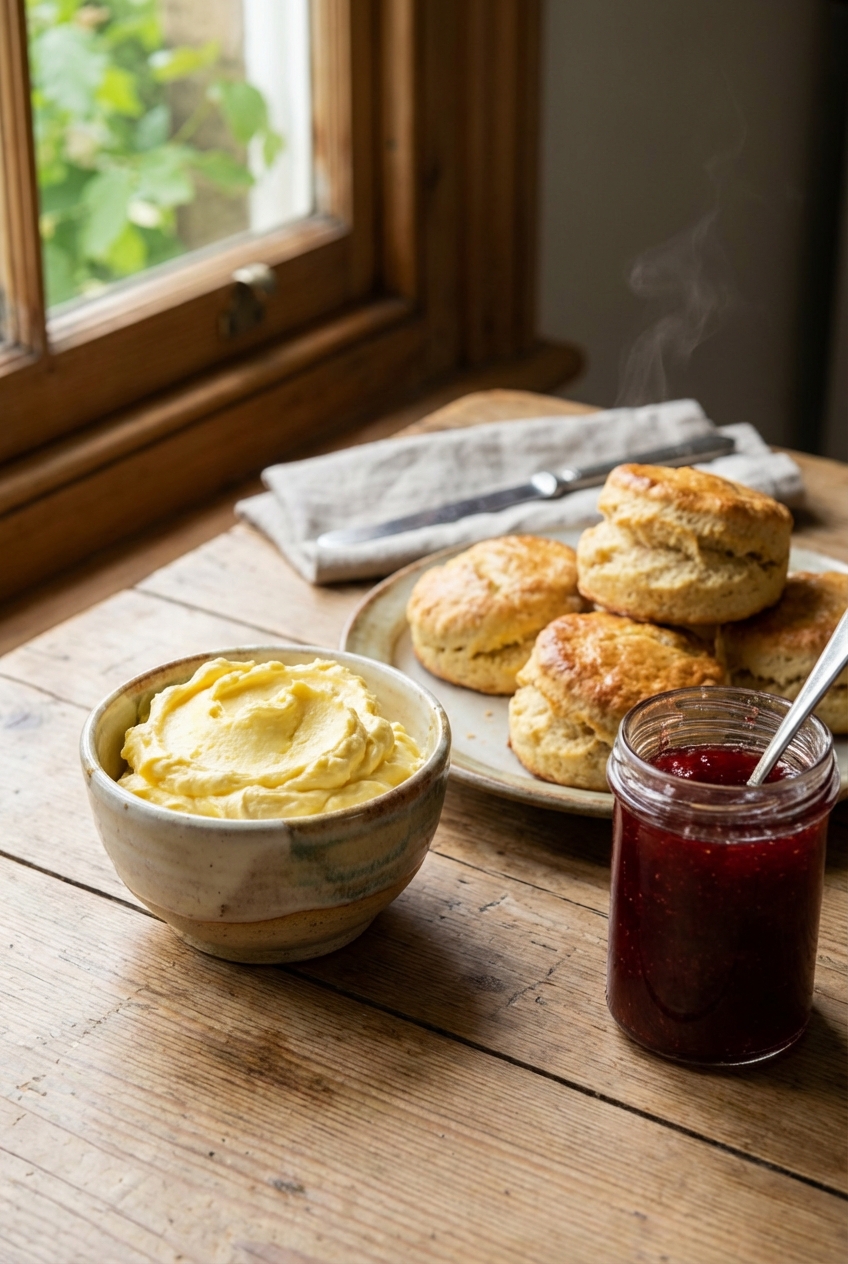
Mom's Best Recipes
Recipe

Flaky Homemade Croissants

Buttery, crisp-edged croissants with honeycomb layers and a soft, steamy center. A realistic home-kitchen method with clear chill points and zero pastry-school gatekeeping.

Author By Matt Campbell
4.8
A tray of golden brown homemade croissants with flaky layers on a parchment lined baking sheet in a warm kitchen

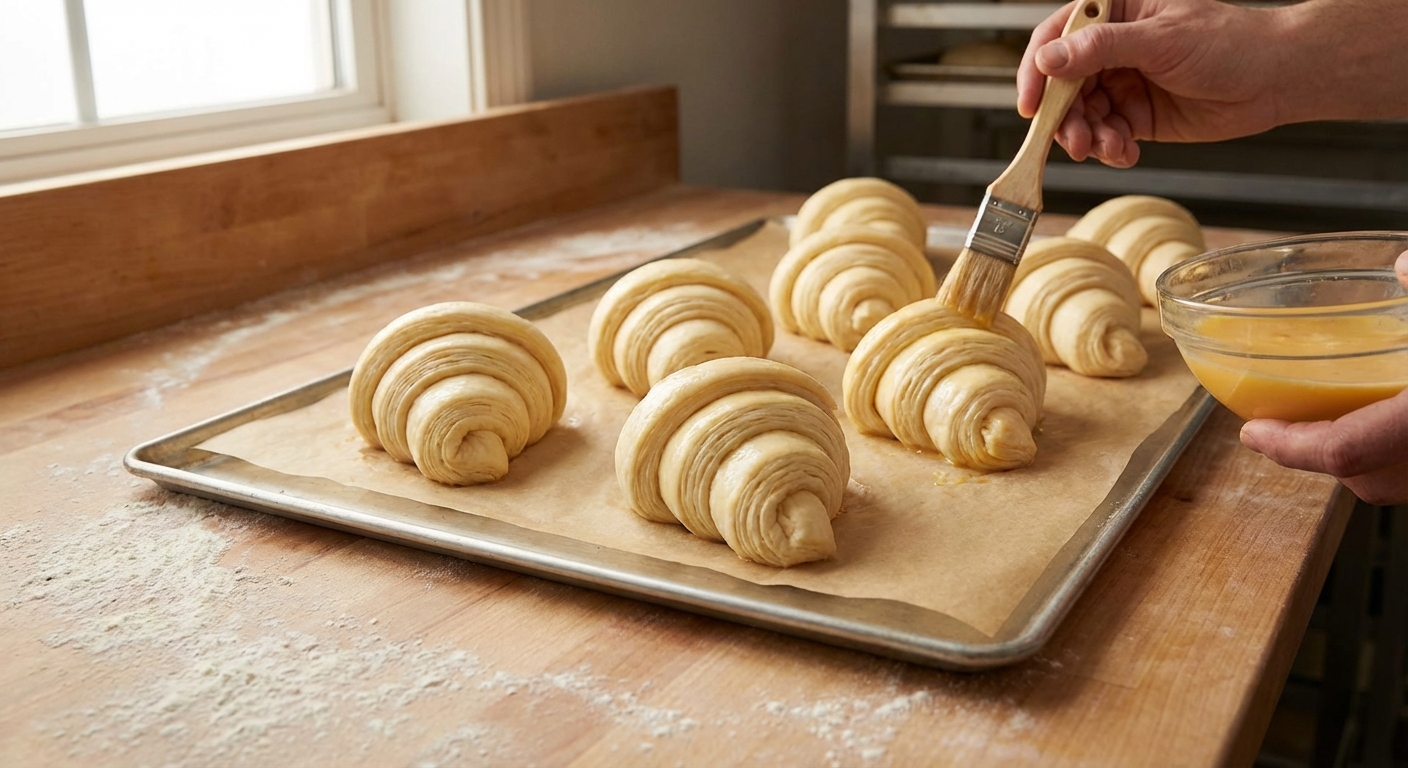
If you have ever torn open a croissant and seen that dreamy honeycomb interior, you already know the goal. Crisp outside, tender inside, and so buttery it feels like a small personal triumph.

This is a classic yeasted laminated dough, but we are making it friendly for real humans with real fridges. You will do short bursts of work, then let time and cold temperatures do the heavy lifting. The dough rests. The butter chills. You come back feeling like a pastry wizard.

Plan ahead: croissants are a two day project. Day 1 is dough, butter block, and turns. Day 2 is shaping, proofing, and baking. Most of the time is hands-off, which is my favorite kind of impressive.

A close up photo of a croissant torn open showing a honeycomb layered interior on a wooden cutting board

Why It Works

  • Cold butter, warm oven: Keeping the butter cold during rolling helps it stay in distinct layers. In the oven, the water in the butter (and moisture in the dough) turns to steam and lifts the dough into flaky sheets.
  • Strong dough structure: Bread flour plus a little patience gives you elasticity, so the dough stretches without tearing and can trap steam for lift.
  • Short, strategic chills: Chilling between turns prevents butter from melting and keeps the dough relaxed, so rolling is easier and the layers stay clean.
  • A proper proof: You are looking for puffy and jiggly, not doubled into oblivion. Over-proofed croissants can leak butter and bake up flat.

Storage Tips

How to Store Croissants

  • Room temp (best for next day): Store in a paper bag or loosely wrapped in foil for up to 24 hours. Plastic traps moisture and softens the crust.
  • Freeze baked croissants: Cool completely, wrap individually, and freeze up to 2 months. Reheat from frozen at 325°F for 12 to 18 minutes until crisp and warmed through.
  • Freeze shaped unbaked croissants: Freeze on a tray until firm, then bag. To bake, thaw overnight in the fridge, then proof at room temperature until puffy and jiggly, egg wash, and bake as directed.
  • Revive day-old croissants: 5 minutes at 350°F brings back the crisp edges. If they are very stale, lightly mist with water first.

Common Questions

FAQ

Do I need European style butter?

No, but it helps. Higher fat butter (often labeled European style, around 82 percent) is more pliable and can be a little less prone to leaking. That said, temperature and proofing matter just as much. If you use standard butter, keep it colder and do not rush the turns.

My butter cracked while rolling. What did I do?

Your butter was too cold compared to the dough. Let the dough sit 2 to 4 minutes at room temperature, then tap the dough gently with the rolling pin to warm and flex the butter as you roll. Your goal is butter that bends without snapping, roughly 60 to 65°F (16 to 18°C).

My butter is squeezing out the sides. Can I save it?

Yes. Stop rolling immediately. Scrape any exposed butter off the surface, dust lightly with flour, and chill the dough 20 to 30 minutes before continuing. Leaking butter usually means things got too warm.

How do I know the croissants are proofed enough?

They should look noticeably puffy, feel marshmallowy, and jiggle when you nudge the tray. The layers should still be visible and the edges should look rounded, not sharp. If they look swollen and fragile or start to weep butter, they may be over-proofed.

Can I make them smaller or larger?

Absolutely. Smaller croissants bake faster. Start checking around 14 minutes. Larger ones may need 20 to 24 minutes. The key is deep golden color, not pale.

Why did my croissants bake up bready instead of flaky?

Usually one of three things: the butter melted into the dough during rolling, the dough was over-floured and compressed, or the croissants were under-proofed. Cold turns, gentle rolling, and a proper proof fix most issues.

The first time I made croissants, I treated the dough like a deadline. I rushed the chill times, got cocky, and my butter tried to escape like it had somewhere better to be. The second time, I treated it like a playlist: do a little work, let it rest, come back calmer. That batch came out shatteringly crisp with that honeycomb interior that makes you stand at the counter pretending you are not about to eat a second one. Croissants taught me my favorite kitchen lesson: patience is an ingredient, and it tastes like butter.