Mom's Best Recipes
Recipe

Flavorful Homemade Ice Cream

A bright, berry-forward homemade ice cream with a tangy cream base, real vanilla, and a quick fruit ripple that tastes like summer in a spoon.

Author By Matt Campbell
4.8
A real photograph of two scoops of pink berry ripple ice cream in a white bowl with a spoon on a sunlit kitchen table

Homemade ice cream is one of those kitchen flexes that sounds fussy, but it is secretly very forgiving. You are basically making a cold, creamy custard situation, then letting a machine do the heavy lifting while you stand there “taste testing” like it is your job.

This recipe leans fresh and vibrant on purpose: real berries for punch, a little lemon to keep it snappy, and enough salt and vanilla to make the flavor feel like it has a bass line. The texture lands in that sweet spot where it is scoopable, creamy, and not icy, with a ripple that looks dramatic but takes almost no effort.

A real photograph of berry ice cream base churning inside an ice cream maker with the lid removed

Why It Works

  • Big flavor without weird ingredients: The fruit gets concentrated into a quick sauce, so your ice cream tastes like berries, not like cold sweet cream with “berry vibes.”
  • Creamy, not icy: A balanced ratio of dairy, sugar, and egg yolks helps trap water and keep the texture smooth.
  • Bright finish: Lemon zest and a tiny pinch of salt make the fruit pop and keep the sweetness from feeling heavy.
  • Ripple control: You decide if you want neat ribbons or chaotic swirls. Both are correct.

Pairs Well With

Storage Tips

Best container: Press parchment paper or plastic wrap directly onto the surface, then seal in an airtight container. This helps prevent ice crystals and off flavors.

How long it keeps: For best texture, enjoy within 1 to 2 weeks. It is still safe after that, but it slowly gets icier.

How to scoop like a normal person: Let the container sit on the counter for 5 to 10 minutes before scooping. If your freezer runs very cold, you might need closer to 12 minutes.

About refreezing: For best quality and food safety, try not to let ice cream fully melt. If it has been sitting at room temperature for an extended period, discard it. If it is just slightly softened and still very cold, refreezing is generally fine, but expect a grainier, icier texture.

Common Questions

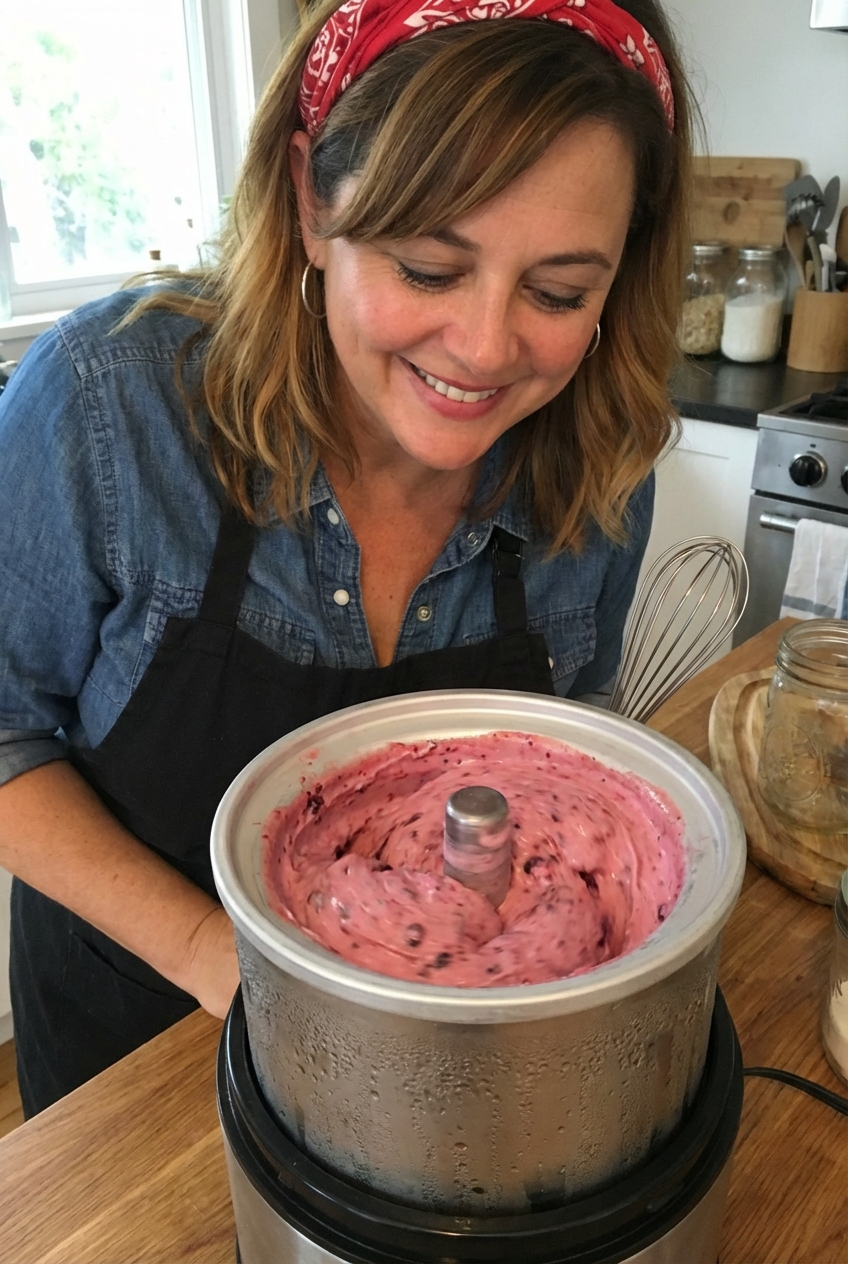
Do I need an ice cream maker?

It is the easiest path to creamy texture, yes. If you do not have one, you can still make it: pour the chilled base into a shallow pan, freeze, and stir vigorously every 30 minutes for about 3 to 4 hours. Expect it to be icier and less creamy than churned ice cream, but still very good.

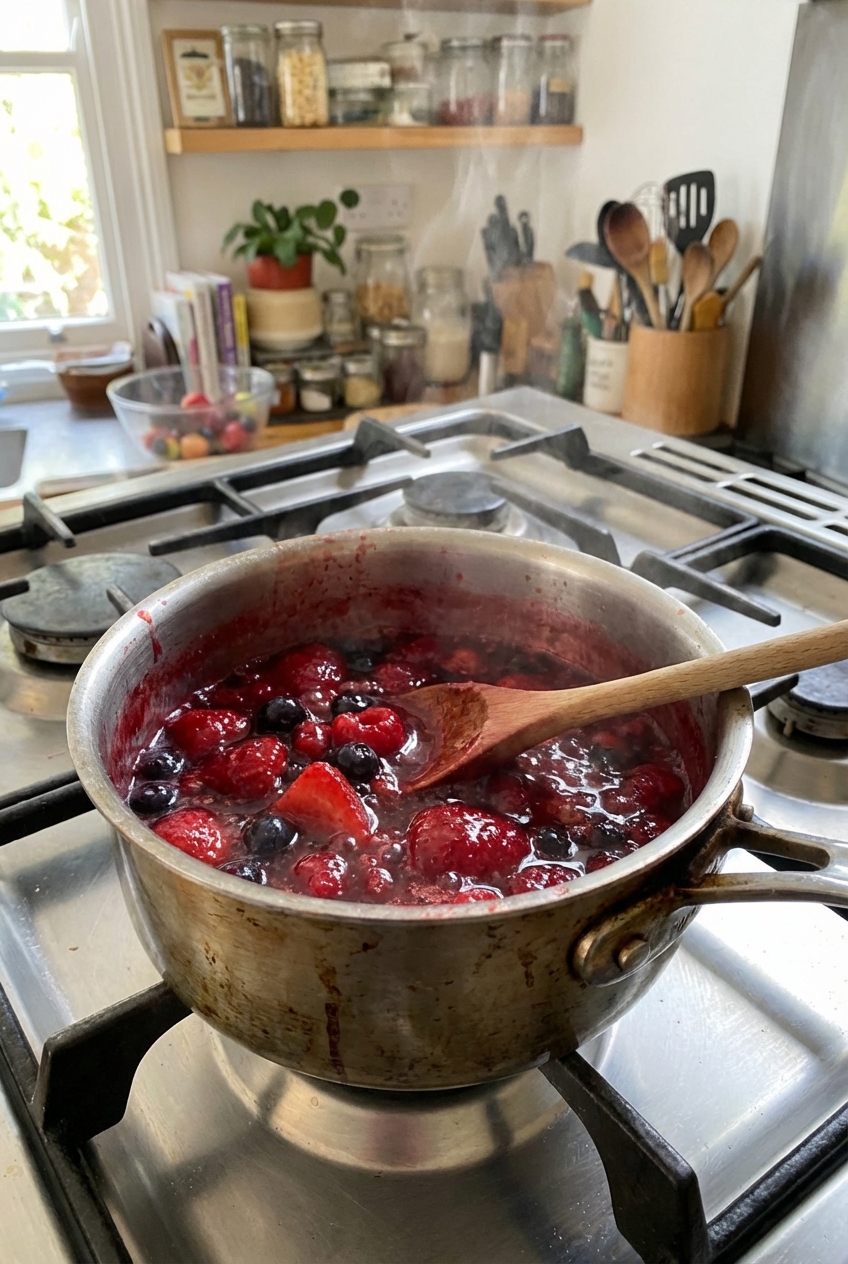
Can I use frozen berries?

Absolutely. Frozen berries are often picked at peak ripeness, so the flavor can be excellent. Use them straight from frozen for the ripple, just simmer a minute or two longer to evaporate extra water.

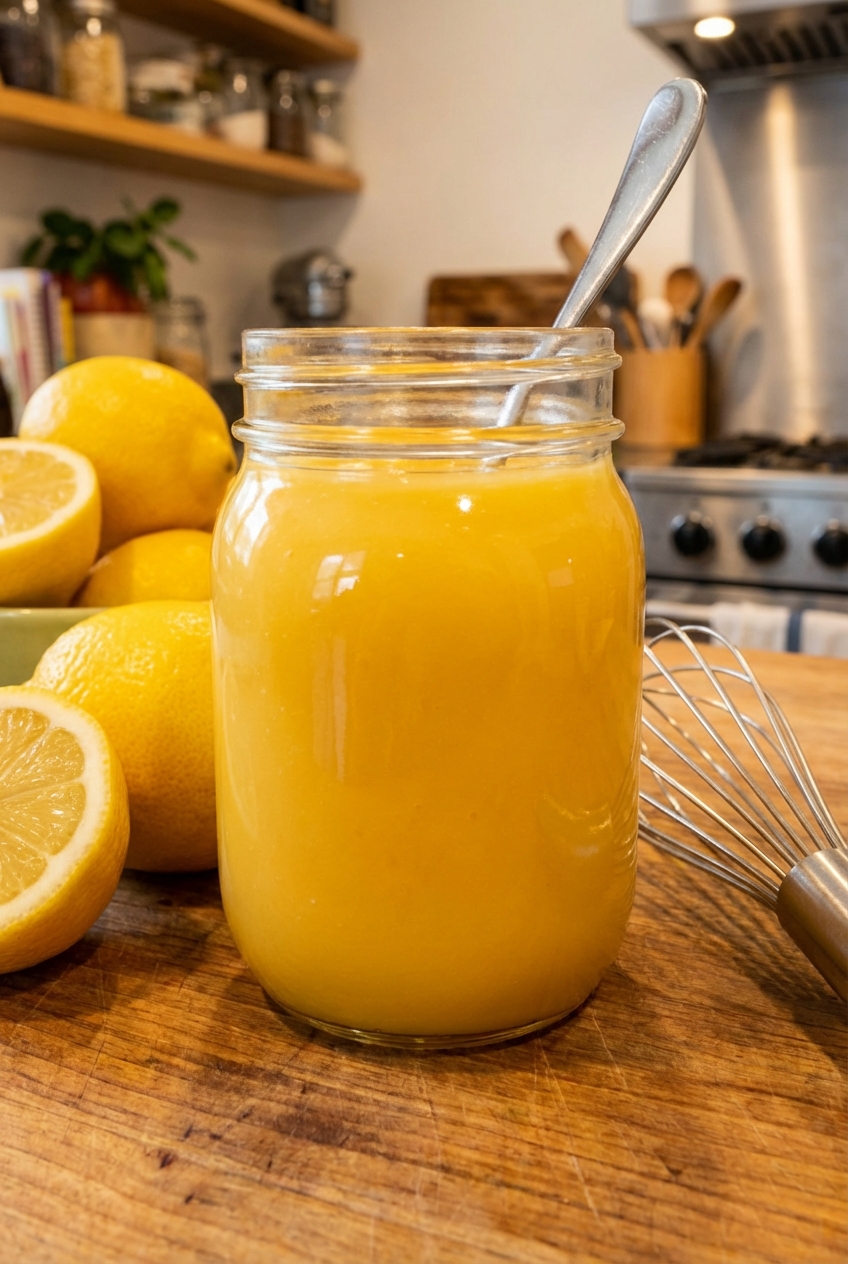
Why add lemon when it is already fruit?

Lemon zest and a little juice sharpen the flavor and keep the sweetness from tasting flat. Think of it like turning the volume up on “berry.”

My ice cream base looks a little curdled while cooking. Did I ruin it?

Not necessarily. If the heat got too high, strain it through a fine-mesh sieve right away, then chill. Next time, keep the heat at medium-low and stir constantly. You want gentle steam, not a simmer.

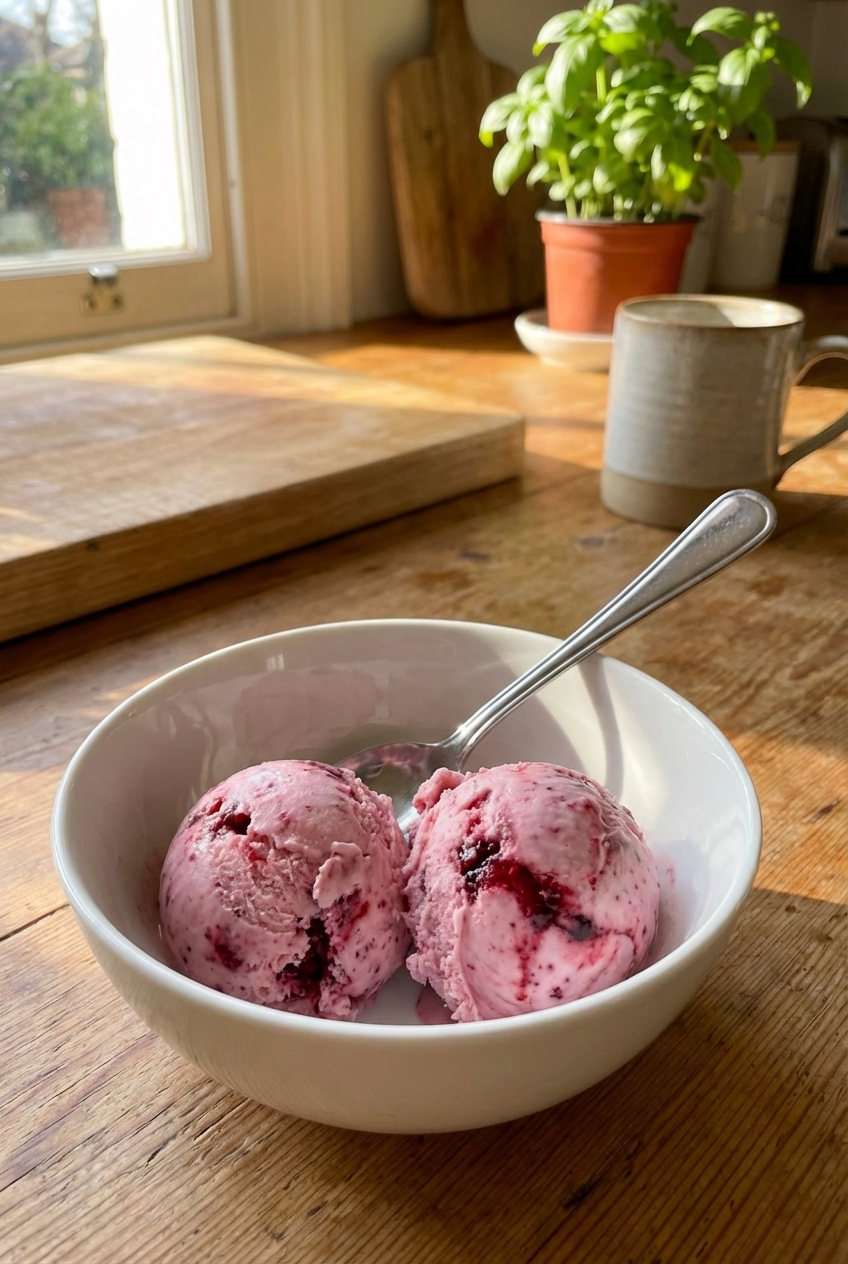
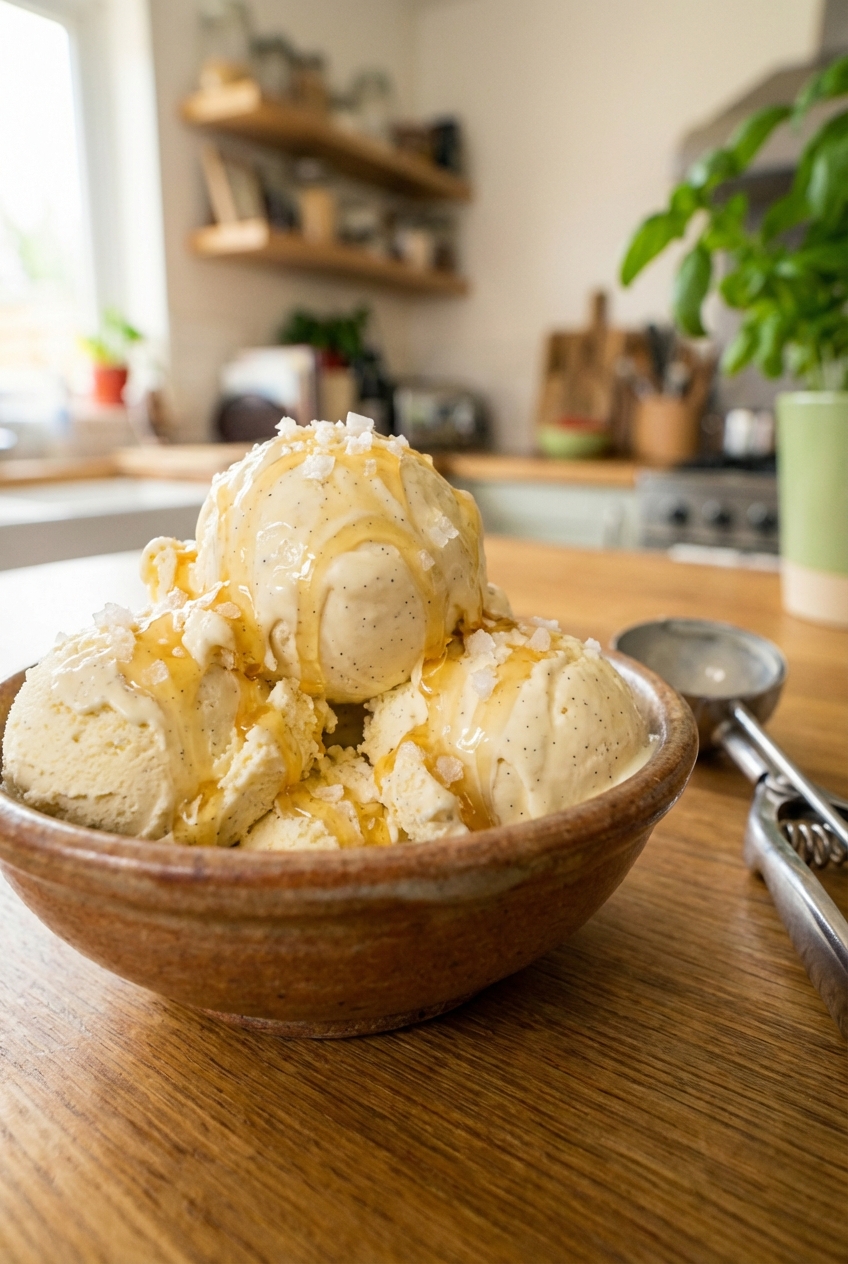
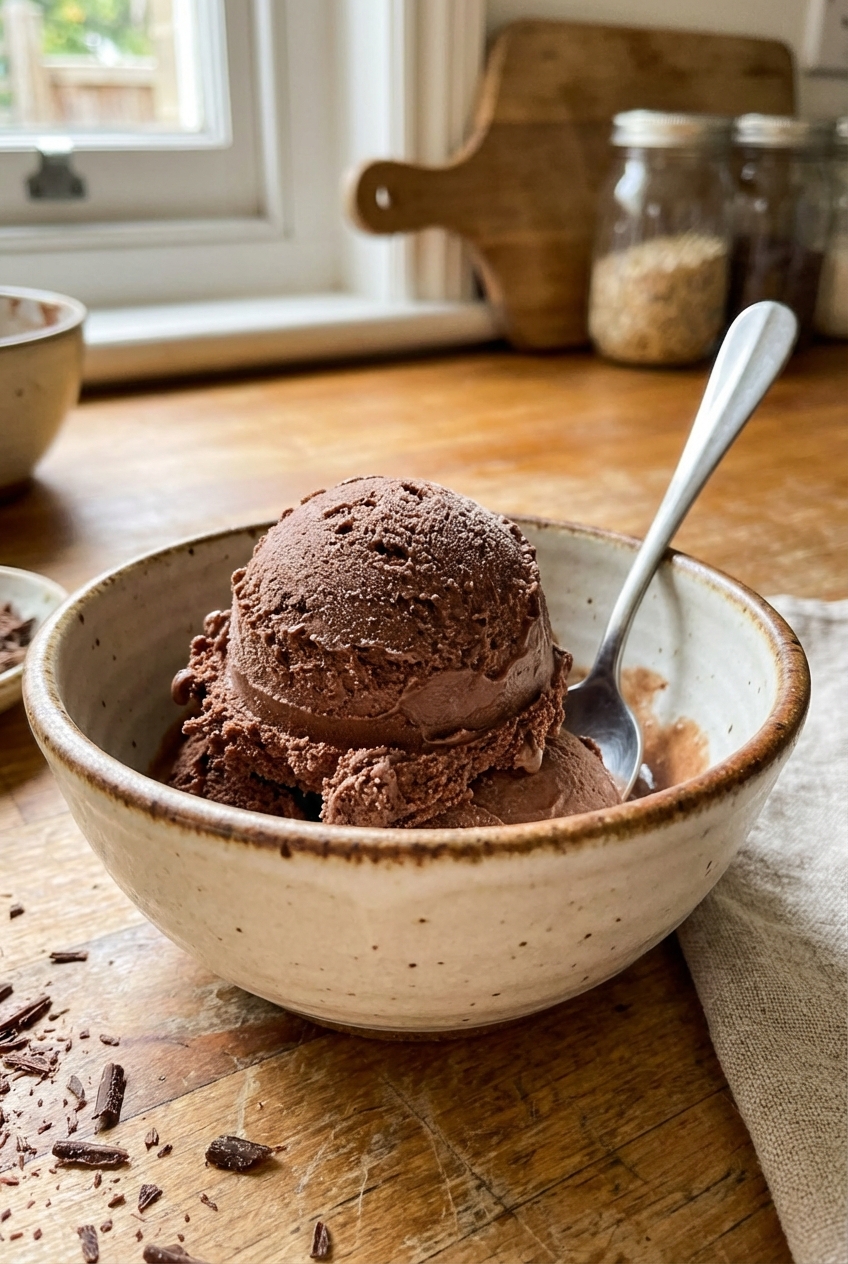
How do I make it extra scoopable?

Two easy moves: (1) do not overcook the base, and (2) let the churned ice cream “cure” in the freezer for at least 4 hours. For ultra-soft scoops, replace 2 tablespoons of sugar with 2 tablespoons of light corn syrup, honey, or glucose syrup. Note: honey is sweeter and brings its own flavor; glucose syrup is milder.

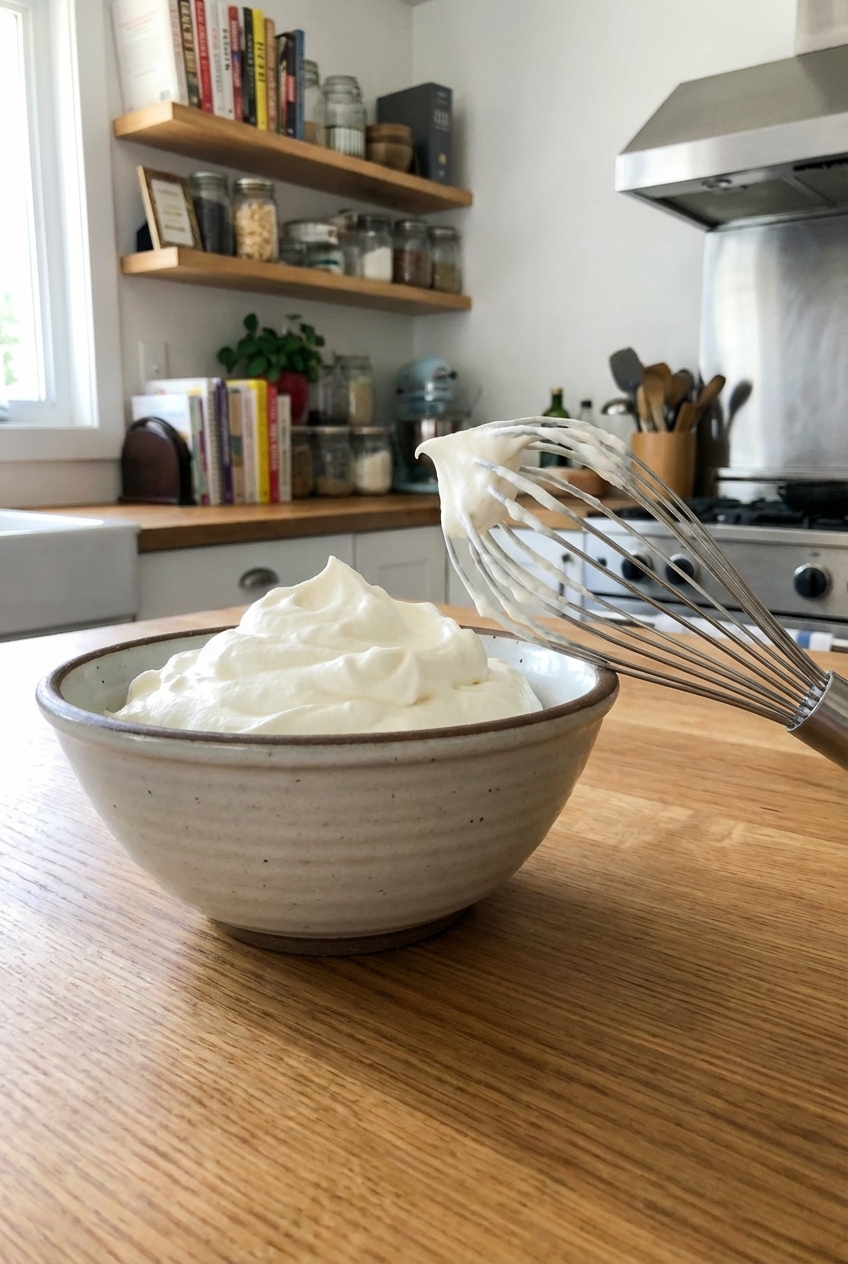
Can I make this without eggs?

Yes. Swap the custard step for a no-cook base: warm the milk just enough to dissolve the sugar, then whisk in cream, vanilla, lemon, and salt. It will be a little less rich, but the ripple does a lot of the heavy lifting.

I started making ice cream at home for the same reason I start most kitchen projects: I had fruit that was one day away from being “compost” and I refused to lose. The first batch was… enthusiastic. Too sweet, not bright enough, and I swirled the ripple like I was painting a fence.

After a few rounds, I realized the secret is not fancy technique. It is concentrating the fruit, chilling the base like you mean it, and tasting at every step. Now this is the recipe I pull out when I want dessert that feels special but still lets me stay relaxed, spoon in hand, pretending I am just “checking texture.”