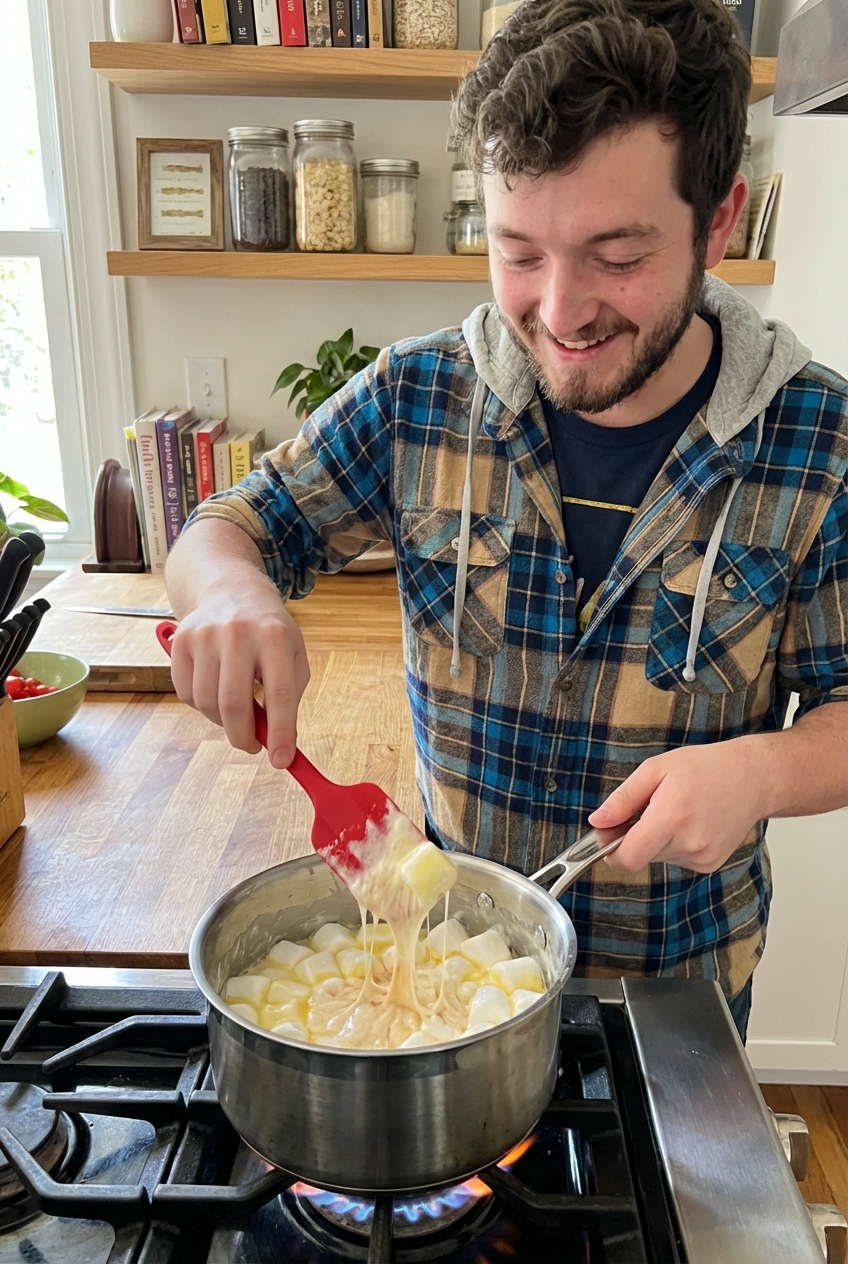
Mom's Best Recipes
Recipe

Fresh Rice Crispy Recipe

Soft, gooey, and buttery in the middle with crisp edges on the outside. These fresh rice crispy treats come together fast: about 10 to 15 minutes hands-on, then a simple cooling period to set. They taste like you made them on purpose.

Author By Matt Campbell
4.9
A stack of gooey rice crispy treats on a parchment-lined baking sheet with melted marshmallow stretching from a cut edge

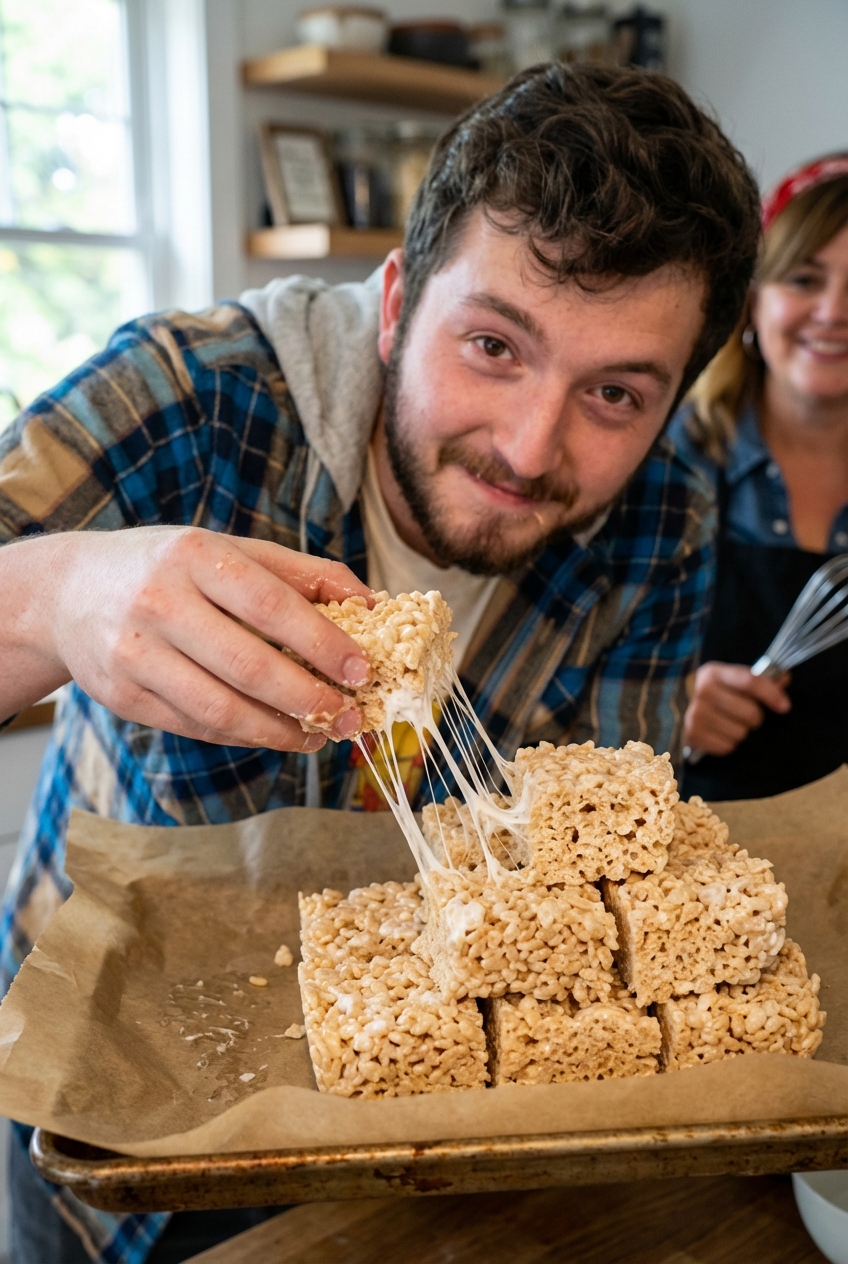
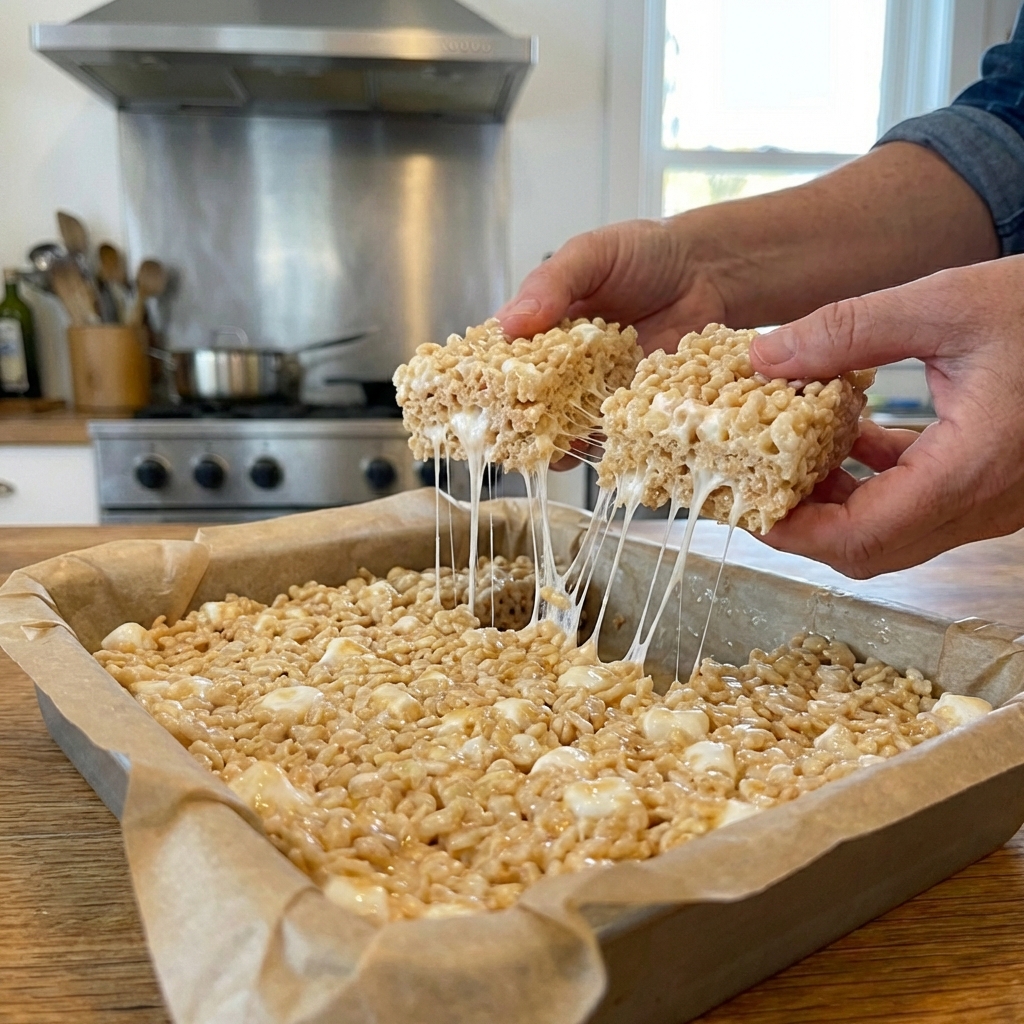
There are two kinds of rice crispy treats in this world: the dry, squeaky ones that taste like the inside of a cereal box, and the fresh ones that make you stop mid-bite because they are somehow crispy and melty at the same time. We are firmly in camp two.

This is my sweet and simple version for Mom’s Best Recipes: accessible ingredients, clear steps, and a couple small tricks that make a big difference. Think buttery, extra marshmallow, a pinch of salt (non-negotiable), and a gentle press so you keep that soft, pillowy center.

A saucepan of melted marshmallows and butter being stirred with a silicone spatula on a stovetop

Why It Works

  • Fresh texture: A slightly higher marshmallow ratio helps keep the treats softer longer, not just the first hour.
  • Better flavor fast: Browning the butter adds a toasted, caramel note without extra work.
  • No brick treats: You will press the mixture in gently so it stays light instead of turning dense.
  • Crisp edges, cozy middle: A quick cooling period sets everything, but the center stays gooey and satisfying.

Pairs Well With

Storage Tips

Best storage: Keep treats in an airtight container at room temperature. Add a sheet of parchment between layers to prevent sticking.

  • Counter: 3 days for peak softness, up to 5 days total.
  • Fridge: Not my favorite since it turns them firm and a little stale-tasting. If you do refrigerate, let them sit at room temp 20 to 30 minutes before serving.
  • Freezer: Wrap individual squares tightly in plastic wrap, then stash in a freezer bag. Freeze up to 6 weeks. Thaw at room temp for about 1 hour.

Quick refresh: If a square starts to feel a little firm, microwave it for 5 to 8 seconds. Microwaves vary, so start small and add a second or two if needed.

Common Questions

Why are my rice crispy treats hard?

The big three culprits are too much heat (overcooked marshmallows), pressing too firmly into the pan, or not enough marshmallow. Keep the heat low, stir just until melted, and press gently like you are tucking it in, not packing it for shipping.

Can I use regular marshmallows instead of mini?

Yes. They just take a little longer to melt. Roughly chop or tear big marshmallows so they melt more evenly, and keep the heat low. If you want those gooey pockets, fold in an extra handful of marshmallows at the end (mini or regular).

Do I have to brown the butter?

Nope. You can simply melt the butter and move on. Browning is an optional upgrade that makes them taste a little more grown-up while still being kid-approved.

Can I make these dairy-free or vegan?

You can swap in plant-based butter for a dairy-free version. For vegan, you will also need gelatin-free marshmallows (many classic brands contain gelatin).

Why add salt?

Because sweet needs a little edge. A pinch of salt makes the butter taste richer and the marshmallow taste less one-note. It is the difference between “nice” and “wait, why are these so good?”

I love recipes like this because they feel like cooking with a friend who is not trying to impress anyone. The first time I made rice crispy treats on my own, I cranked the heat, packed them into the pan like I was building a patio, and ended up with cereal concrete.

Now I make them the relaxed way: low heat, a pinch of salt, and a gentle press. They come out soft, glossy, and just chaotic enough in the best way, especially when you sneak in a handful of extra marshmallows and let them half-melt into the mix.