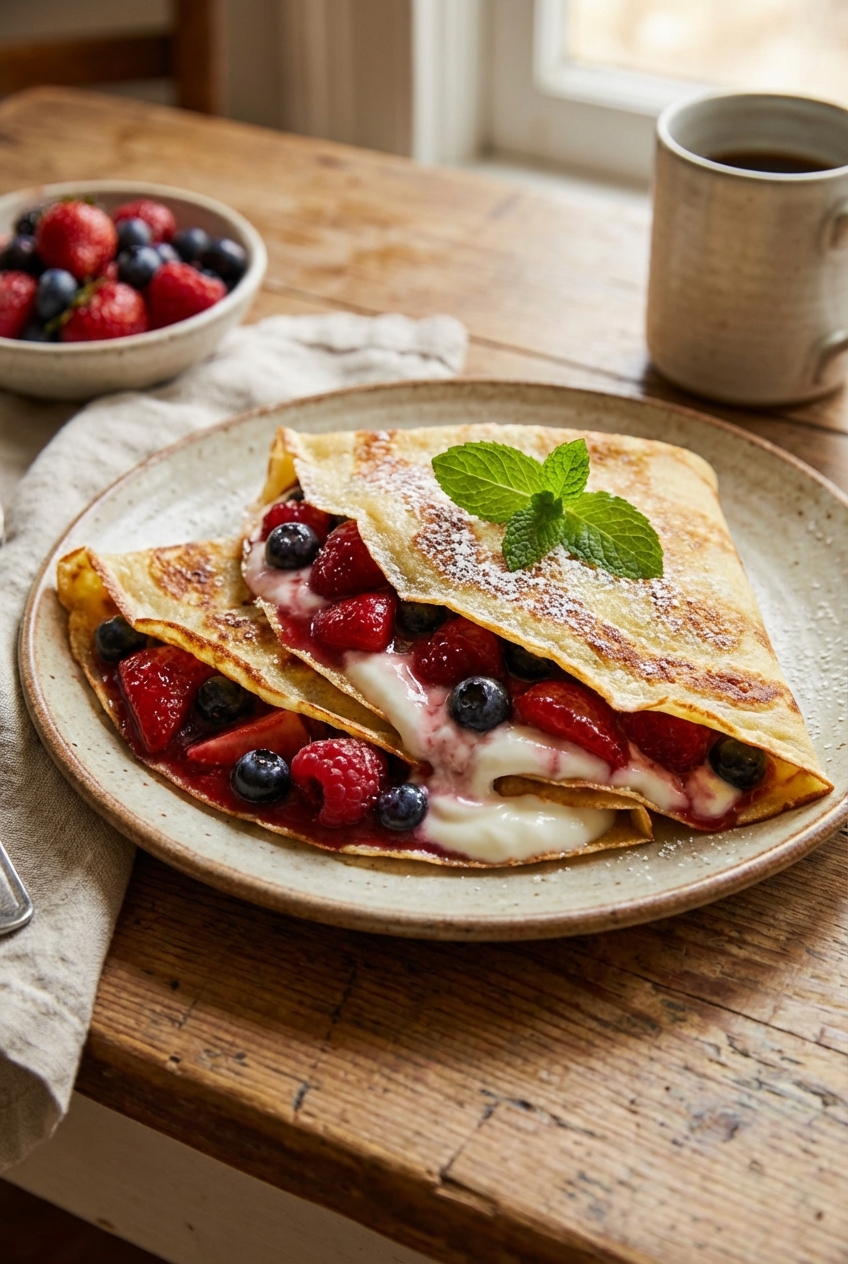
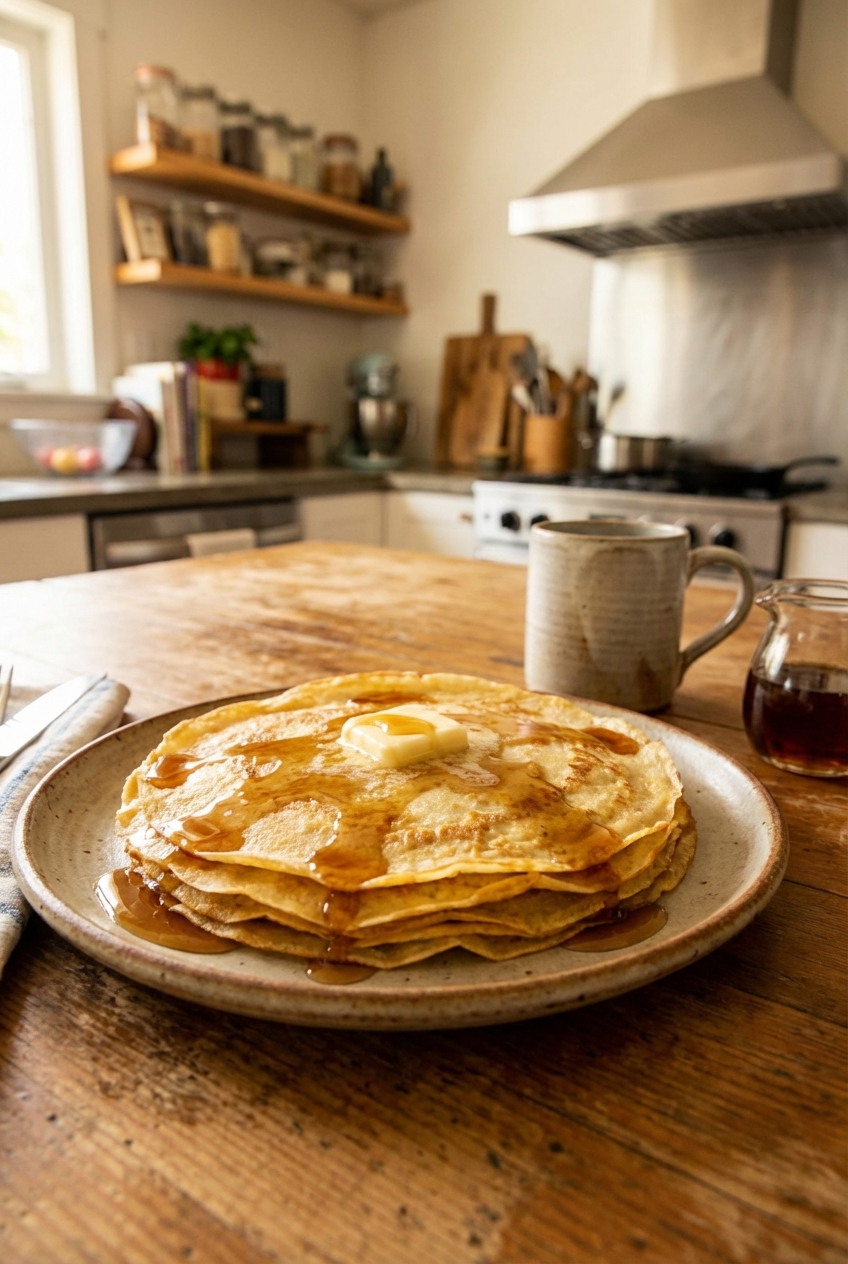
Mom's Best Recipes
Recipe

Gourmet Easy Crepe Recipe

Tender, buttery crepes with crisp lacy edges and cozy filling ideas. One simple batter, diner-style results, and enough flexibility for sweet or savory nights.

Author By Matt Campbell
4.9
A stack of warm crepes on a plate with a pat of melting butter and a drizzle of maple syrup on a cozy kitchen table

Crepes are the kind of food that look fancy enough to justify candles, but they cook fast enough to count as a weeknight move. This is my warm-and-cozy, slightly gourmet version: thin, tender crepes with buttery flavor, lightly crisp edges, and a batter that behaves even if your day has not.

The secret is not a special pan or a pastry degree. It is a quick rest for the batter, a hot skillet, and a calm wrist when you swirl. After that, you get to choose your own adventure: cinnamon sugar and lemon, Nutella and bananas, ham and melty Gruyere, or whatever is currently living in your fridge.

A hand swirling crepe batter in a hot nonstick skillet on a stovetop

Why It Works

  • Soft centers with crisp edges: A little butter in the pan each time gives you that lacy, golden rim.
  • Easy batter that spreads: A short rest lets the flour hydrate and relax, so the crepes stay tender instead of bouncy.
  • Gourmet flavor without weird ingredients: Vanilla for sweet, a pinch of salt for balance, and toasty butter vibes from the skillet.
  • Flexible for sweet or savory: Keep the base neutral and let the fillings do the talking.

Pairs Well With

Storage Tips

Crepes store like a dream, which is why I love making a full batch even if I am only feeding myself.

Fridge (best for 3 days)

  • Let crepes cool completely.
  • Stack with a small piece of parchment or wax paper between every few crepes so they do not cling together.
  • Wrap tightly or store in an airtight container.

Freezer (best for 2 months)

  • Stack with parchment between crepes, then freeze flat in a zip-top bag.
  • Thaw overnight in the fridge or on the counter for 20 to 30 minutes.

Reheating

  • Skillet: Warm over medium heat for 20 to 30 seconds per side.
  • Microwave: Cover with a slightly damp paper towel and heat 10 to 20 seconds for softness.

Heads up: If you plan to fill and fold later, reheat the crepes first. Warm crepes fold without cracking.

Common Questions

Do I need a crepe pan?

Nope. A good 8- to 10-inch nonstick skillet works perfectly. Cast iron can work too, but it’s less forgiving if you are new to crepes.

Why did my crepes tear?

Usually one of three things: the pan was not hot enough, the crepe was flipped too early, or the batter was too thick. Let the first side cook until the edges look dry and the center is set, then flip. If the batter pours like heavy cream, you are in the zone. If it plops, add 1 to 2 tablespoons milk and whisk.

Do I really have to rest the batter?

I recommend at least 15 to 20 minutes. It makes the texture more tender and helps bubbles settle. In a pinch, you can cook right away, but the rest is the low-effort upgrade.

How do I keep crepes warm while cooking the batch?

Stack them on a plate and cover loosely with foil, or keep them on a baking sheet in a 200°F oven. They stay soft and cozy.

Can I make these gluten free?

Yes, with a 1:1 gluten-free flour blend. For best results, choose one that includes xanthan gum (or add it if your blend does not). Let the batter rest 30 minutes, and expect slightly more delicate crepes. You may need a small splash more milk to get that heavy-cream pour. A bit more butter in the pan helps.

I started making crepes as a “this will totally be easy” project, which is how most of my kitchen confidence begins. The first one came out looking like a sad pancake cosplay. The second was better. By the fourth, I was swirling batter like I meant it. Now crepes are my go-to cozy flex: they feel special, they use basic ingredients, and they give you permission to eat dessert for dinner as long as you add fruit and call it balance.