Mom's Best Recipes
Recipe

Gourmet Pierogi Recipe

Tender homemade pierogi with a bold potato filling, crisped in browned butter, and finished with a bright, punchy sauce you will want on everything.

Author By Matt Campbell
4.9
A close-up photograph of golden pan-fried pierogi on a white plate with browned butter, caramelized onions, fresh dill, and a small bowl of bright green herb sauce in the background

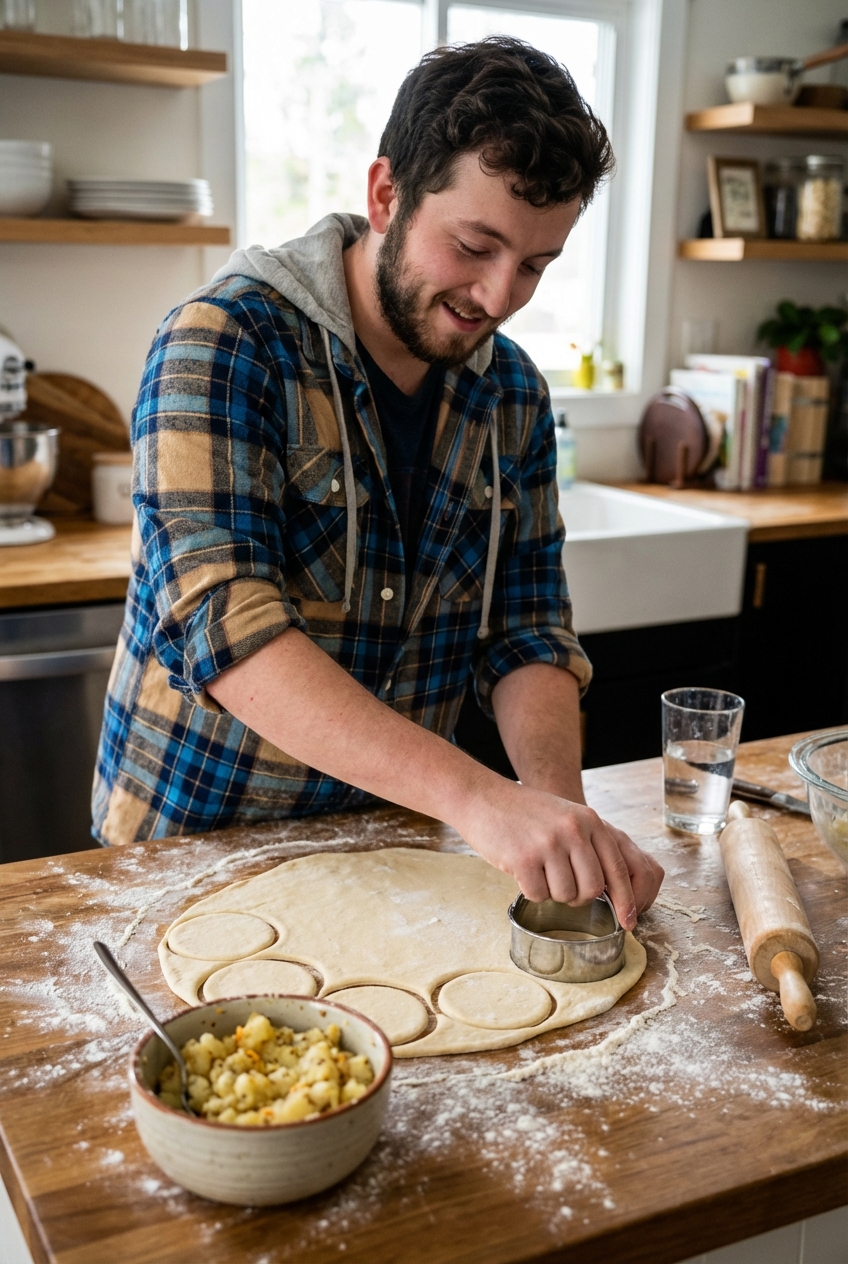
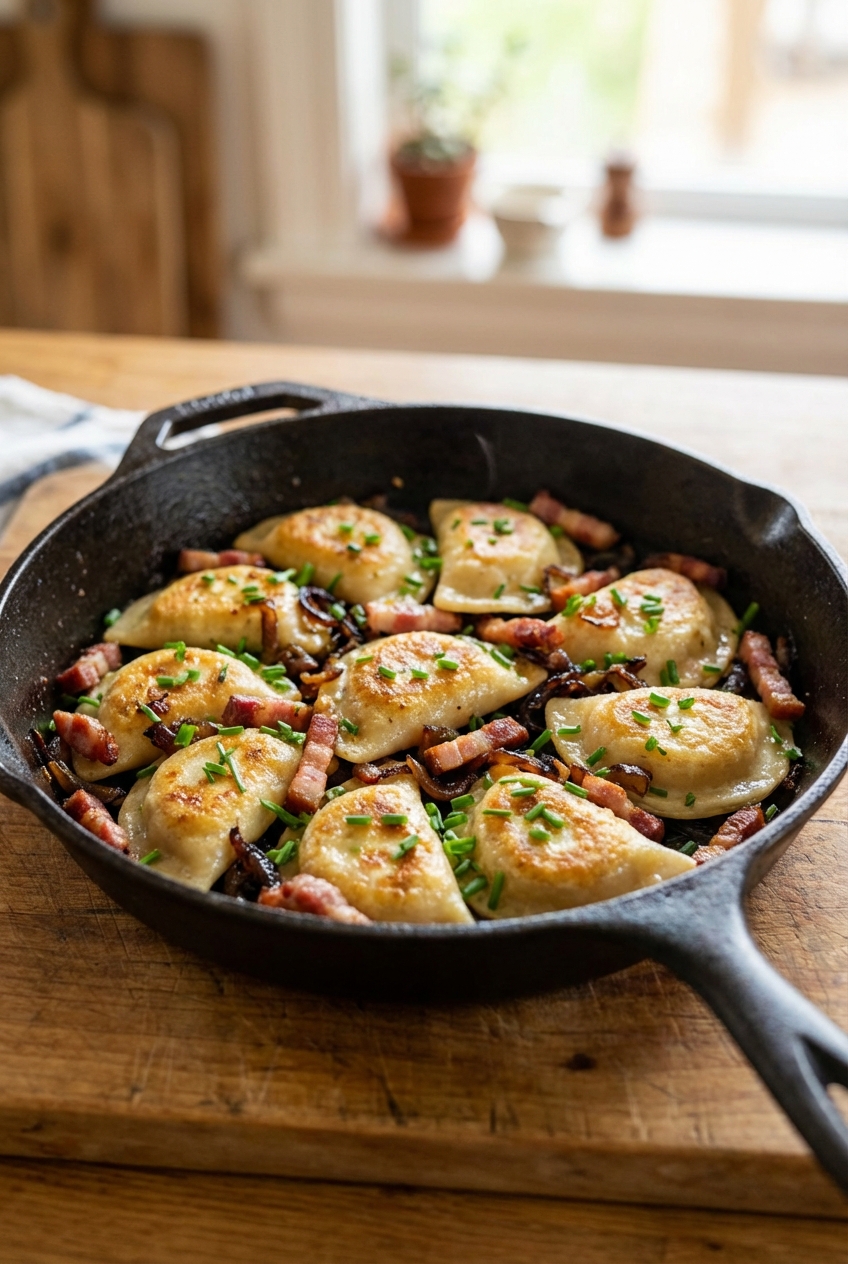
Pierogi are already comfort food royalty, but we are taking them to the glow up stage. Think: pillowy dough, a filling that actually tastes like something, and that crispy, browned-butter edge that makes you hover over the skillet “just to check” and accidentally eat three.

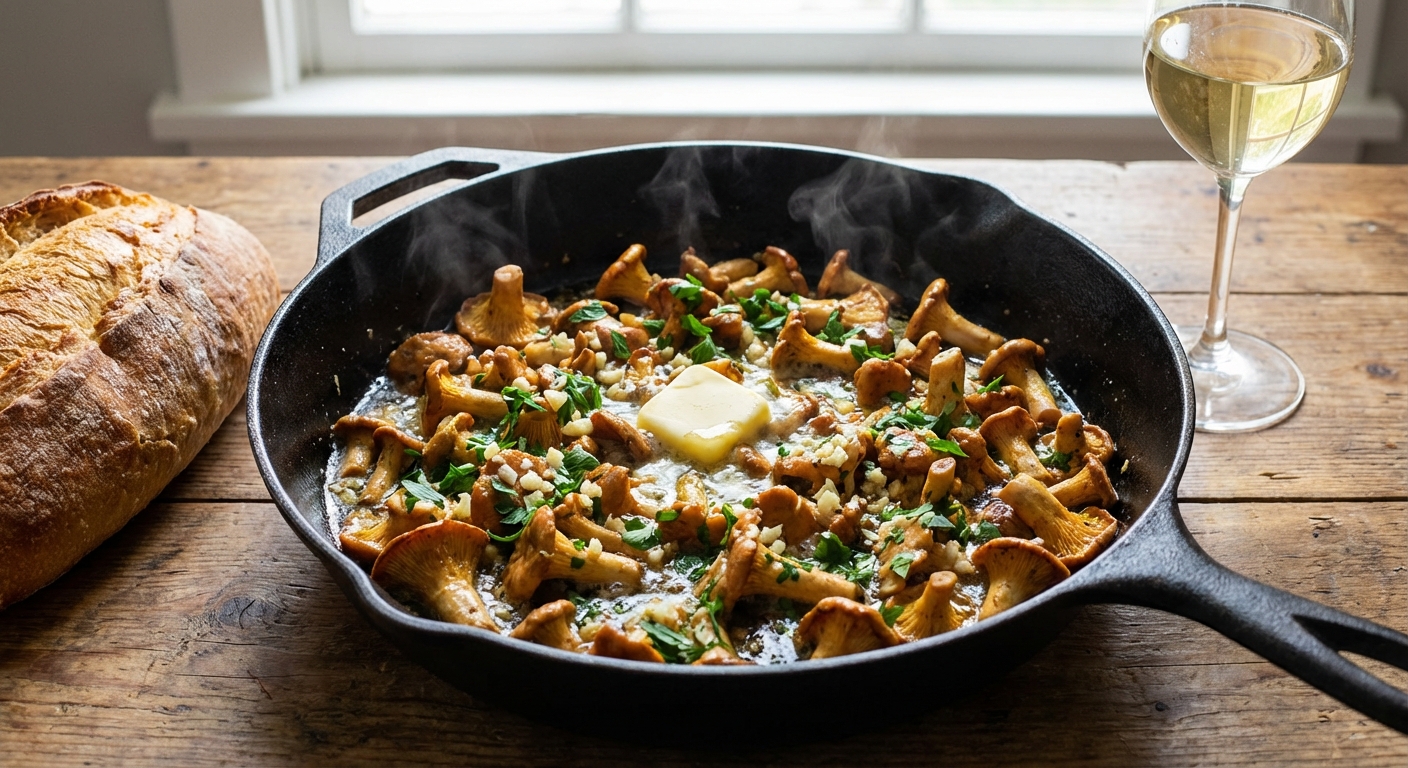
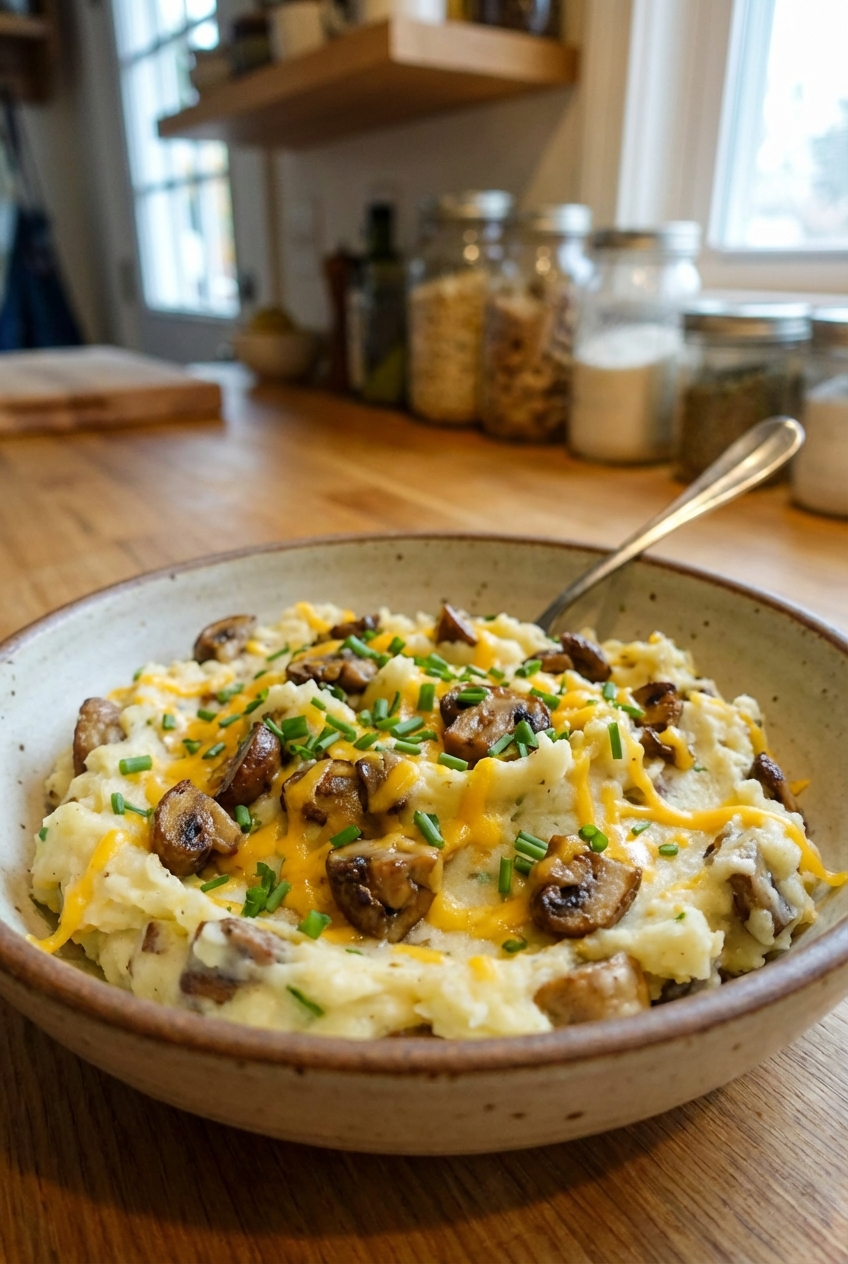
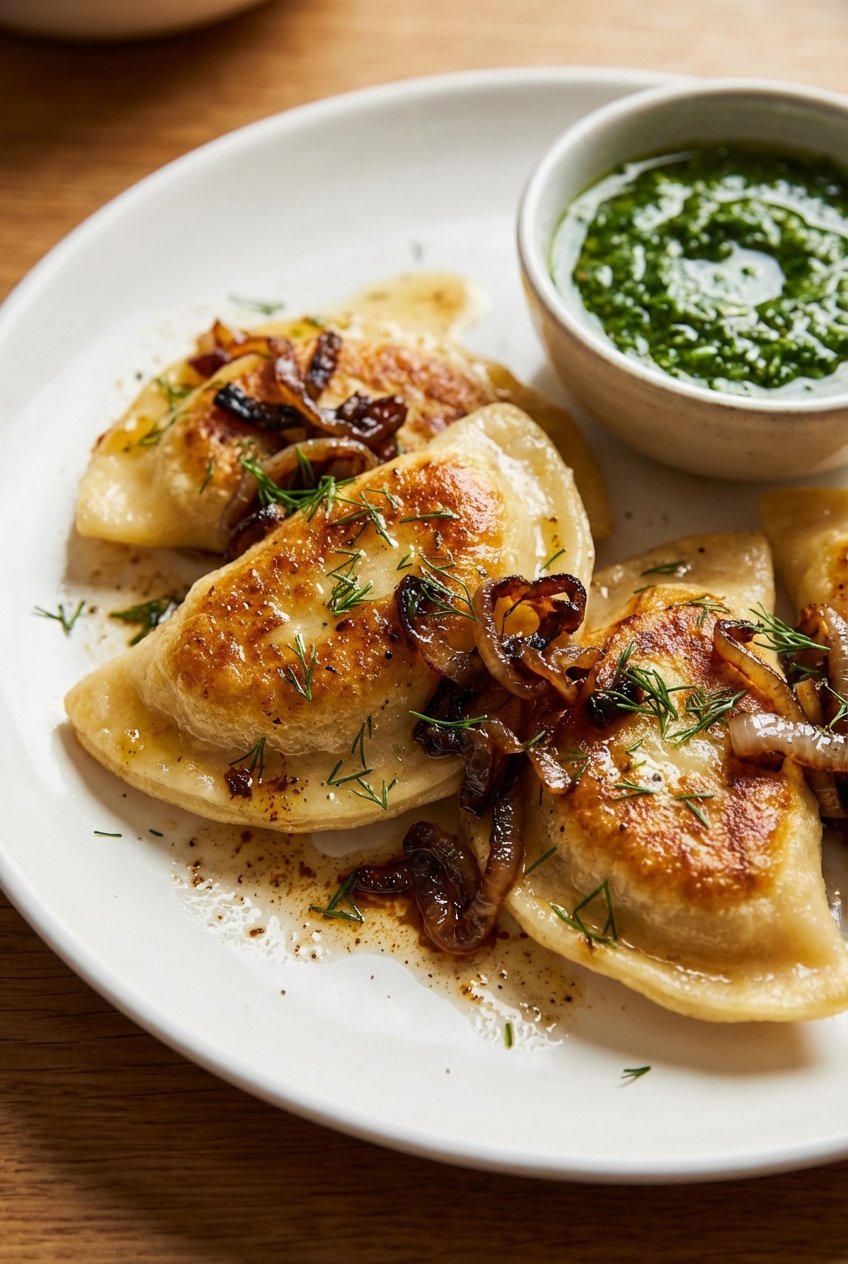
This is a gourmet pierogi recipe without the drama. The ingredients are normal grocery store stuff, the steps are clear, and the flavors are loud in the best way: tangy goat cheese, sharp cheddar, sautéed mushrooms, a little smoked paprika, and a lemony dill sauce that makes the whole plate feel bright, not heavy.

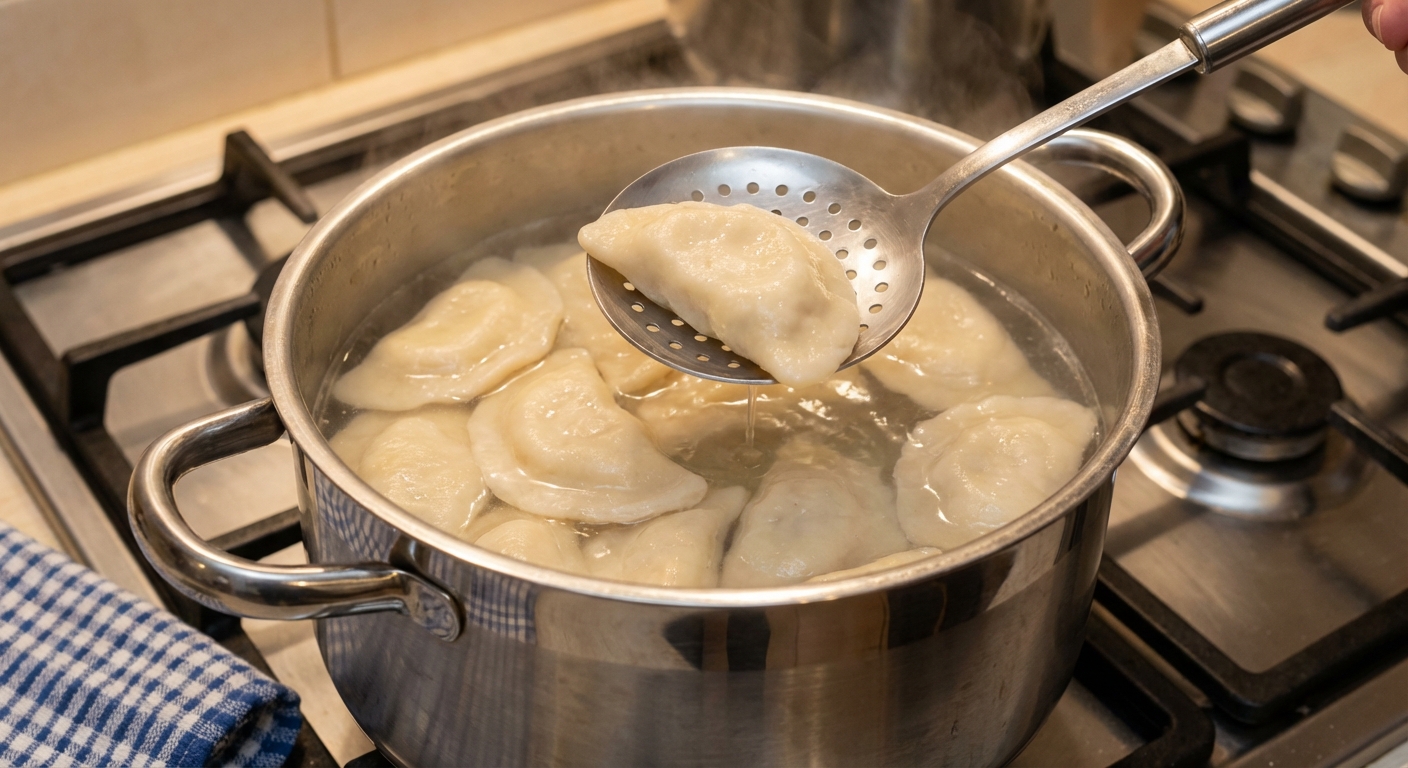
If you have ever had pierogi that felt bland or gummy, I got you. We salt the dough, season the filling like we mean it, cool the filling all the way down before sealing, and finish with the exact kind of crisp edge that makes pierogi disappear at the table.

A photograph of pierogi dough rolled out on a floured wooden counter with round cutouts and a small bowl of potato filling nearby

Why It Works

  • Tender dough that is easy to roll: Sour cream keeps it supple, and a short rest relaxes the gluten so it does not fight you.
  • Big flavor filling: Potatoes for cozy body, mushrooms for savory depth, cheddar for melt, and goat cheese for tang.
  • Two-stage cook for the best texture: A quick boil sets the dumpling, then a pan-fry in browned butter gives you crisp edges.
  • Bright finishing sauce: A dill and lemon yogurt sauce cuts through richness so every bite feels balanced.

Pairs Well With

Storage Tips

How to Store Leftover Pierogi

In the fridge

Store cooked pierogi in an airtight container for up to 4 days. If you have sauce, keep it separate so the pierogi stay crispier when reheated.

In the freezer (best option)

Freeze pierogi uncooked for the best texture later.

  • Place filled pierogi on a parchment-lined sheet pan in a single layer.
  • Freeze until firm, about 1 to 2 hours.
  • Transfer to a freezer bag and freeze up to 3 months.

Cook from frozen by boiling until they float, then give them 1 to 2 extra minutes before pan-frying.

Reheating

  • Skillet (my favorite): Medium heat, a little butter or oil, cook 3 to 4 minutes per side until crisp.
  • Air fryer: 375°F for 6 to 8 minutes, shake once.
  • Microwave: Works in a pinch, but you lose the crisp. Add a damp paper towel and heat in short bursts.

Common Questions

Common Questions

Can I make the dough ahead of time?

Yes. Wrap the dough tightly and refrigerate up to 24 hours. Let it sit at room temperature for 20 to 30 minutes before rolling so it softens.

Do I have to use goat cheese?

Nope. Swap in cream cheese or more cheddar. Goat cheese just adds that tangy “wait, what is that?” flavor.

Why are my pierogi tearing when I boil them?

Usually one of three things: the dough is rolled too thin, the edges were not sealed well, or the boil is too aggressive. Use a gentle simmer, seal edges firmly, and keep dough around 1/8-inch thick.

How do I stop pierogi from sticking together?

After boiling, toss them with a small amount of butter or oil, or lay them out in a single layer for a few minutes before stacking.

Can I skip boiling and just pan-fry?

For fresh pierogi, boiling is the move. Pan-frying alone can leave the dough tough and the filling not fully heated. Boil first, then crisp.

A photograph of pierogi simmering in a pot of water with a slotted spoon lifting one to the surface

I love pierogi because they are the kind of food that makes everyone drift into the kitchen. Someone is always asking, “How many are we making?” while sneaking a bite of filling. The first time I tried to get fancy with pierogi, I overcomplicated it and ended up with flour on my elbow and a filling that tasted like... potatoes. Lesson learned.

Now I do it the way I actually cook: accessible ingredients, loud seasoning, and a finish that makes the effort worth it. These are the pierogi I make when I want cozy, but I also want that restaurant-style pop. Crisp edges, browned butter, bright sauce. The whole plate tastes like you tried, even if you were kind of winging it.