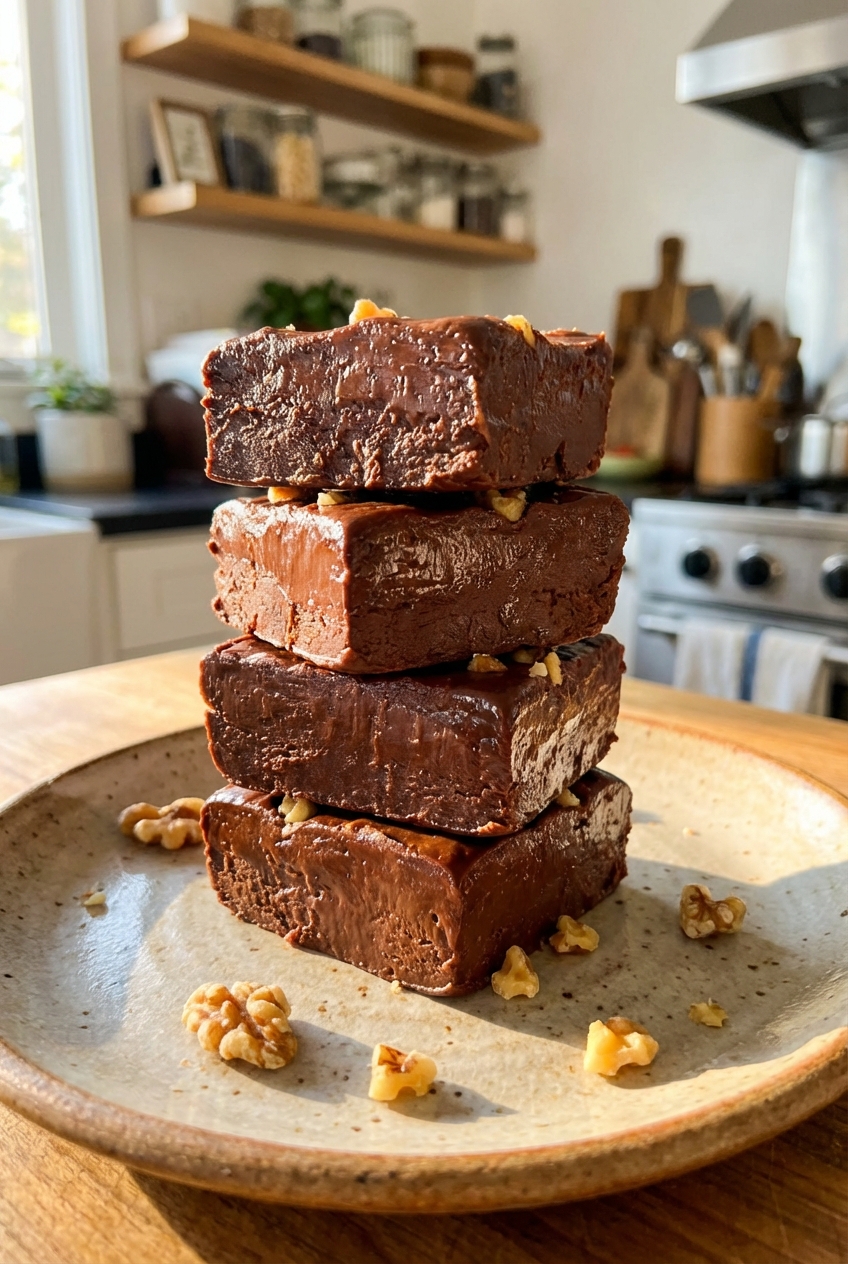
Mom's Best Recipes
Recipe

Healthy Creative Fudge (No-Bake)

A creamy, chocolatey fudge you can customize with pantry add-ins, made with wholesome ingredients and zero candy thermometer drama.

Author By Matt Campbell
4.8
Thick squares of glossy chocolate fudge on parchment paper with chopped pistachios and flaky sea salt on top, shot in natural window light

I love a classic old-school fudge moment, but I do not love the part where you stand over a pot, playing chicken with a candy thermometer. This is my solution: a healthy and wholesome fudge that hits the same rich, melt-in-your-mouth vibe, without the stress.

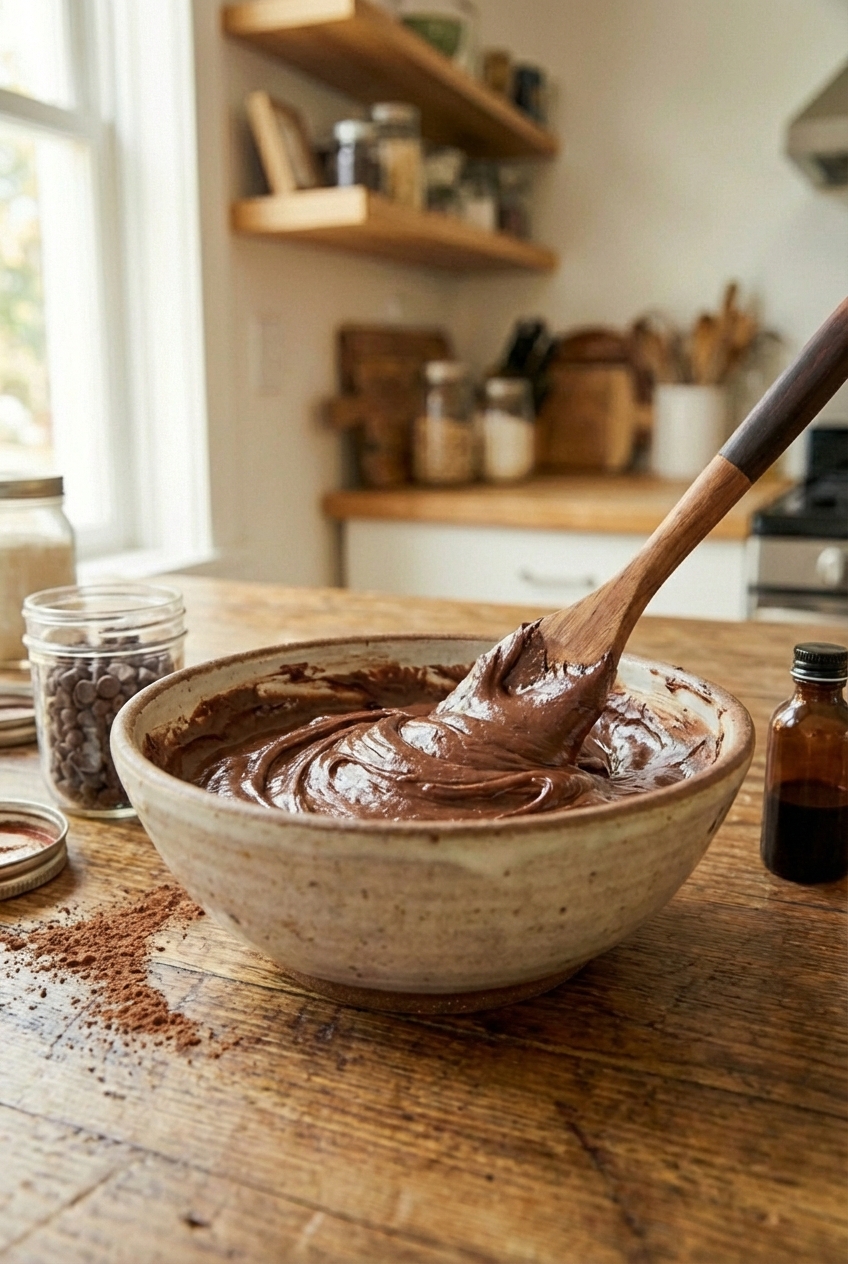
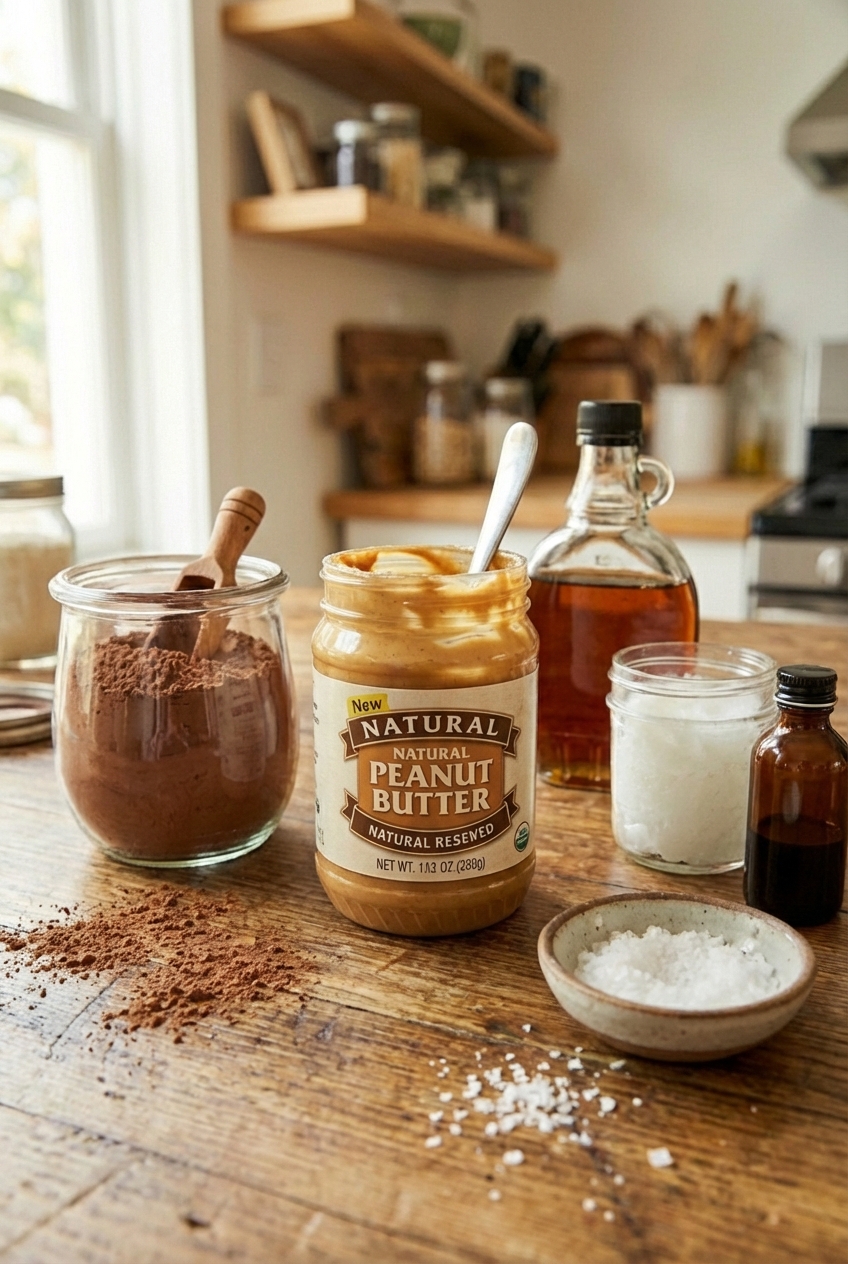
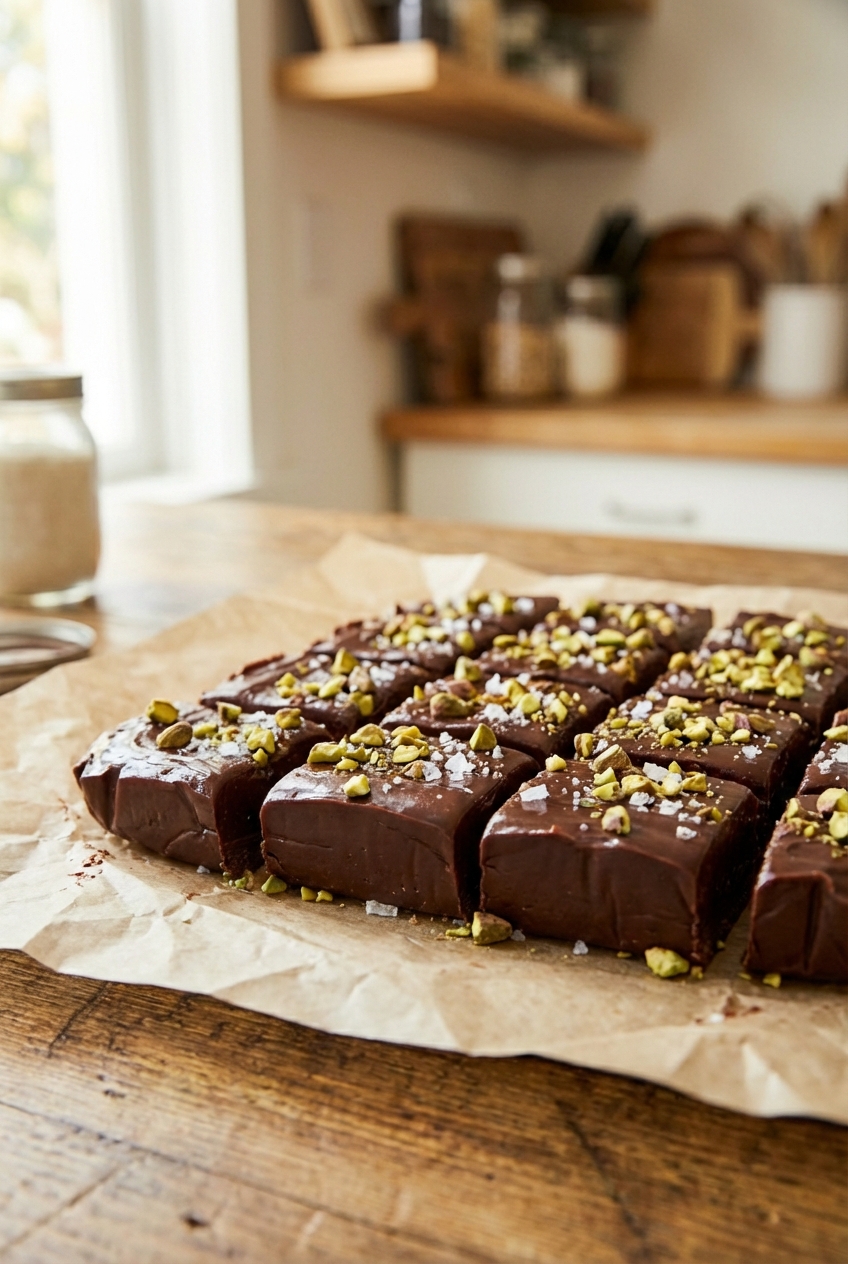
The base is simple and flexible: cocoa for deep chocolate, nut or seed butter for body, maple syrup for sweetness, and coconut oil for that clean set. From there, you get to be the chaotic good energy of your own kitchen. Swirl in peanut butter. Toss in toasted nuts. Add freeze-dried berries. Finish with flaky salt and pretend you meant to be fancy the whole time.

It is a no-bake recipe that lives happily in your fridge or freezer, which means it is also a perfect make-ahead treat for busy weeks, lunchboxes, and late night “I need something sweet” situations.

A mixing bowl of thick chocolate fudge mixture being stirred with a spatula on a wooden counter

Why It Works

  • Fast and forgiving: No candy thermometer, no boiling, no seizing panic. Just melt, whisk, pour, chill.
  • Wholesome ingredients: Naturally sweetened, easy to make dairy-free, and packed with satiating fats that make a small square feel like enough.
  • Creative by design: The base is neutral enough to take on flavors like espresso, orange zest, peppermint, or tahini.
  • Great texture: Firm enough to slice, soft enough to melt on your tongue. The coconut oil is the quiet hero here.

Pairs Well With

  • A small jar of strawberry chia jam with a spoon resting beside it on a linen napkin

    Strawberry Chia Jam

  • Buttery almond flour shortbread cookies stacked on a plate with crumbs scattered

    Almond Flour Shortbread

  • A bowl of vanilla yogurt fruit dip with strawberries and apple slices nearby

    Vanilla Yogurt Fruit Dip

  • A banana oat smoothie in a glass with a striped straw on a kitchen counter

    Banana Oat Smoothie

Storage Tips

How to Store It

  • Fridge: Store in an airtight container, with parchment between layers, for up to 10 days. The texture is softer and super creamy.
  • Freezer: Freeze for up to 3 months. I like freezing the slab first, then cutting into squares and keeping them in a freezer bag. If you stack them, slip a little parchment between squares so they do not freeze into one solid block.
  • Room temp note: Because this uses coconut oil, it softens quickly in a warm kitchen. If your house runs hot, serve straight from the fridge.

Pro tip: If your fudge feels too firm from the freezer, give it 5 to 8 minutes on the counter. It turns perfectly biteable.

Common Questions

Common Questions

Is this fudge actually healthy?

It is healthier than traditional fudge in the sense that it is naturally sweetened and made with more whole food style ingredients. It is still a treat, but one that is more satiating and easier to portion.

Can I make it nut-free?

Yes. Use sunflower seed butter or tahini. Tahini gives a slightly grown-up flavor that pairs ridiculously well with chocolate and flaky salt.

Why did my fudge turn grainy?

Most often, the mixture was not fully whisked while warm. Make sure the nut butter and cocoa are completely smooth before you pour. If your nut butter is stiff, warm it slightly so it blends easily.

Can I use honey instead of maple syrup?

Yes. Honey is sweeter than maple syrup, so start with a little less, taste, then adjust. Keep in mind honey has a distinct flavor that will show up.

How do I make it firmer for clean squares?

Add 1 more tablespoon coconut oil, chill longer, and cut with a warm knife. Also, line your pan so you can lift the whole slab out for cleaner slicing.

Can I use an 8x8-inch pan?

Yes, but this batch is sized for a loaf pan if you want thick squares. An 8x8-inch pan will give you a thinner layer. If you want the same thickness in an 8x8, double the ingredients.

I started making this when I was chasing that “just one more bite” chocolate fix, but did not want to commit to a full dessert production on a random Tuesday. The first batch was basically a science experiment with cocoa, peanut butter, and whatever I had in the pantry. It set up in the fridge, I took a bite, and immediately did the thing where you stare into the middle distance like, okay, wow. Now it is my go-to because it is simple, adaptable, and it makes the kitchen feel fun instead of fussy.