Mom's Best Recipes
Recipe

Homemade Coffee Creamer

A simple, creamy coffee creamer you can whisk up in minutes with a few everyday ingredients, plus easy flavor swaps for vanilla, cinnamon, and mocha.

Author By Matt Campbell
4.8
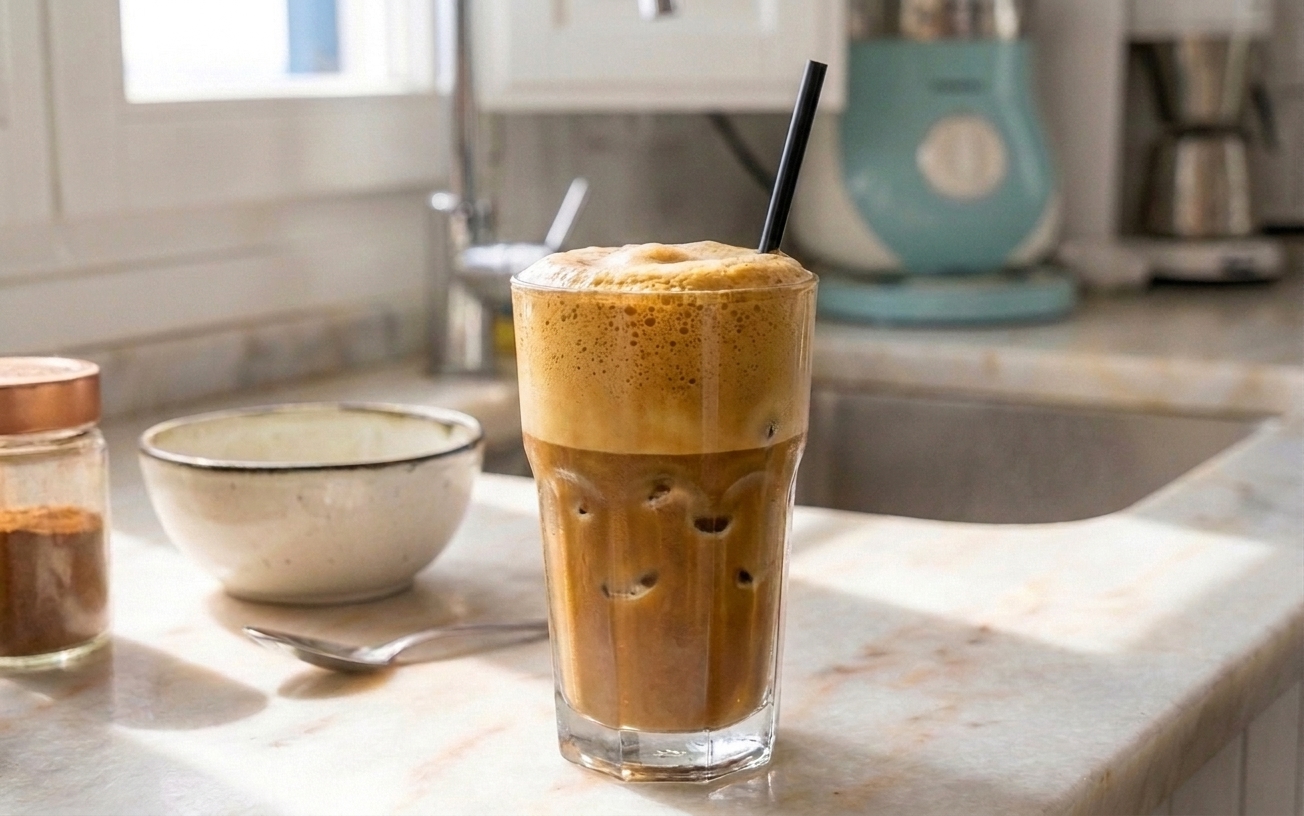
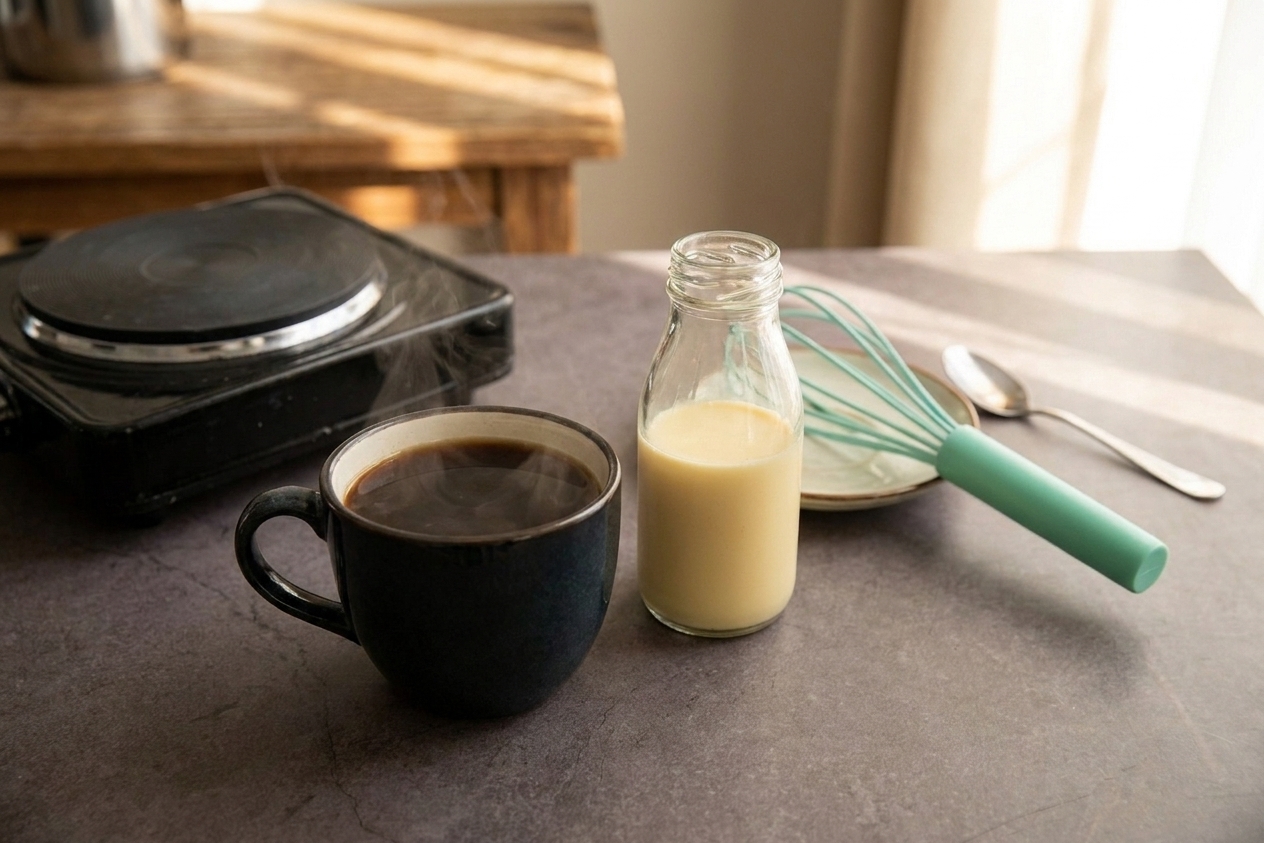
A small glass bottle of homemade coffee creamer on a light kitchen counter beside a mug of coffee and a spoon, warm morning lighting

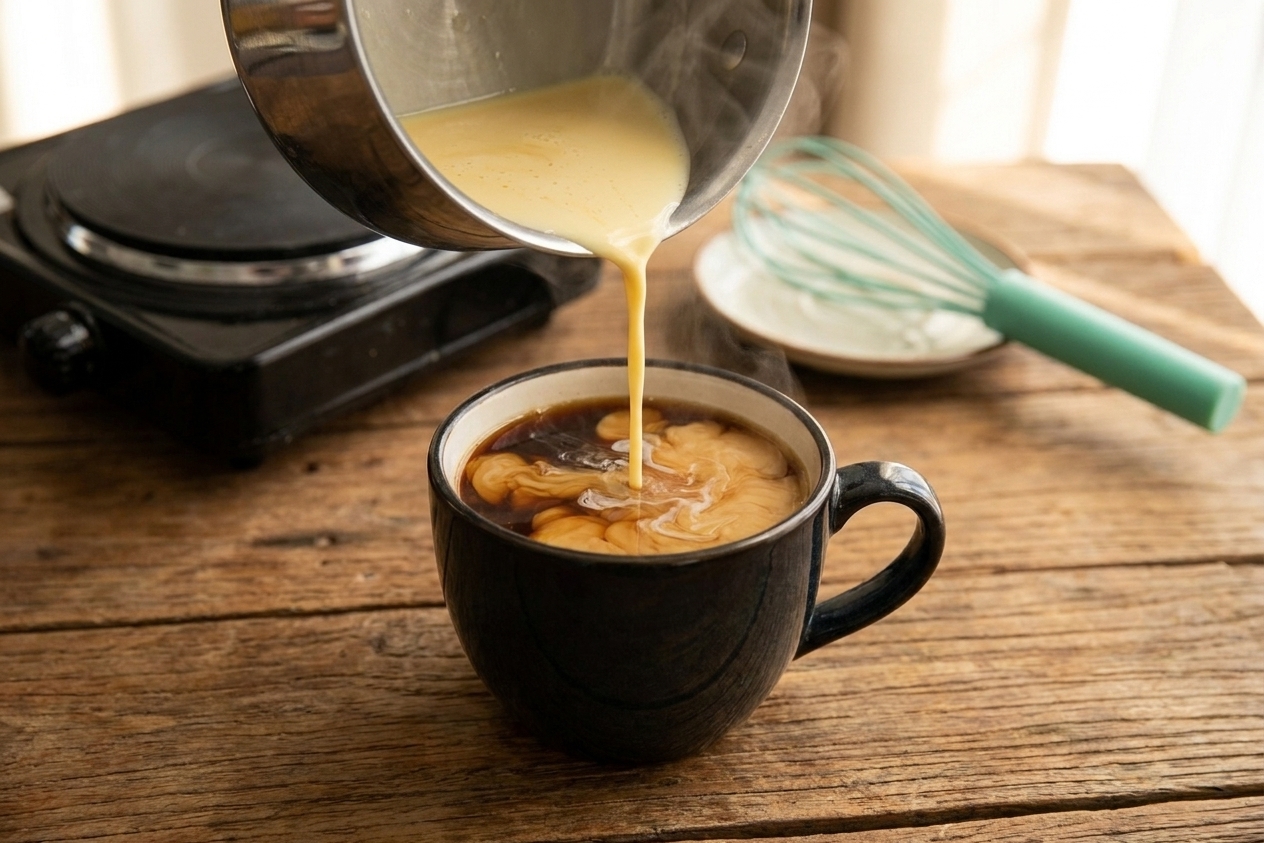
I love a fancy coffee moment, but I am not trying to run a dairy science lab at 7 a.m. This Homemade Coffee Creamer is my low-drama solution: creamy, lightly sweet, and flexible enough to handle whatever mood your mug is in.

It takes about 10 minutes, uses ingredients you can actually find, and you can flavor it a dozen ways without turning your kitchen into a sticky vanilla-scented crime scene. Bonus: you can dial the sweetness up or down, which is the real power move.

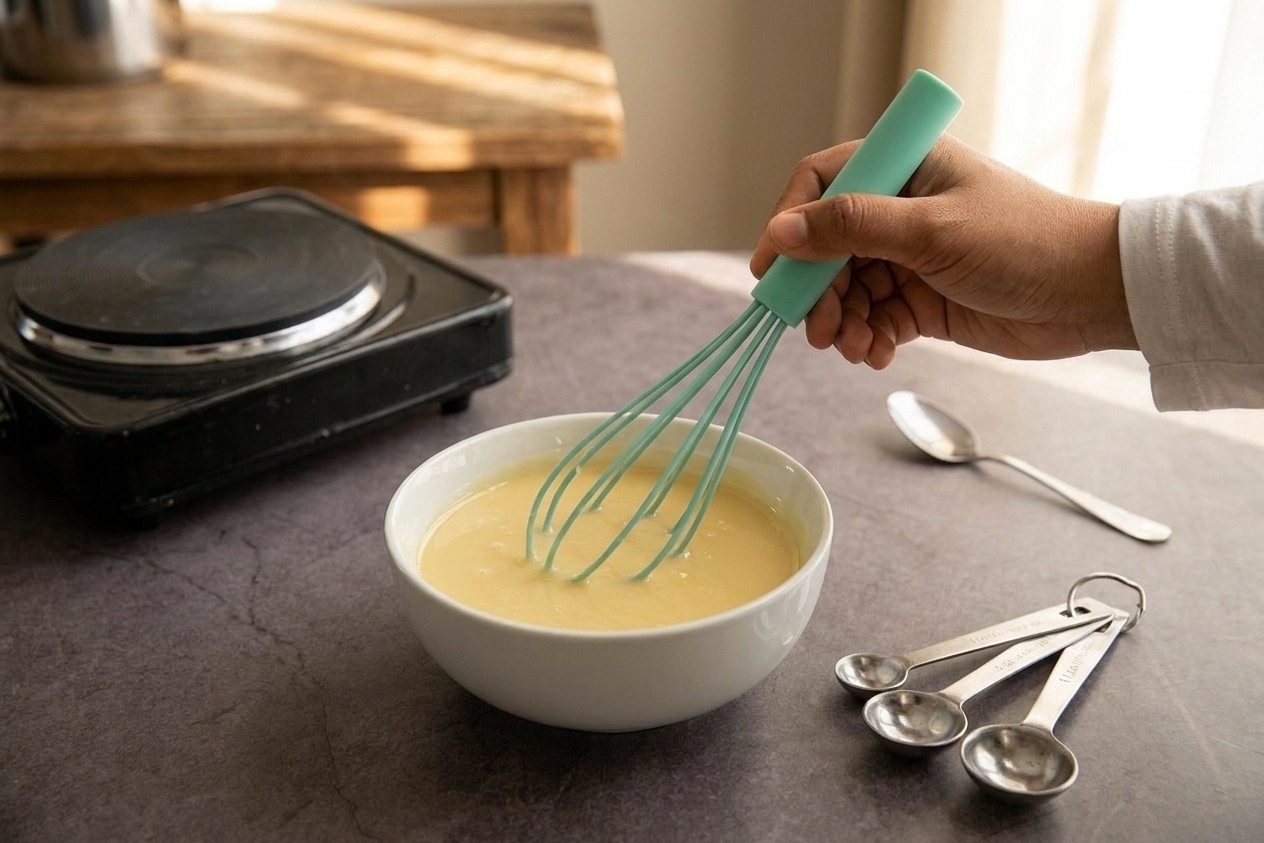
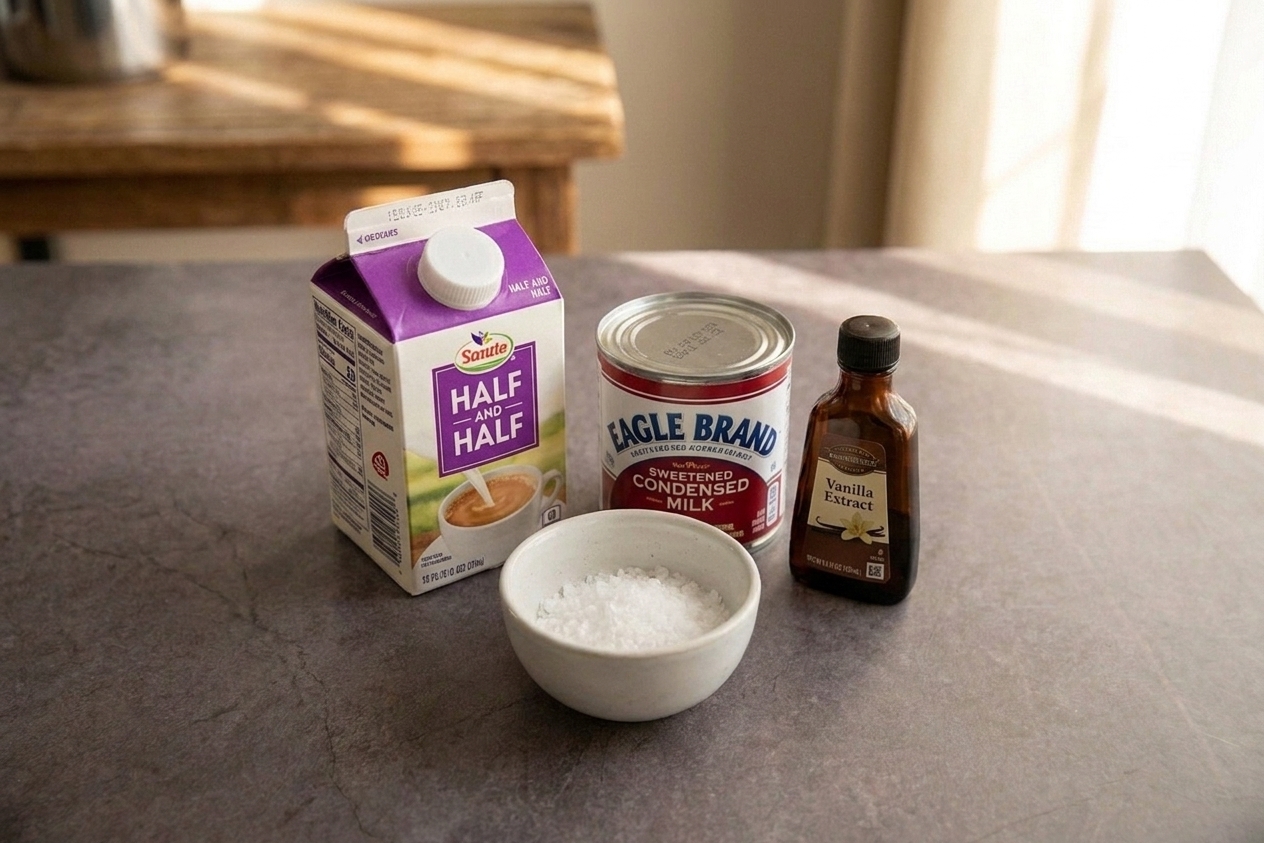
A bowl of sweetened condensed milk with a whisk and measuring spoons on a kitchen counter, ingredients ready to mix

Why It Works

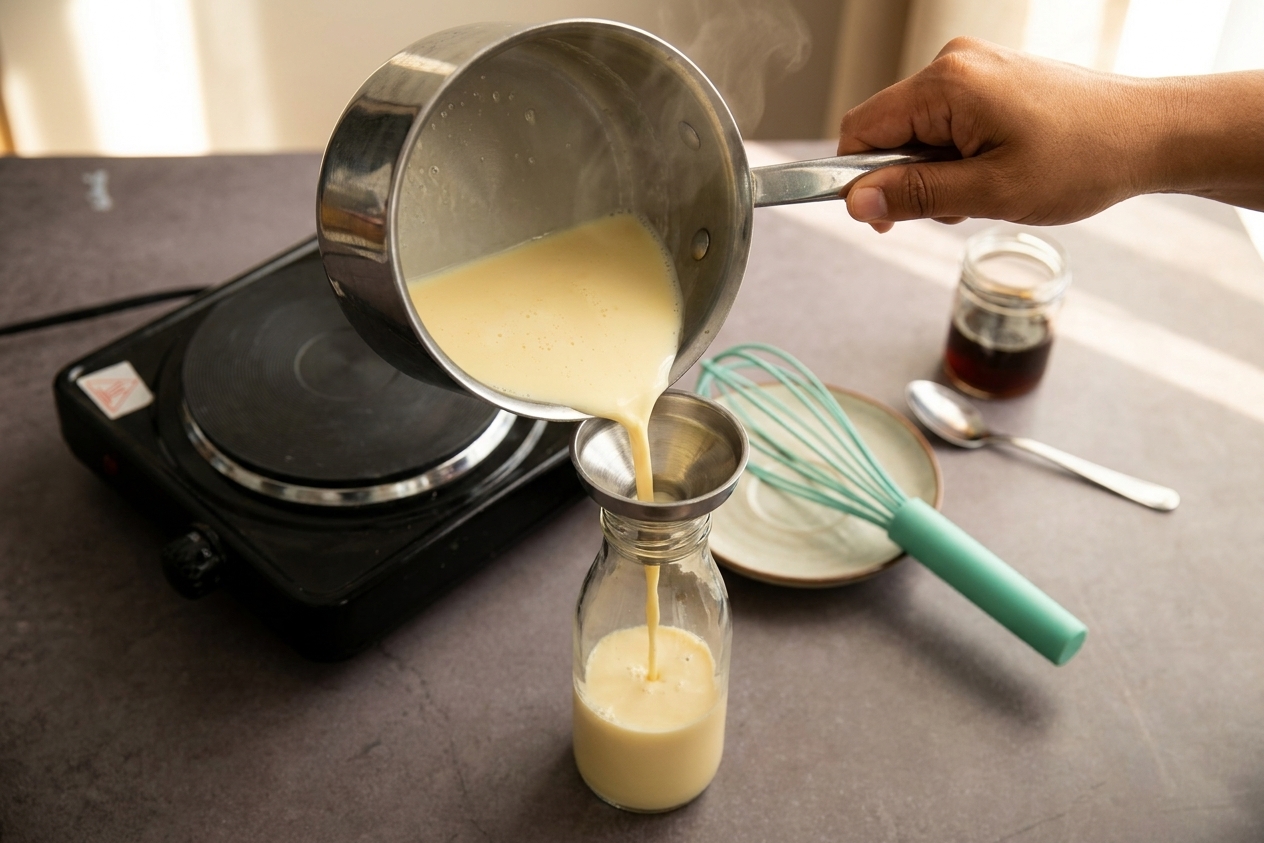
  • Fast and foolproof: Warm, whisk, bottle. No fancy equipment required.
  • Custom sweetness: Make it classic, less sweet, or extra dessert-like depending on your coffee habits.
  • Real flavor: Vanilla, cinnamon, mocha, and more without weird aftertastes.
  • Fridge-friendly: Keeps well for the week so weekday coffee stays easy.

Pairs Well With

Storage Tips

Store creamer in a clean, tightly sealed jar or bottle in the refrigerator. For best safety and quality, use within 7 days (sooner if your dairy was close to its date). Discard if it smells sour, looks curdled, or tastes “off.”

  • Shake before using: Natural separation is normal, especially with coconut milk or half-and-half.
  • Keep it cold: Return it to the fridge right after pouring for best quality.
  • Freezing: You can freeze in ice cube trays, then transfer cubes to a freezer bag for up to 2 months. Thaw overnight in the fridge and whisk or shake to recombine.
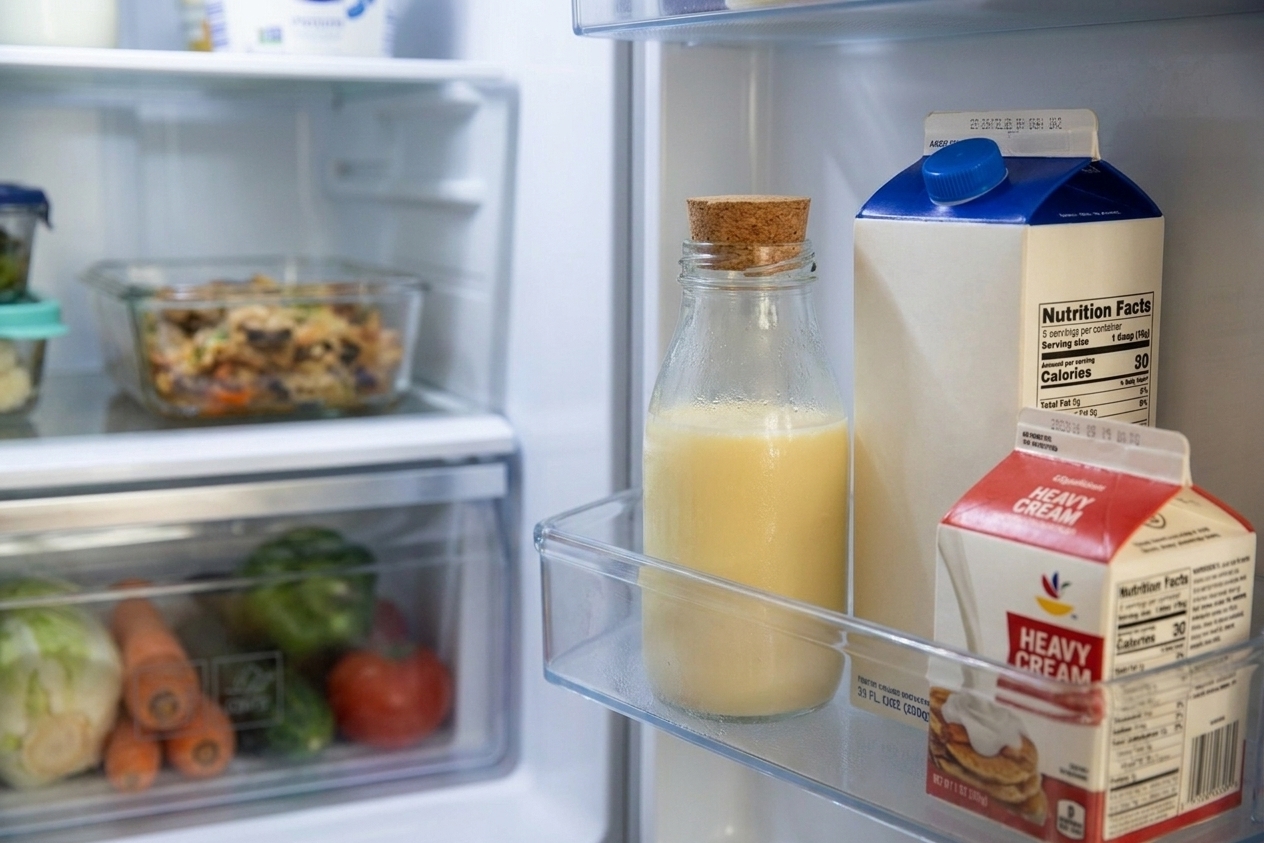
A sealed glass bottle of coffee creamer sitting on a refrigerator shelf next to milk and a carton of cream

Common Questions

How much creamer should I use per cup of coffee?

Start with 1 tablespoon per 8-ounce cup, then adjust. This recipe is richer than plain milk, so a little goes a long way.

Is this the same as “sweet cream” creamer?

Pretty close. The base here is creamy and gently sweet. If you want it more “coffee shop sweet cream,” add an extra tablespoon or two of condensed milk, or a pinch of salt to make the sweetness pop.

Can I make it less sweet?

Yes, and honestly, that is the real superpower of making it at home. For a lighter sweetness, use 1/3 cup sweetened condensed milk instead of 1/2 cup, then add 2 to 3 tablespoons more half-and-half (or milk) to keep the creamer pourable and closer to the same yield. Taste and adjust.

Why did my creamer get thick?

It can thicken slightly in the fridge because of the condensed milk and fat content. Just shake well. If it is too thick for your liking, whisk in 2 to 4 tablespoons of milk.

Can I make it dairy-free?

Yes. Use full-fat coconut milk plus your favorite plant milk. For sweetness, use maple syrup or brown sugar syrup since sweetened condensed milk is dairy-based. Expect a bit more coconut flavor and a slightly lighter “sweet cream” vibe unless you sweeten a little more. See the variations below for a solid dairy-free formula.

Can I heat it up first?

You can, especially if you hate cold creamer cooling down your coffee. Warm a splash in the microwave for 10 to 15 seconds, or keep the bottle at room temp for a few minutes while your coffee brews. Do not leave it out longer than 2 hours.

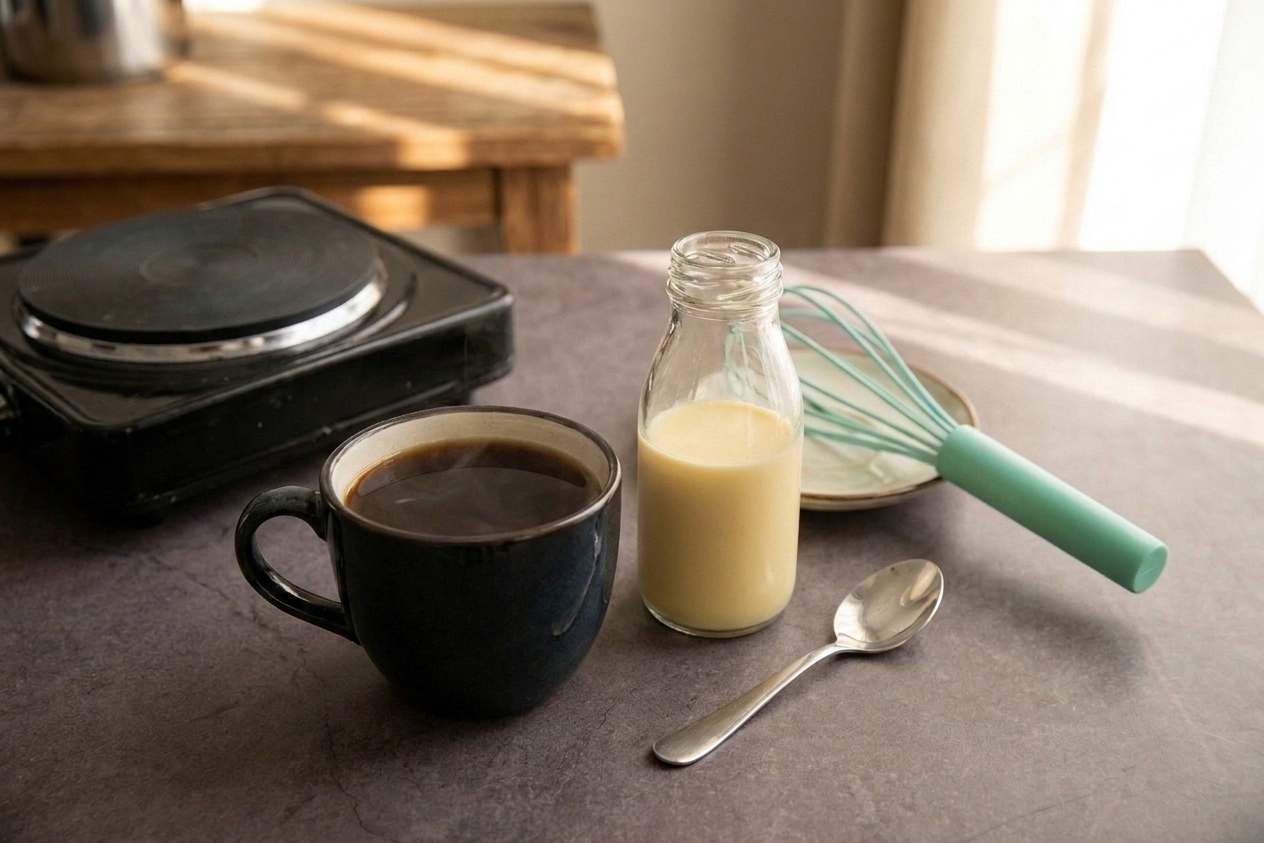
I used to buy creamer flavors with names that sounded like candles. Then I realized what I actually wanted was simple: something creamy, not too sweet, and consistent from cup to cup. This homemade version became my go-to when I started cooking more practically and paying attention to the small daily wins. It is one of those “why didn’t I do this sooner?” recipes that makes a random Tuesday morning feel a little more put together, even if the rest of the day is chaos.