Mom's Best Recipes
Recipe

Homemade Crusty Bread (No-Knead Dutch Oven Loaf)

A hands-off, high-reward Dutch oven bread with a crackly crust, chewy crumb, and big bakery vibes, no kneading required.

Author By Matt Campbell
4.8
A golden brown no-knead Dutch oven bread loaf cooling on a wire rack with a cracked crust

If you have flour, water, yeast, and salt, you are exactly one ridiculously crusty loaf away from feeling like a bread wizard. This no-knead Dutch oven bread is my favorite kind of cooking: low drama, high payoff. You mix, you wait, you bake, and then your kitchen smells like a place that charges $9 for a slice of toast.

The Dutch oven is the real MVP here. It traps steam so the crust turns crisp while the inside stays springy and chewy. No fancy shaping. No stand mixer. Just a sticky dough, a little patience, and a very satisfying snap when you slice in.

A close-up of sticky no-knead bread dough in a mixing bowl with bubbles on the surface

Why It Works

  • Steam equals crust: Baking in a preheated Dutch oven creates a steamy microclimate, which lets the loaf expand fully before the crust sets, then turns deeply golden and crisp.
  • Time does the kneading: A long rise lets gluten develop on its own, so you get structure and chew without working the dough.
  • Beginner-friendly shaping: You are basically folding the dough into a round and letting the pot do the rest.
  • Accessible ingredients: All-purpose flour works great, and you can upgrade later with bread flour or whole wheat once you catch the bread bug.

Pairs Well With

Storage Tips

This loaf has its best crust on day one, but you can absolutely keep it tasting great for a few days with the right storage.

Room temperature (best for 1 to 2 days)

  • Let the bread cool completely.
  • Store cut-side down on a cutting board, or wrap loosely in a clean kitchen towel.
  • Avoid airtight plastic if you want to keep the crust crisp. Plastic traps moisture and softens it fast.

Longer storage (freeze it)

  • Slice the loaf once fully cool.
  • Freeze slices in a zip-top freezer bag with as much air pressed out as possible.
  • Toast straight from frozen, or re-crisp in a 350°F oven for 8 to 12 minutes.

How to revive a soft crust

  • Pop the whole loaf (or big chunks) into a 400°F oven for 6 to 10 minutes. The crust comes back to life like it just got a fresh haircut.

Common Questions

Do I need a Dutch oven?

It is the easiest path to a crusty loaf, but not the only one. If you do not have a Dutch oven, bake on a preheated sheet pan or pizza stone and place a metal pan on the lower rack. Pour in a cup of hot water right after the bread goes in to create steam. The crust will be good, just usually not as dramatically crisp as the Dutch oven version.

Why is my dough so sticky?

That is normal for no-knead dough. Sticky dough plus time equals open, chewy crumb. Use wet hands or a bench scraper to handle it, and flour your work surface lightly.

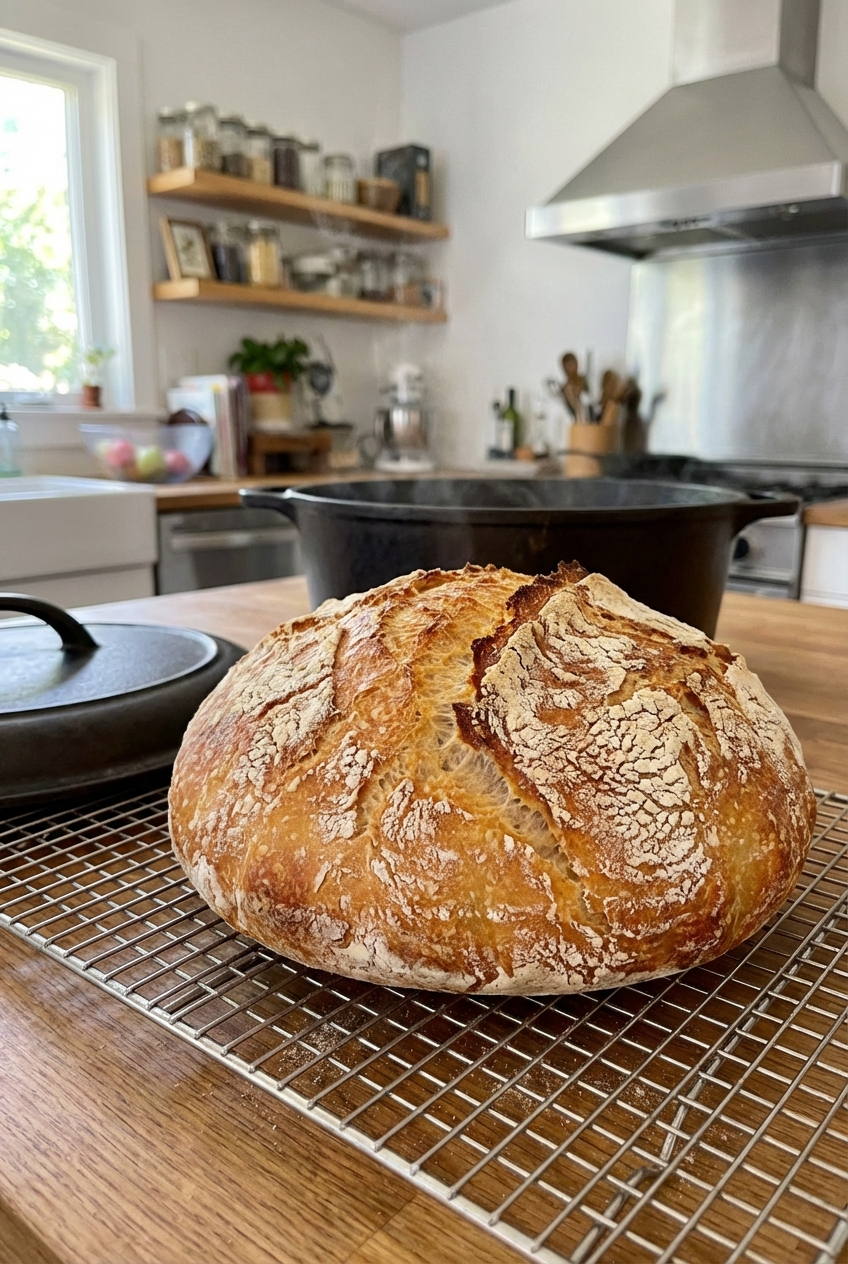
How do I know the bread is done?

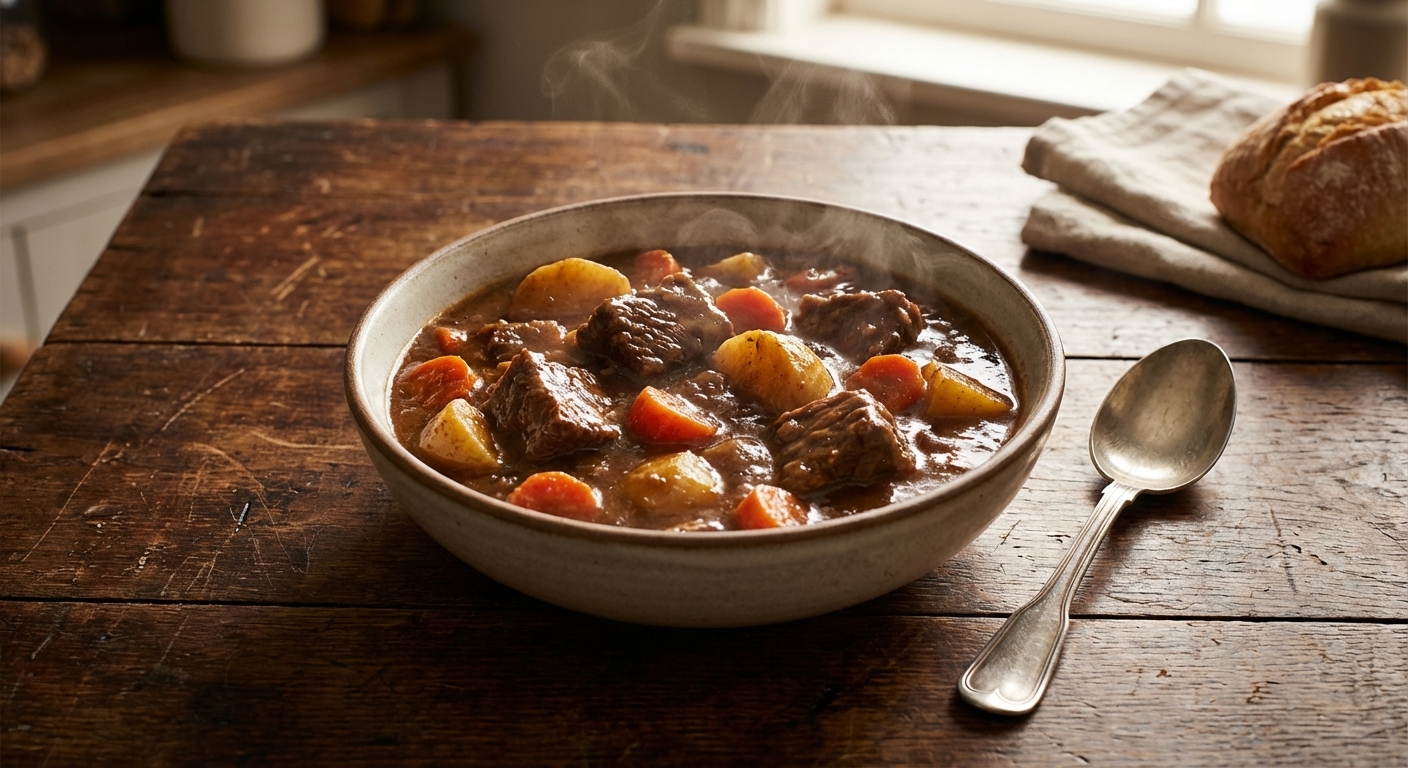
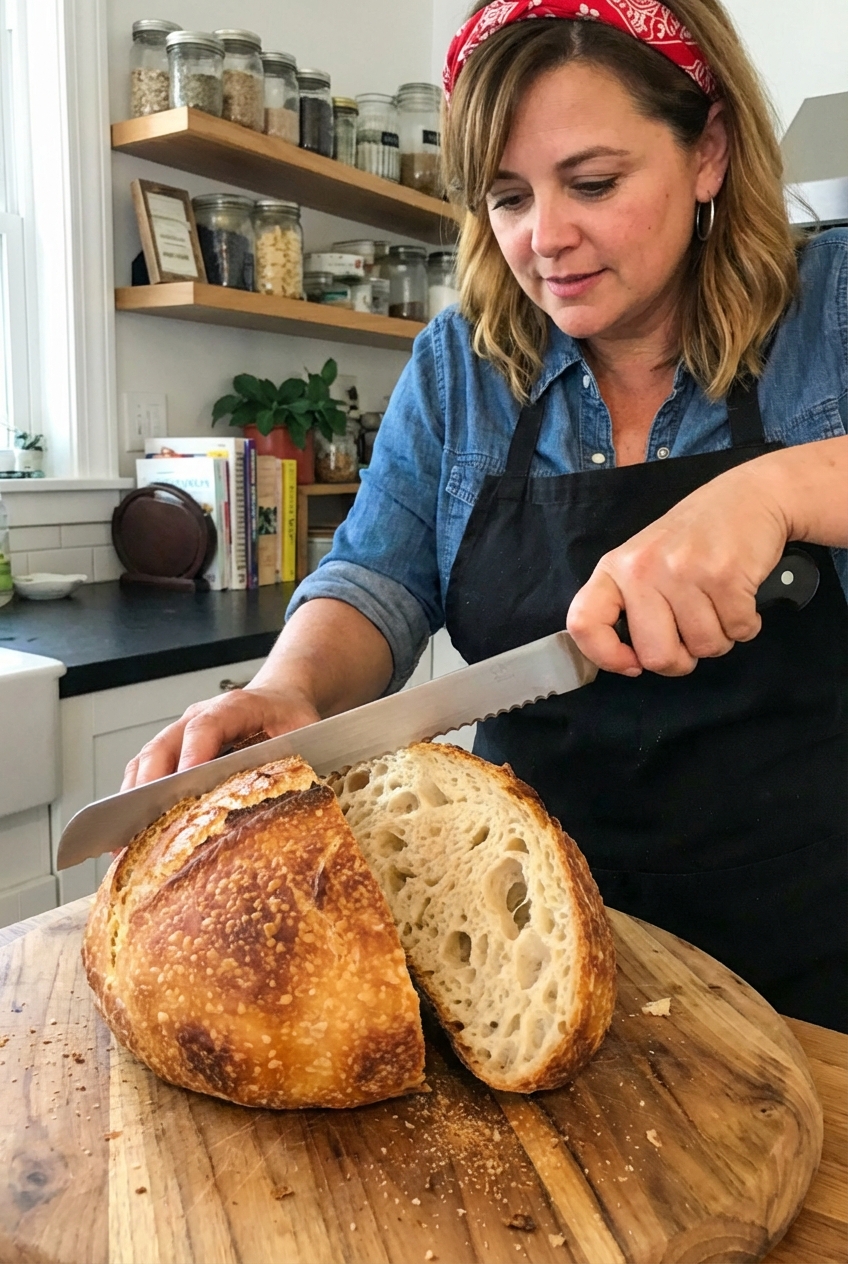
Look for a deep golden brown crust. If you want to be precise, the center of the loaf should be about 205°F to 210°F on an instant-read thermometer. You can also tap the bottom. It should sound hollow.

Can I use bread flour instead of all-purpose?

Yes. Bread flour will give you a slightly chewier crumb and a bit more height. Keep everything else the same.

Can I make it same-day?

Yes, with a small tweak. The overnight rise is where the flavor shows up, and it works great with the 1/4 teaspoon yeast in this recipe. If you want a faster version (about 3 to 4 hours for the first rise in a warm spot), increase the yeast to 1 teaspoon instant yeast (or 1 1/4 teaspoons active dry). Use lukewarm water (95°F to 105°F, not hot) and keep an eye on the dough. You are looking for a noticeably puffy dough with lots of bubbles, not necessarily a perfect “double.”

Why did my bottom get too dark?

Your Dutch oven may be running hot or sitting too close to the bottom heating element. Next time, place a baking sheet on the rack below the Dutch oven as a heat buffer, or move the rack up one level.

My kitchen is really warm. Do I still do 10 to 14 hours?

If your kitchen runs hot (around 75°F and up), the dough can overproof if you push the full 14 hours. Shorten the first rise, or do part of it in the fridge. A simple option is 8 to 10 hours at room temp, then refrigerate until you are ready to shape.

I love cooking with a team, but bread is the one thing I will happily make alone, mostly because it is 90 percent waiting and 10 percent me hovering like an overprotective parent. The first time I baked this loaf, I was convinced it would come out as a sad, flat pancake. Then I lifted the lid halfway through baking and saw this golden dome rising like it had something to prove. I have been chasing that feeling ever since.

This is the loaf I make when I want dinner to feel special without turning my kitchen into a disaster zone. Soup night, pasta night, eggs-for-dinner night, it shows up and makes everything feel intentional. Also, tearing into warm bread is basically a legal form of therapy.