Mom's Best Recipes
Recipe

Homemade Waffle Cones

Crisp, buttery waffle cones with vanilla and golden edges, rolled warm and ready for ice cream night.

Author By Matt Campbell
4.8
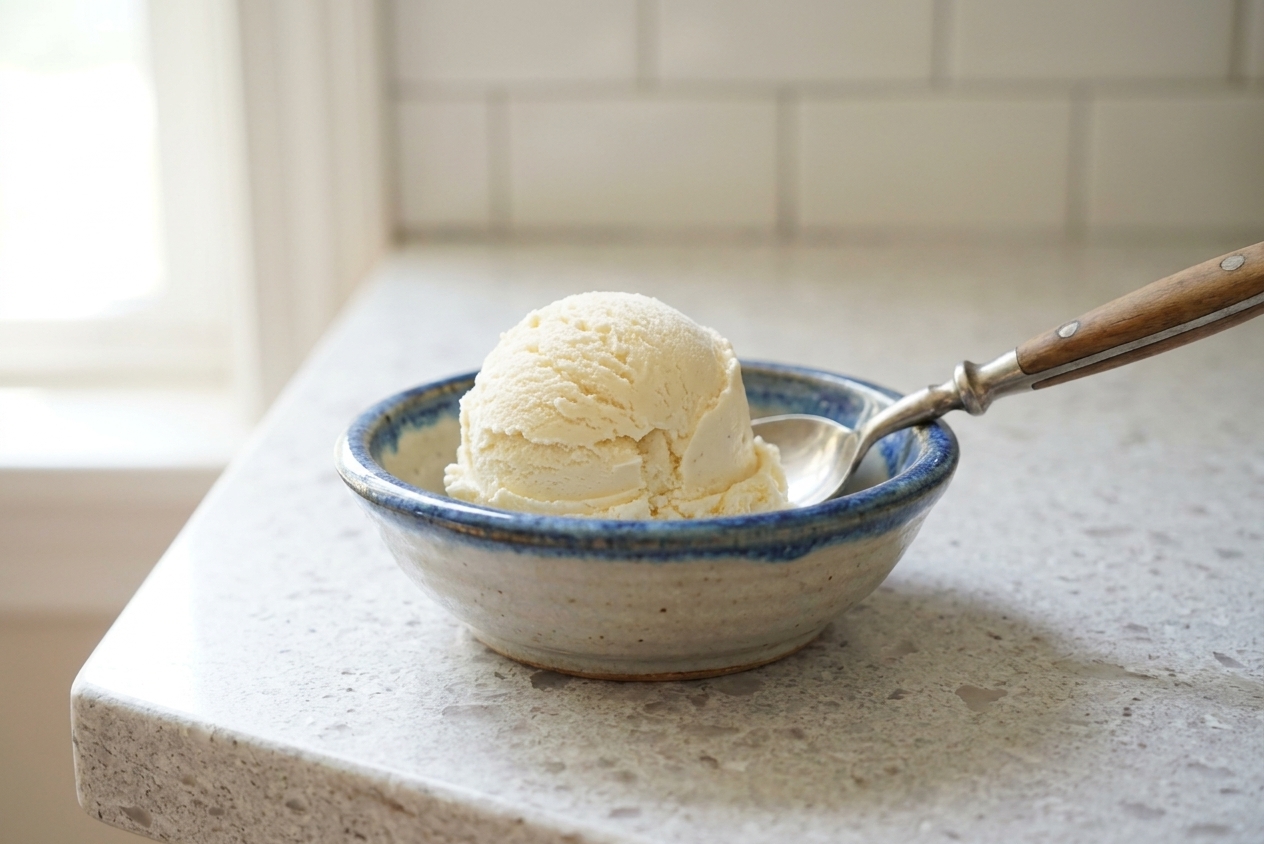
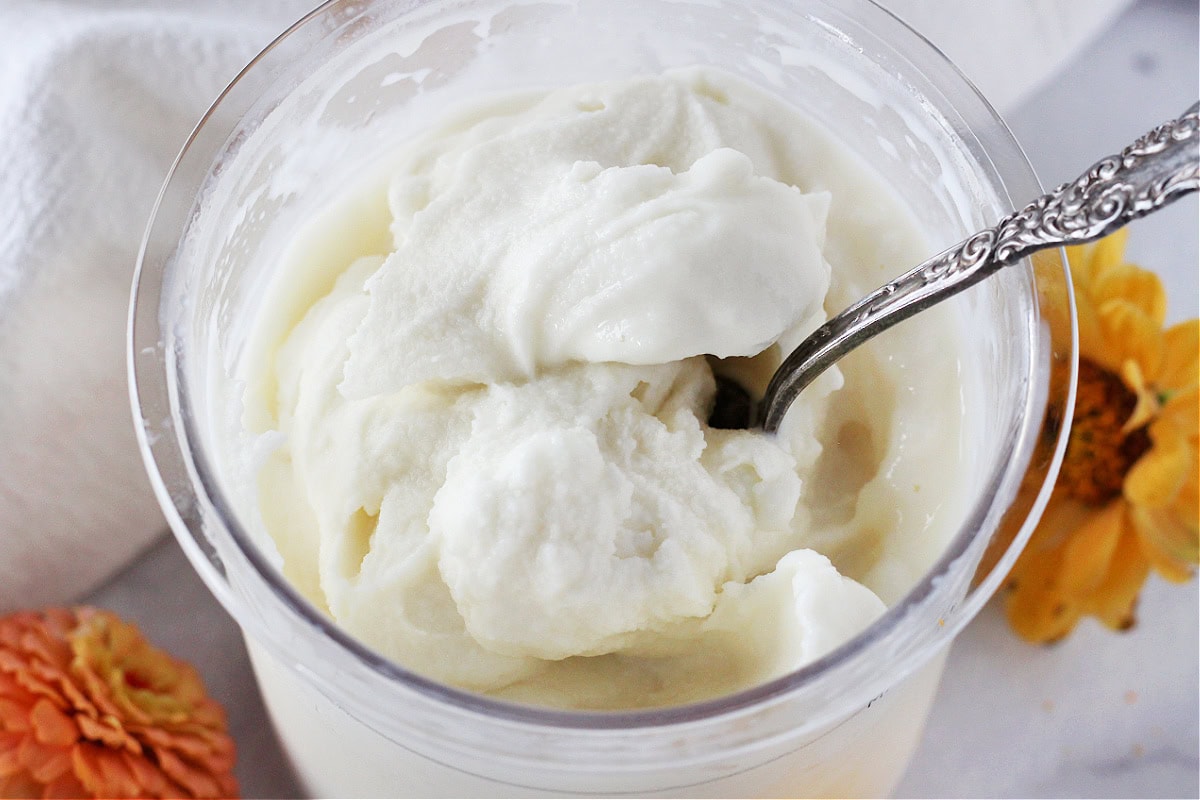
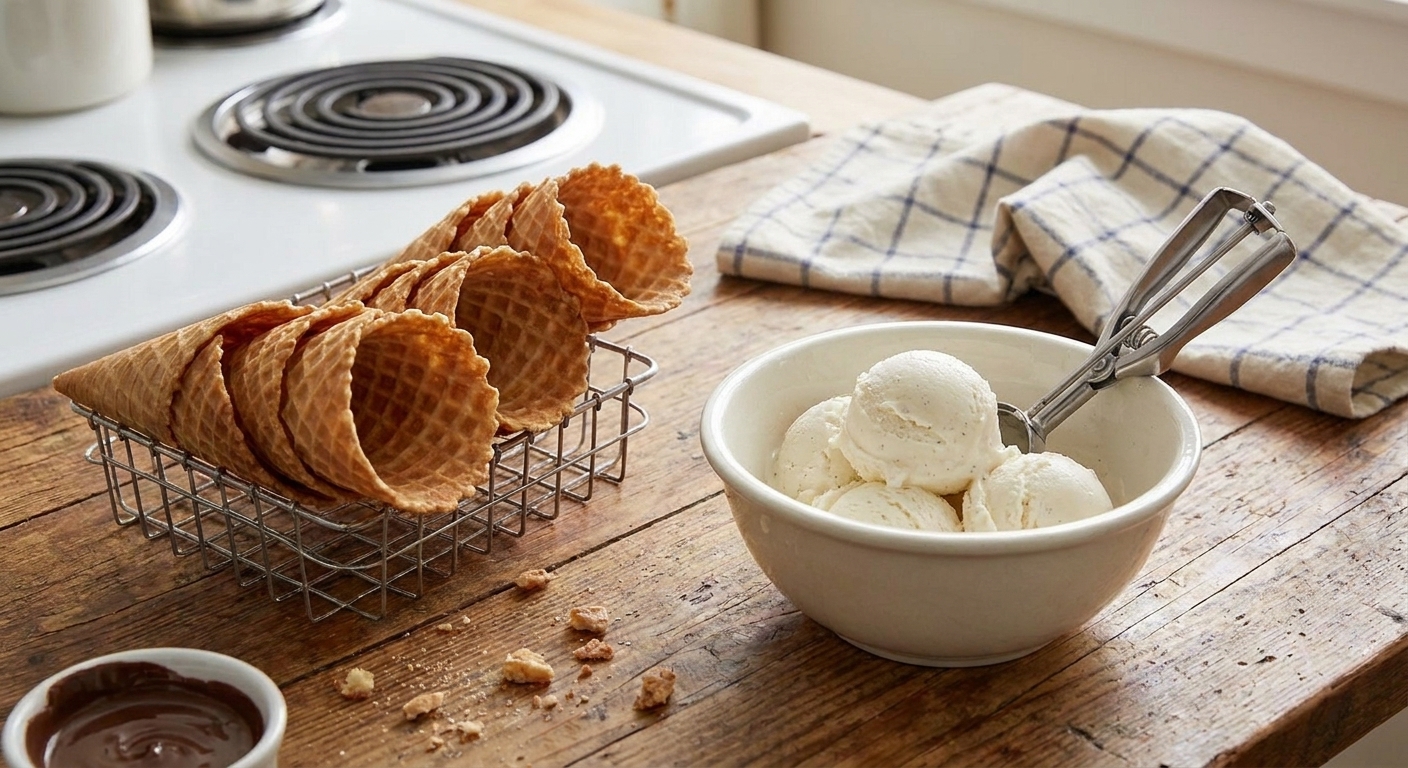
A stack of crisp homemade waffle cones on a kitchen counter with a few scoops of vanilla ice cream<!-- inpage-recommendation:25044 --> nearby

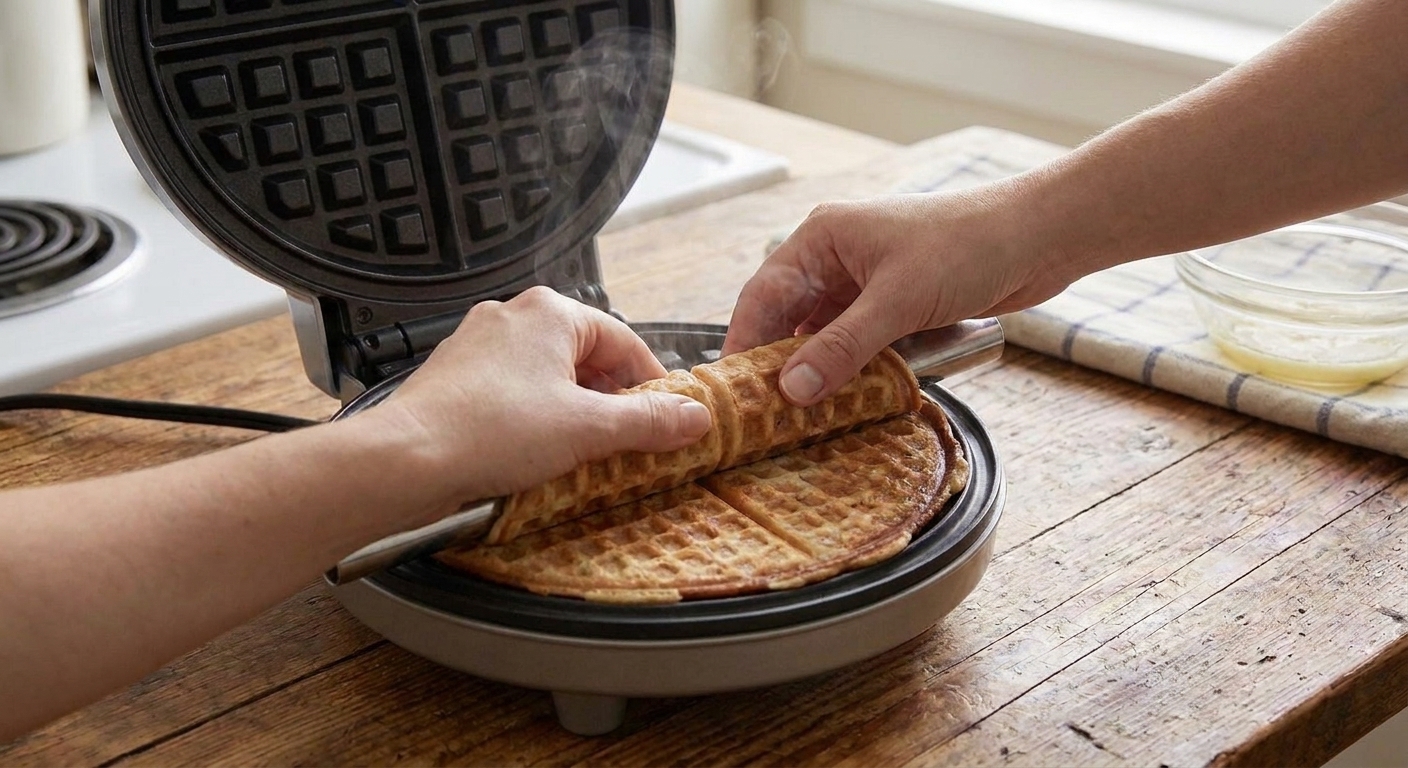
Waffle cones are the kind of kitchen project that feels a little extra in the best way. You mix a simple batter, cook thin little rounds, then you have about a 20 second window to roll them into cones like you are in a tiny delicious time trial.

The payoff is huge: toasty vanilla, crisp edges, and that sweet buttery crunch that makes store-bought cones taste a little, well, less exciting by comparison. Also, the smell alone is worth it.

This recipe keeps ingredients easy and the technique clear. If you have a waffle cone maker, awesome. If you do not, I have a stovetop option too, plus a no-drama way to roll cones even if you do not own a cone roller.

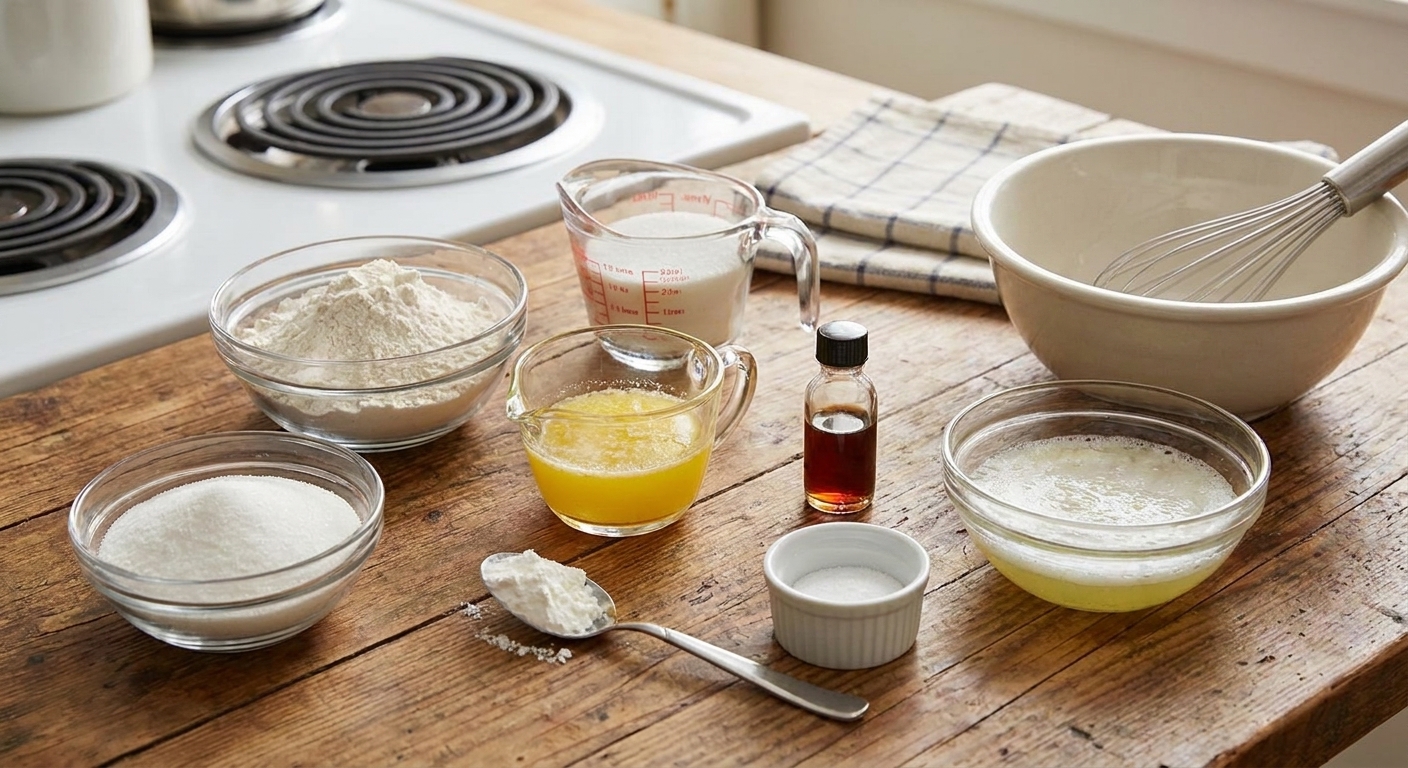
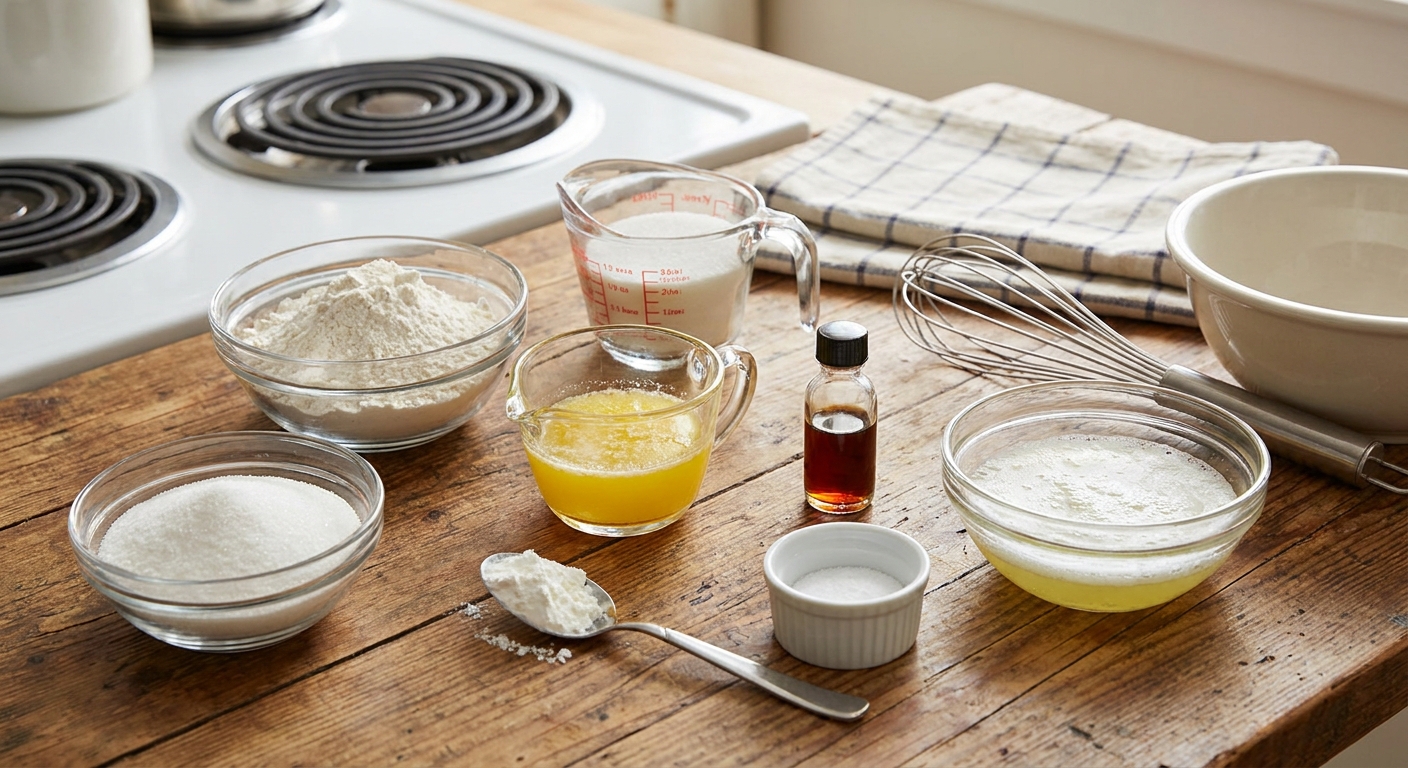
Waffle cone batter ingredients arranged beside a mixing bowl, ready to be whisked together

Why It Works

  • Thin and crisp results: a touch of cornstarch and cooking to a deep golden color help the cones bake up snappy instead of cakey.
  • Flavor that actually tastes like something: vanilla and a pinch of salt keep it from being just sweet. Optional cinnamon turns it into a fall fair moment.
  • Clear rolling method: you roll while warm, then let the seam set so the cone holds its shape instead of slowly uncoiling like a sad scroll.
  • Make ahead friendly: cones keep their crunch best when cooled fully and stored airtight, with a little humidity protection if needed.

Pairs Well With

Storage Tips

How to Store Waffle Cones

Let cones cool completely before storing. Any trapped warmth turns into steam, and steam is the sworn enemy of crunch.

  • Room temperature (best results): Store in an airtight container for up to 3 to 5 days, depending on humidity and how well your container seals. I like to stand cones upright, or nest them gently.
  • Extra crisp insurance: Add a small piece of paper towel to the container to absorb humidity. If you live somewhere humid, this helps a lot.
  • Freeze (best results): You can freeze cones in a freezer bag for up to 1 to 2 months. Thaw uncovered at room temp so condensation does not soak in.
  • To re-crisp: Warm cones in a 300°F oven for 3 to 5 minutes, then cool. They snap back to life.
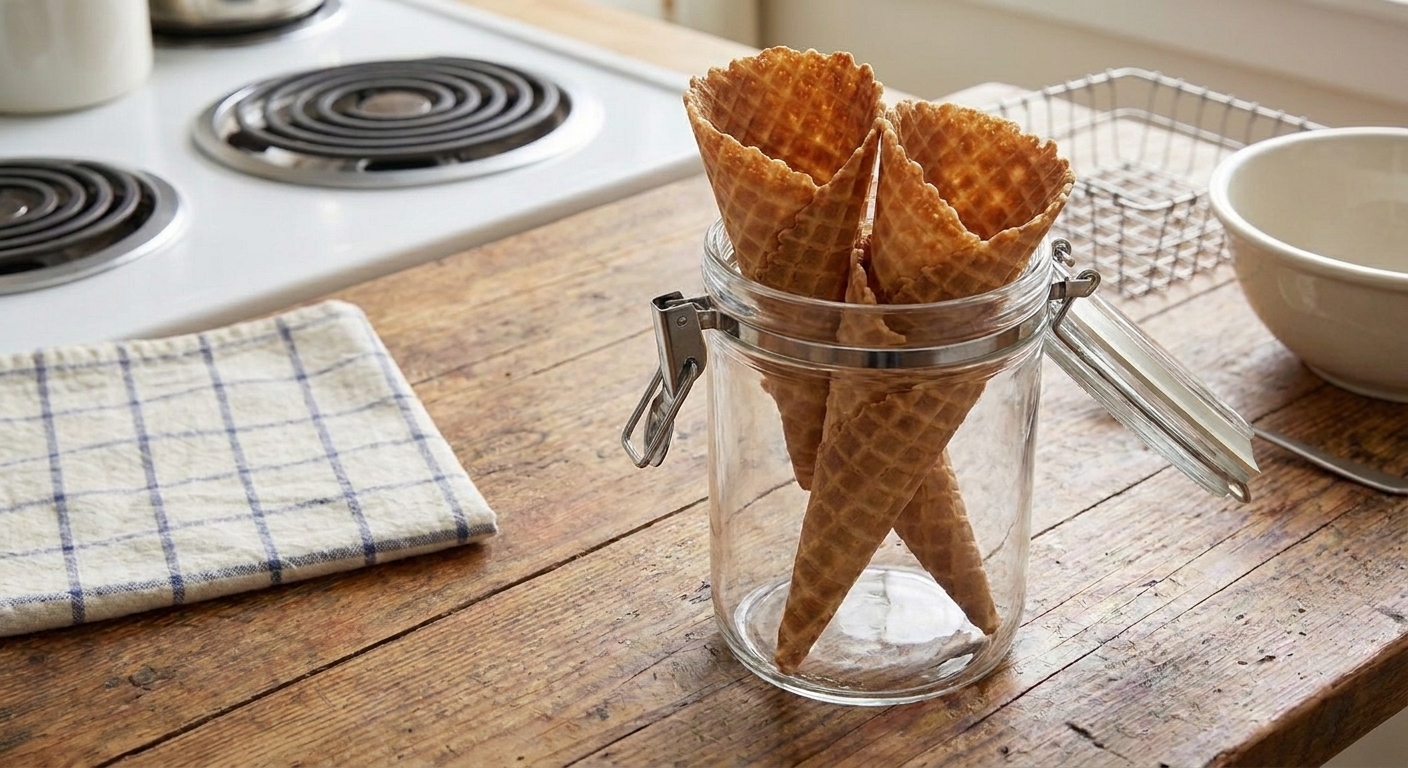
Homemade waffle cones stored upright in a clear airtight container

Common Questions

Common Questions

Do I need a waffle cone maker?

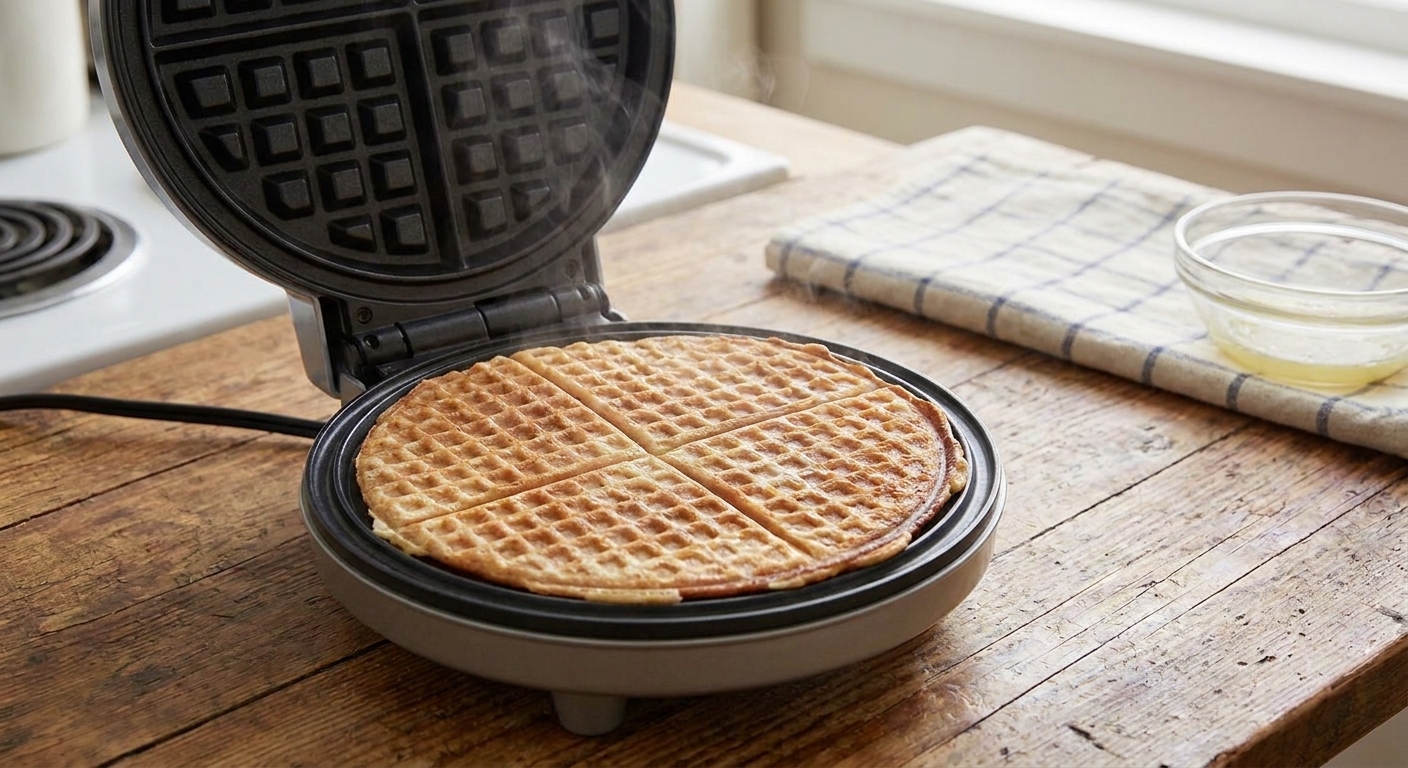
No. A dedicated waffle cone maker is the easiest route, but you can also cook these as thin rounds in a nonstick skillet or on a lightly greased griddle. You will not get the classic crosshatch pattern, but you will get a crisp, delicious cone.

Should I grease the cone maker?

Often, yes. Many cone makers do best with a very light brush of melted butter or neutral oil, especially for the first cone and anytime you notice sticking. Follow your machine instructions, but when in doubt, a little grease saves a lot of frustration.

What can I use if I do not have a cone roller?

You can roll cones around a wooden spoon handle, a thick dowel, or even a small metal funnel. The goal is simply a sturdy shape to wrap the warm waffle around. Hold the seam for 10 to 15 seconds to set.

Why are my cones soft instead of crisp?

Usually one of three things: the cones were not cooked long enough, they were stored before fully cooled, or your kitchen humidity is high. Cook until deep golden, cool until fully firm and crisp, and store airtight. If needed, re-crisp in the oven.

Why are my cones cracking when I roll them?

They cooled down too much before rolling. Roll immediately, and if you are working in batches, keep finished rounds warm on a baking sheet near the heat source. If one gets too firm, briefly warm it for a few seconds on the maker or skillet to soften.

Can I make waffle bowls instead of cones?

Yes. Drape the hot round over the bottom of an inverted small bowl (or press into a bowl) and let it cool and set. Same batter, same timing, just a different shape.

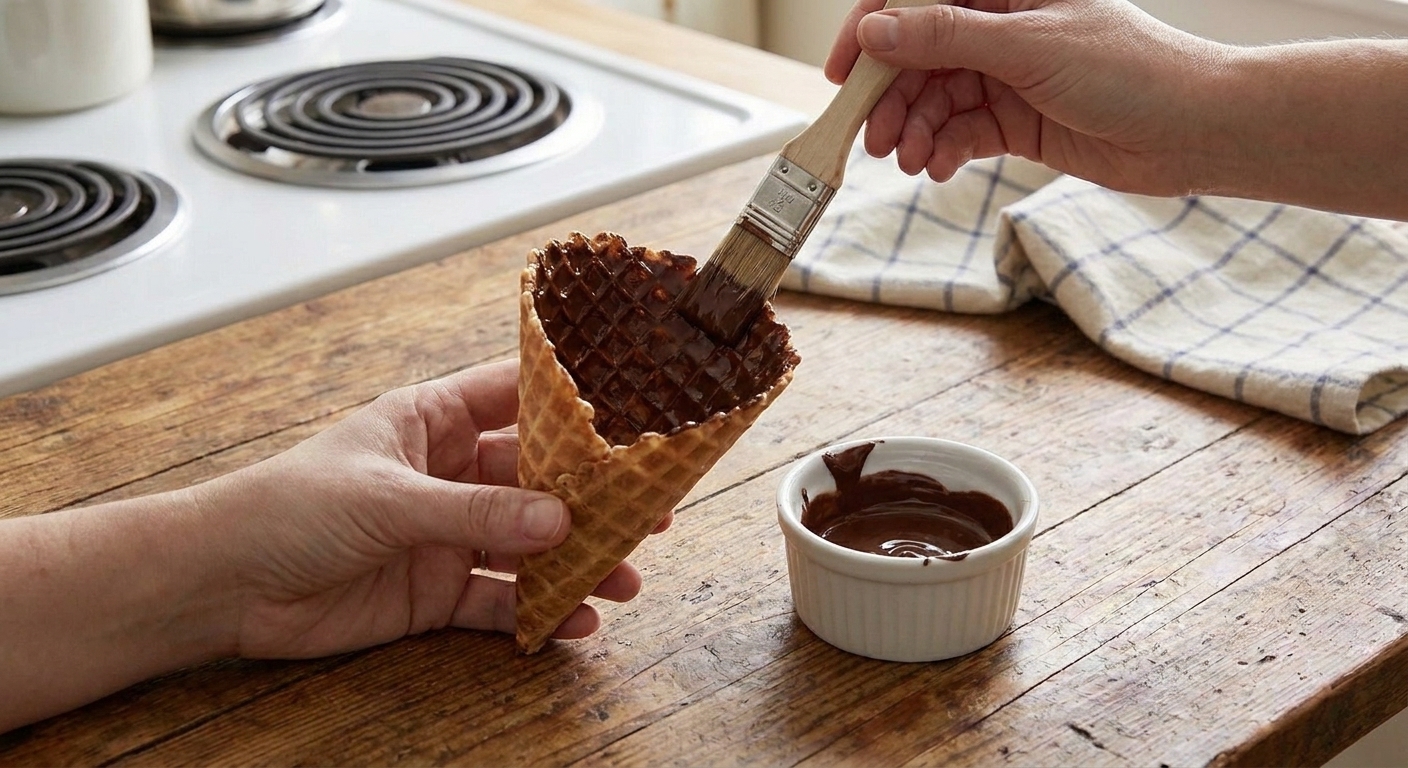
How do I keep cones from getting soggy with ice cream?

Brush the inside with melted chocolate and let it set. That thin chocolate layer is basically a delicious raincoat.

The first time I made waffle cones at home, I felt wildly confident right up until the rolling part. I learned fast that waffle cones do not care about your plans. They care about timing. Now I treat it like a fun little rhythm: cook, lift, roll, hold, repeat. Once you catch the groove, it is oddly satisfying, like kitchen origami you can fill with ice cream.