Mom's Best Recipes
Recipe

Homestyle Buttermilk Recipe

Creamy, tangy, and comforting like the stuff that makes pancakes and biscuits feel like a warm hug. Make real cultured-style buttermilk at home with simple ingredients and zero stress.

Author By Matt Campbell
4.8
A glass bottle and tumbler filled with creamy buttermilk on a wooden kitchen counter, with a small bowl of buttermilk and a whisk nearby in soft natural light

Buttermilk is one of those quietly powerful ingredients that makes everything taste more like itself. Pancakes get fluffier, fried chicken gets juicier, biscuits get taller, and salad dressings suddenly have that tangy, creamy snap that makes you keep “taste testing” with a spoon.

This is a homestyle cultured buttermilk recipe. Not the old-school churn leftover from making butter, but the thick, tangy kind you buy at the store. The good news: you can make it at home with just milk and a little cultured buttermilk as your starter. No fancy gear, no weird ingredients, and it basically takes care of itself while you live your life.

Quick ways to use it: pancakes and waffles, biscuits and scones, buttermilk brines or marinades for chicken, ranch or creamy dressings, and quick breads like muffins and cornbread.

A close-up photo of thick cultured buttermilk dripping from a spoon back into a glass jar on a kitchen counter

Why It Works

  • Real tangy flavor and creamy body: Culturing gives you that gentle tartness and thickness that “milk + lemon” cannot replicate.
  • Reliable for baking: The acidity plays nicely with baking soda for lift, and it tenderizes doughs and batters.
  • Easy to keep going: Save a little from each batch as your starter and you have a low-drama buttermilk pipeline.
  • Flexible timing: Fermentation happens at room temp, and your kitchen decides the exact schedule. You just check for thickness and that clean, tangy smell.

Pairs Well With

  • A stack of fluffy buttermilk pancakes with melting butter and maple syrup on a white plate in morning light

    Fluffy Buttermilk Pancakes

  • Golden buttermilk biscuits split open with butter on a baking tray lined with parchment

    Easy Buttermilk Biscuits

  • Crispy fried chicken pieces cooling on a wire rack with a bowl of buttermilk marinade in the background

    Buttermilk Fried Chicken

  • A glass jar of creamy ranch-style dressing with herbs next to a plate of cut vegetables

    Homemade Buttermilk Ranch

Storage Tips

How to Store Homemade Buttermilk

  • Refrigerate: Store in a clean jar with a tight lid for about 1 to 2 weeks. Shelf life depends on cleanliness and how cold your fridge runs.
  • Know when to toss it: Discard if you see mold, any pink tint, fuzzy growth, or if it smells unpleasantly “off” (think rotten, not tangy).
  • Shake or stir before using: A little separation is normal. Bring it back together with a quick shake.
  • Save a starter: Reserve 1/4 cup from your fresh batch to culture the next one. For best results, use your saved starter within 7 to 10 days (older can still work, but may take longer to thicken).
  • Freezing: You can freeze buttermilk for baking in measured portions (ice cube tray or 1/2 cup containers) for up to 3 months. Texture can look slightly grainy after thawing, but it still works great in pancakes, muffins, and biscuits.

Common Questions

Common Questions

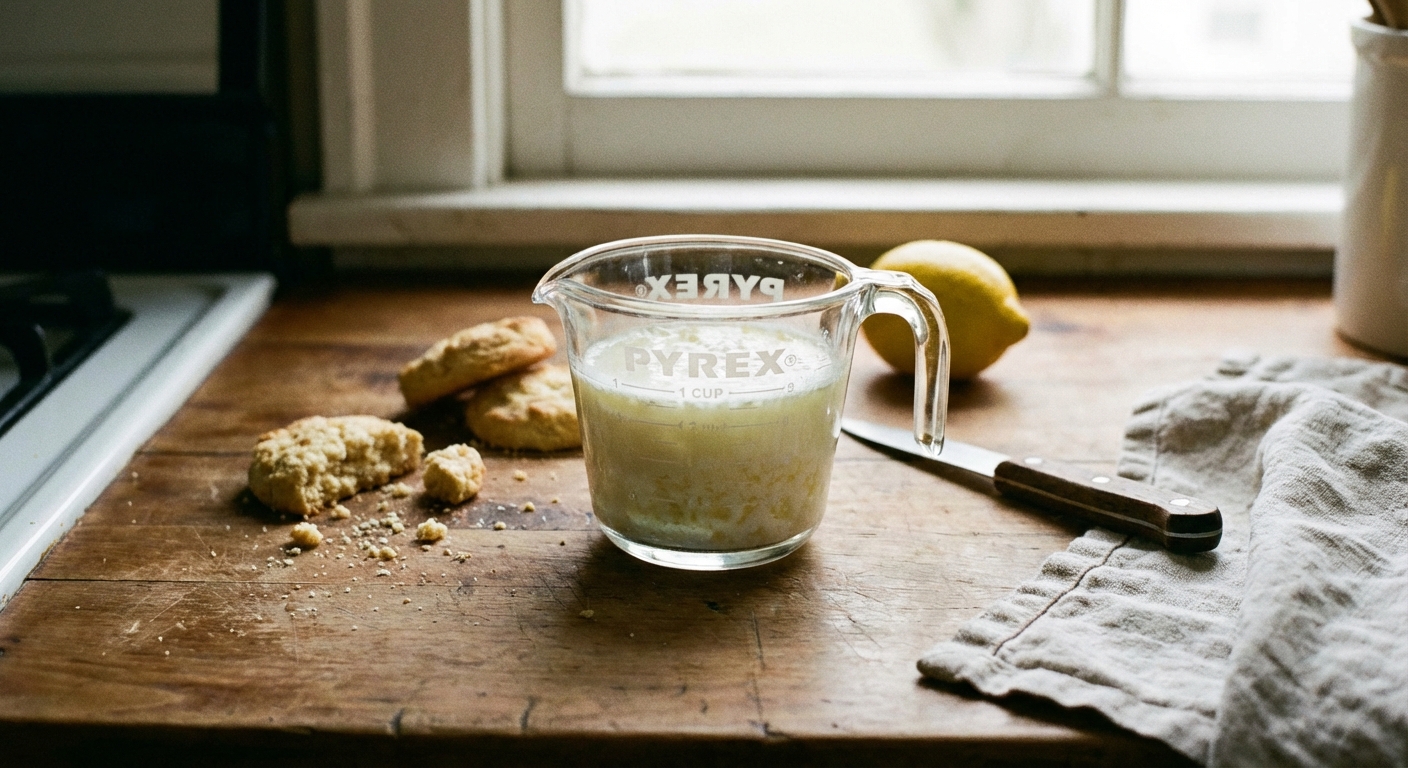
Is this the same as “milk + vinegar” buttermilk?

No, and I say that with love for shortcuts. Milk + vinegar (or lemon) is a good substitute for baking in a pinch because it adds acidity, but it does not develop the same creamy thickness or cultured flavor. This recipe makes actual cultured buttermilk.

Is it safe to leave milk out at room temperature?

Yes, when you are using live cultured buttermilk as a starter, this is a controlled lactic fermentation (the friendly bacteria acidify the milk and help crowd out the bad actors). Keep everything clean, culture at normal room temp, and discard anything that smells foul, looks pink, turns fuzzy, or shows any mold.

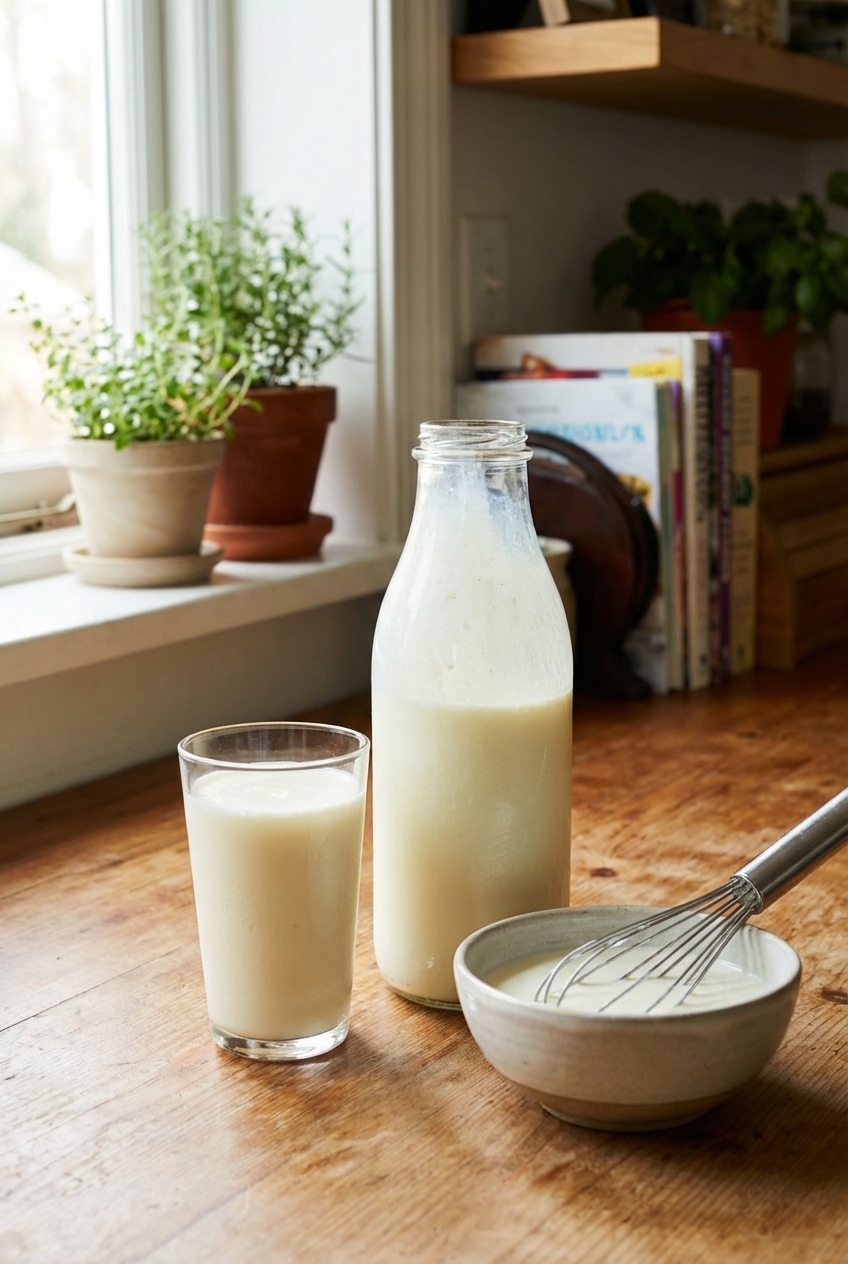
What kind of milk works best?

Whole milk gives the creamiest result. 2 percent works too, just slightly thinner. Regular pasteurized milk tends to thicken the most reliably. Ultra-pasteurized (UHT) milk can culture, but it may take longer or end up a bit less thick depending on the brand.

What starter buttermilk should I buy?

Use plain cultured buttermilk from the store. Check the label for “cultured” and ideally “live active cultures.” Avoid flavored buttermilk or anything with lots of stabilizers if you can.

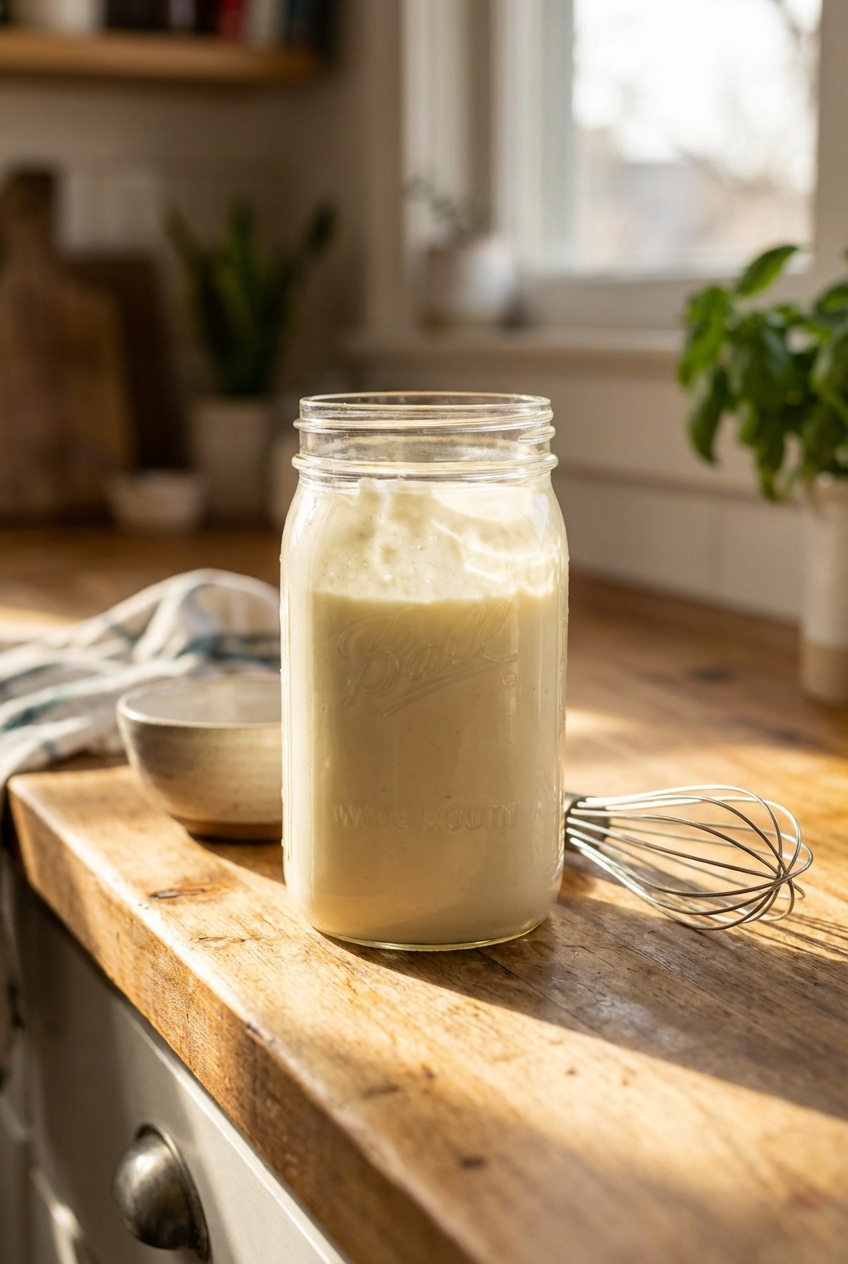
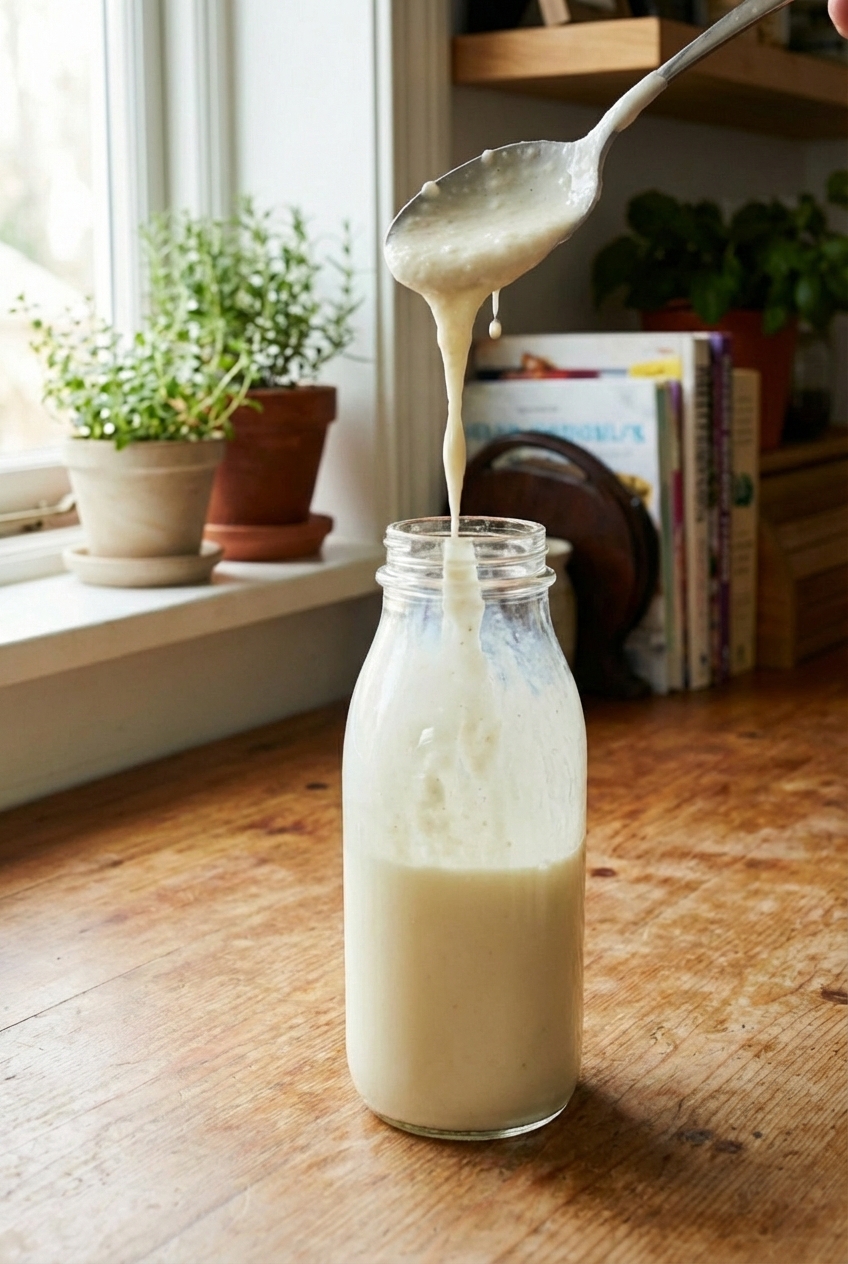
How do I know it is done?

It should look thicker, pour like a loose yogurt, and smell pleasantly tangy. A good visual cue: it should coat a spoon, and when you tilt the jar it often looks slightly set (not fully solid, but not plain milk either). If it smells foul, yeasty in a bad way, or looks pink, fuzzy, or moldy, toss it and start over.

Why did mine turn out thin?

Common causes: your kitchen was cool, your starter was old, or the milk was very low fat. Let it go longer (up to 36 hours), and next time use fresher starter and whole milk (and consider non-UHT milk for more reliable thickening).

Can I use homemade buttermilk as starter forever?

Usually you can keep it going for a while by always reserving some, but eventually the culture can weaken or drift. If it starts taking much longer to thicken or the flavor gets off, buy a fresh bottle and reboot the chain.

How do I scale this recipe up or down?

Easy rule of thumb: use about 1 tablespoon starter per 1 cup milk. This recipe uses 4 cups milk and 1/4 cup starter (that is 4 tablespoons), so it scales nicely.

I started making buttermilk at home for the same reason I start most kitchen projects: I needed it for one recipe, bought a whole carton, and then spent the rest of the week trying to “use it up” like it was a part-time job. Once I realized you can culture a fresh batch with a little bit of the last one, it clicked. Now it is always in my fridge, ready to turn weeknight chicken into something tender or make pancakes taste like Saturday morning, even when it is Tuesday.