
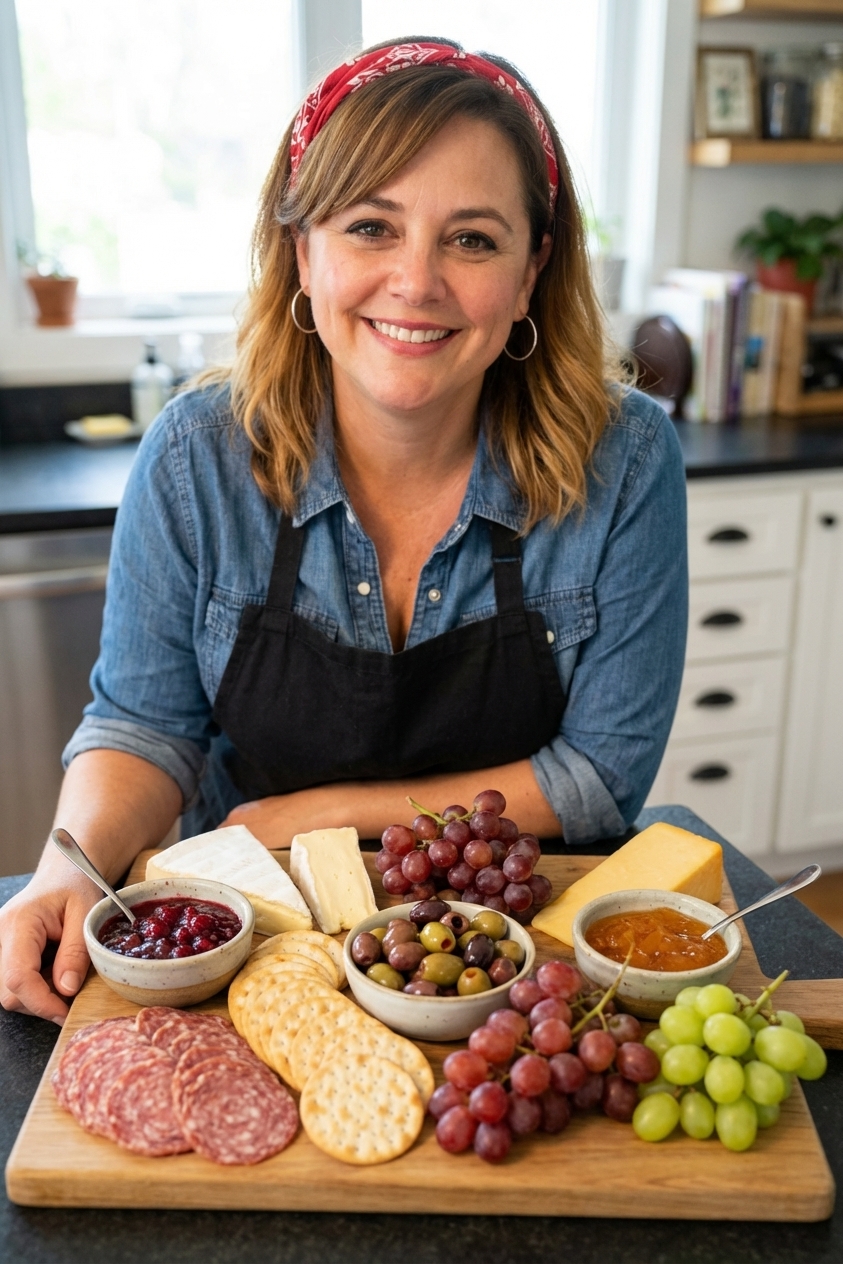
Charcuterie boards are part snack, part choose-your-own-adventure, part magic trick. You put a few good things on a board, add something crunchy and something sweet, and suddenly everyone is hovering in the kitchen like it is the main event.
This guide will help you build a board that is balanced, affordable, and easy to pull off, even if you are doing it between work emails and kid pickup. We will cover what to buy, how much to buy, how to arrange it so it looks full, how to cut cheeses so people actually eat them, how to keep everything safe on the table, and a couple simple ways to accommodate common dietary needs without turning it into a whole production.
How much to buy per person
The biggest charcuterie board fear is running out. The second biggest is buying enough to feed a small army. Here is the sweet spot, depending on whether the board is a snack or the meal.
Rule of thumb
- As an appetizer: plan 3 to 5 oz total food per person.
- As a light meal: plan 8 to 12 oz total food per person.
Quick reality check: appetites vary. If this is the only food, you are serving it at dinner time, or you have a crowd of big snackers, plan closer to the top of the range. If kids are involved (or dinner is coming soon), you can land closer to the lower end.
Simple breakdown per person
Use this to shop fast and stay balanced.
- Cheese: 1.5 to 2 oz (appetizer) or 3 to 4 oz (meal)
- Cured meats: 1 to 2 oz (appetizer) or 2 to 4 oz (meal)
- Carbs (bread, crackers): 1 to 2 oz (appetizer) or 2 to 3 oz (meal)
- Produce (fruit and veg): 1 to 2 oz (appetizer) or 2 to 4 oz (meal)
- Extras (nuts, olives, pickles, spreads): 0.5 to 1 oz (appetizer) or 1 to 2 oz (meal)
Quick scaling example: For 10 guests as an appetizer, aim for about 40 to 50 oz total. One easy split: 16 oz cheese, 12 oz meat, plus 12 to 22 oz combined crackers, fruit, and extras (crackers add up fast, which is good news for your budget).
Choose your board like an outfit
Your board does not have to be fancy. It just needs a little structure. Think: base layers, a few bold pieces, and accessories that make the whole thing pop.
The core formula
- 2 to 4 cheeses (a mix of textures)
- 2 to 3 meats (a mix of mild and bold)
- 2 crunchy carriers (crackers plus sliced baguette is a classic)
- 2 to 4 extras (pickles, olives, nuts, spreads)
- 1 to 2 fruits (fresh or dried, ideally both if you want it to look abundant)
What size board do you need?
Any flat surface works: a cutting board, sheet pan, serving platter, even a clean rimmed baking sheet lined with parchment for easy cleanup.
- Small group (2 to 4): 12 to 14 inch board
- Medium (6 to 8): 16 to 18 inch board
- Large (10+): use two boards or go table-style with multiple platters
Pick cheeses that cover the bases
If you only remember one thing: variety beats rarity. A board with a sharp cheddar, a creamy brie, and a salty aged cheese will outperform a board that is all expensive and all the same texture.
A foolproof 3-cheese lineup
- Something firm and familiar: sharp cheddar, gouda, manchego
- Something soft and creamy: brie, camembert, chèvre (goat cheese)
- Something bold or funky: blue cheese, washed rind, smoked cheddar
Salty aged cheese ideas: Parmigiano Reggiano, pecorino, or aged gouda.
Good budget moves
- Buy one nicer cheese and keep the rest friendly and accessible.
- Look for store-cut wedges instead of pre-packaged slices.
- Choose cheeses that do not require special handling if you are hosting in a warm room (aged gouda beats a super runny triple cream for a long party).
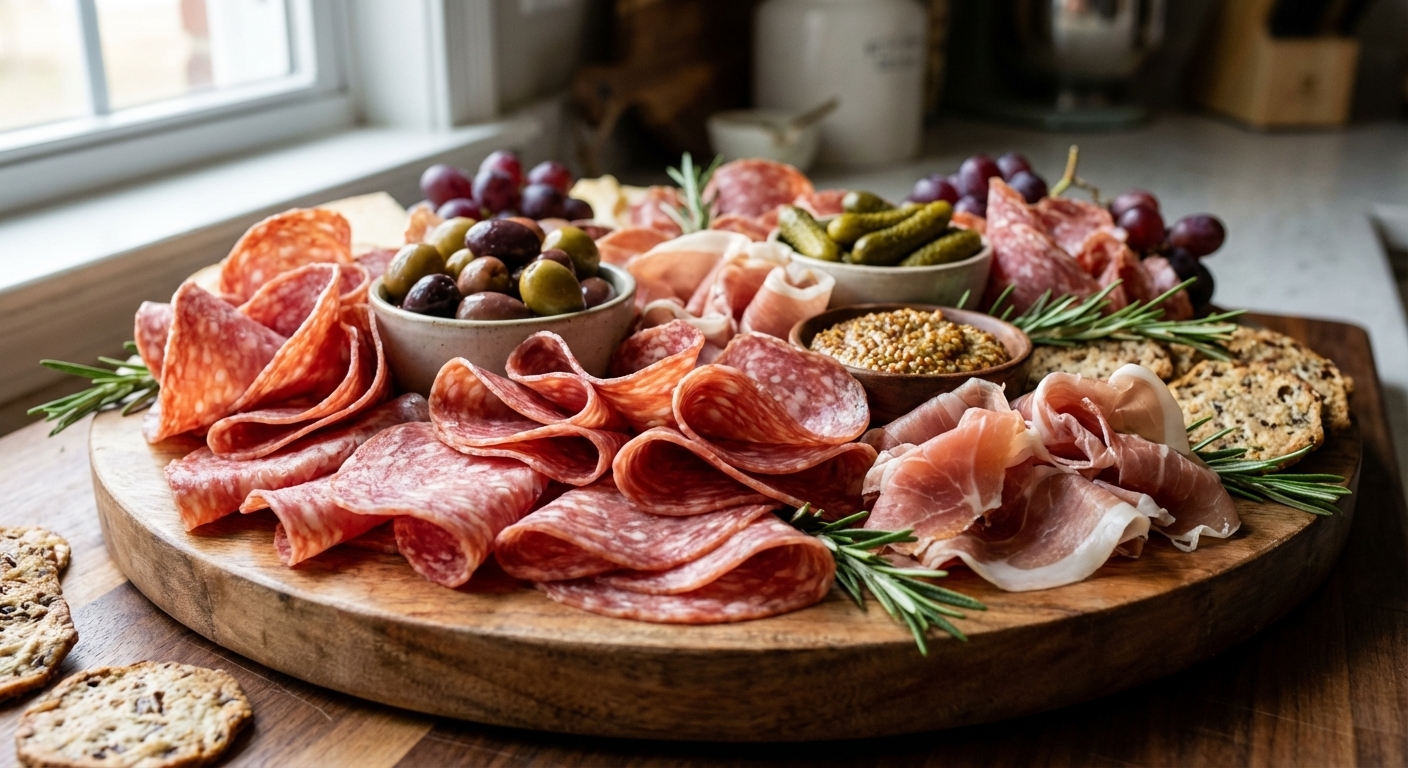
Pick meats with contrast
Meats are where the board gets its savory backbone. You want a mix of salty, spicy, and fatty so every bite can be different.
Easy meat mix-and-match
- Salami: Genoa, soppressata, peppered salami
- Thin-sliced deli-style: mortadella, capicola
- Thin and silky: prosciutto
- Spreadable: pâté or liver mousse (optional, but impressive)
Serving tip: If you buy a large pack of one meat, split it into two piles on opposite sides of the board. It looks fuller instantly.
Cut cheese so people eat it
Most boards fail in one very specific way: the cheese is there, but nobody wants to be the first person to hack into a wedge with a butter knife. Pre-cutting solves that. It also makes the board look more intentional.
How to cut common cheese shapes
- Wedges (cheddar, manchego): slice into thin triangles or sticks. Keep a few larger pieces for visuals, but make sure the majority are grab-and-go.
- Rounds (brie, camembert): cut like a pie into small wedges. If it is very soft, chill 20 minutes first for clean cuts.
- Logs (goat cheese): slice into coins. Add a small knife for spreading.
- Blocks (gouda, havarti): cubes or rectangular sticks. Cubes are easy but sticks feel more board-like.
- Blue cheese: small crumbles or tiny wedges. A little goes a long way.
Tools that help
- One small cheese knife per soft cheese if you have it.
- A regular chef knife works fine for firm cheeses.
- Toothpicks or small forks are great for olives and pickles, and they keep hands off the food.
- Allergen sanity saver: use separate knives for blue cheese and strong cheeses, and do not let the jam spoon dip into a mustard bowl (we have all seen it).
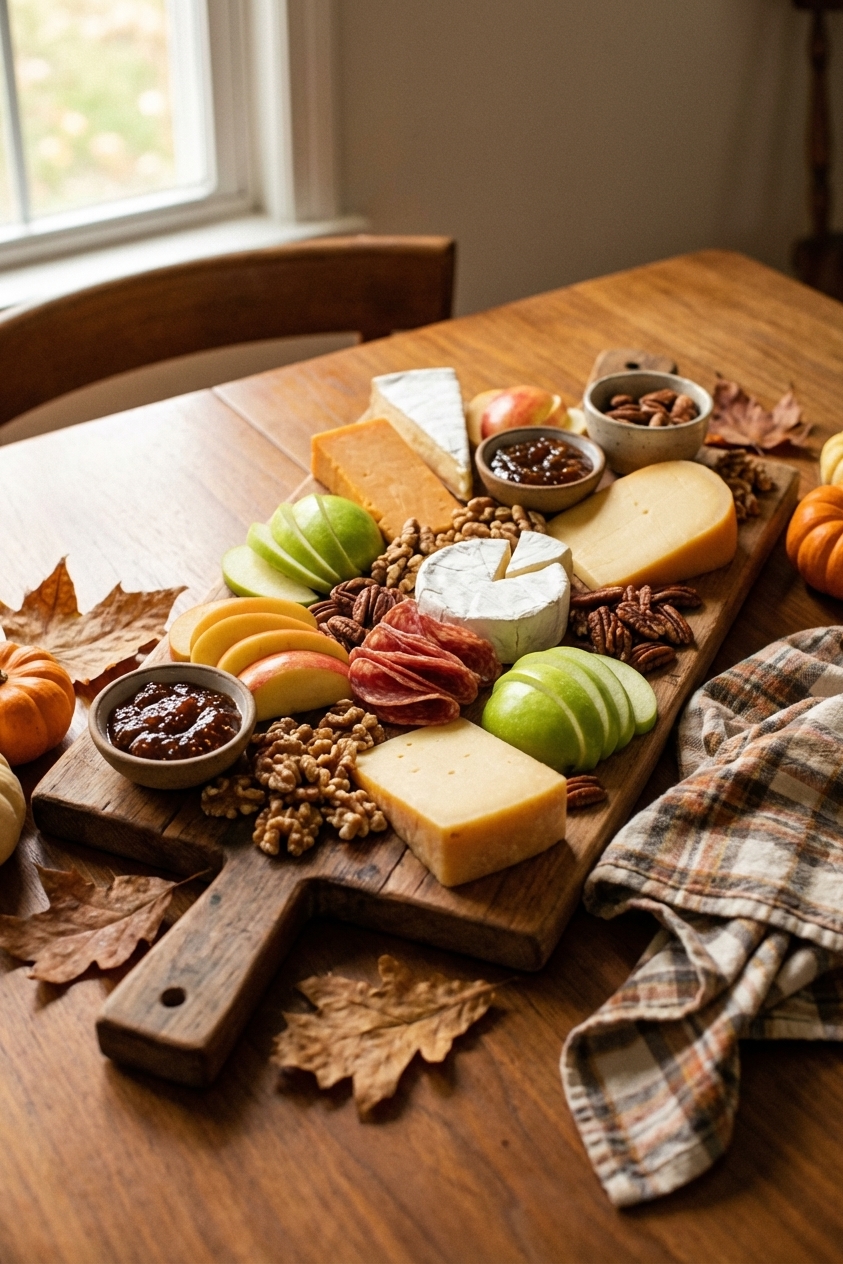
Layout: build a landscape
If you dump everything on randomly, it can still taste good, but it will look chaotic in the “I am stressed” way, not the “I am fun” way. Here is the layout formula that makes boards look full and effortless.
Step-by-step layout
Start with bowls and big anchors. Place 2 to 5 small bowls first (jam, honey, olives, nuts). Then place your biggest cheese pieces (brie wheel, large wedge). This creates structure.
Add meats in loose folds. Ribbons and rosettes look fancy, but a simple fold is enough. The goal is height and texture.
Fill gaps with crunchy carbs. Crackers go in little piles, not one sad row. Sliced baguette can fan out like cards.
Bring in color with fruit and veg. Grapes, berries, apple slices, and cherry tomatoes are your board’s “makeup.” Put them in clusters.
Finish with tiny fillers. Nuts, dried fruit, pickles, and chocolate pieces fill empty spaces and make it look abundant.
The no-empty-wood trick
Leave a little negative space, but not a lot. If you see wide areas of bare board, add a small pile of almonds, a few dried apricots, or tuck in extra crackers.
Pairings that never miss
Pairing is just balancing salty, sweet, acid, and crunch. You do not need a sommelier brain. You need one bright thing and one sweet thing for every rich thing.
Classic pairings
- Brie + fig jam + sliced baguette
- Sharp cheddar + apple slices + whole grain mustard
- Manchego + Marcona almonds + honey
- Blue cheese + pear + walnuts
- Prosciutto + melon or ripe peach (seasonal win)
- Salami + cornichons + crackers
My favorite make-it-pop extras
- Something briny: castelvetrano olives, cornichons, pickled onions
- Something sweet: pepper jelly, hot honey, apricot preserves
- Something crunchy: pistachios, pretzel thins, seeded crackers
- Something fresh: herbs like rosemary sprigs or thyme (also makes it look fancy with zero effort)
Easy dietary swaps
You do not need a separate board for every preference. A couple smart add-ons covers a lot of ground.
- Gluten-free: add one box of gluten-free crackers and keep them in their own little pile (or bowl) with a dedicated serving spoon or tongs.
- Vegetarian: add marinated artichokes, roasted red peppers, hummus, and extra nuts or fruit. (The board still feels “full” without adding more cheese.)
- Pescatarian: smoked salmon, canned smoked trout, or a little bowl of lox-style spread works beautifully with crackers and cucumbers.
- Nut-free option: swap nuts for roasted chickpeas, popcorn, sesame sticks, or extra olives.
Quick safety note for allergens: if you are serving nuts, put them in a bowl and consider a small label. It helps guests and keeps nut dust from traveling across the whole board.
Seasonal themes
Seasonal boards are just regular boards with one strong idea. Choose a color palette or a signature ingredient, then repeat it a few times.
Spring
- Goat cheese, strawberries, snap peas, lemony hummus, pistachios
- Add fresh herbs and edible flowers if you have them
Summer
- Prosciutto, melon, peaches, burrata or fresh mozzarella, basil
- Swap heavy crackers for baguette and crispbread
Fall
- Sharp cheddar, aged gouda, apples, pears, candied nuts, fig jam
- Add a small bowl of roasted salted pepitas
Winter
- Blue cheese or gorgonzola, dried fruit, rosemary nuts, orange slices, dark chocolate
- Lean into cozy carbs like baguette and buttery crackers
Food safety timing
Charcuterie boards are a room-temperature situation, which means timing matters. The good news: you can still prep a lot ahead.
How long can a board sit out?
- General rule (perishables): Per USDA guidance, perishable foods should not sit out more than 2 hours at room temperature. This includes cured meats, soft cheeses, and cut produce.
- If it is hot (90°F or above): keep it to 1 hour.
If your party is longer, do a two-board strategy. Put out a smaller board first, restock from the fridge, or bring out a second fresh board later.
What can sit out longer (lower risk)
- Hard crackers and bread (quality declines, but safety is generally fine)
- Nuts and dried fruit
- Hard cheeses are less risky than soft cheeses, but they still do best with the same 2-hour rule if you want to play it safe
Fruit: wash it, dry it, then serve it
- Wash fruit ahead of time and dry it completely so you are not adding extra water to the board (soggy crackers are a real mood-killer).
- For grapes and berries, wash, dry, and keep chilled. Add them right before serving.
Make-ahead plan
- Up to 2 days ahead: buy everything, wash and completely dry grapes and berries, prep pickles and olives, make or buy spreads.
- 1 day ahead: cut firm cheeses, store airtight. Slice hearty veg like cucumbers.
- 1 to 2 hours before: slice apples or pears (toss with a little lemon), fold meats, set out bowls and utensils.
- Right before serving: add soft cheeses, crackers, and bread so they stay fresh.
Printable-style checklist
Copy and paste this into your notes app, or print it and stick it on the fridge while you build.
Shopping list (pick your options)
- Cheese (2 to 4): firm, soft, bold
- Meat (2 to 3): salami, prosciutto, mortadella or capicola
- Carbs (2): crackers, baguette or crostini
- Fresh fruit (1 to 2): grapes, berries, apples, pears, melon
- Dried fruit (1): apricots, dates, cranberries
- Briny (1 to 2): olives, cornichons, pickled onions
- Crunch (1): almonds, pistachios, walnuts
- Spread (1 to 2): fig jam, honey, mustard, pepper jelly
- Diet-friendly add-on (optional but smart): gluten-free crackers
- Optional extras: dark chocolate, hummus, roasted peppers
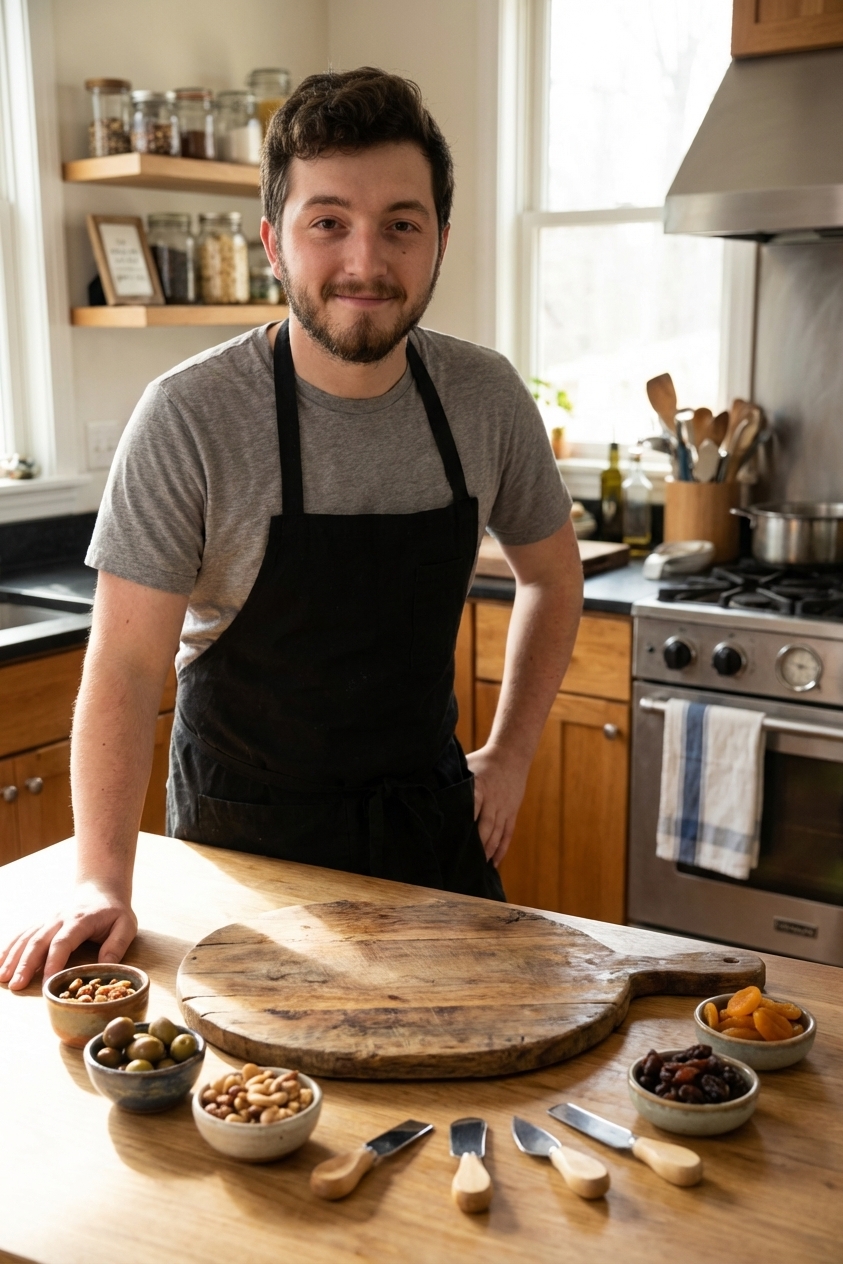
Tools and setup
- Board or large platter
- 2 to 5 small bowls
- Cheese knife or small knives
- Small spoon for jam and honey
- Tongs or toothpicks for olives and pickles
- Paper towels (wipe the board as you go)
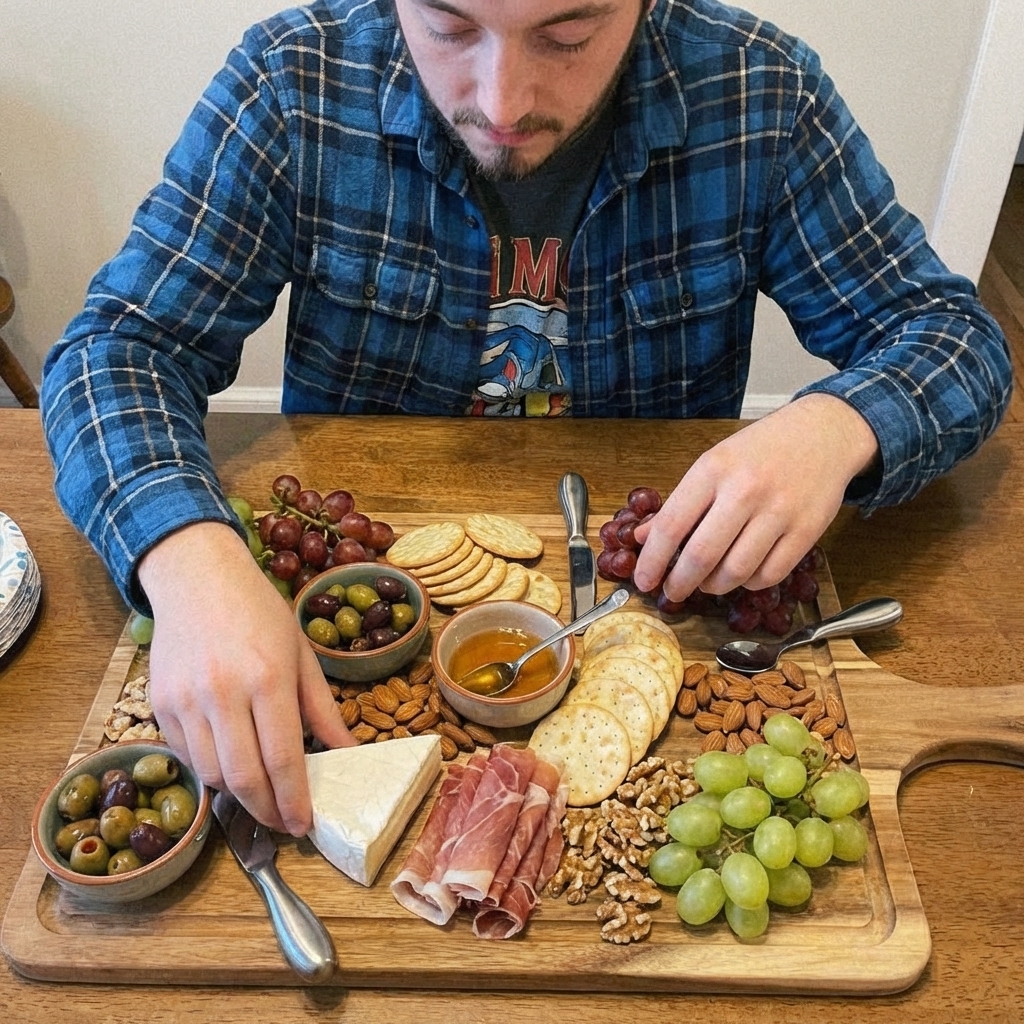
Build order
- Place bowls first
- Add cheeses (pre-cut most of it)
- Add meats (fold for height)
- Add crackers and bread
- Add fruit and veg in clusters
- Fill gaps with nuts and dried fruit
- Add utensils to every spread and soft cheese
Common problems and fixes
It looks sparse
- Add more crackers in two or three small piles.
- Split one ingredient into multiple clusters.
- Fill gaps with nuts, dried fruit, or extra grapes.
People hover but do not grab
- Pre-slice the cheese more.
- Add toothpicks for olives and pickles.
- Put a small stack of cocktail napkins right next to the board.
Everything tastes flat
- Add one acidic item (cornichons, pickled onions, marinated artichokes).
- Add one spicy item (pepper jelly, chili crisp, spicy salami).
- Add flaky salt next to tomatoes or mozzarella if you are using them.
Quick board ideas
The Weeknight Board (4 people, light meal)
- Sharp cheddar, brie, salami, prosciutto
- Crackers, baguette
- Grapes, apple slices
- Olives, mustard, almonds
The Kid-Friendly Board (snack party)
- Colby jack, mild cheddar, turkey or ham, pepperoni
- Pretzel thins, buttery crackers
- Strawberries, grapes
- Pickles, honey, chocolate pieces
The Fancy-But-Not-Fussy Board
- Manchego, goat cheese, smoked gouda
- Soppressata, prosciutto
- Fig jam, hot honey
- Pistachios, cornichons, pears
- One small pile of gluten-free crackers (separate area)
Charcuterie boards are supposed to feel generous, not stressful. If you have a good cheese, a good salty meat, something crunchy, and something bright, you have the foundation. From there, it is just arranging and tasting as you go, which is the most fun part anyway.