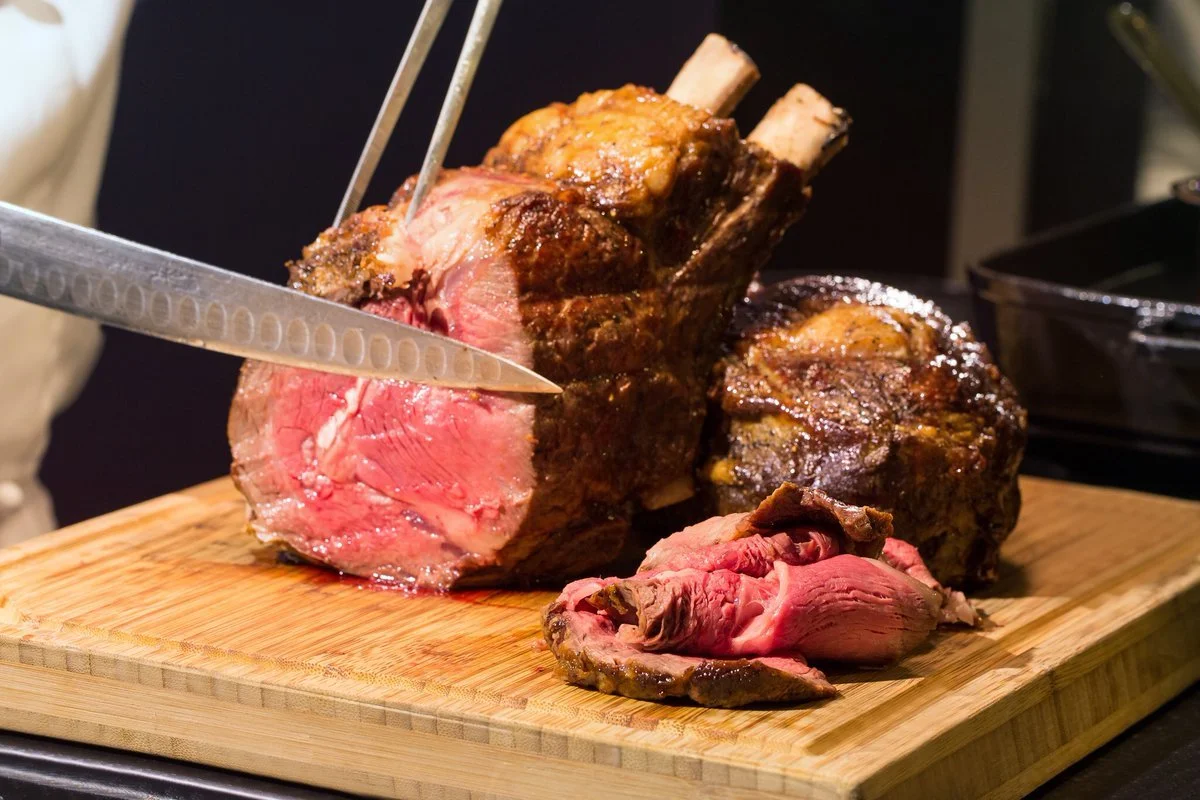
Prime rib has a certain holiday sparkle to it, but carving can feel like the dramatic final exam. The good news is that carving is mostly about two things: letting the roast rest and slicing the right direction. Once you have those down, the rest is just tidy knife work and a little confidence.
Before you carve: resting matters
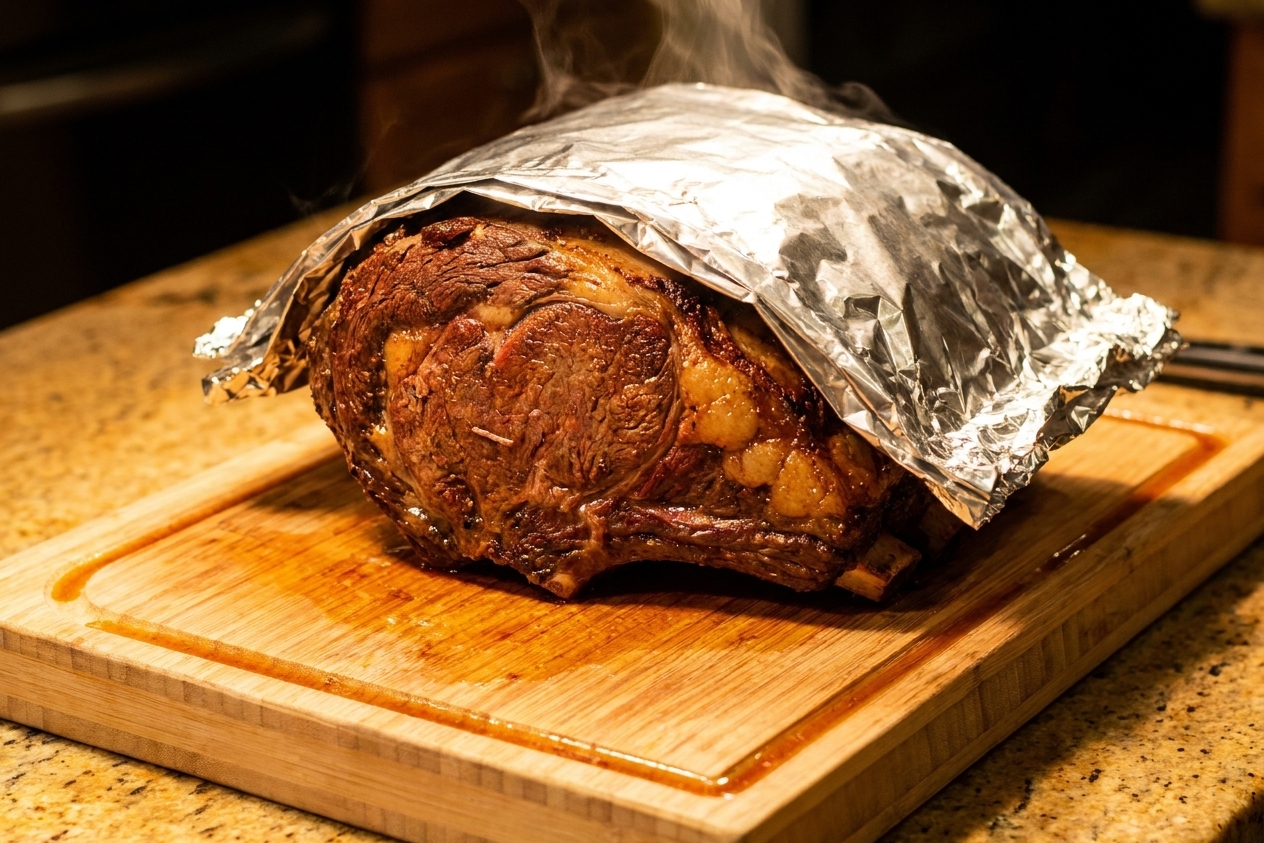
If you cut too soon, the juices that should stay in the meat will run onto the board instead. Resting lets the roast relax so each slice stays juicy.
- Good baseline rest: about 20 to 30 minutes
- Big roasts often do better: 30 to 60 minutes (depending on size and how hot it is)
How to rest it: Set the roast on a cutting board with a groove or a rimmed sheet pan. Tent loosely with foil if you like, but do not wrap it tight. Tight foil traps steam and can soften your crisp exterior.
Tools that make it easier
You do not need a fancy kit, but the right basics make cleaner slices.
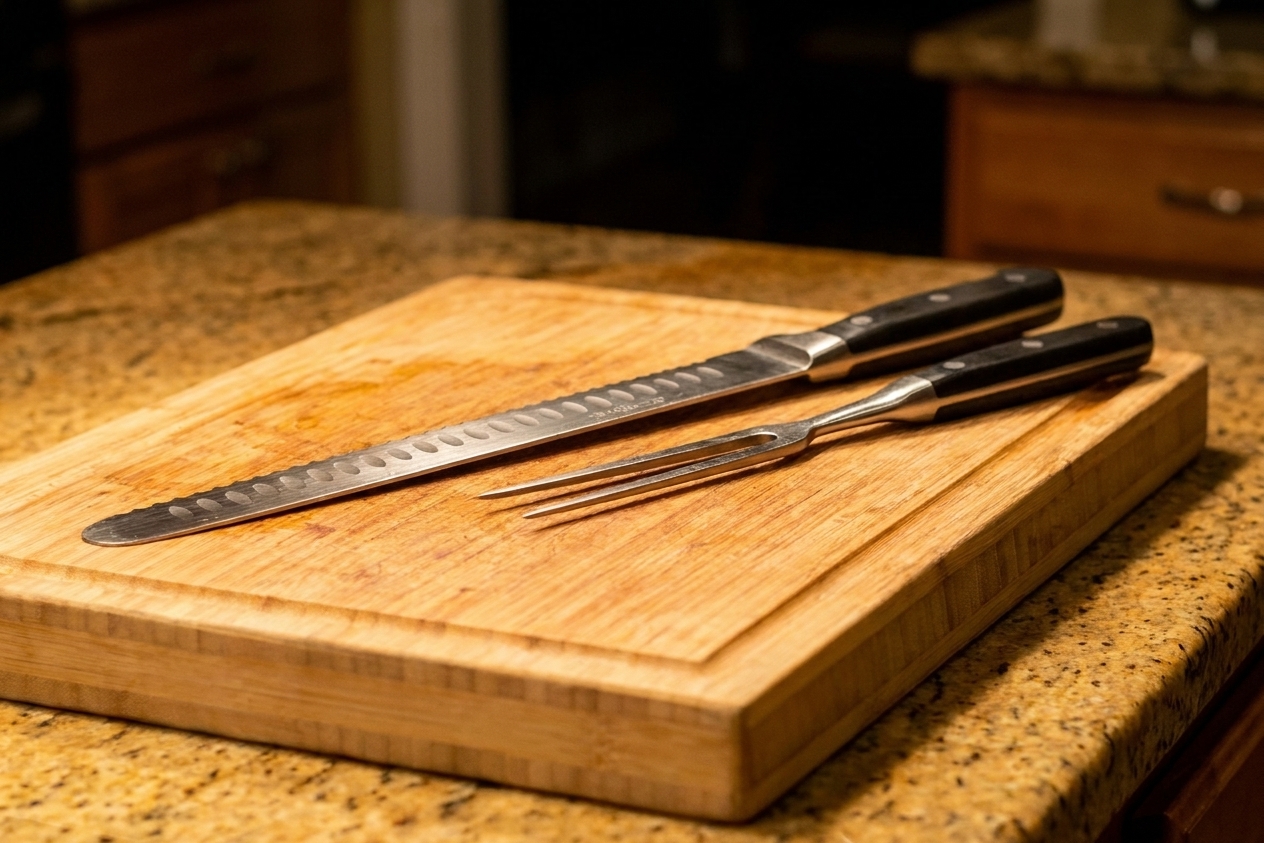
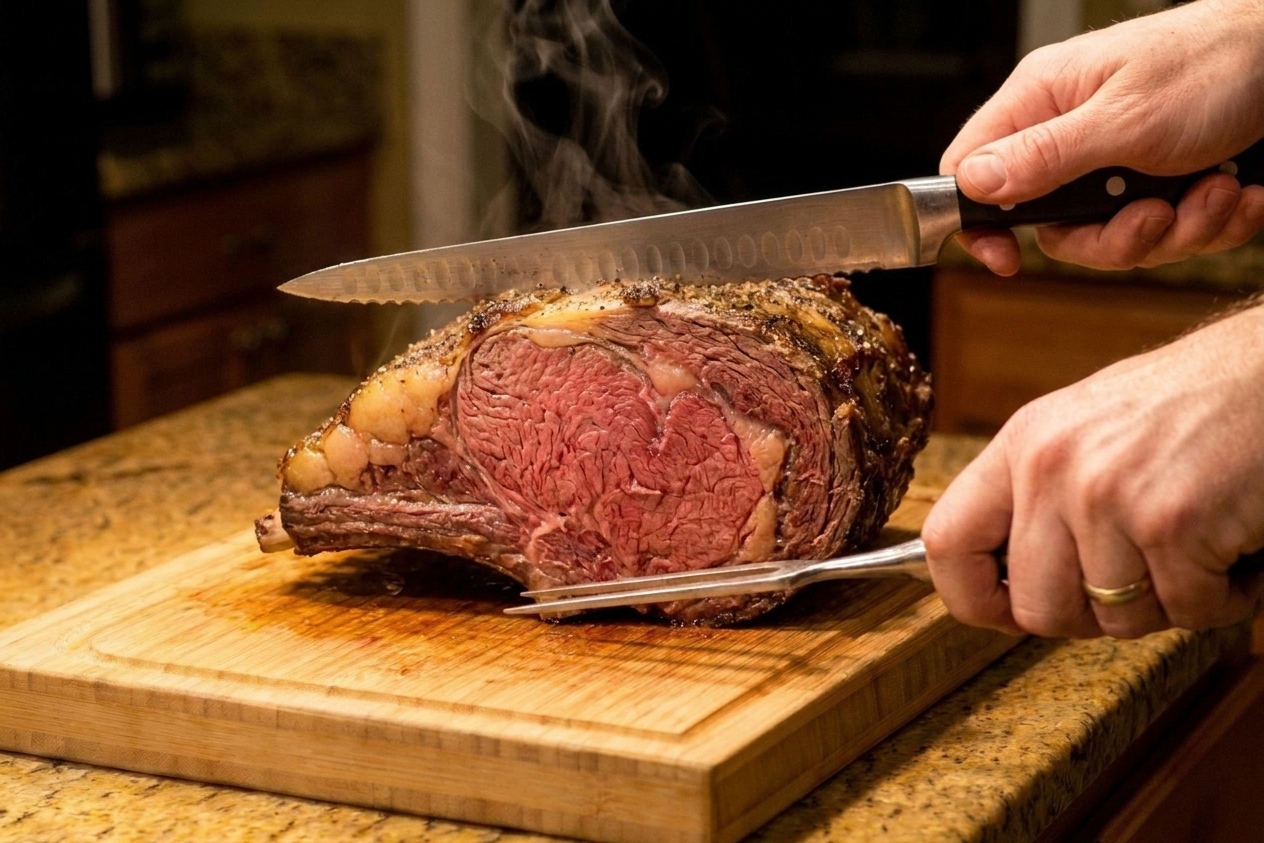
- Long carving knife or slicing knife: Look for a blade long enough to make each slice in one smooth motion.
- Carving fork or sturdy tongs: To steady the roast without poking a bunch of extra holes.
- Cutting board with a juice groove: Prime rib is juicy. Give those juices a place to go.
- Optional: Boning knife for removing bones, and kitchen shears if the roast is tied.
Quick knife tip: A sharp knife is safer than a dull one because you do not have to press as hard. If you find yourself sawing, pause and sharpen.
Quick safety tip: Slide a damp kitchen towel under your cutting board to keep it from skating around while you slice.
How to carve bone-in prime rib
Bone-in prime rib has the ribs attached, which can help lift and protect the underside as it roasts. When it comes time to carve, you have two options: carve slices right on the bone, or remove the bones first. Most home cooks find it easiest to remove the rib bones first, then slice the boneless portion cleanly.
Step 1: Position the roast
Set the roast on the cutting board with the bones down if it is standing rib style. You want it stable, not wobbling.
Stability tip: If the fat cap makes the roast feel slippery, rotate it so the flattest, most stable side is down. You can keep the fat cap on, just make sure the roast is not rocking.
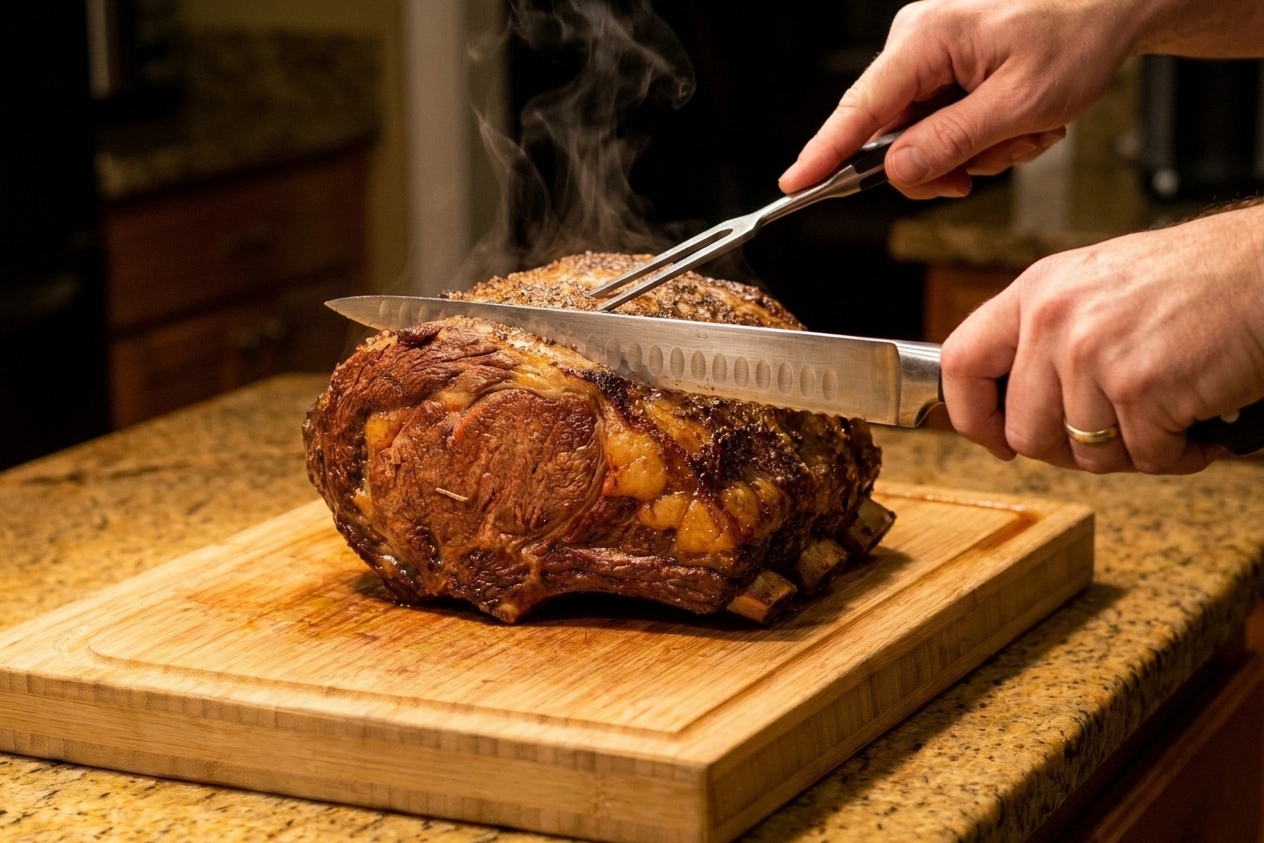
Step 2: Find the seam and remove the rib bones
Look along the base where the ribs meet the roast. There is usually a natural seam of fat and connective tissue.
- Hold the roast steady with a carving fork or tongs.
- Using a boning knife or carving knife, slice along the curve of the bones, keeping the blade as close to the ribs as you can.
- Work slowly. Let the knife glide through the seam instead of forcing straight down.
Shortcut if your roast was cut and tied: Some roasts are sold with the bones separated, then tied back on. If you see twine around the roast, snip the strings and lift the bone rack away.
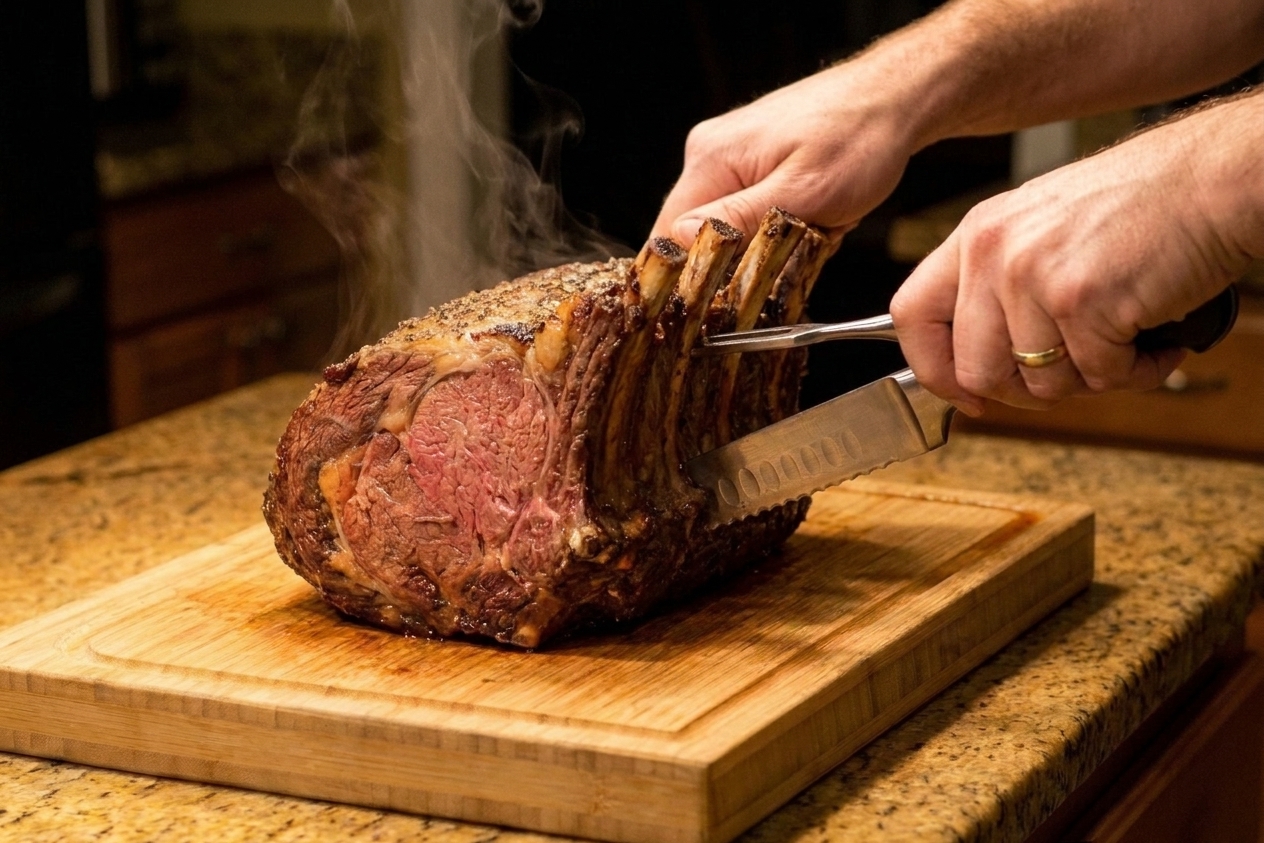
Step 3: Save the bones
Do not toss them. Those ribs are a chef’s treat.
- Slice between bones to make individual beef ribs.
- Or keep the rack whole to nibble on later.
Step 4: Slice the roast against the grain
Once the bones are off, treat it like a boneless roast. Find the grain, which is the direction the muscle fibers run. Then slice across those lines, not with them.
How to spot the grain: Look at the cut face of the roast. You will see fine lines. Slice perpendicular to those.
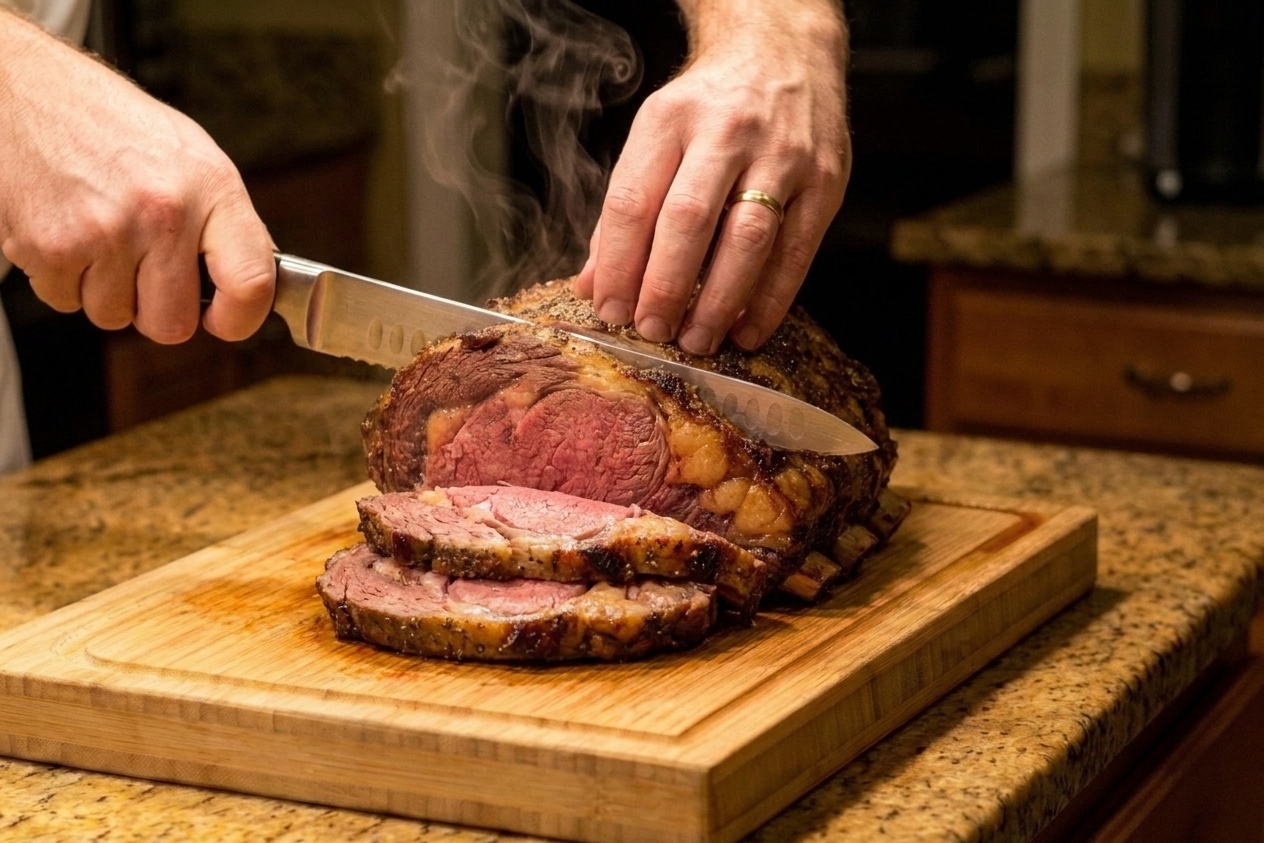
How to carve boneless prime rib
Boneless prime rib is straightforward: let it rest, steady it, then slice cleanly. The main trick is keeping the roast from sliding around.
Step 1: Stabilize it
- Set it on a cutting board so the flattest side is down. If the fat cap is rounded and slippery, rotate the roast until it sits solidly.
- If it is tied, you can leave the twine on for the first few slices to help it hold its shape, then remove it as you go.
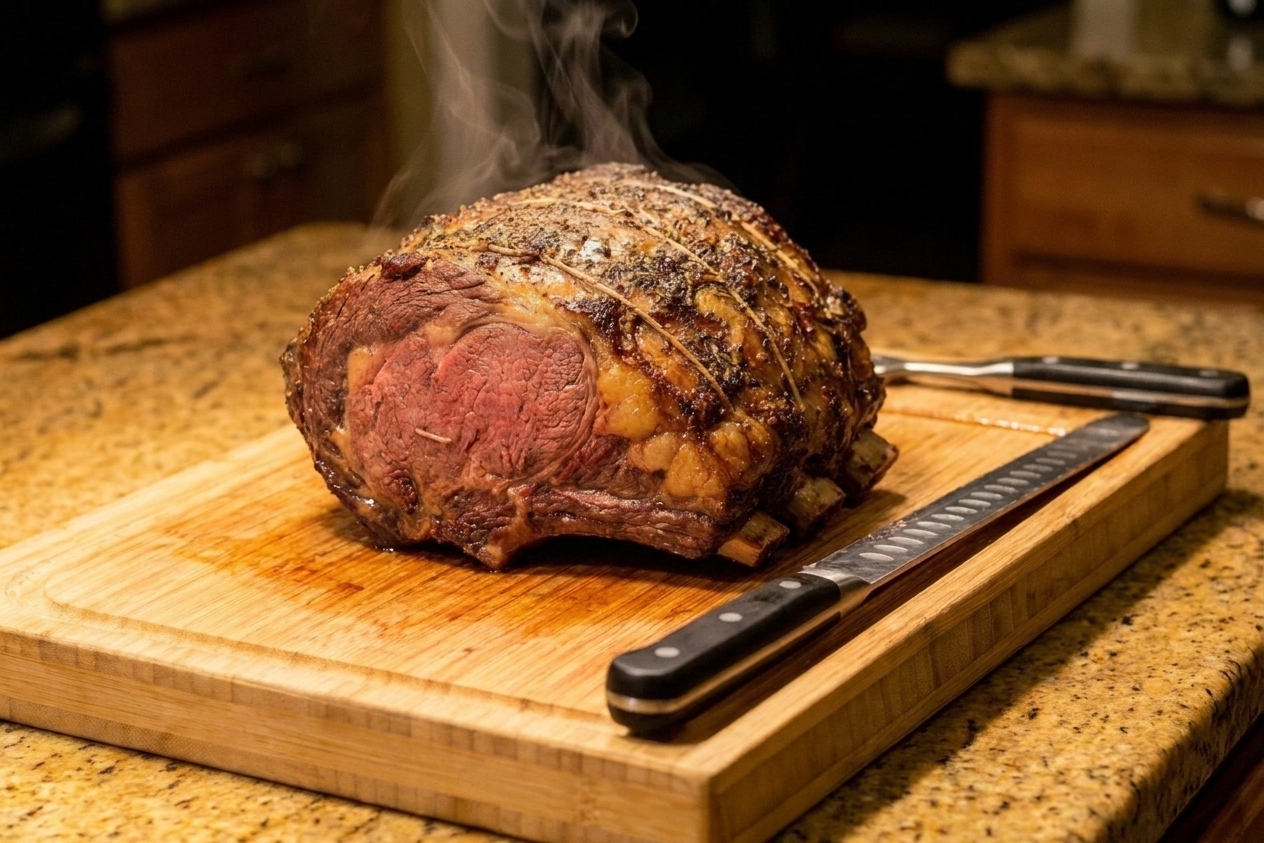
Step 2: Slice in smooth strokes
Use long, confident strokes rather than short sawing. You are aiming for slices that look like they belong on a celebration platter. If you are unsure about grain direction, check the cut face and angle your knife so you are cutting across the fibers.
Step 3: Keep it together for a showy look
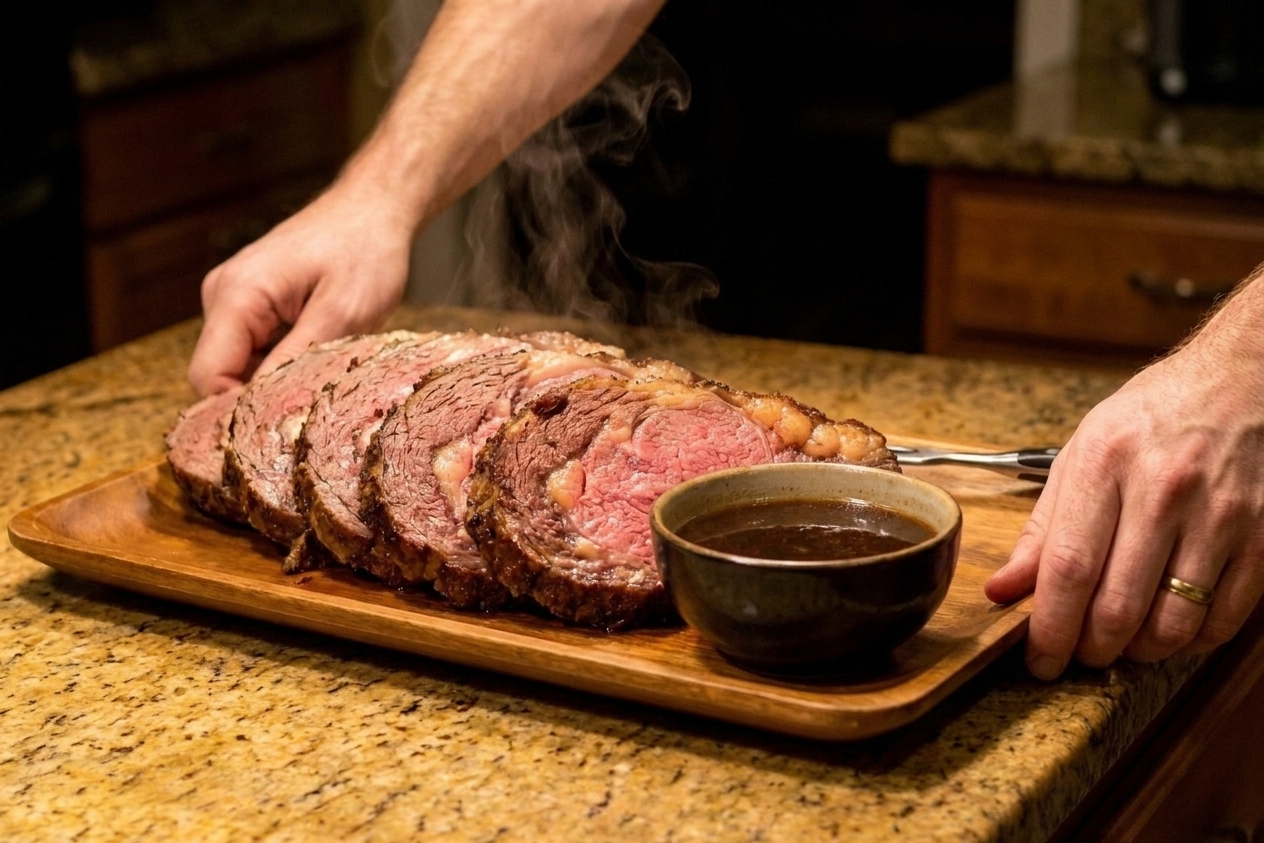
If you are carrying the platter to the table, you can slice most of the way through, then fan the slices slightly. It looks fancy and helps keep everything warm a bit longer.
Slice thickness: end vs center
This is where you get to please everyone at the table.
Center cuts
- Best for: Tender, evenly pink slices with a balanced amount of fat
- Thickness: About 1/2 inch is a happy middle for most guests
- Extra special: Go 3/4 inch for steakhouse style plates
End cuts
- Best for: Folks who love more seasoning and more browned exterior
- Thickness: 1/2 to 3/4 inch so the crust-to-meat ratio stays generous
If someone wants it more done: Offer an end piece or a slice closer to the very ends. If you need to warm slices, do it gently in a little au jus, not in a hot dry pan.
Hosting tip: A rough planning number is about 2 slices per person for average portions (more if you cut thin, fewer if you cut thick). If you are feeding big appetites, plan for thicker cuts and a few extra end pieces.
Cutting against the grain
Prime rib can have muscle groups that change direction a bit as you move down the roast. If you notice the fibers shifting, adjust your slicing angle. Perfect is not required, but cutting across the fibers makes each bite more tender.
Plating and serving
Prime rib is a centerpiece. A few small touches make it feel extra cozy and special.
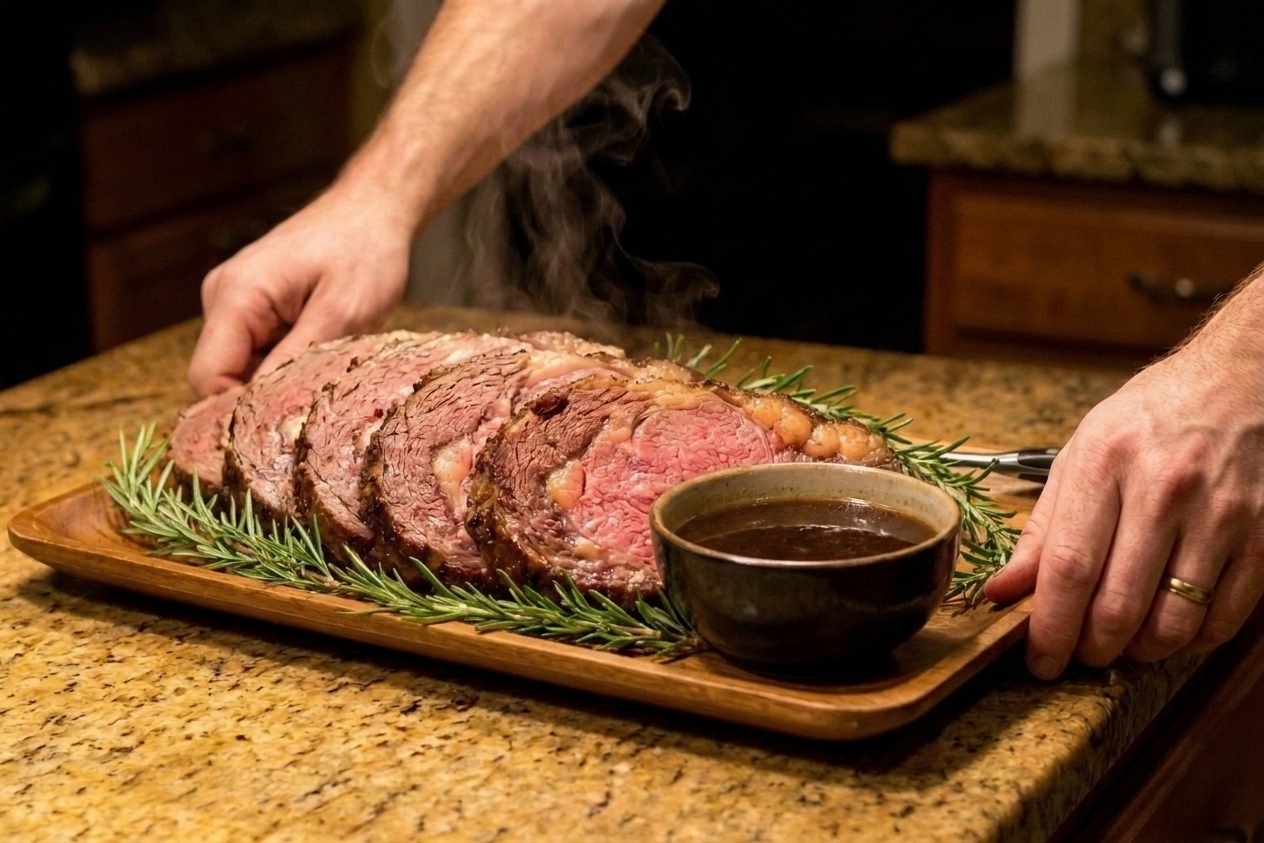
- Warm the platter: A warm platter helps keep slices from cooling fast.
- Fan slices slightly: Alternate center and end cuts so everyone can pick their favorite.
- Add au jus on the side: Serve in a small bowl or gravy boat so slices do not get soggy.
- Finish with a pinch of flaky salt: Just a tiny sprinkle on the crust side can wake up the flavor.
Common carving hiccups
Slices look shredded
Likely cause: Dull knife or sawing motions. Fix: Sharpen and use longer strokes.
Juices flood the cutting board
Likely cause: Not rested long enough. Fix: Next time rest a bit longer, especially for larger roasts. For now, spoon juices over the sliced meat on the platter.
Meat feels tougher than expected
Likely cause: Slicing with the grain or slices too thick for that particular roast. Fix: Turn the roast and slice across the fibers. Cut slightly thinner slices for easier chewing.
Crust falls off in patches
Likely cause: Pressing down too hard or using a serrated knife that grabs. Fix: Use a smooth slicing knife and let the blade do the work.
FAQ
Should I carve prime rib in the kitchen or at the table?
Either works. For less pressure and tidier slices, carve in the kitchen where you have space and tools. If you love the big-table moment, remove the bones and make the first few slices in the kitchen, then present and finish slicing at the table.
Do I remove the fat cap before slicing?
Usually, no. A little fat is part of prime rib’s charm. If there is an extra-thick layer that some guests will not enjoy, you can trim a portion after resting and before slicing.
How do I keep sliced prime rib warm without overcooking it?
Keep slices loosely fanned on a warm platter and serve promptly. If you must hold it, spoon a little warm au jus over the slices and tent lightly with foil. Avoid high heat, which quickly pushes the interior from rosy to gray.
What do I do with the bones?
Slice them into individual ribs and serve as a bonus treat, or save them for a rich stock. Either way, they are too delicious to ignore.