
Sourdough starter maintenance sounds like a lifestyle until you realize it is just a tiny routine: feed it, keep it warm enough to work, and do not drown it in flour you will never use. This guide is the “tell me what to do on Tuesday” version, with ratios, schedules, storage, and troubleshooting that works in a real kitchen.
Starter basics in one minute
A sourdough starter is a living culture of wild yeast and bacteria that eats flour and water. When you feed it, you are refreshing its food supply and diluting built-up acidity so the yeast can keep doing its job.
- Feed: Add fresh flour and water.
- Discard: Remove some starter before feeding so the jar does not become a five-gallon science project.
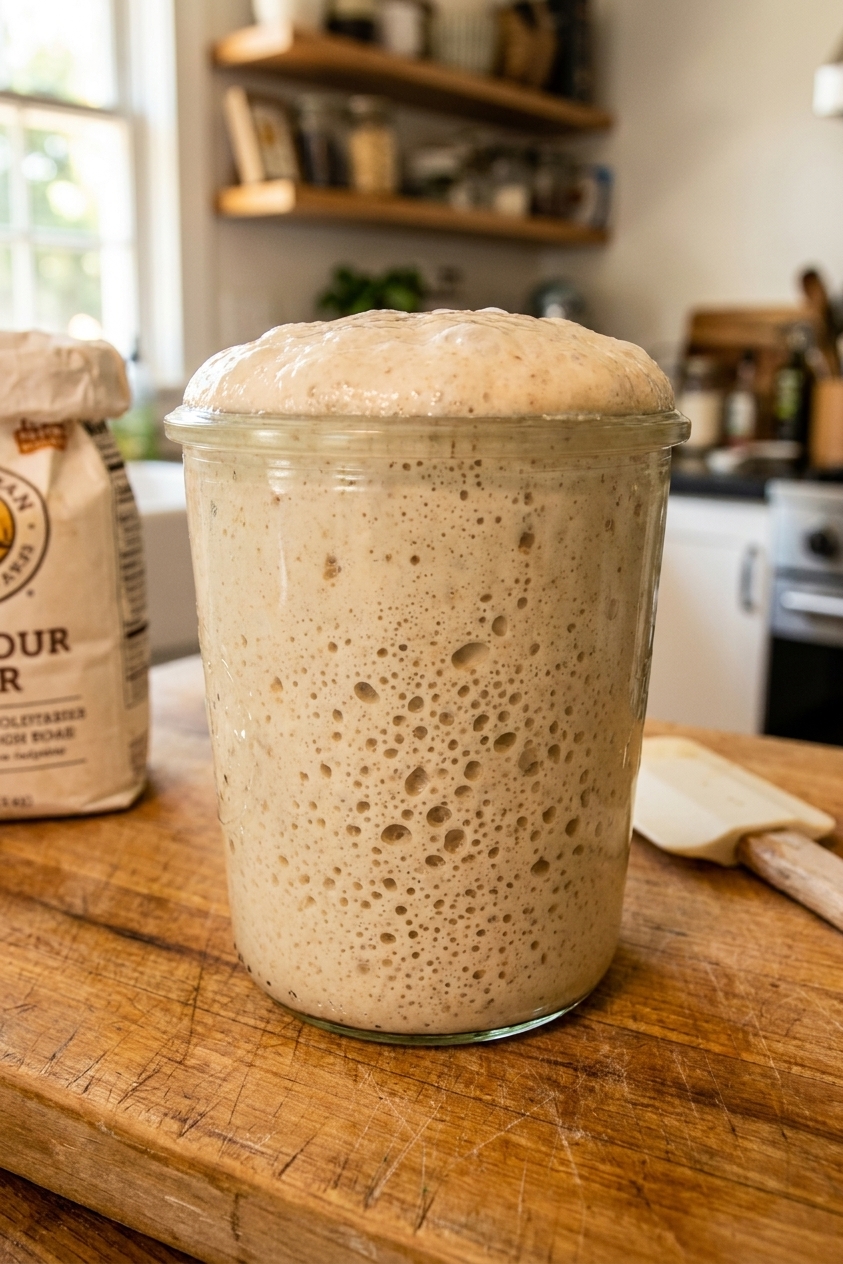
- Peak: The time when the starter has risen to its maximum and looks airy and domed.
- Hooch: A gray or brown liquid layer. Most often a sign of hunger or over-fermentation, but it can also happen after long cold storage or big temperature swings even when the starter is otherwise fine.
Feeding ratios (and what they mean)
You will see sourdough feeding written like this: starter : water : flour. The ratio tells you how much fresh food you give compared to how much old starter you keep.
My go-to ratios
- 1:1:1 (fast and casual): Good for daily room temperature feeding and for bringing a sluggish starter back when you can watch it.
- 1:2:2 (steady): A great default for most kitchens. More food, less sourness, more predictable timing.
- 1:5:5 (slow burn): Useful if your kitchen is warm, you want a longer window before it peaks, or you only want to feed once a day without it collapsing.
Rule of thumb: The more flour and water you feed (higher ratio), the longer it takes to peak. The less you feed (lower ratio), the faster it peaks and the more acidic it can get.
By weight is easiest
If you own a scale, this is the moment to use it. A “100% hydration starter” means equal parts flour and water by weight, not by volume. Water is heavier than flour, so cups get messy fast.
Example feeds (100% hydration):
- 1:1:1: 25g starter + 25g water + 25g flour
- 1:2:2: 20g starter + 40g water + 40g flour
- 1:5:5: 10g starter + 50g water + 50g flour
If you do not have a scale, aim for a thick, spoonable paste. It should mound slightly, then slowly relax. Think thick yogurt or thick pancake batter. If it pours like water, it is too thin. If it is dry and crumbly, add more water.
Flour note: Whole wheat and rye absorb more water, so a 100% hydration feed can look stiffer than the same ratio with all-purpose. That is normal.
Room temperature schedule
If you bake often, counter storage is the most responsive and predictable. The tradeoff is you have to feed it more.
Daily routine (simple)
- Feed every 12 to 24 hours, depending on kitchen temp and ratio.
- Use 1:2:2 if your kitchen is average (around 68 to 75°F).
- If your kitchen is warm (75°F+), consider 1:3:3 to 1:5:5 so it does not peak and crash while you are at work.
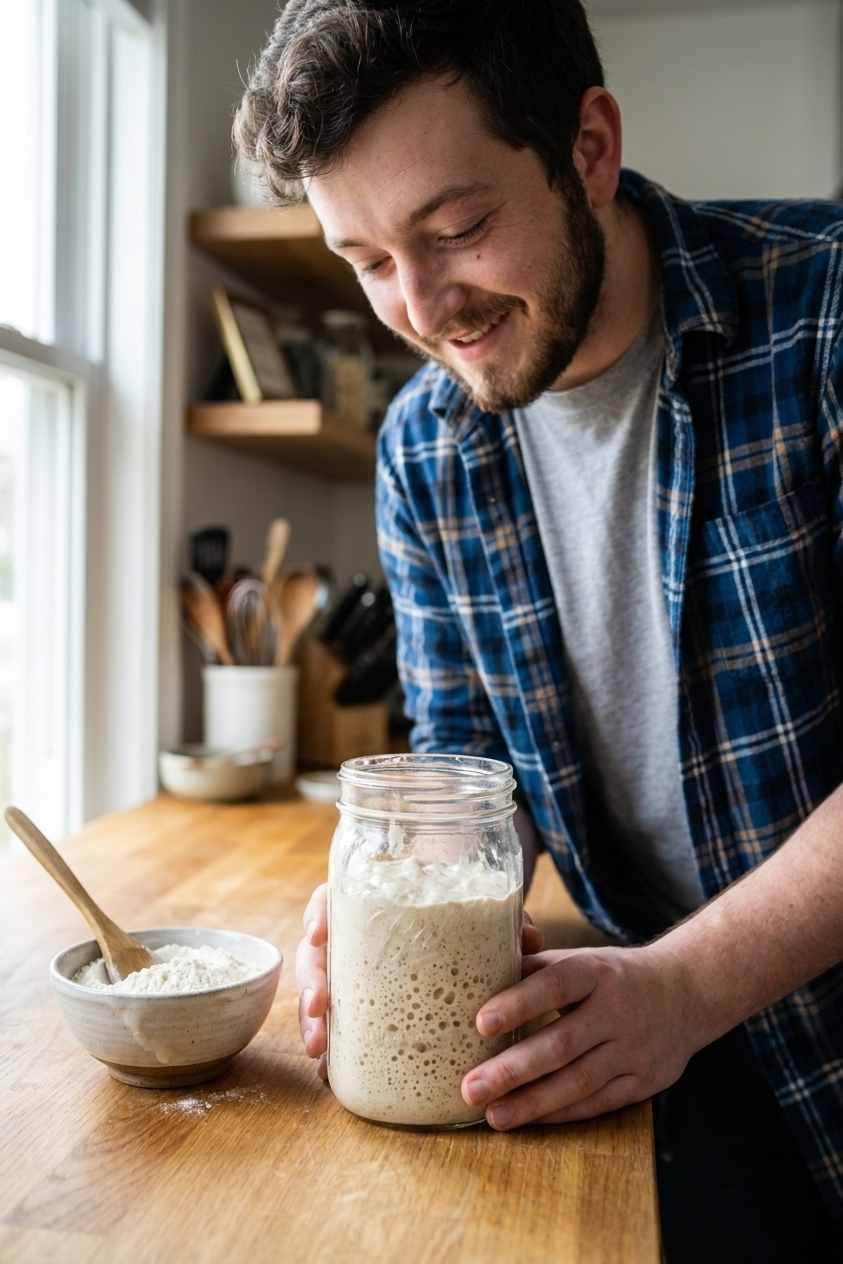
What “ready to bake” looks like
- It rises to about double (or more) after feeding
- It looks bubbly on top and along the sides of the jar
- The surface is domed at peak, not flat and sunken
- It smells pleasantly tangy, bready, fruity, or yogurt-like
Timing tip: At typical room temperatures, a healthy starter fed 1:2:2 often peaks in roughly 6 to 10 hours. Your flour type, water, starter strength, and room temperature will shift this a lot.
Fridge schedule
Refrigeration slows fermentation way down. This is perfect if you bake once a week or just want your starter to stop texting you for attention.
How to store in the fridge
Feed it (1:2:2 is a solid choice).
Optional head start: Let it sit at room temperature 30 to 90 minutes to get fermentation started, then refrigerate. This can help it bounce back faster later, but it is not required.
Cover the jar and place it in the fridge.
How often to feed in the fridge
- Every 7 days is a reliable cadence for most starters.
- You can sometimes stretch to 10 to 14 days if your starter is strong and your fridge is cold, but expect more hooch and a slower rebound.
How to wake it up for baking
Plan on 1 to 3 feeds at room temperature before baking, depending on how long it has been chilling.
- For weekly bakers: Take it out the night before, feed 1:2:2, and it is often ready by morning.
- For long fridge naps: Do two feeds 12 hours apart at room temperature. Use 1:1:1 or 1:2:2 until it rises strongly again.
How to build levain (scale up)
This is how you keep your starter small, but still bake big.
Example: You maintain 30g starter, but your recipe needs 150g active levain.
- Keep 20g starter
- Feed 1:4:4: add 80g water + 80g flour
- You get 180g levain. Use 150g for baking, and you still have a little left to maintain or refresh.
Timing depends on temperature, but a levain build like this often peaks in a similar window to your starter, just a bit slower because it is a larger feed.
What “discard” means (and how to waste less)
Discard is simply the portion of starter you remove before feeding. It is not automatically trash. It is unfed starter that still contains flour, water, and acidity.
Why you discard
- To keep your starter amount manageable
- To prevent the culture from becoming overly acidic and weak
- To maintain predictable timing and flavor
Two low-waste strategies
- Keep a small starter: Maintain 30 to 80g total. You can always build a bigger levain when you bake.
- Use discard in simple bakes: pancakes, waffles, crackers, quick breads, pizza dough, or stir into batter for tang and tenderness.
Safety note: If your starter has visible mold (fuzzy growth, pink or orange streaks), discard the entire thing and clean the jar thoroughly.
Storage and jars
Best container setup
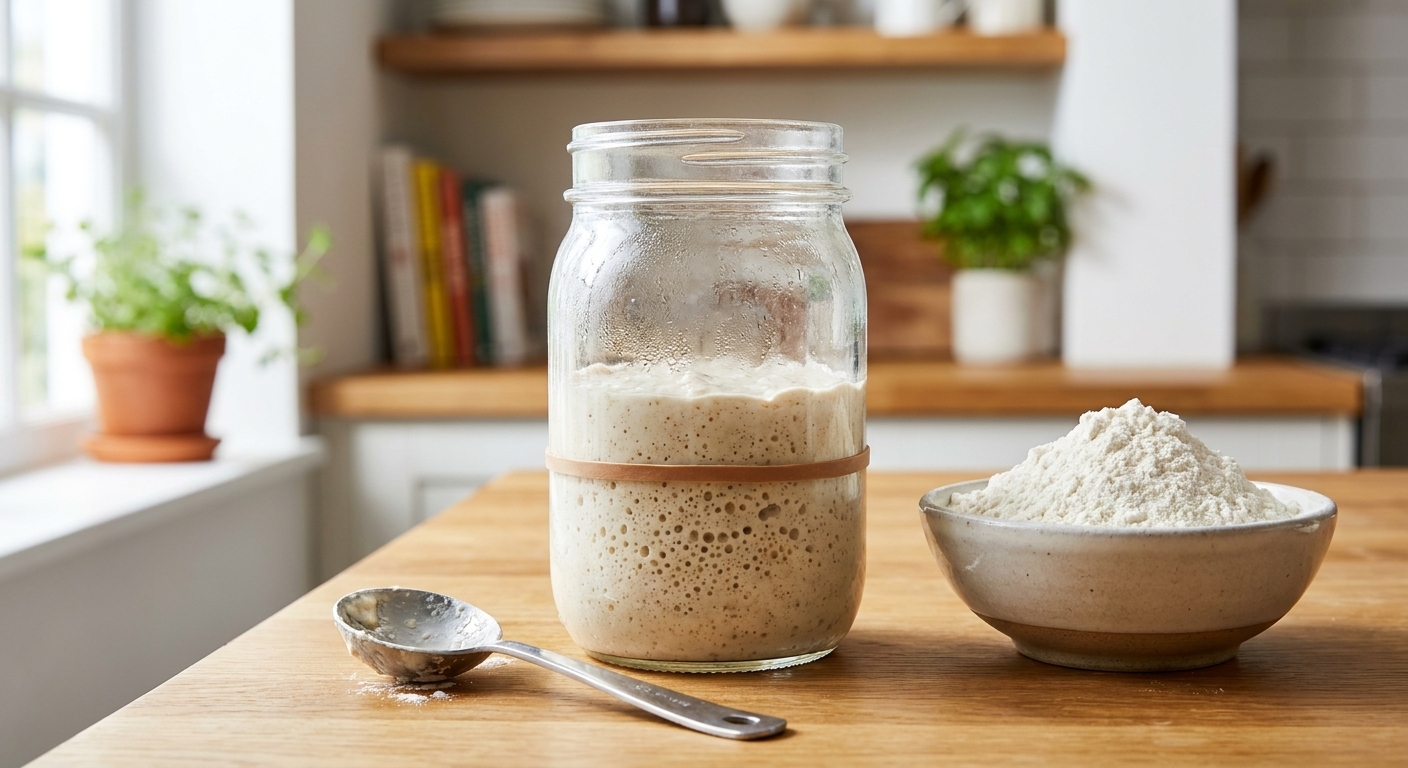
- Use a clear glass jar so you can see rise and bubbles.
- Cover with a loose lid or a lid set on top, not tightly sealed during active fermentation. (Gas needs somewhere to go.)
- Add a rubber band or piece of tape to mark the starting level after feeding.
When to repot (move to a clean jar)
Repotting is helpful, but it is not a sacred ritual. If you keep the rim clean, you can go a long time without it. Do it when it makes your life easier.
- Repot as needed, especially if you have crusty buildup up the sides
- A reasonable rhythm is every 1 to 2 weeks for a room temperature starter, or every few feeds for a fridge starter
- Repot immediately if the jar rim gets messy, moldy, or smells off
When to restart (start over)
Restart if:
- You see mold or pink/orange discoloration
- The starter smells putrid (garbage, rot), not just sour, boozy, or sharply acetone-like, and it does not recover after a few feeds
- An established starter shows no real rise after 5 to 7 days of consistent feeding at warm room temperature (think 75 to 80°F), using decent flour and non-problem water
Troubleshooting
Hooch on top
What it is: Alcohol and liquid separation, most often because the starter is hungry or has been sitting too long. It can also show up after long cold storage or temperature swings.
What to do:
- Pour it off for a milder starter, or stir it in for more tang.
- Then feed with a higher ratio like 1:2:2 or 1:3:3.
Smells like nail polish remover (acetone)
Usually means: Very hungry starter, often from infrequent feeds or warm temperatures.
Fix: Feed more often for 1 to 2 days, or increase ratio. Try 1:3:3 and keep it a bit warmer (around 72 to 78°F).
Smells like vinegar
Usually means: High acidity, often from underfeeding or letting it collapse repeatedly.
Fix: Refresh with 1:5:5 once or twice, and feed again at peak for a day. Also consider using some whole wheat or rye in the feed to boost activity.
No rise, just bubbles
Usually means: Weak yeast population, too cold, or too acidic.
- Warm it up: aim for 75 to 80°F.
- Use a lower ratio and feed more often for 24 to 48 hours, like 1:1:1 every 12 hours.
- Try a flour boost: replace 20 to 30% of your flour with whole wheat or rye for a couple feeds.
Starter rises then collapses fast
Usually means: It peaked while you were not looking. Totally normal, but it can make timing confusing.
Fix: Increase your feeding ratio (1:3:3 or 1:5:5), lower the temperature slightly, or feed more often so you can catch peak when you want to bake.
Vacation and “I forgot about it” storage
Option 1: Fridge for 1 to 2 weeks
Feed 1:2:2, then refrigerate. You can give it an optional 30 to 90 minute room temperature head start first if you want. When you return, pour off hooch if needed and do 1 to 3 room temperature feeds to revive.
Option 2: Stiffer starter for longer fridge time
A thicker, lower-hydration starter ferments more slowly. If you want to stretch time, feed with less water so it becomes a doughy paste. You will need to adjust back later by feeding normally.
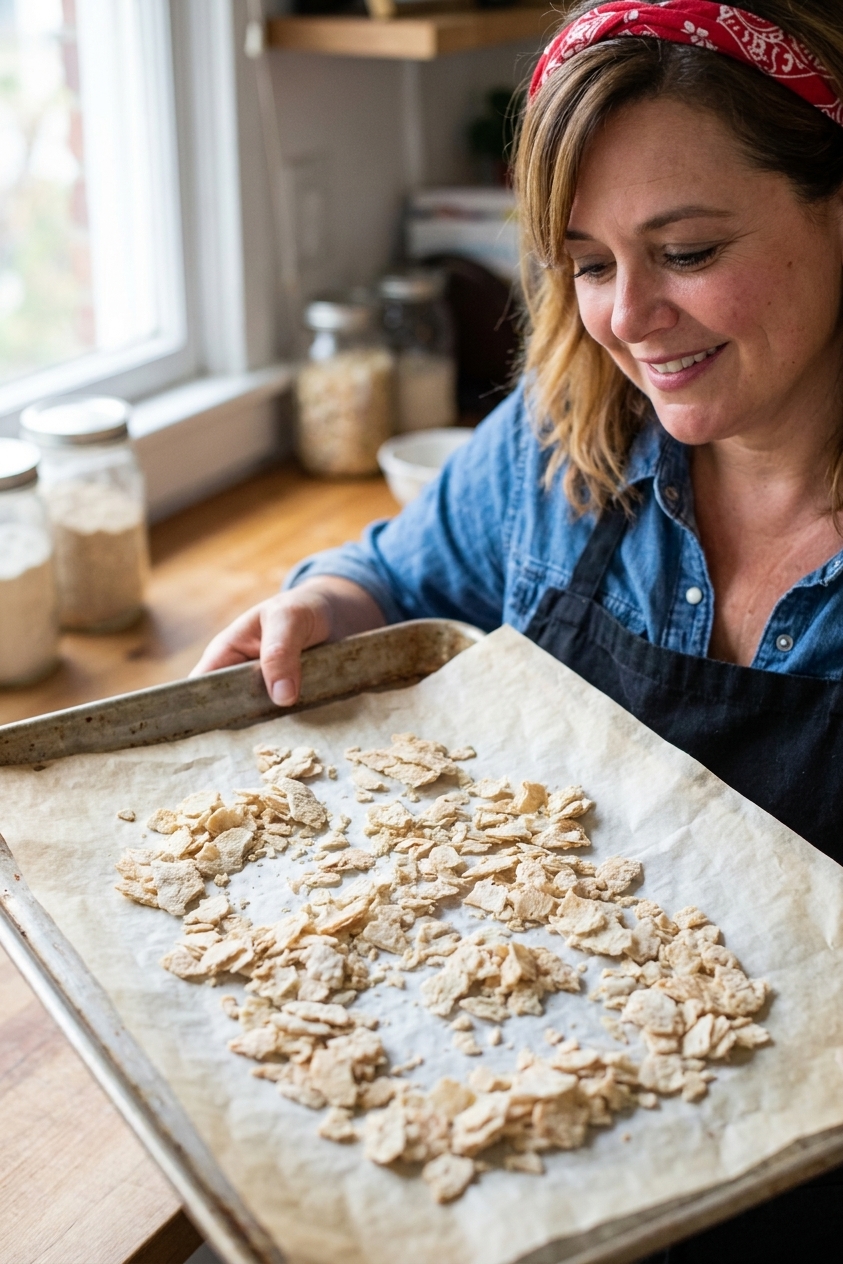
Option 3: Dry it (best for long breaks)
If you are gone for several weeks, drying is the “save file” approach.
- Spread active starter thinly on parchment.
- Air-dry until brittle and fully dry all the way through. Avoid humid kitchens, and do not package it until it snaps cleanly.
- Break into flakes and store airtight.
- To revive, soak flakes in water, then feed like normal for a few days. Expect 2 to 5 days for a full comeback depending on temperature and how long it was stored.
FAQ
Do I have to feed my starter every day?
No. If you store it in the fridge, weekly feeding is usually enough. Daily feeding is mainly for room temperature starters or when you are building strength for baking.
Can I bake with starter straight from the fridge?
Sometimes, but it is less predictable. For best rise, do at least one room temperature feed and use it near peak activity.
Is hooch bad?
Not usually. It is often a hunger or over-fermentation signal, and it is common after long fridge storage too. If you see mold or pink or orange streaks, that is different and you should toss it.
What flour is best for feeding?
Unbleached all-purpose works. Bread flour can give a little more strength. Whole wheat or rye is like espresso for starter activity, great for sluggish phases. Just know they may make your starter look thicker at the same hydration.
Should I use filtered water?
If your tap water is heavily chlorinated and your starter struggles, try filtered or resting the water overnight. Many starters do fine on regular tap water.
How do I know my starter is strong enough to bake bread?
It should reliably double after feeding, smell clean and pleasantly tangy, and hit peak in a consistent time window. If it barely rises or takes forever, give it a couple days of warm, regular feeds.
Quick plan
If your starter lives on the counter
- Feed 1:2:2 every 12 to 24 hours
- Use at peak
- Repot as needed (a clean jar every week or two is nice, not mandatory)
If your starter lives in the fridge
- Feed 1:2:2, refrigerate (optional 30 to 90 minute room temperature head start)
- Feed again every 7 days
- Before baking, do 1 to 3 room temperature feeds
If you take nothing else: keep it small, feed it enough, and trust your senses. A starter is loud when it is unhappy. It is also very forgiving when you start feeding it like you mean it.