Mom's Best Recipes
Recipe

Ice Cream in a Bag

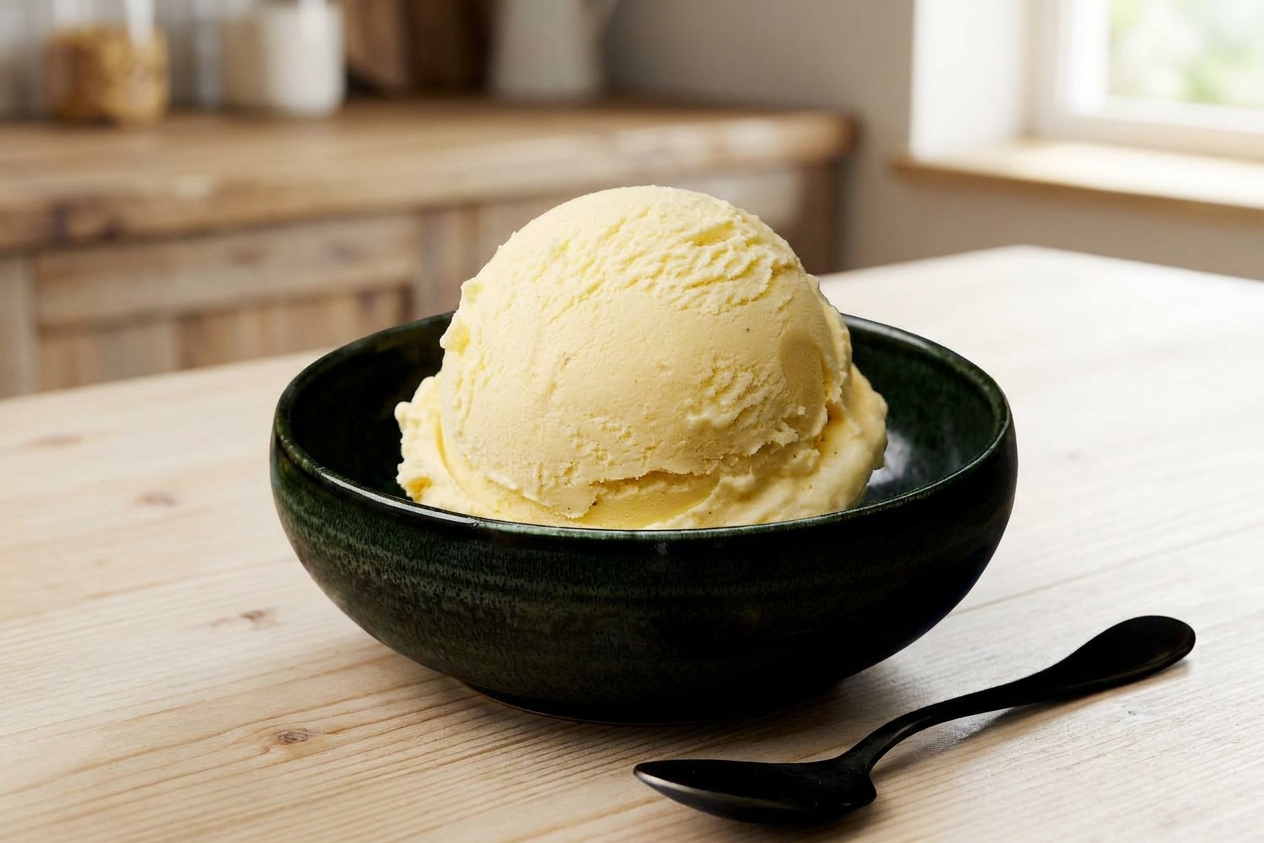
Creamy homemade vanilla ice cream you shake and chill in a zip-top bag, no machine required.

Author By Matt Campbell
4.8
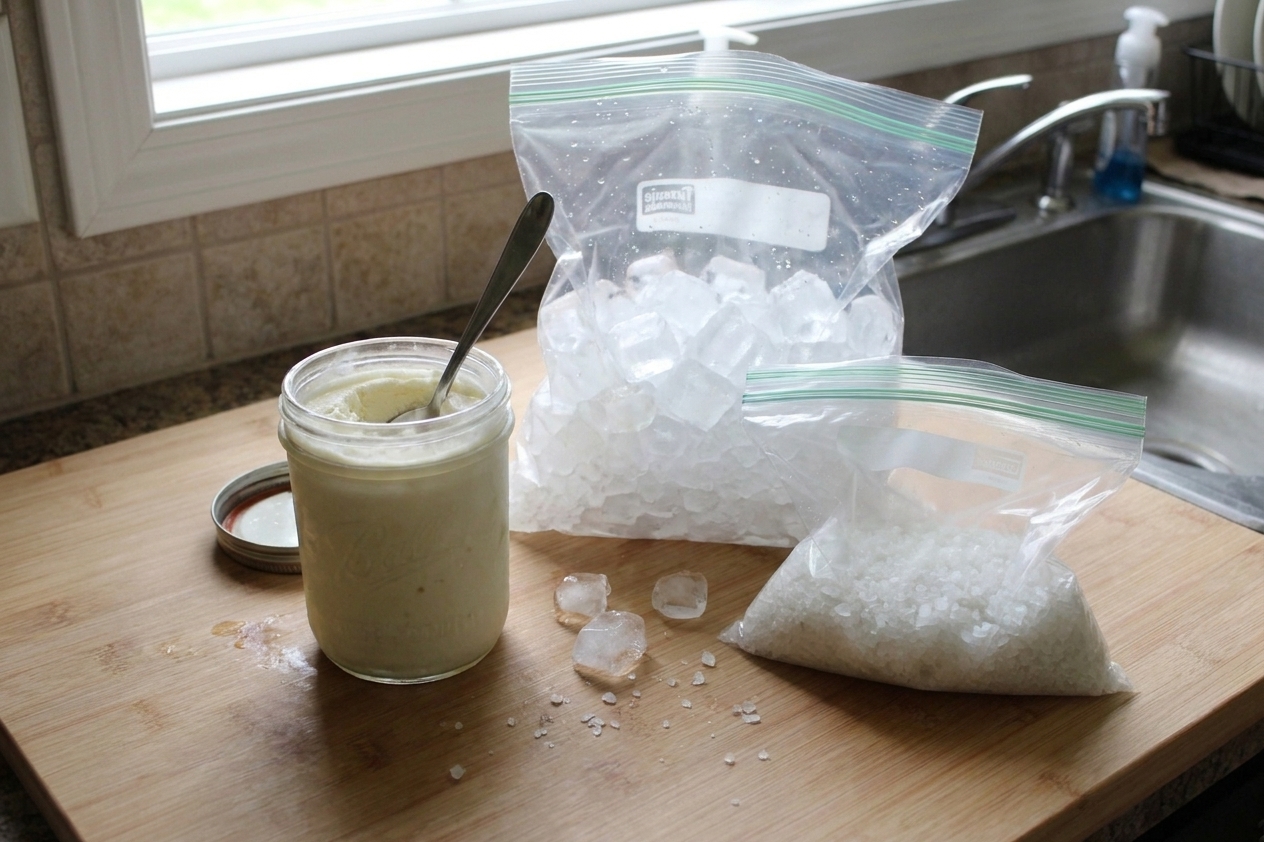
A pint of homemade vanilla ice cream beside two resealable plastic bags filled with ice and salt on a bright kitchen counter

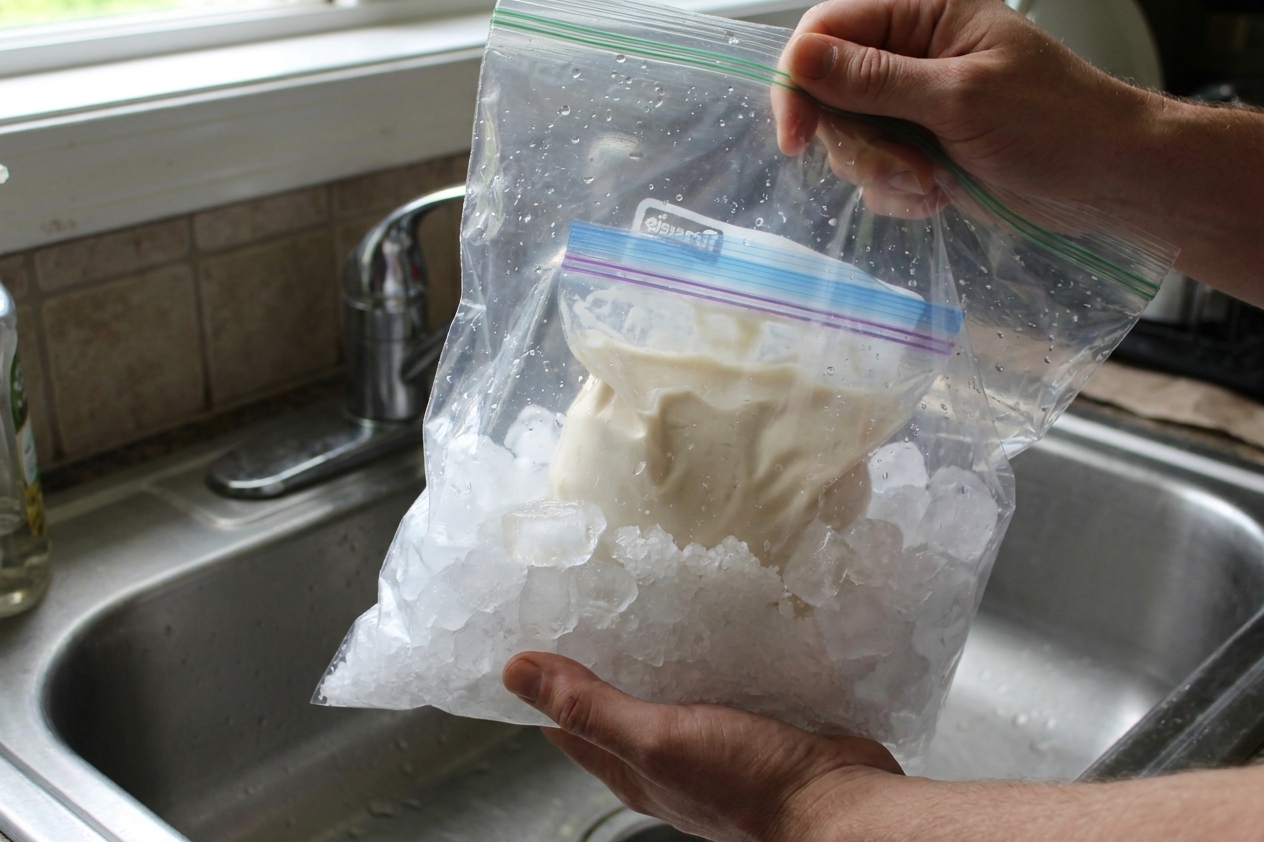
There are two kinds of kitchen fun: the kind that destroys every bowl you own, and the kind that feels like a magic trick. Ice cream in a bag is the magic trick. You pour a simple vanilla base into a small zip-top bag, nestle it inside a bigger bag packed with ice and salt, then shake like you mean it. Ten minutes later, you’ve got real, scoopable ice cream.

This is one of my favorite “I wonder if…” recipes because it’s low drama, weirdly satisfying, and honestly pretty delicious for something made with a bag and a little chaos. It’s also a great way to teach kids what salt actually does to ice, while they burn off some energy doing the shaking. Win-win.

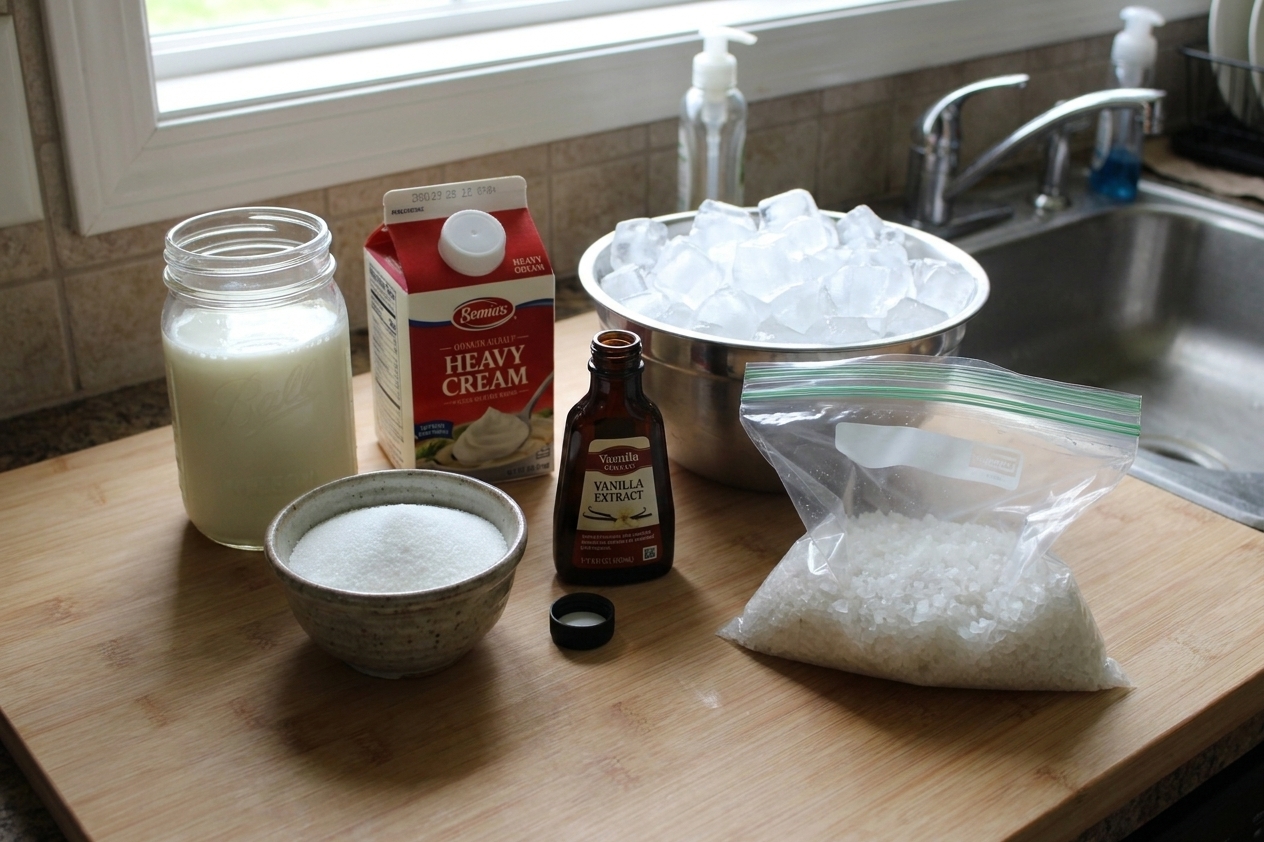
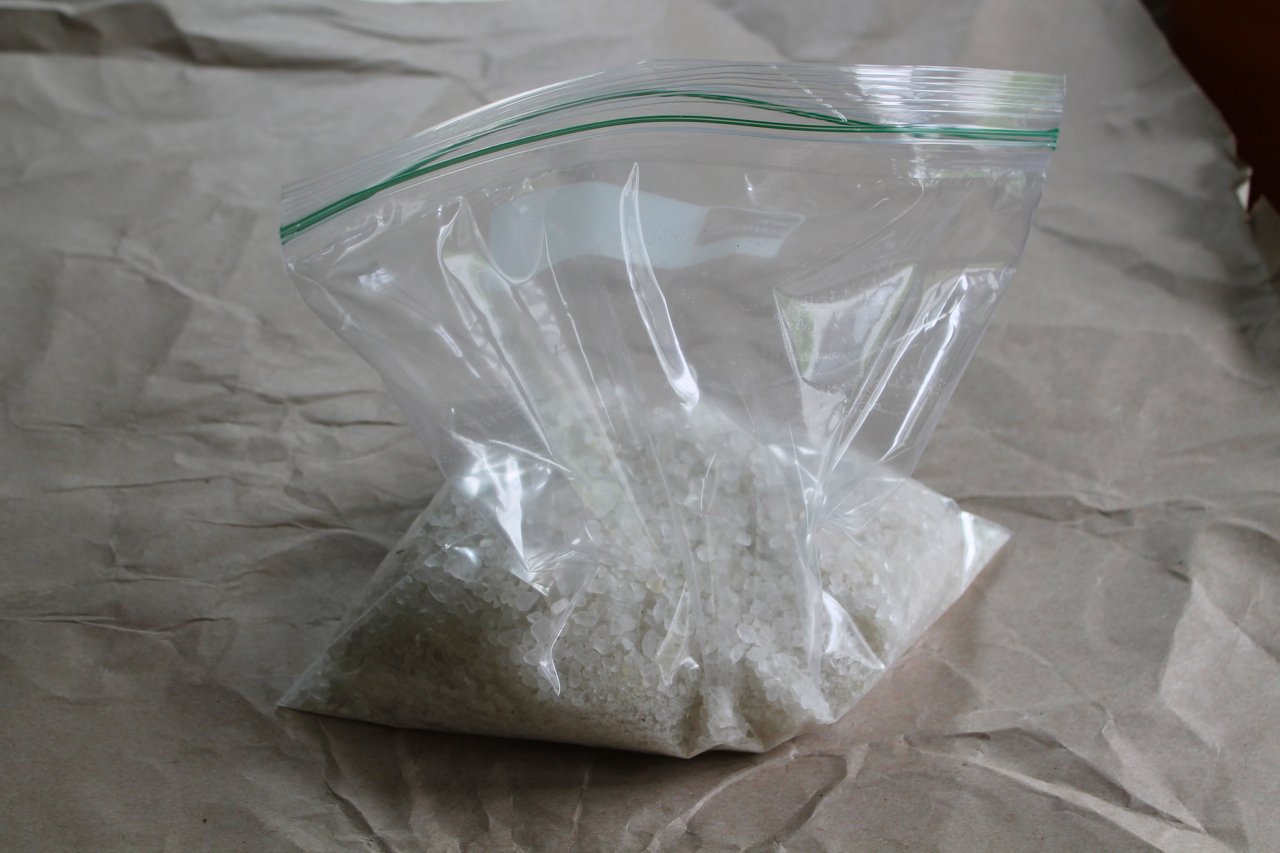
Milk, heavy cream, sugar, vanilla extract, ice cubes, and coarse salt arranged on a clean kitchen counter

Why It Works

You get a surprisingly creamy, soft-serve-like texture without a machine. Salt lowers the freezing point, creating an extra-cold ice and brine slurry that pulls heat from the dairy base as it chills and freezes.

It’s fast and flexible. Keep it classic vanilla, or fold in cocoa, crushed cookies, or berries after it firms up.

It’s portion perfect. This makes a small batch (great for immediate eating), and the bag method naturally encourages you to stop at “done” instead of over-churning.

Pairs Well With

Storage Tips

Ice cream in a bag is best fresh because it tends to freeze a little harder and icier than churned ice cream.

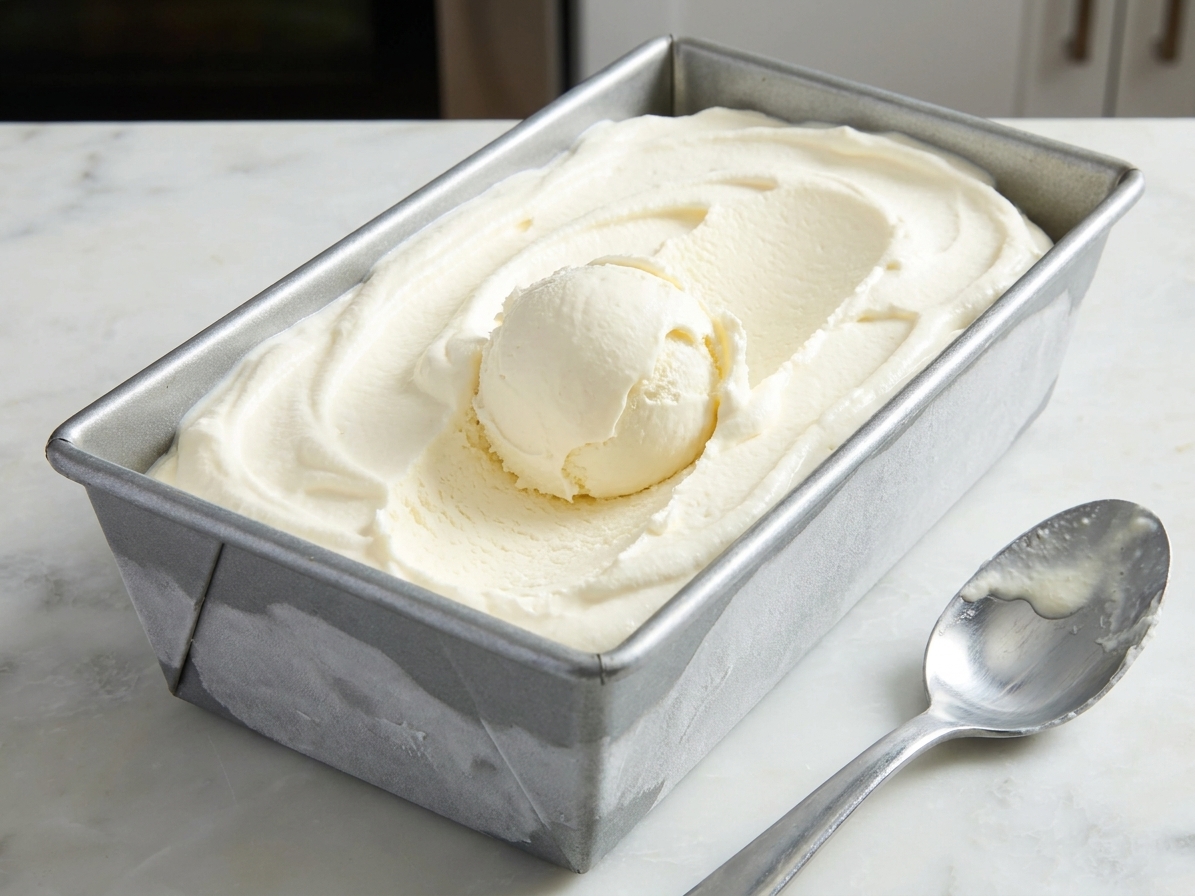
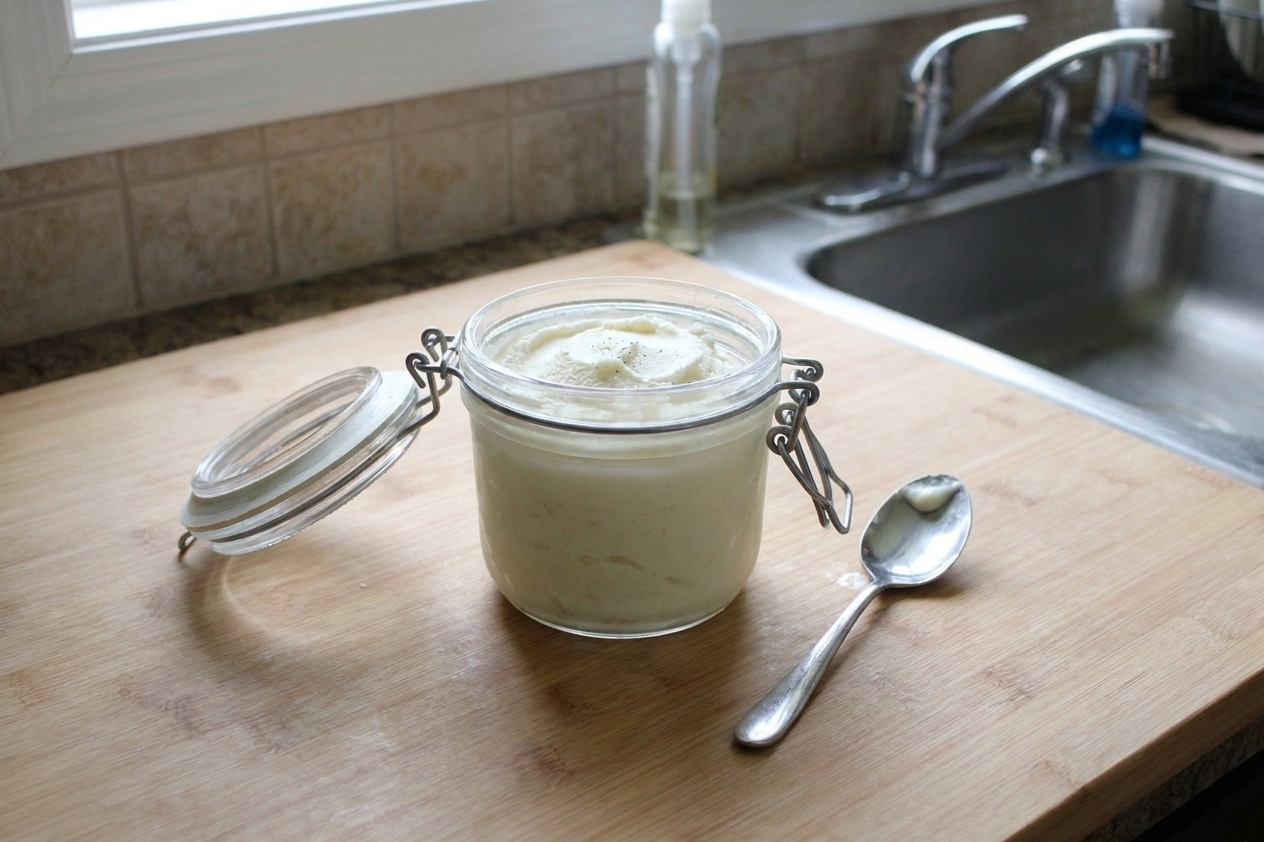
  • Freeze: Transfer to a small airtight container (or a loaf pan) and press parchment or plastic wrap directly on the surface to reduce iciness. For best texture, enjoy within 3 to 7 days.
  • Soften to scoop: Let it sit on the counter for 5 to 10 minutes before serving.
  • Texture tip: If it freezes rock solid, break it up with a spoon and give it a quick stir. It comes back to life.
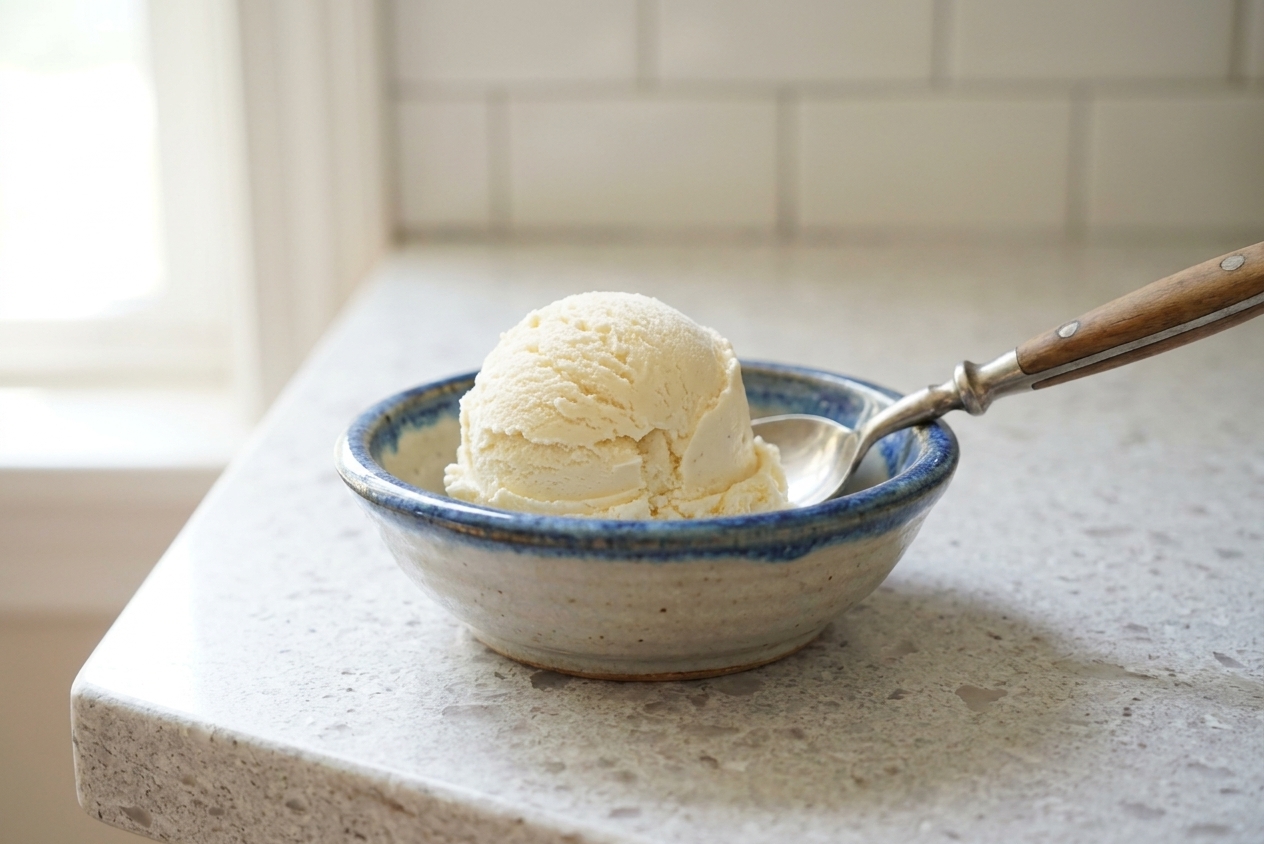
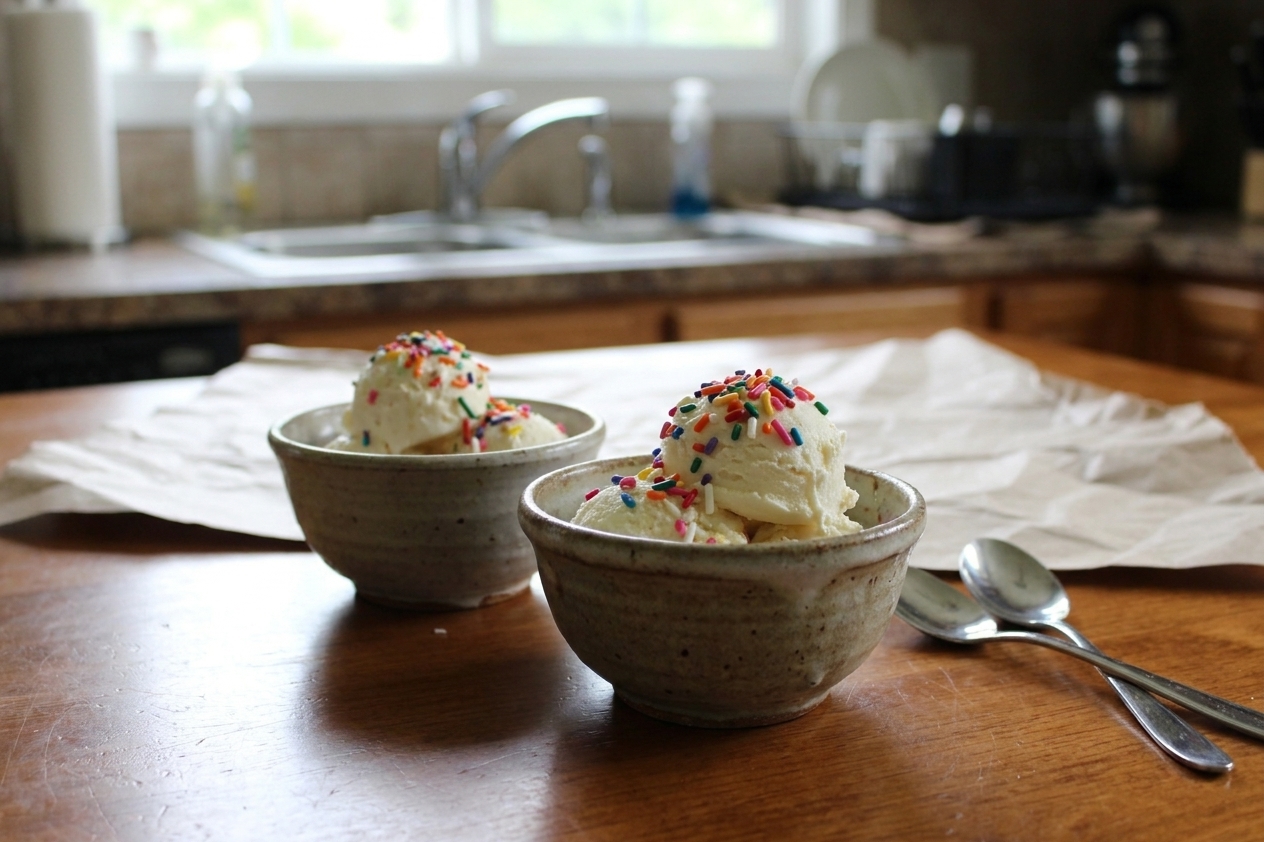
A small airtight container filled with homemade vanilla ice cream with a spoon resting nearby on a kitchen counter

Common Questions

Why do you add salt to the ice?

Salt lowers the freezing point of the ice, so you get an extra-cold ice and brine slurry (colder than 32°F/0°C). That colder bath pulls heat from the ice cream base fast, which helps it freeze.

Will my ice cream taste salty?

It shouldn’t, as long as the inner bag stays sealed. I recommend freezer-grade bags and double-bagging the ice cream base, especially if you’re making this with kids or enthusiastic shakers. Also wipe (or quickly rinse) the outside of the small bag before opening it.

What kind of salt works best?

Coarse salt (rock salt or kosher salt) is ideal. Table salt works in a pinch, but use a little less because it’s finer and dissolves quickly.

How long do I shake it?

Usually 8 to 12 minutes. When the base feels thick like soft serve and moves slowly when you tilt the bag (it should mound a little instead of sloshing), you’re there. If it’s still thin, add more ice and a bit more salt to the big bag and keep going.

Can I make it without heavy cream?

Yes. It’ll be a little more icy, but still tasty. Use more milk or half-and-half. If you have it, a spoonful of cream cheese or a couple tablespoons of sweetened condensed milk can help smooth the texture.

Can I make chocolate or strawberry?

Absolutely. For chocolate, whisk 1 tablespoon cocoa powder into the sugar before adding liquids. For strawberry, mash 2 to 3 tablespoons of strawberries with a little sugar and fold them in after the ice cream thickens.

Any kid-friendly safety tips?

Keep the dairy base sealed, and don’t reuse the salty melted ice water for anything else. Wash hands after handling the salty ice bath, and wipe up drips so the floor doesn’t get slick.

The first time I made ice cream in a bag, I expected a science fair snack. What I got was a surprisingly creamy little cup of vanilla that tasted like summer camp, in the best way. Now I keep it in my back pocket for days when you want dessert but don’t want a sink full of dishes. It’s also my favorite kind of cooking: a little messy, a little loud, and totally worth tasting along the way.