Mom's Best Recipes
Recipe

Juicy Lucy Stuffed Cheeseburger

A classic stuffed burger with a molten American cheese core, crisp griddle edges, and simple, reliable timing so the cheese stays inside where it belongs.

Author By Matt Campbell
4.8
Juicy Lucy stuffed cheeseburger on a flat-top griddle with browned edges and a toasted bun nearby

There are burgers, and then there are burgers that require a tiny safety briefing. A Juicy Lucy is the second kind: thin beef patties wrapped around a cold cheese core, sealed like a little flavor vault, then griddled until the outside gets crisp and the inside turns into molten happiness.

The whole trick is getting the cheese to melt without leaking out. That means the right cheese, the right seal, and the right patience. If you have ever bitten into a stuffed burger and watched all the cheese sprint out onto your plate like it has somewhere to be, this recipe is for you.

Juicy Lucy burger cut in half, showing melted cheese in the center with a toasted bun and pickles on the side

Why It Works

  • Cold cheese + thin patties helps the beef cook through before the cheese has a chance to escape.
  • American cheese melts smoothly and stays creamy instead of breaking into oily puddles.
  • A tight seal all the way around prevents blowouts when the cheese expands.
  • Moderate heat and good pan contact builds crisp edges while keeping the center juicy.
  • Clear doneness targets help you hit safe temps without drying the burger out.

Pairs Well With

Storage Tips

How to Store Leftovers

Juicy Lucys are at their best fresh, but leftovers still make a very solid next-day burger situation.

Refrigerate

  • Cool burgers briefly, then refrigerate within 2 hours of cooking (within 1 hour if it is a very hot day or your kitchen is steamy). As a practical target, aim for about 20 to 30 minutes on the counter, just long enough to stop the carryover heat.
  • Store patties (and buns separately) in an airtight container for up to 3 days.

Reheat (best methods)

  • Skillet: Medium-low heat with a small splash of water, cover, and warm, flipping once, until the center reaches 165°F. Expect about 6 to 10 minutes total depending on thickness and starting temp. Keep the thermometer out of the cheese pocket if you can.
  • Oven: 350°F on a sheet pan until hot and the center reaches 165°F, about 10 to 15 minutes. Toast buns separately at the end.
  • Microwave (least favorite but works): 50% power in 30-second bursts until hot. The cheese can erupt, so rest it 1 minute before biting.

Freezing

  • You can freeze uncooked stuffed patties: place on a parchment-lined sheet until firm, then transfer to a freezer bag with parchment between patties.
  • Freeze up to 2 months. Thaw overnight in the fridge before cooking.

Safety note: Reheat leftovers to at least 165°F internal temperature.

If the cheese leaks anyway

It happens. Even a well-sealed burger can find a pinhole if the edge gets too thin or the cheese sits too close to the seam.

  • Do not press. Pressing turns a small leak into a full-on cheese event.
  • Lower the heat a bit. Slower cooking helps the beef set before more cheese pushes out.
  • Let it be. Once it leaks, just keep cooking until safe temp. The leaked cheese will crisp up on the pan and that is not exactly a tragedy.

Common Questions

Common Questions

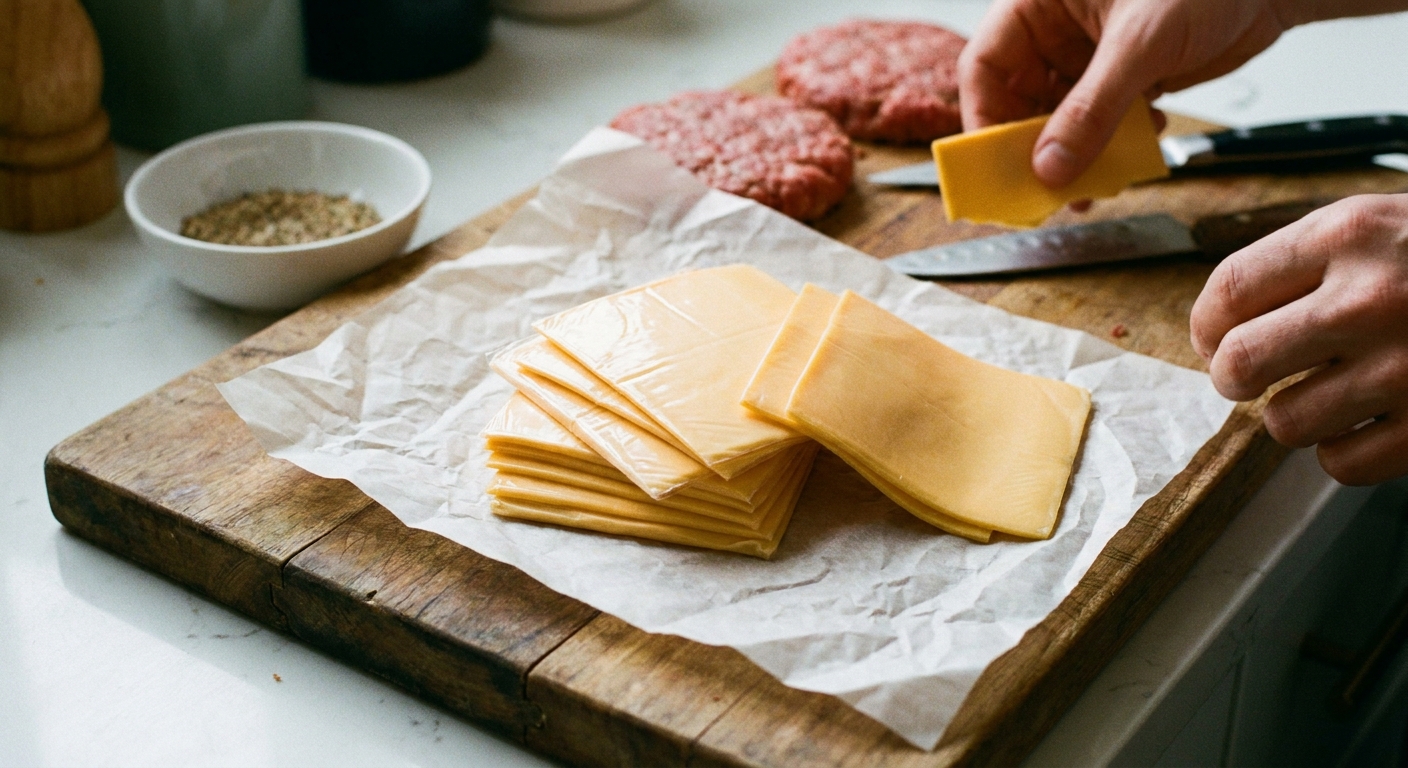
Why is American cheese the best choice for a Juicy Lucy?

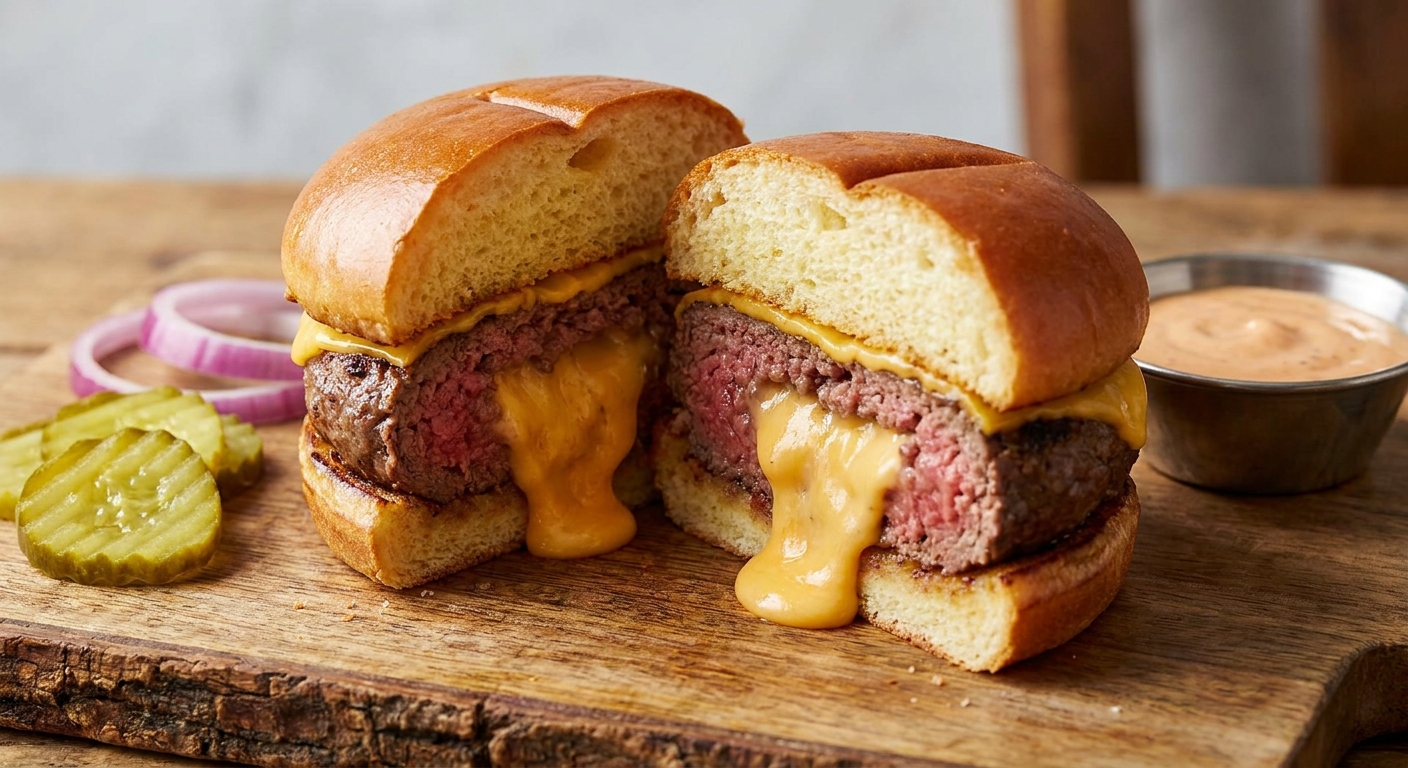
American cheese melts like a dream because it is designed to be stable and creamy when heated. Cheddar can split and get oily, and low-moisture mozzarella can turn into a chewy plug. If your goal is a molten, smooth center that stays sauce-like, American is the move.

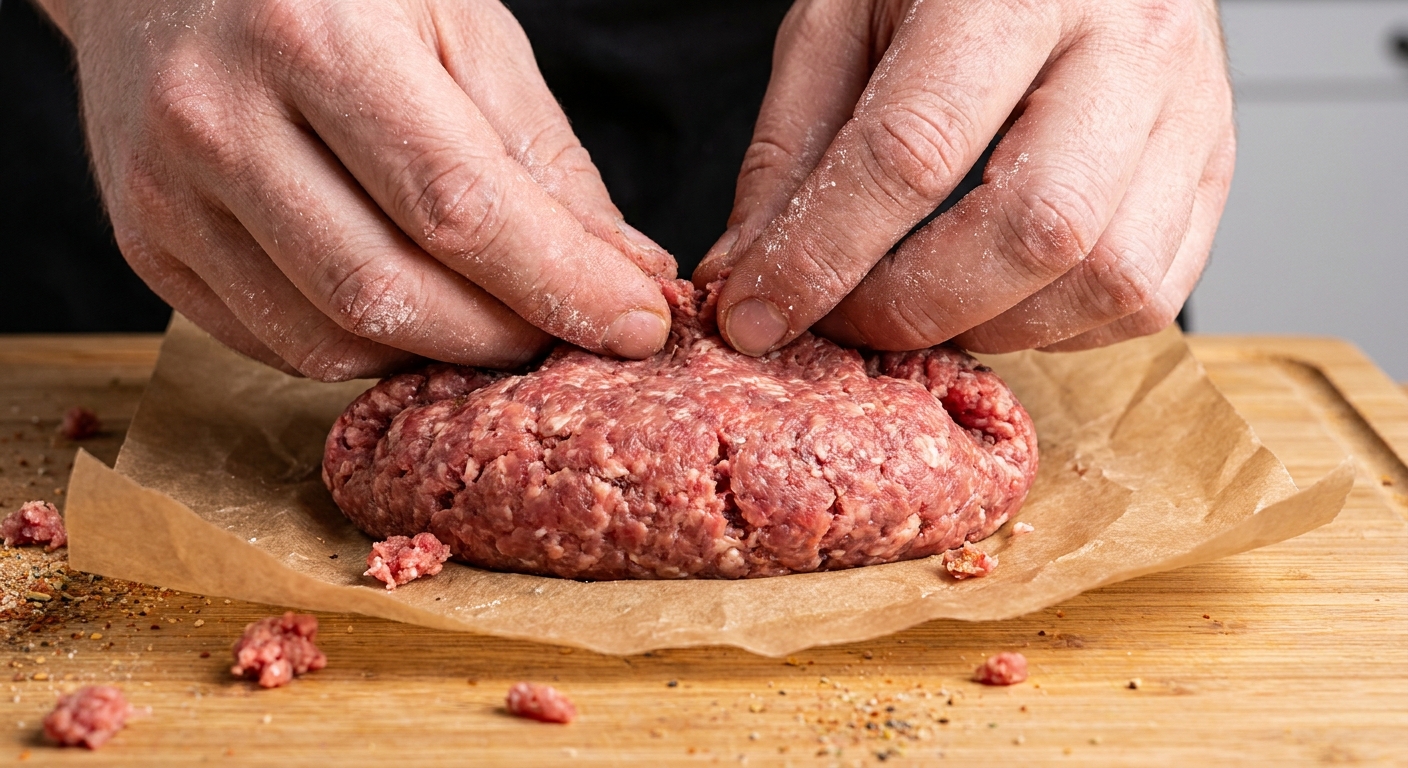
How do I keep the cheese from leaking out?

  • Use cold or lightly frozen cheese.
  • Keep the cheese away from the edges by at least 1/2 inch.
  • Seal thoroughly by pinching, then smoothing the seam.
  • Do not smash this burger like a smash burger. Press lightly only to ensure contact.

What internal temperature should a stuffed cheeseburger be?

For food safety, the USDA recommends ground beef reach 160°F. Stuffed burgers are especially important to cook thoroughly because any bacteria from grinding and handling can end up throughout the patty, including the center near the cheese pocket. Use an instant-read thermometer and aim for 160°F in the thickest part of the beef.

When do I flip a Juicy Lucy?

Flip once, when the first side has a deep brown crust and the burger releases easily from the griddle, usually 4 to 5 minutes over medium to medium-high heat. Flipping too early can tear the seal.

What bun works best?

A potato bun is my favorite because it is soft, slightly sweet, and it does not fight you. A brioche bun also works, just toast it well so it does not get soggy. If you want classic diner vibes, go with a sesame seed bun.

Is it okay to add onions inside with the cheese?

I would not. Anything chunky inside can create gaps and weak spots where cheese escapes. Keep the center simple and put onions on top or under the patty instead.

How do I avoid burning my mouth?

Let the burger rest 3 to 5 minutes. The cheese is basically edible lava. Resting also helps the juices settle so the first bite is juicy, not messy.

Is it Juicy Lucy or Jucy Lucy?

You will see both spellings, especially in Minneapolis where this burger is a local legend. This recipe works no matter how you spell it, but your mouth will still need the same safety briefing.

The first time I made a Juicy Lucy at home, I treated it like a regular burger and learned a quick lesson: cheese has goals, and those goals include escaping. After a few “cheese on the pan” incidents, I got stubborn and started treating the patty like a sealed envelope. Cold cheese. Thin beef. Pinch the edges like you mean it. Now it is one of my favorite crowd-pleasers because everyone gets quiet for that first bite, then immediately says, “Okay, wow.”