Mom's Best Recipes
Recipe

Light Salt Dough Recipe

A soft, less salty, herb-speckled dough that bakes up sturdy enough for ornaments and playful keepsakes, but smells like a cozy kitchen instead of a science project. Still a craft, not a snack.

Author By Matt Campbell
4.8
A close-up real photo of herb-speckled salt dough being rolled out on a wooden countertop with a rolling pin, flour dusting, and a small bowl of chopped rosemary nearby

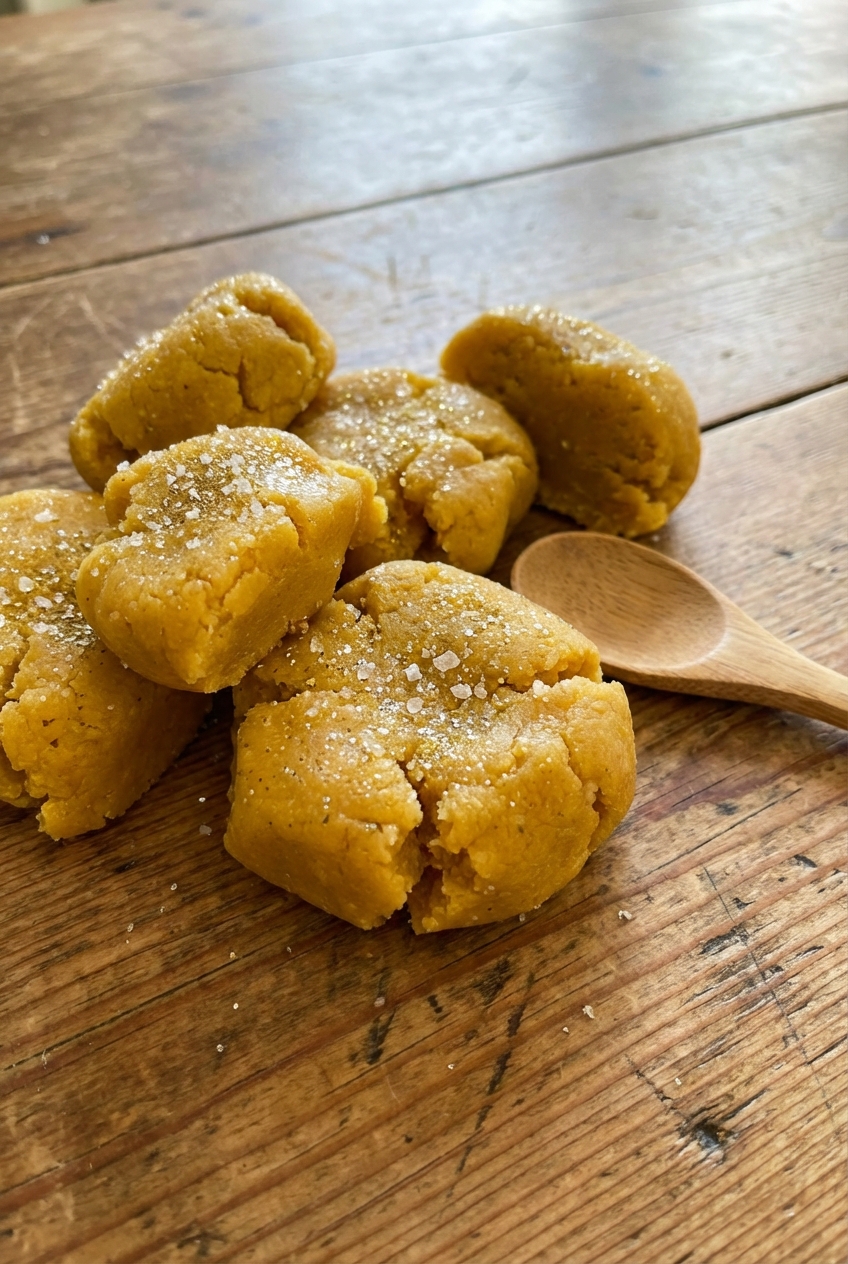
Salt dough is usually a craft recipe that smells like, well, salt and determination. This one is different. It is lighter on the salt, easy to work with, and boosted with savory dried herbs so it feels a little more like cooking and a little less like chemistry lab.

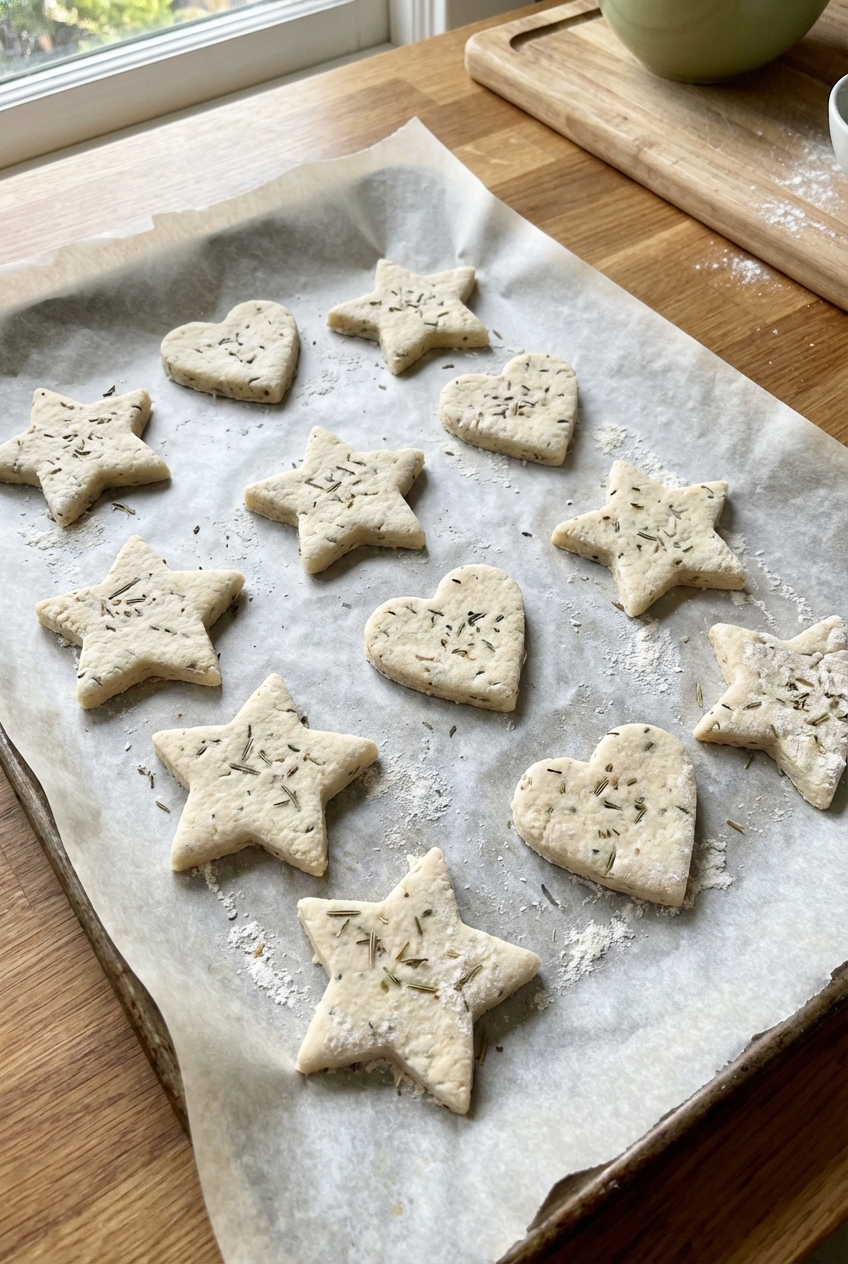
One quick, important note: even though it smells like rosemary crackers, this is not edible. It is for ornaments, handprints, gift tags, and little “look what I made” fridge moments only.

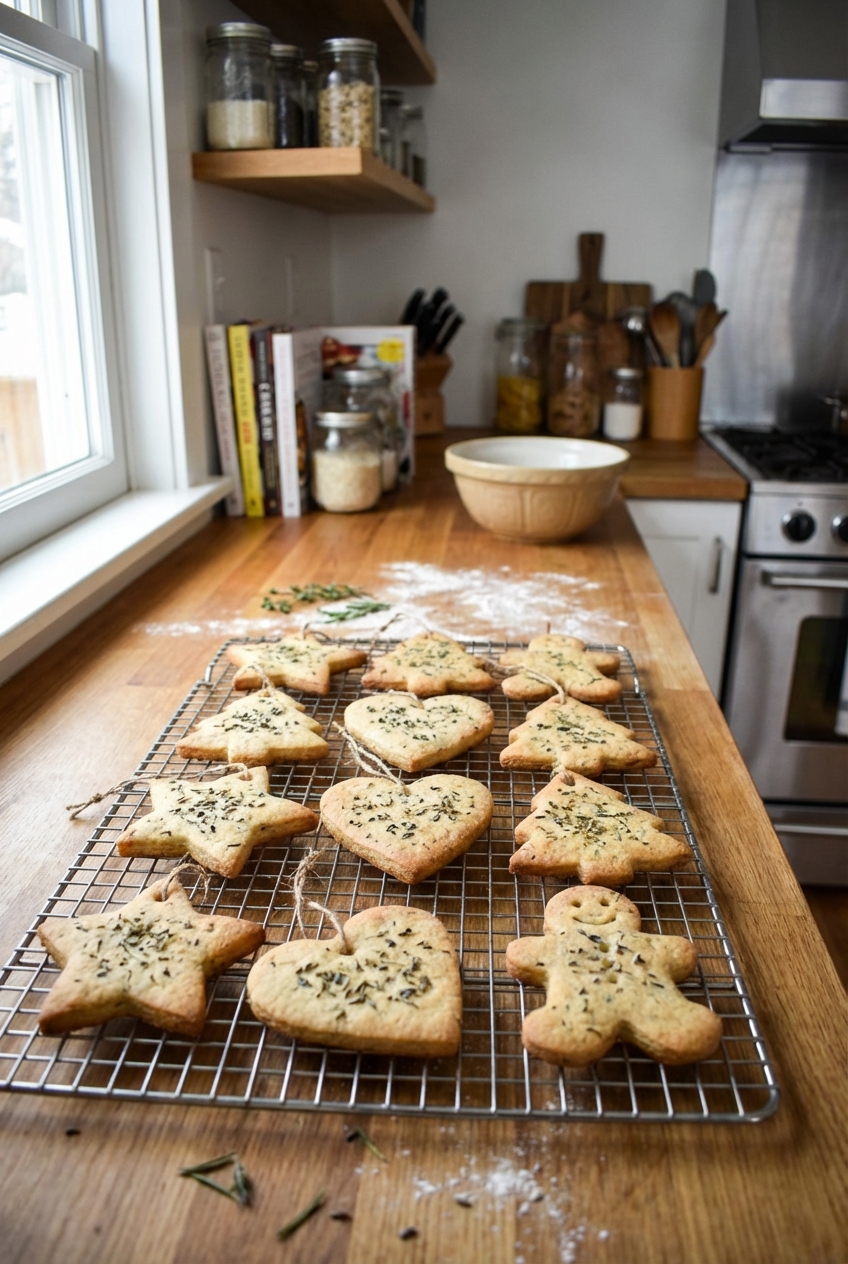
You can still use it for classic ornaments, handprints, gift tags, and little “look what I made” fridge moments. The dough is sturdy, holds detail, and bakes dry without a ton of cracking if you keep the thickness consistent. The herbs are optional, but I love what they do: tiny green flecks, a gentle aroma, and a vibe that says rustic bakery instead of beach sand.

A real photo of star and heart shapes cut from herb-flecked salt dough on parchment paper ready to bake

Why It Works

  • Less harsh saltiness: We still need salt for structure and preservation, but this version does not scream “salt lick.”
  • Herbs add visual texture: Dried rosemary, thyme, and parsley create a pretty speckle and help hide small fingerprints and tool marks.
  • Easy, forgiving dough: A little oil makes it smoother and less prone to crumbling at the edges.
  • Low and slow bake: Gentle heat dries the pieces evenly so they hold their shape.

Pairs Well With

Craft Ideas to Try Next

  • A real photo of salt dough gift tags stamped with letters and tied with twine

    Stamped Gift Tags

  • A real photo of a salt dough handprint keepsake with a ribbon hanger on a table

    Handprint Keepsake

  • A real photo of small salt dough shapes being painted with acrylic paint and a thin brush

    Paint and Seal Basics

  • A real photo of a simple garland made from small salt dough stars on twine

    Mini Ornament Garland

Note: If you want snacks while you craft, keep them on a separate plate and away from the dough. This dough smells good, but it is not food.

Storage Tips

Storage Tips for Dough and Finished Pieces

Unbaked dough

  • Short term: Wrap tightly in plastic wrap and keep in a sealed bag or container at room temperature for up to 24 hours.
  • Longer: Refrigerate up to 3 days. Let it sit at room temp 20 to 30 minutes before rolling. If it feels tacky, knead in a teaspoon or two of flour.
  • Do not freeze: It can get weirdly grainy after thawing.

Baked pieces

  • Cool completely before storing, or trapped warmth will soften them.
  • Store dry: Keep in an airtight container with a packet of silica gel if you have one, or a spoonful of dry rice in a small breathable pouch.
  • Seal for longevity: Brush on 2 thin coats of Mod Podge, acrylic sealer, or clear polyurethane. Let each coat dry fully.

Common Questions

Common Questions

Is this salt dough safe to eat?

It is made from pantry ingredients, but it is not meant to be eaten. Even “lighter” salt dough is still very salty and could be unsafe for kids or pets if eaten in quantity. It may smell delicious because of the herbs, but it is strictly for crafting. If you need edible modeling dough, look for a peanut butter or marshmallow based recipe instead.

Why add oil?

A little oil makes the dough smoother, easier to roll, and less likely to crack at the edges. It also helps the surface look less chalky after baking.

Can I use fresh herbs?

Skip fresh herbs here. They hold moisture and can cause spotting or soft areas while drying. Stick to dried herbs.

My dough is sticky. What do I do?

Dust your hands and surface with flour and knead in flour 1 tablespoon at a time until it feels like Play Doh: soft, not wet. Humidity changes everything, so trust the texture.

My ornaments puffed or bubbled. Why?

Usually the oven is too hot or the pieces are too thick. Roll to an even thickness and bake low. If bubbles form, poke them with a toothpick and gently press flat while the dough is still warm.

How do I make a hole for hanging?

Use a straw for a clean hole. Do it after cutting shapes and before baking. If the hole closes up while baking, twist the straw through again about halfway through the bake.

The first time I made salt dough, I expected cozy holiday magic and got something that smelled like the ocean moved into my apartment. It worked, but the vibe was aggressively salty. So I started treating it like a pantry recipe instead of a craft: less salt, a little oil for a smoother feel, and herbs because I cannot help myself. Now when it bakes, the kitchen smells like rosemary crackers, and the ornaments look like they belong in a little farmhouse jar. Imperfect edges included. Still, it is a craft project through and through, not something you nibble.