1) Heat the oven and prep the pan
Heat oven to 425°F. Set a wire rack on a rimmed baking sheet and lightly oil it (or use cooking spray). The rack helps hot air hit the underside so you get crisp, not soggy.
Important: For the breading step, line the baking sheet under the rack with foil or parchment to catch drips and crumbs. You will remove it before baking so nothing burns and smokes.
2) Cut the onion to bloom
Peel the onion. Trim the top (pointy end) flat. On the root end, trim just enough to create a stable base, but do not cut the root off.
Set onion root-side down. Starting about 1/2 inch from the root, cut down through the onion to the board. Repeat to make 12 to 16 wedges. Gently separate the petals with your fingers.
3) Quick soak for better petals
In a bowl, mix ice water and lemon juice (or vinegar). Soak the onion for 10 minutes to encourage it to open up. Drain well and pat dry. Dry matters here.
4) Set up your dredging station
- Bowl 1: flour, paprika, garlic powder, onion powder, salt, pepper, and cayenne (if using).
- Bowl 2: eggs and Dijon whisked smooth.
- Bowl 3: panko (and Parmesan, if using).
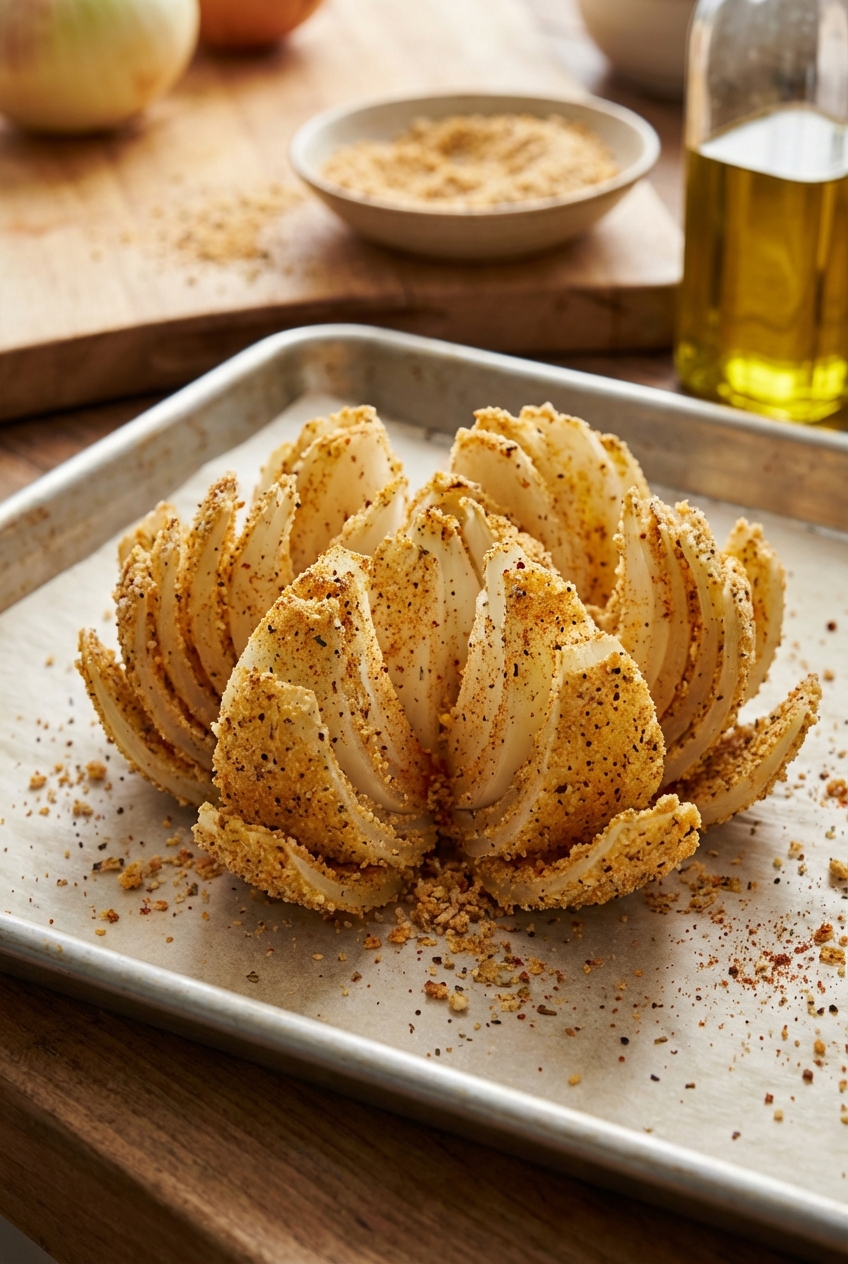
5) Bread the onion (take your time, it pays off)
Place onion on the rack over the lined baking sheet. Sprinkle and work the seasoned flour into the petals, getting in between layers. Shake off excess.
Drizzle or spoon the egg mixture over the onion, rotating as needed so it gets into the cracks.
Press panko all over, again tucking it between petals. If you see bare spots, hit them with a little more egg then panko.
Clean pan switch: Carefully lift off the rack with the onion. Remove and discard the foil or parchment with all the fallen flour, egg, and crumbs. Put the rack back onto a clean baking sheet (or wipe it fully clean), then return the onion to the rack.
6) Oil and bake
Brush or spray the onion with oil, focusing on the tips and edges.
Bake for 15 minutes. Remove and lightly re-oil any dry-looking spots. Bake for 15 to 20 minutes more, until deeply golden with crisp edges. If it browns too fast, tent loosely with foil for the last 5 minutes.
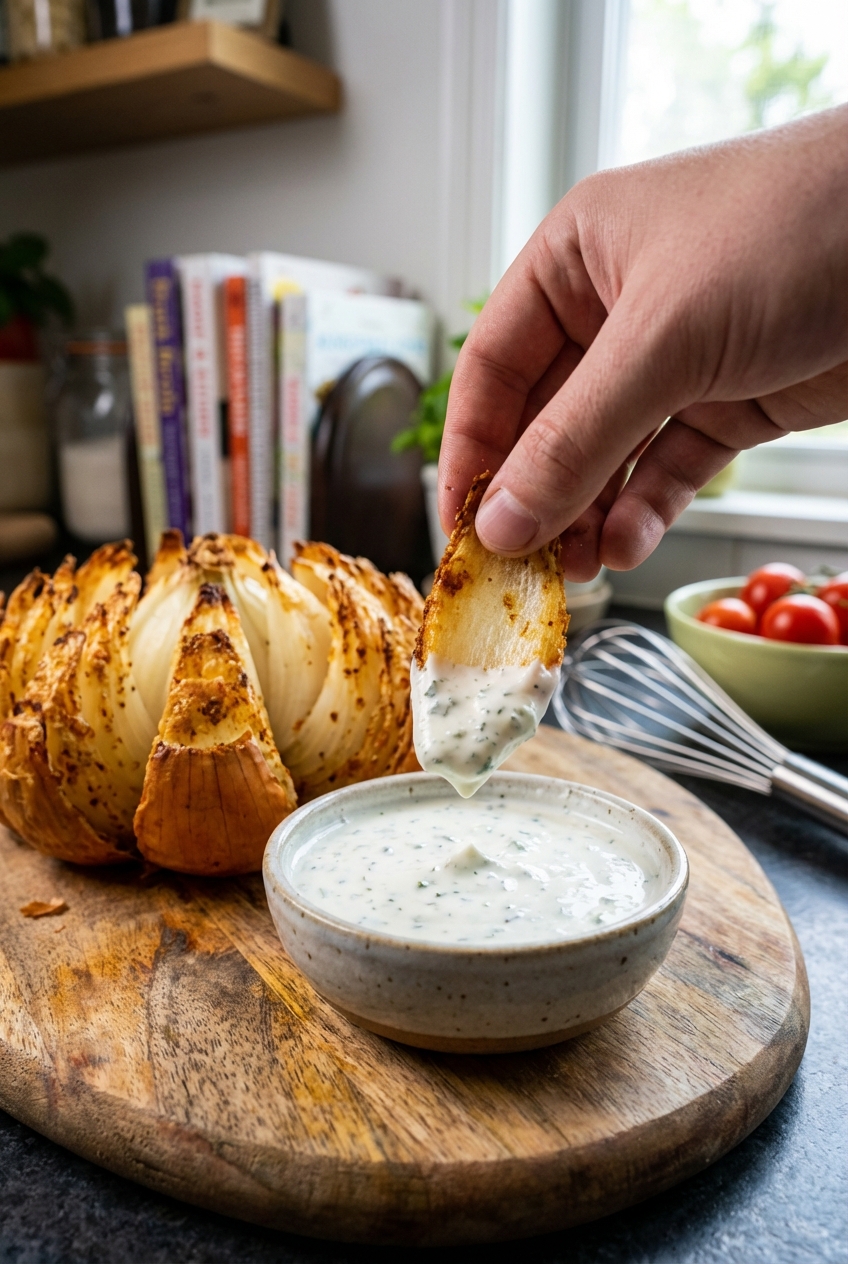
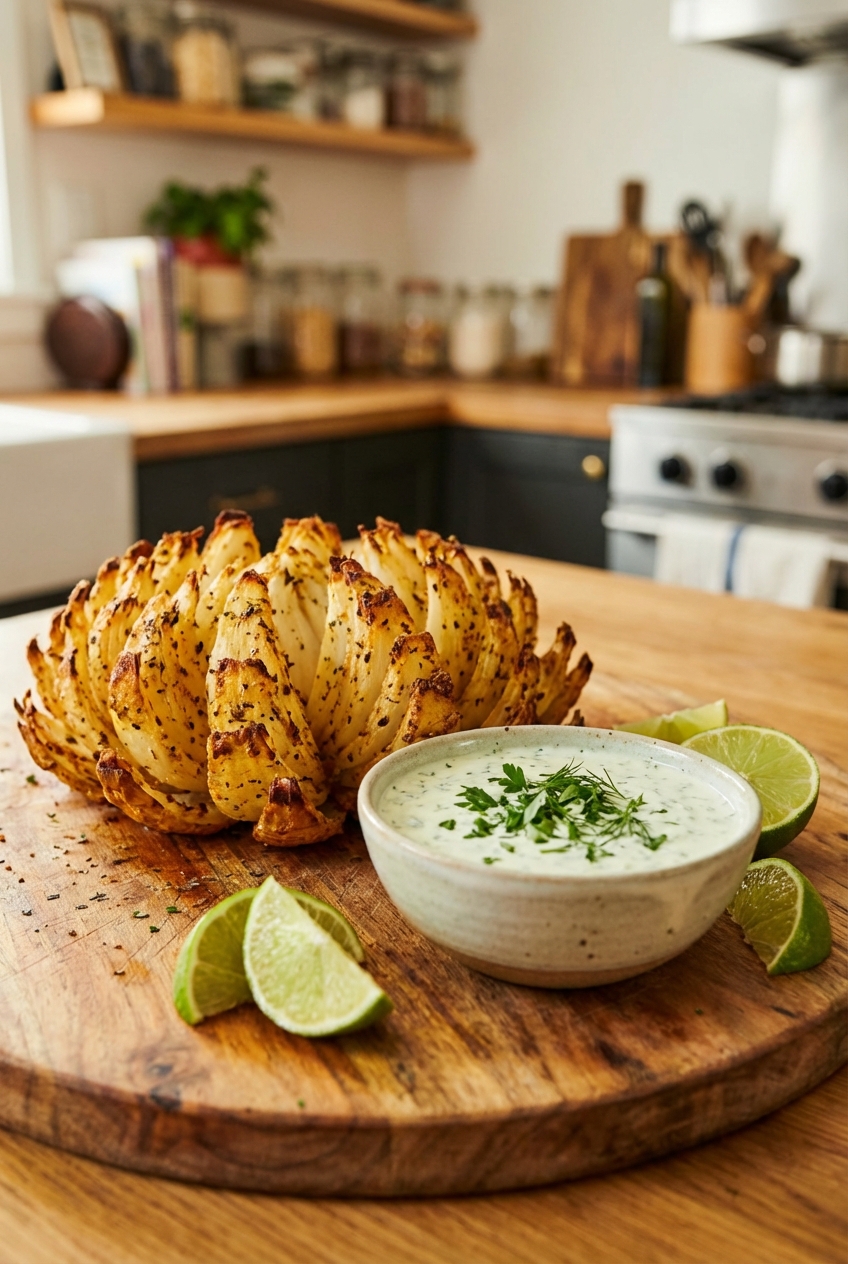
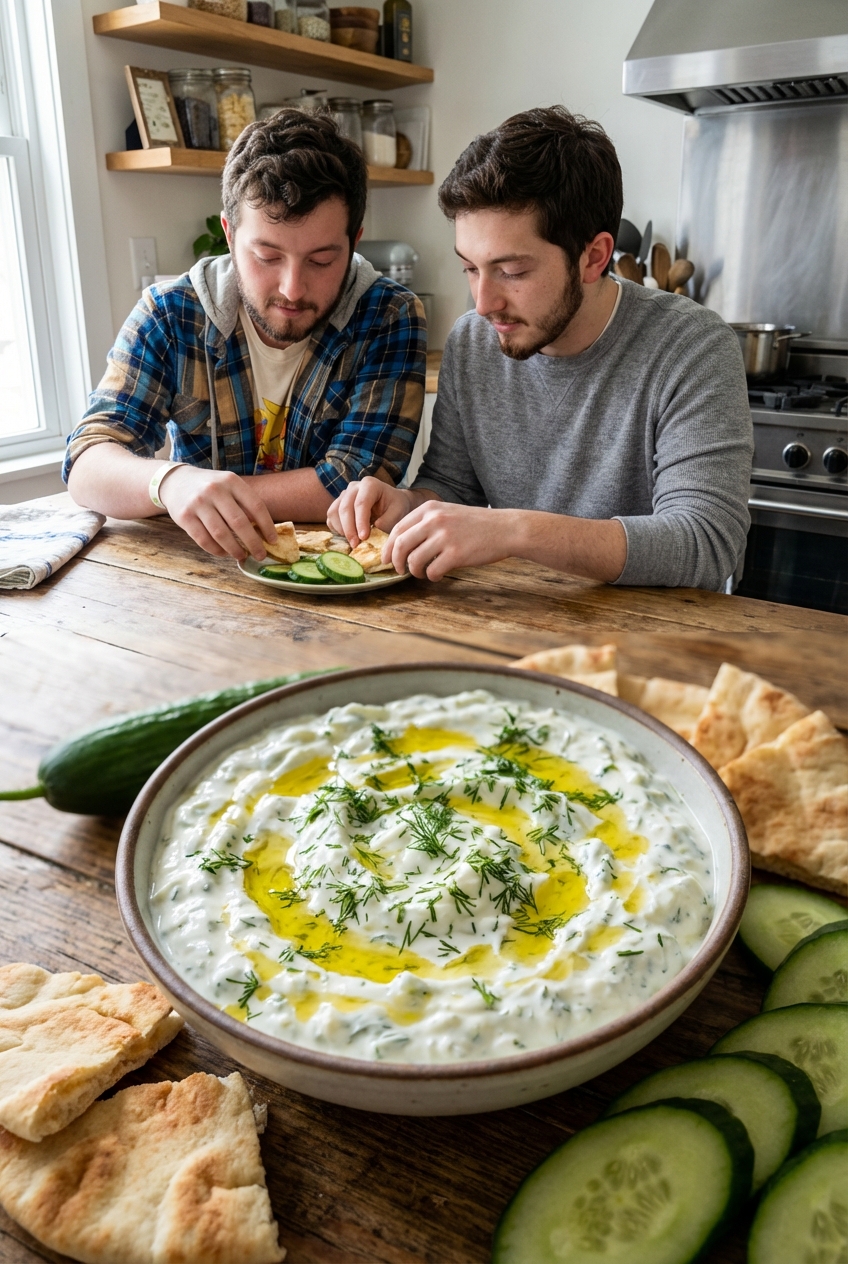
7) Make the dip
While it bakes, stir together Greek yogurt, mayo (if using), lemon juice and zest, garlic, herbs, salt, and pepper. Taste and adjust. You want it bright and a little salty.
8) Optional drizzle
Stir olive oil, paprika, lime juice, and a pinch of salt. Drizzle lightly over the hot onion right before serving for a fresh smoky pop.
9) Serve
Let the onion cool for 3 to 5 minutes (it will be lava). Sprinkle with a pinch of salt, then serve with the herb yogurt dip. Pull petals, dip, repeat.