Mom's Best Recipes
Recipe

Oreo Crust

A crisp, chocolatey cookie crust you can make baked or no-bake with Oreos and butter. Sturdy enough for cheesecake, easy enough for weeknights.

Author By Matt Campbell
4.9
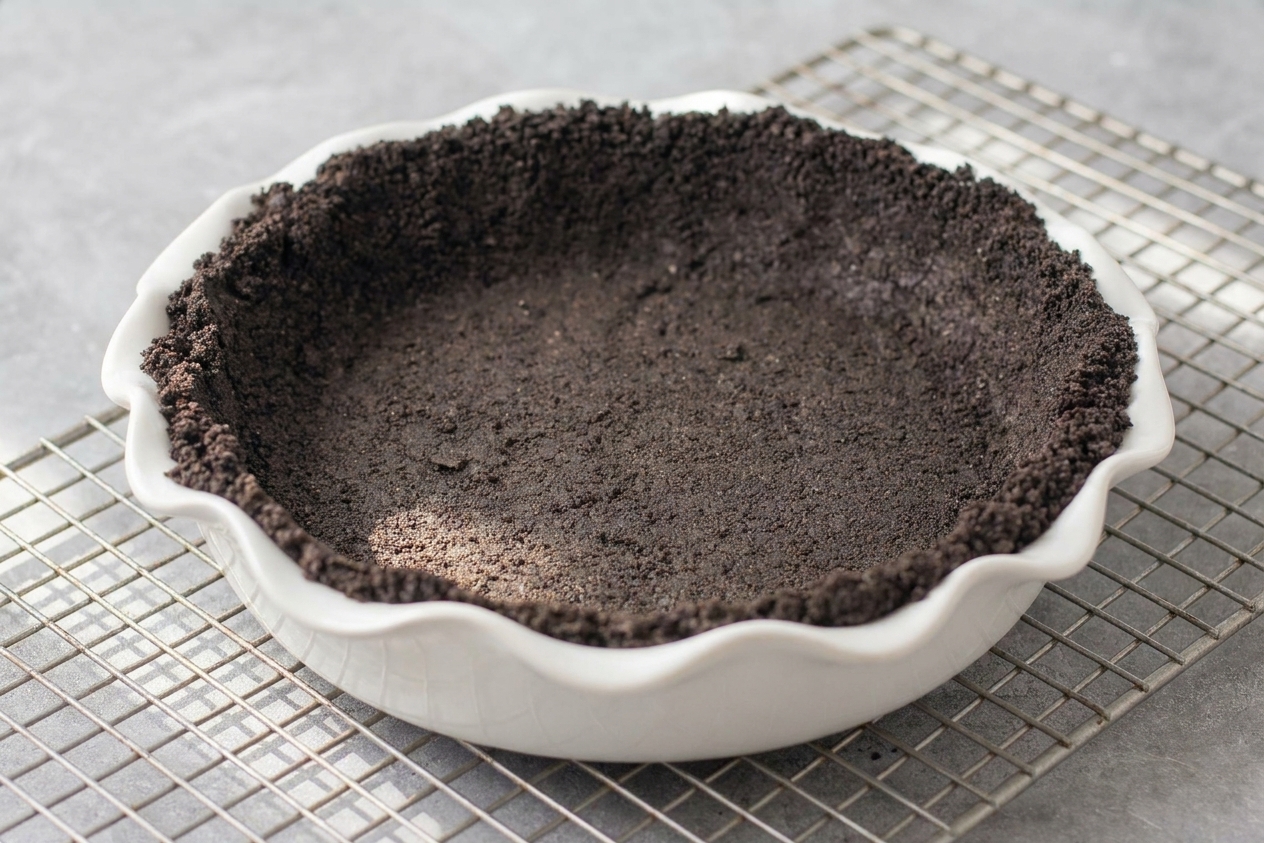
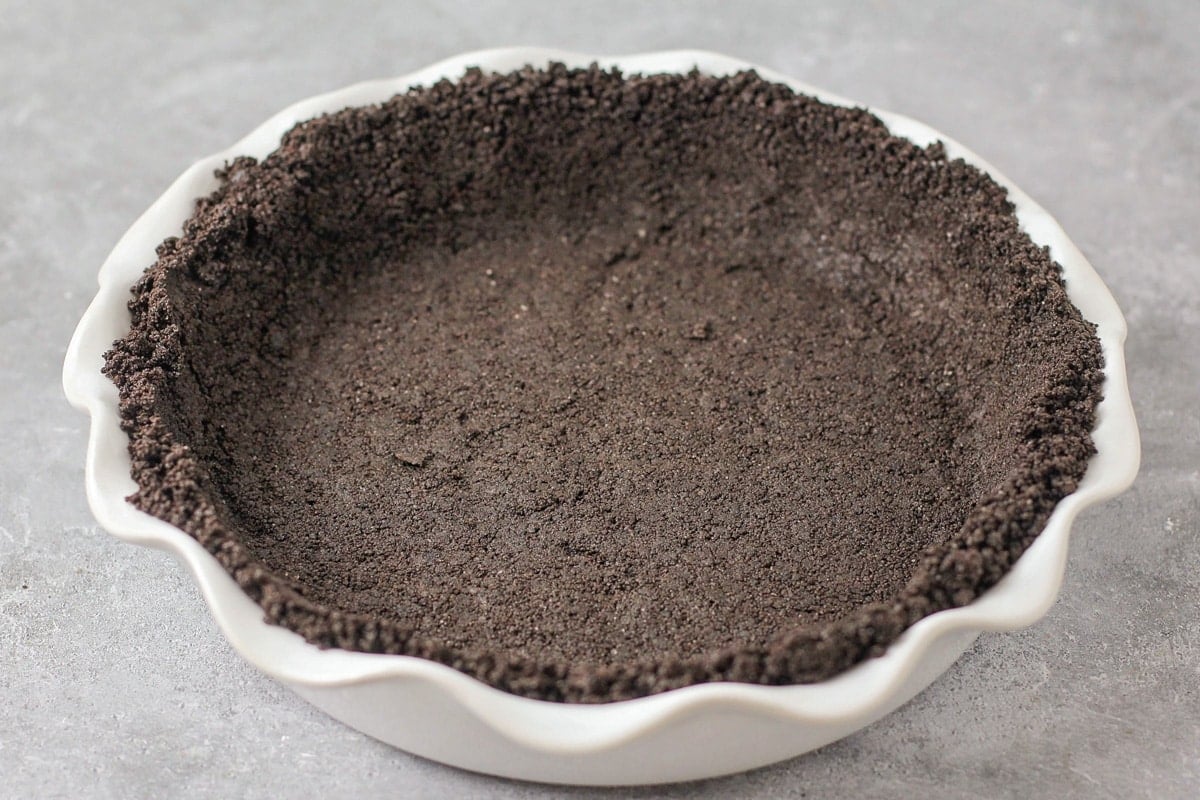
A finished Oreo cookie crust pressed into a 9-inch pie dish on a warm kitchen counter, with fine chocolate crumbs and clean, defined edges

Oreo crust is the little black dress of desserts. It shows up, it behaves, it goes with everything, and it makes whatever you put on top feel like a guaranteed good decision. The best part is you do not need a food processor or a culinary degree to pull it off. You just need cookies, butter, and the confidence to press crumbs like you mean it.

Below you will find two versions that cover basically every dessert situation: a no-bake Oreo crust for chilled pies and icebox cakes, and a baked Oreo crust for cheesecakes and anything that needs extra structure and a toasted cookie flavor.

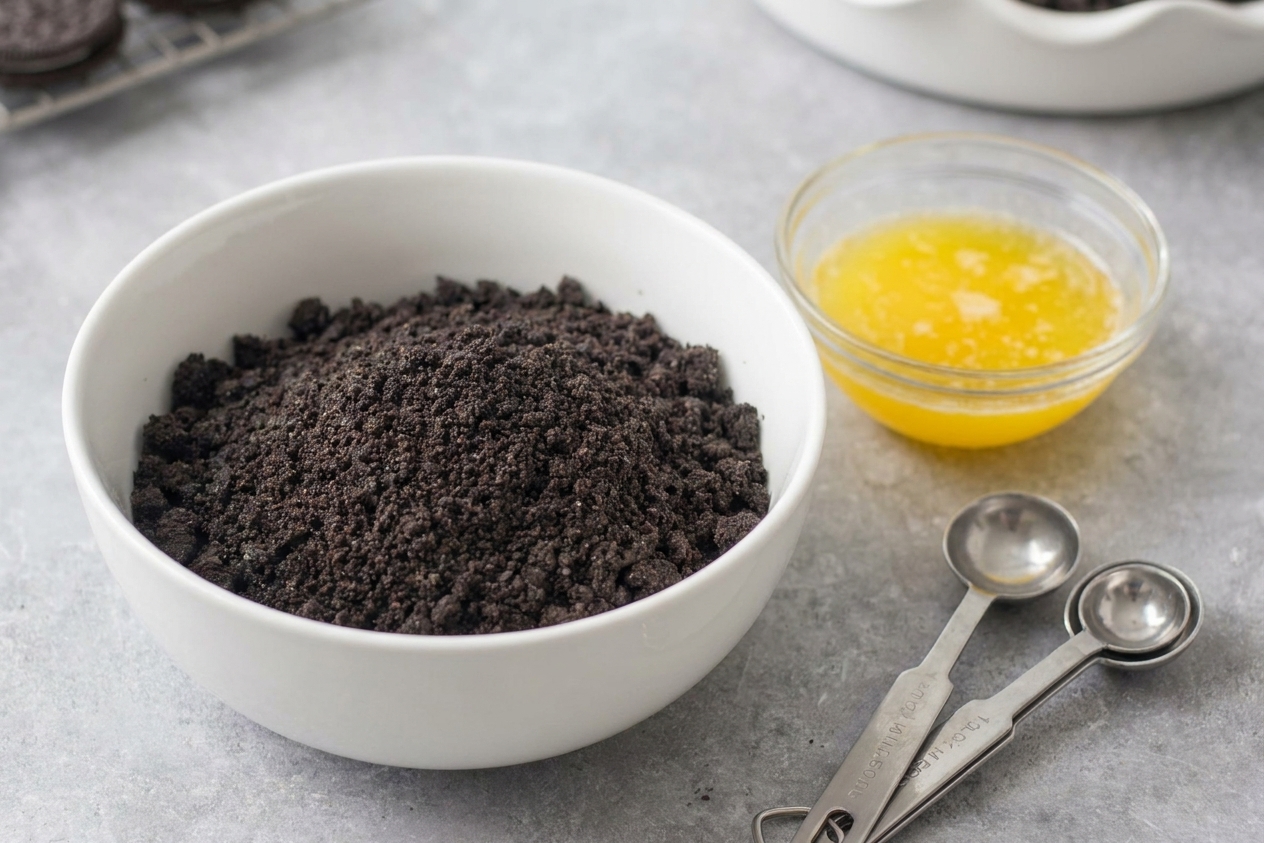
A bowl of Oreo cookies and a small bowl of melted butter on a tidy kitchen counter with measuring spoons nearby, ready to make a crust

Why It Works

  • Two ingredients, big payoff. Oreo crumbs plus melted butter creates a crust that slices clean and tastes like the best part of a cookie.
  • Choose your method. No-bake sets up fast in the fridge, while a quick bake makes it sturdier and more deeply chocolatey.
  • The texture is the point. Fine crumbs pack tightly so you get crisp edges instead of a crumb avalanche.
  • It fits your pan. Works for a 9-inch pie dish or a 9-inch springform for cheesecake.

Pairs Well With

Storage Tips

How to Store It

Make-ahead: You can press the crust up to 2 days ahead. Cover the pan tightly with plastic wrap and refrigerate. For the crispest texture, it is best within 24 to 48 hours.

Freezer: For longer storage, wrap well and freeze for up to 2 months. Thaw in the fridge for a few hours before filling.

After filling: Storage depends on your filling, but cream pies and cheesecakes typically keep best 3 to 5 days refrigerated, covered.

Common Questions

Do I scrape out the Oreo filling?

Nope. Leave it. The cream helps the crumbs bind and gives you that classic Oreo flavor. If you remove it, your crust can turn sandy and need extra butter.

Can I make this without a food processor?

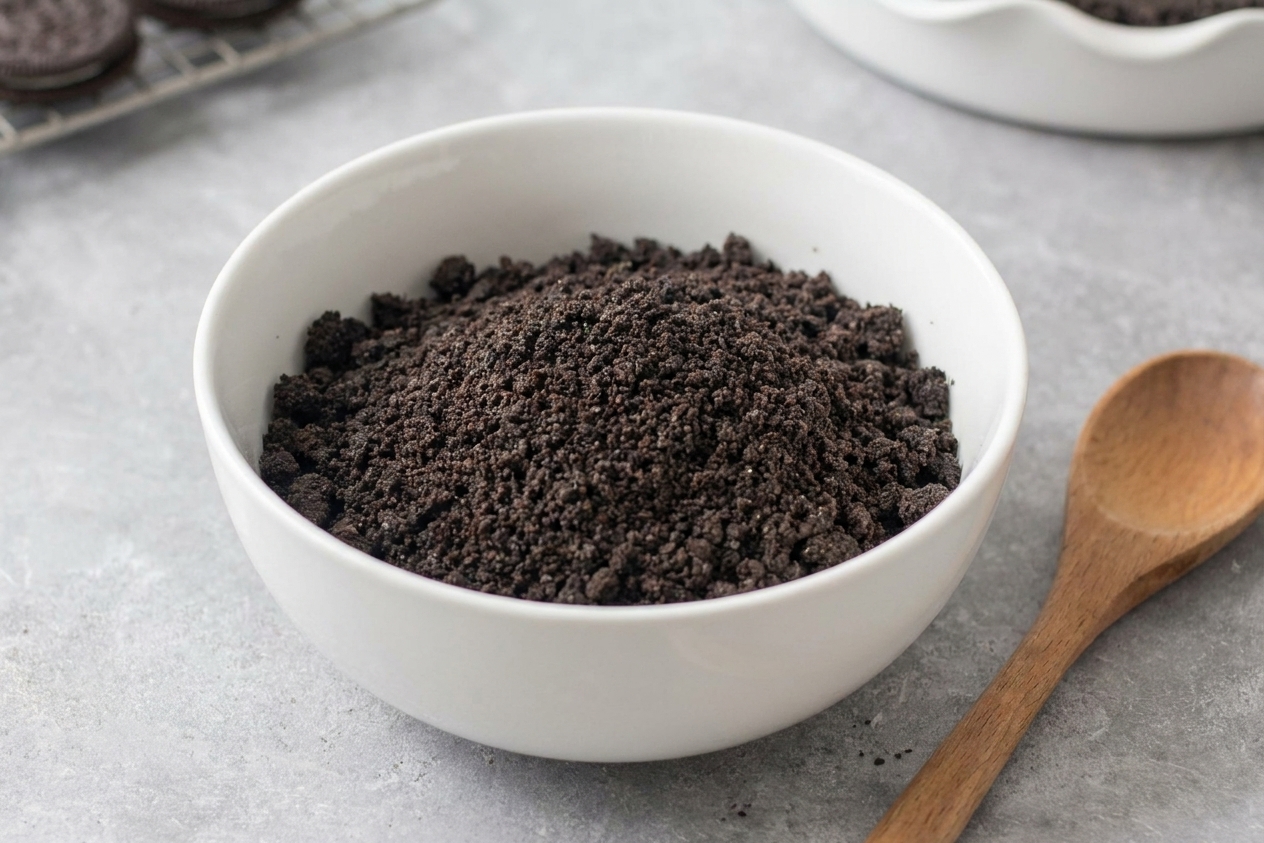
Yes. Put the cookies in a zip-top bag, press out the air, and crush with a rolling pin or a heavy skillet. Aim for mostly fine crumbs with a few tiny flecks. Big chunks = weak spots when slicing.

How much crust does this make?

This recipe makes enough for a 9-inch pie plate or a 9-inch springform pan (bottom plus about 1 to 2 inches up the sides). If you want extra-thick sides, add 2 to 4 more cookies.

Why is my crust falling apart?

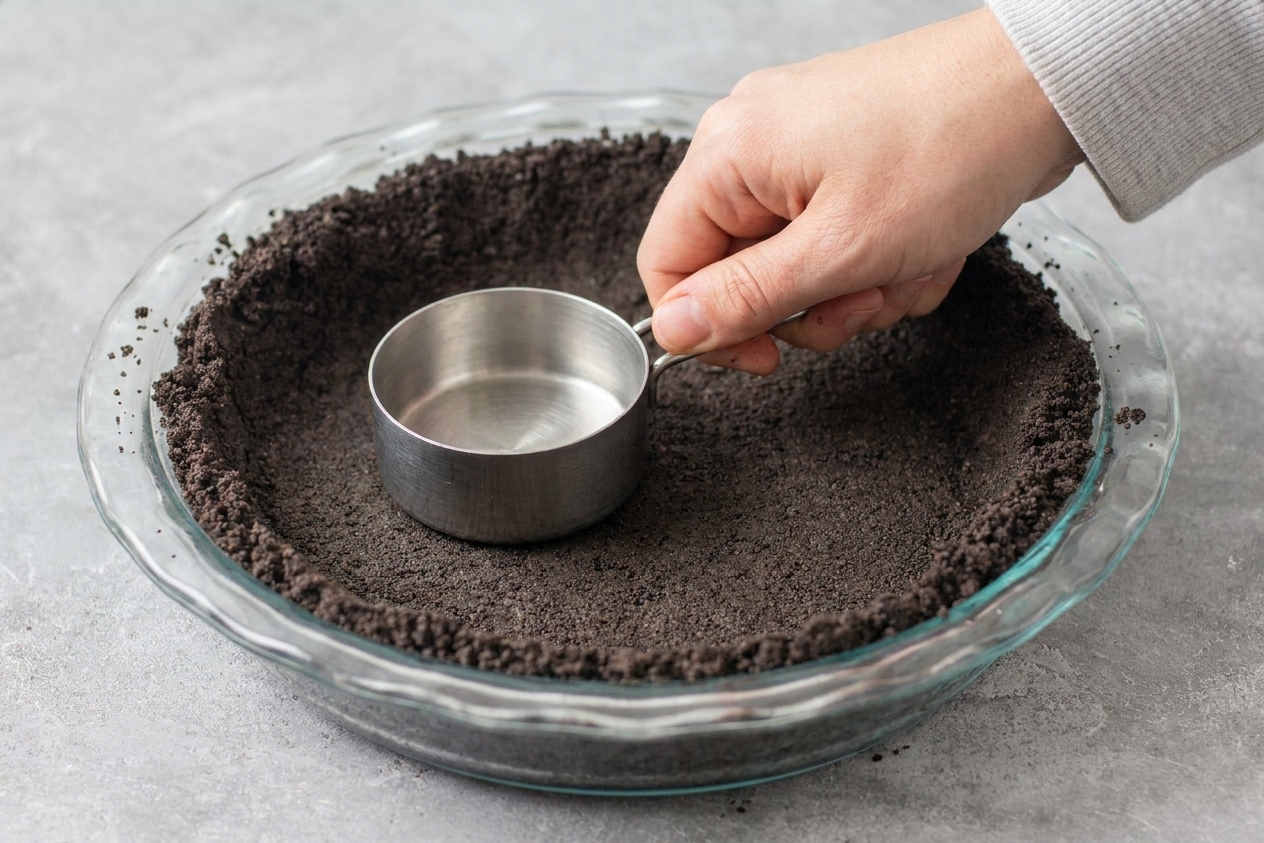
Usually one of three things: the crumbs are too coarse, it was not packed firmly enough, or there is not enough butter. Next time, crush finer and press with a flat-bottomed measuring cup. If the mixture does not hold together when squeezed, add 1 tablespoon melted butter (up to 2 tablespoons) and mix again before pressing.

No-bake or baked, which should I use?

No-bake is great for chilled fillings like pudding pies, mousse, or icebox desserts. It stays a little softer. Baked is my pick for cheesecake or anything heavy because it sets firmer, tastes a little more toasted, and cuts cleaner.

Can I use gluten-free Oreos?

Yes. Treat them the same way. If your crumbs look a little drier, add an extra teaspoon to tablespoon of melted butter.

How do I get it out of a springform cleanly?

Line the bottom with a round of parchment. Lightly grease the sides (or use a strip of parchment) before pressing. When it is chilled and set, run a thin knife around the edge before unlatching.

How do I scale this for other pans?

8-inch pan: Use about 20 to 22 Oreos and 4 to 5 tablespoons butter.
10-inch pan: Use about 30 to 32 Oreos and 6 to 7 tablespoons butter.
9x13 pan: Use about 40 to 44 Oreos and 9 to 10 tablespoons butter (great for bar-style desserts).

I used to think Oreo crust was just a shortcut, like the dessert equivalent of wearing sweatpants to a nice dinner. Then I made one for a last-minute get-together, pressed it a little too aggressively, and realized that crisp edge and buttery cocoa flavor was not “less than” anything. It was the thing people actually remembered. Now it is my go-to when I want dessert to feel effortless but still get that pause mid-bite reaction.