Make the butter block. Place the cold butter between two sheets of parchment. Pound and roll into a rectangle about 7 x 8 inches, about 1/2 inch thick. If using, dust in the optional flour while shaping. Chill 10 to 15 minutes until cold but bendable.
Target texture: Butter should flex without cracking. If it is rock-hard, it will shatter and cause uneven layers.
Helpful temp target (optional): Dough and butter are happiest when they feel cool and pliable, roughly 55 to 65°F (13 to 18°C).
Lock-in (encase the butter). On a lightly floured surface, roll the dough to about 10 x 16 inches. Set the butter block in the center and fold the dough over it like a letter so the butter is fully enclosed. Pinch seams closed. If the dough feels warm or sticky, chill 15 minutes before the first fold.
Fold schedule: 3 single folds. With the short side facing you, roll the dough into a long rectangle about 8 x 20 inches, keeping edges squared with a bench scraper. Brush off excess flour.
Fold into thirds like a letter (top third down, bottom third up). Keep the seam to one side, not on top or bottom, then gently press to seal. Wrap and chill 30 to 45 minutes.
Repeat for a total of 3 single folds, chilling 30 to 45 minutes between each fold.
Prevent uneven layers: Roll from the center outward, rotate the dough as needed, and keep the rectangle an even thickness. If the dough fights back and shrinks, stop and chill. Do not wrestle it.
Overnight rest option (highly recommended). After the second fold, you can wrap and refrigerate overnight. The next day, do the third fold, then proceed to shaping. This makes the process calmer and can improve layer definition.
Final roll. Roll the laminated dough into a rectangle about 9 x 24 inches, roughly 1/8 inch thick (3 to 4 mm). If it keeps snapping back, chill 10 minutes and try again.
Cut. Trim the edges for clean layers (optional, but nice). Cut into 12 rectangles, each about 4 x 5 inches.
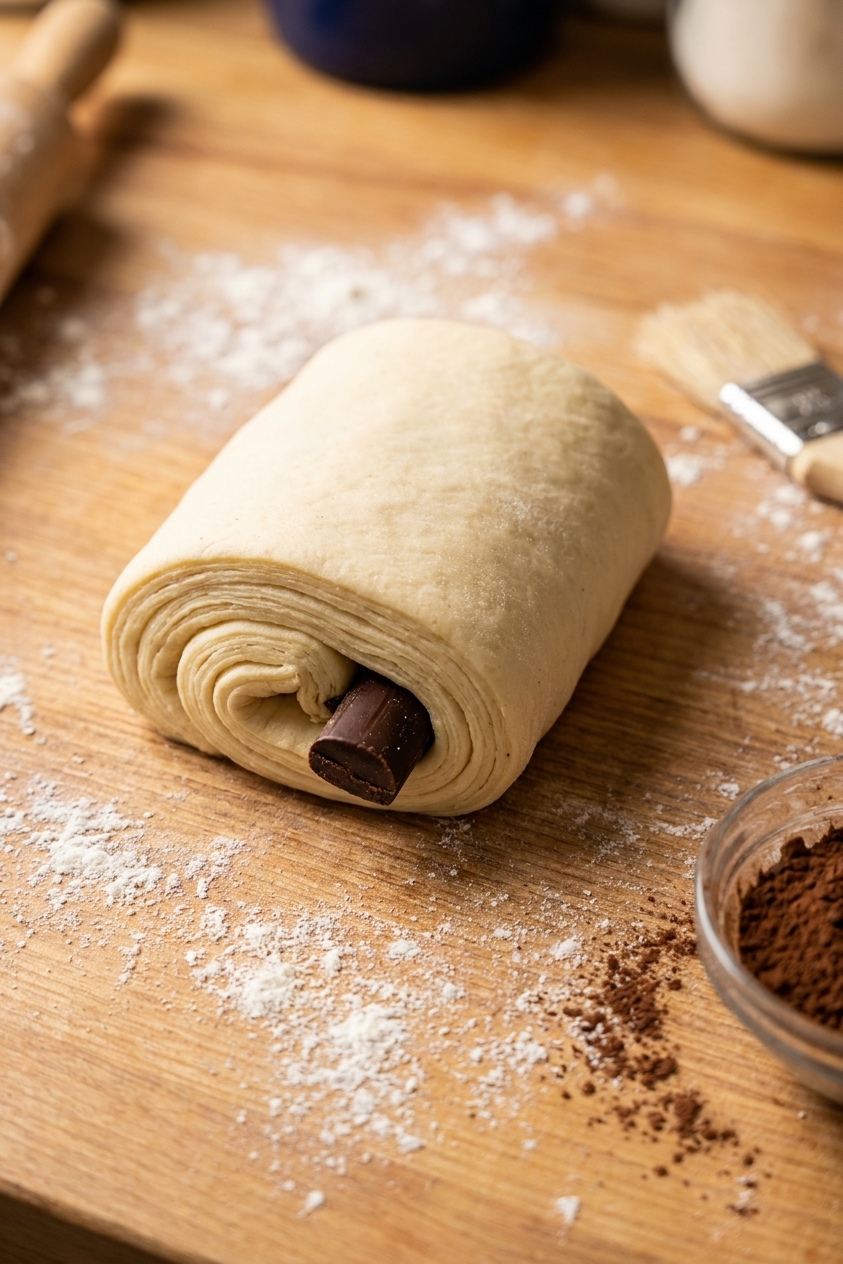
Fill and shape (classic double-pocket). Place 1 chocolate baton across the short edge of each rectangle, about 3/4 inch from the edge. Fold the dough over the baton once and gently snug it in.
Place the second baton near the folded edge (so it will end up in the second “pocket”), then continue rolling until sealed. Place seam-side down on parchment-lined baking sheets, spacing them well apart.
Tip to prevent chocolate blowouts: Keep the seam under the pastry and do not stretch the dough around the batons. Stretching thins layers and invites leaks.
Proof. Lightly cover with plastic wrap (leave room for expansion). Proof at about 75°F to 78°F for 2 to 3 hours, until noticeably puffy, visibly layered, and about 50 to 75 percent larger. When you gently shake the tray, they should jiggle.
How to avoid butter leakage while proofing: If your kitchen is warm, proof in the oven with the light on only if it stays under 80°F. Butter softens quickly above that and can start leaking. If you see butter softening or weeping, move the tray to the fridge for 15 minutes, then continue proofing in a cooler spot.
Egg wash. Whisk egg, milk or cream, and a pinch of salt. Brush a thin, even coat over the tops only. Avoid the cut sides, which can glue layers together and reduce lift.
Bake until golden. Preheat oven to 400°F. Bake 8 minutes, then reduce to 375°F and bake 8 to 12 minutes more, rotating the pans halfway through, until deeply golden brown with crisp, defined layers.
Pan note: If baking two sheets at once, use upper and lower middle racks and rotate top to bottom at the halfway point. If your oven runs uneven, baking one sheet at a time can give the most consistent rise.
Golden guidance: Pale pastries taste bready. You want a rich amber top and clearly set layers. If you check temperature, think of 200 to 205°F as a rough, optional target.
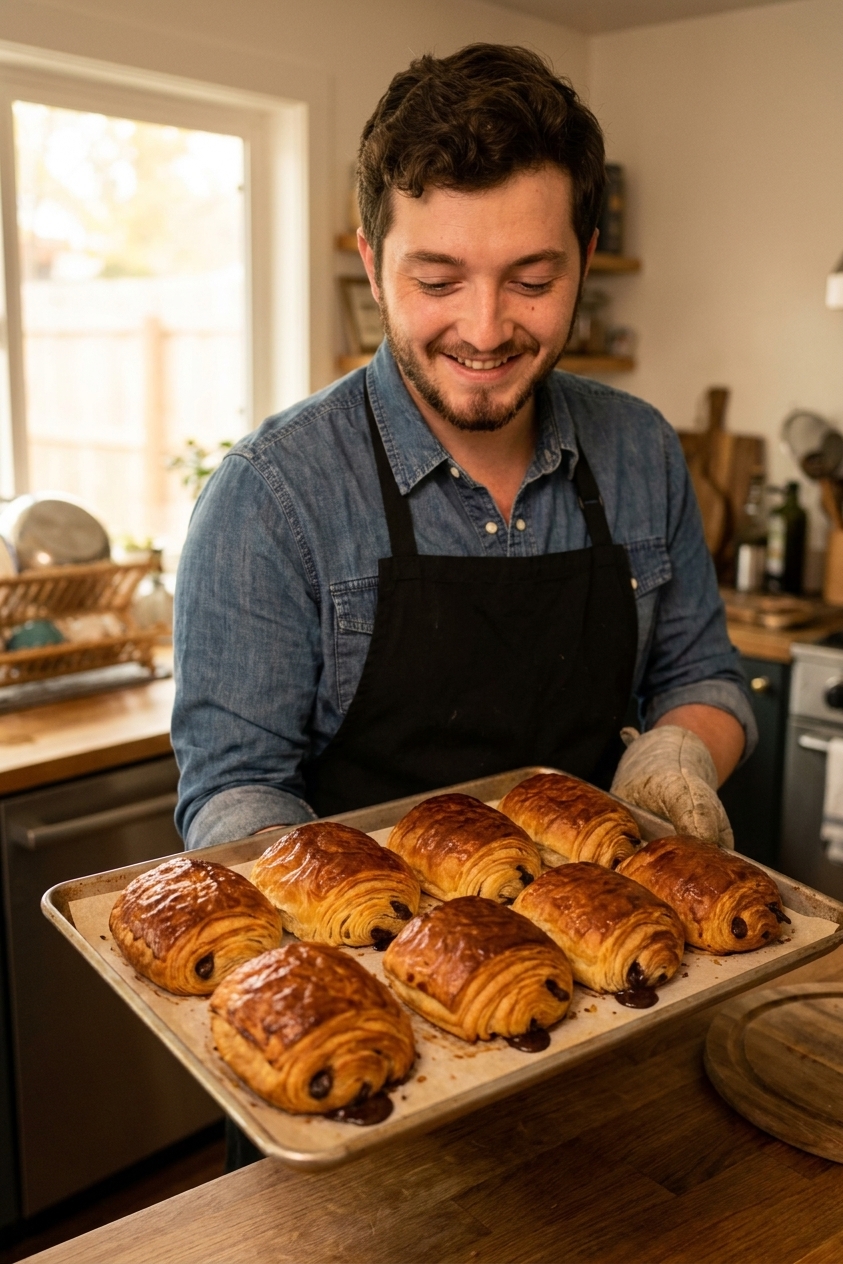
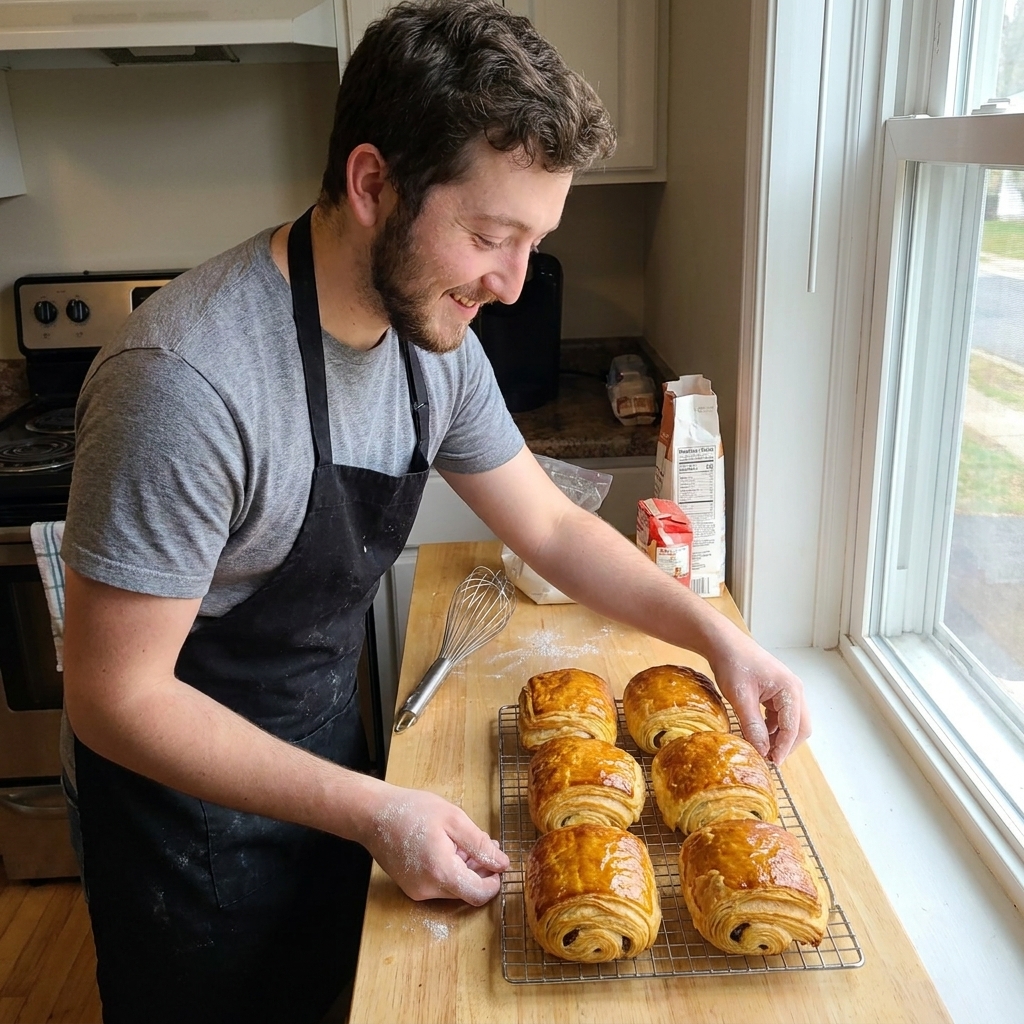
Cool. Let cool 10 minutes on the tray, then move to a rack. Eat warm for maximum magic.