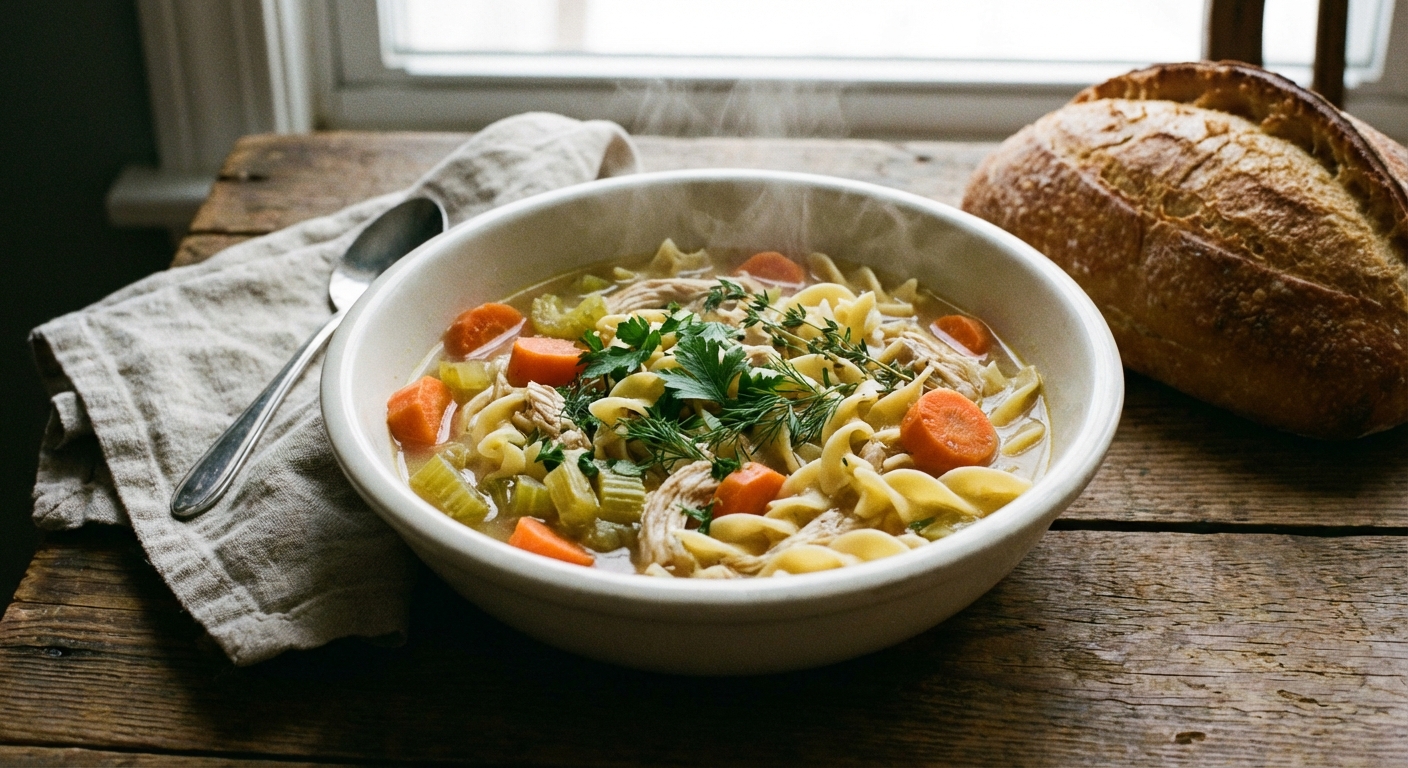
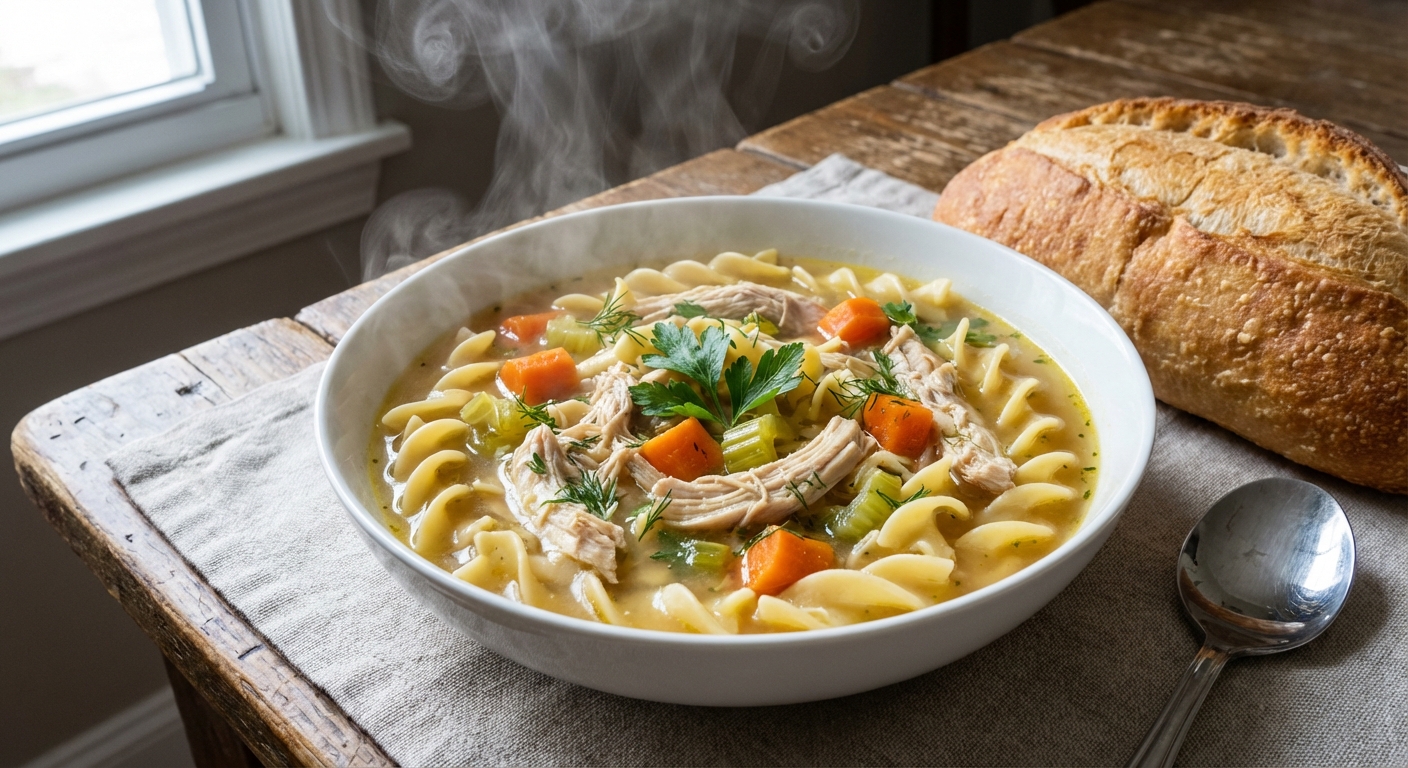
Mom's Best Recipes
Recipe

Rich Homemade Chicken Broth

A deep, golden, flavor-packed chicken broth made with accessible ingredients and low drama technique. Freezer friendly, weeknight powerful.

Author By Matt Campbell
4.9
A large stockpot filled with golden chicken broth gently simmering with chicken bones, onions, carrots, and celery on a stovetop

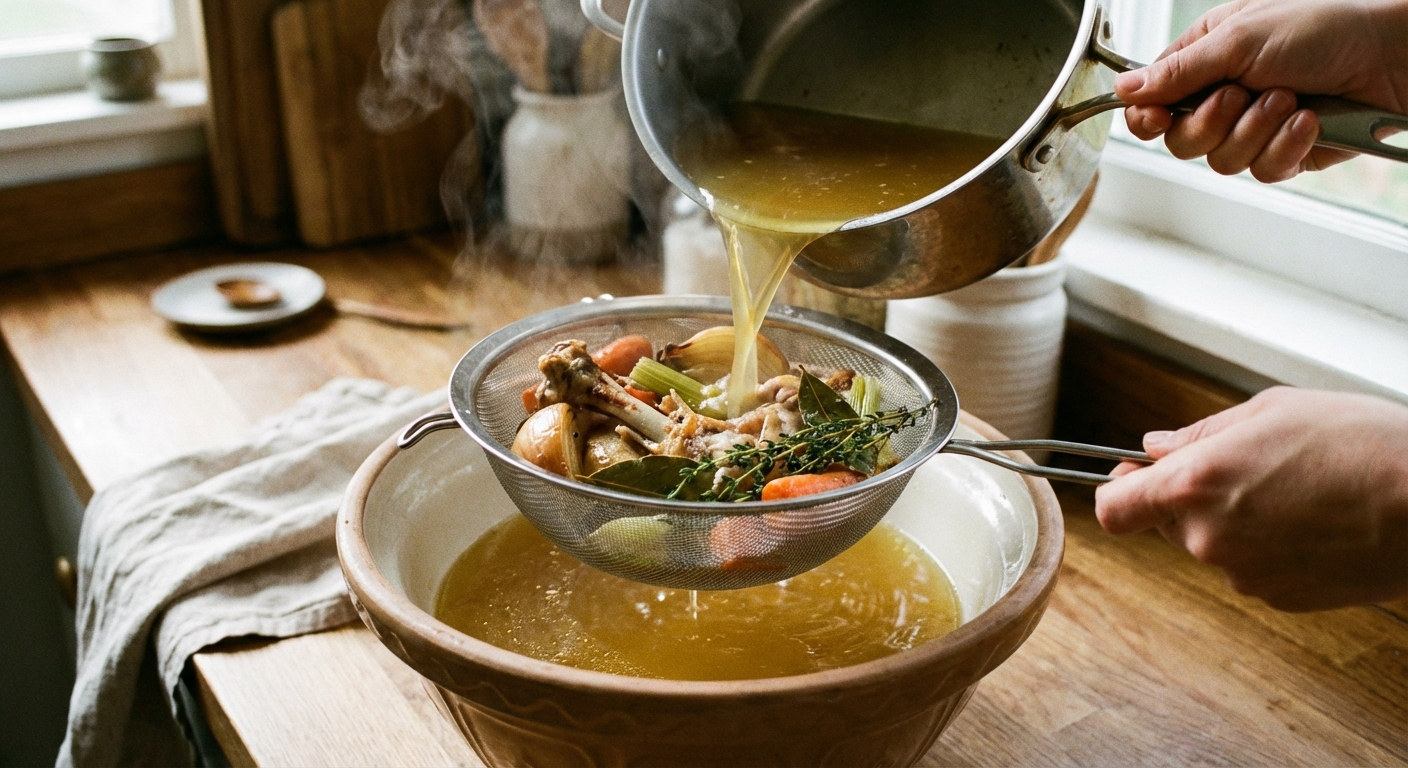
If your soups have ever tasted like they forgot to put on pants, this is the fix. Rich homemade chicken broth is one of those quietly life-changing kitchen habits, because it makes everything taste like you tried harder than you did. Noodles, risotto, beans, pan sauces, gravy, even just a mug of broth with a squeeze of lemon when you feel a little dramatic and in need of comfort.

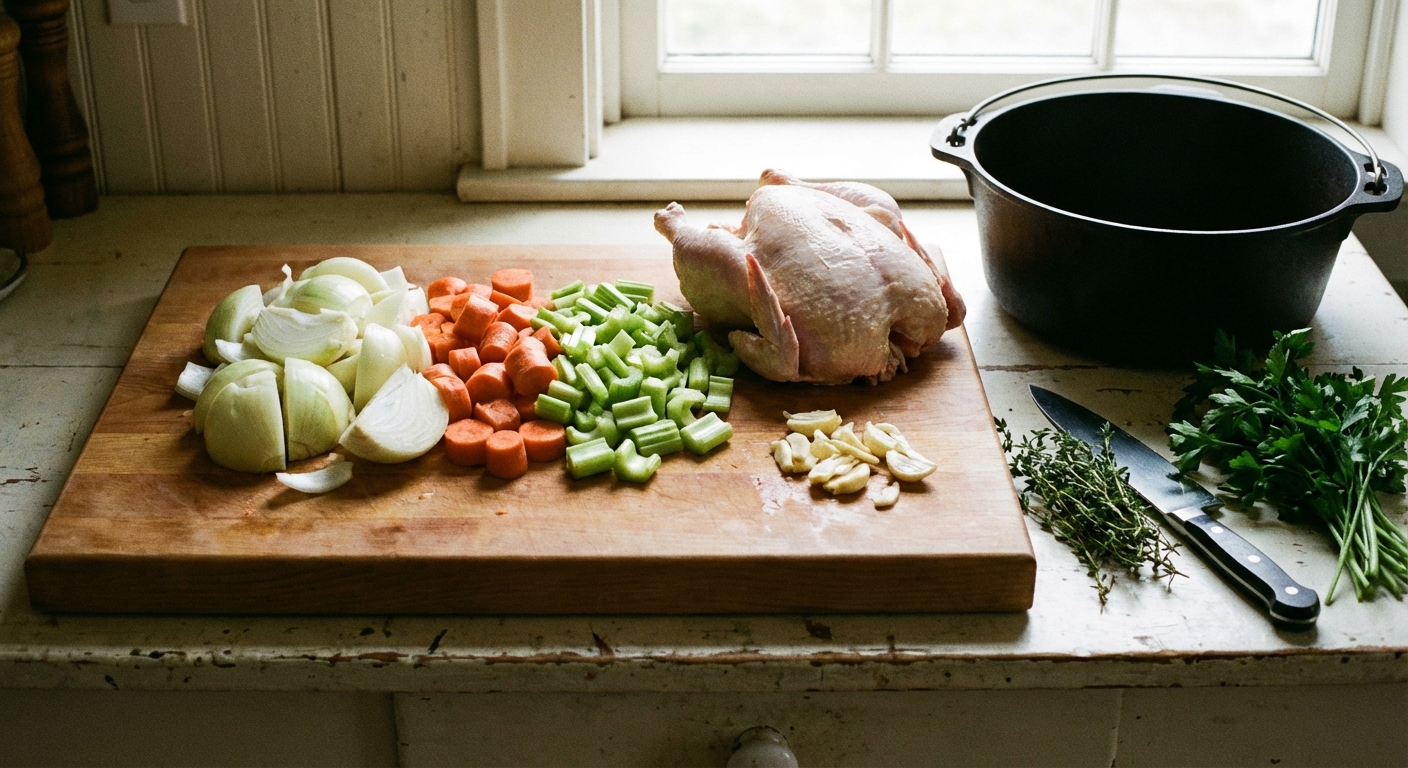
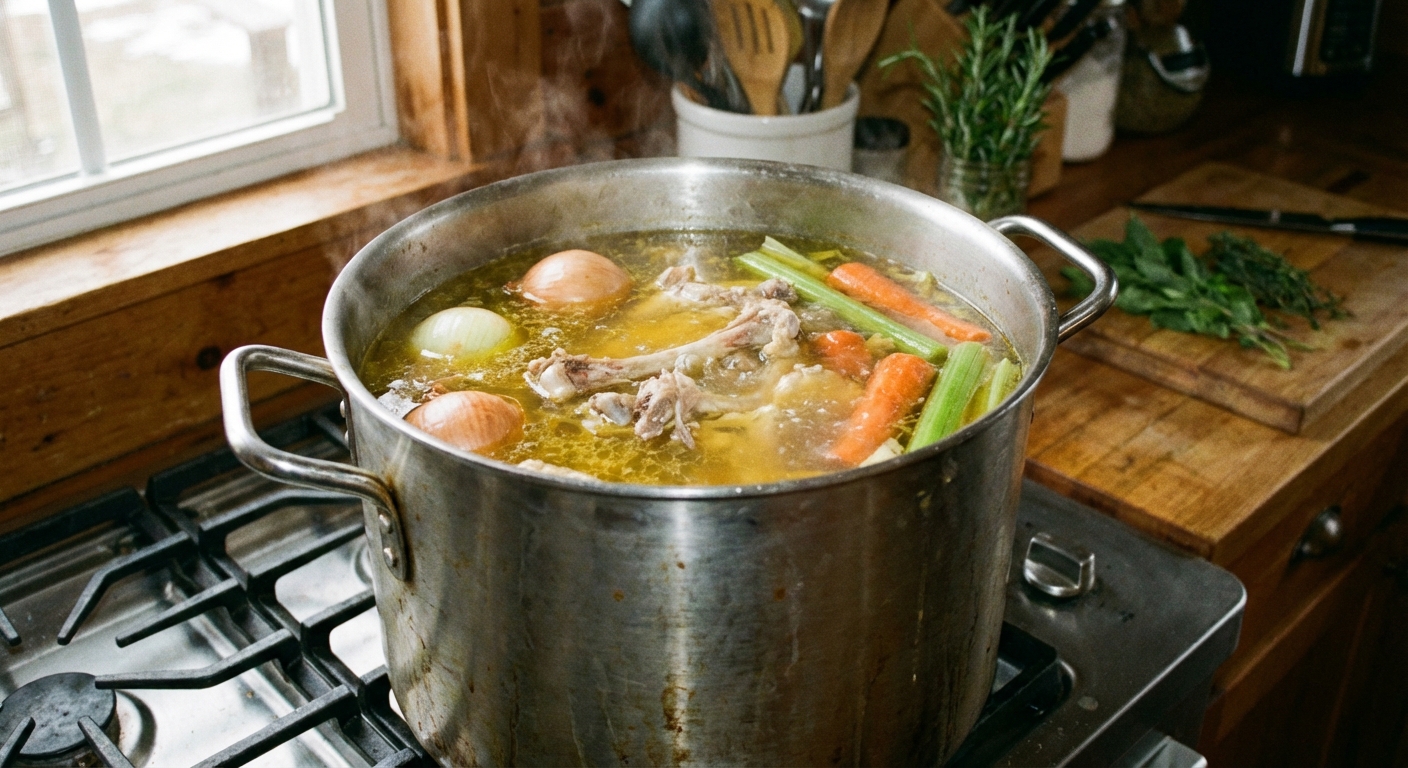
This version is built for real life. You can make it with a leftover roast chicken carcass, a store-bought rotisserie bird, or a mix of chicken backs and wings from the butcher counter. The goal is the same: a clean, savory broth with body, not a murky pot of salty regret.

A wooden cutting board with roughly chopped onions, carrots, celery, and garlic next to a raw chicken carcass ready for making broth

Why It Works

  • Big flavor from simple stuff: Roasting the bones and vegetables first gives you deeper, toastier notes without adding fancy ingredients.
  • Gelatin-rich body: Wings, backs, and feet (optional but powerful) bring collagen, which makes broth feel silky and full.
  • Clear, clean taste: A gentle simmer, not a rolling boil, keeps the broth from turning cloudy and harsh.
  • Season later: This broth is intentionally low salt so you can reduce it or use it in recipes without accidentally creating a sodium situation.

Storage Tips

How to Store It

  • Fridge: Cool completely, then refrigerate in a covered container for up to 4 days. The fat may solidify on top. That is a good thing. It acts like a natural lid. Scoop it off to use for cooking, or leave a thin layer to protect the broth.
  • Freezer: Freeze up to 4 months. Portion it like you actually use it: 1 cup, 2 cup, and 1 quart containers. Silicone muffin tins also work for broth pucks you can toss into sauces.
  • Fast cooling tip: Set the pot in the sink in an ice bath and stir every few minutes. Broth cools faster and spends less time in the temperature danger zone.
  • Concentrate option: Simmer strained broth uncovered to reduce by one third to one half, then freeze. Dilute with water when you use it.

Common Questions

FAQ

Do I have to roast the bones first?

No, but it is the difference between “nice” and “why does this taste like a restaurant?” Roasting adds browned flavor and deeper color. If you want a lighter broth for delicate soups, skip roasting and go straight to a gentle simmer.

Why shouldn’t I boil broth?

A hard boil emulsifies fat into the liquid and knocks particles loose, which makes broth cloudy and can taste slightly bitter. Aim for a lazy simmer with small bubbles and occasional movement.

How do I make it more gelatinous?

Use collagen-rich parts: wings, backs, necks, and feet if you can find them. Also keep the simmer gentle and do not dilute with too much water. When chilled, it should look like jiggly savory Jell-O. That is the good stuff.

Can I make this in a slow cooker or Instant Pot?

Yes. Roast first for flavor, then:

  • Slow cooker: 8 to 12 hours on low.
  • Instant Pot: 45 minutes on high pressure for a carcass, 60 minutes for lots of raw bones. Natural release 20 minutes.

When should I salt it?

Salt at the end, or salt the dish you are making with the broth. If you salt early and then reduce, things can get aggressively salty fast.

I started making broth after one too many soups that tasted like hot, beige water pretending to be dinner. The first time I chilled a pot of homemade broth and it turned into a wobbling golden gel, I felt like I had accidentally unlocked a kitchen cheat code. Now it is my favorite midnight fridge activity: staring at leftovers, whispering “I can fix this,” and turning a random pile of bones into tomorrow’s very impressive noodles.