Mom's Best Recipes
Recipe

Rustic Burger Bun Recipe

Soft, rich, slightly rustic buns with a velvety crumb and golden tops. Sturdy enough for juicy burgers, tender enough to eat plain over the sink.

Author By Matt Campbell
4.8
A single golden brown rustic burger bun split open on a wooden cutting board, showing a soft, velvety crumb with a butter brush and a few sesame seeds scattered nearby

If you have ever built a perfect burger and then watched the bun collapse into a sad, soggy situation, this is your redemption arc. These rustic burger buns are velvety and rich inside, with a thin, glossy crust that holds up to sauces, melted cheese, and that one friend who insists on stacking onion rings on top.

They are a little more “bakery” than “bag from the store,” but still totally doable at home with accessible ingredients. The secret is a simple enriched dough: milk for tenderness, egg for structure and color, and butter for that rich, cozy bite. We keep the shaping relaxed, so they look handmade on purpose, because they are.

Hands shaping soft dough into smooth rounds on a lightly floured countertop

Why It Works

  • Velvety crumb: Milk, egg, and butter make the interior soft and plush without turning cakey.
  • Sturdy but not tough: Enough gluten development to support burgers, but still tender for a clean bite.
  • Golden tops: An egg wash bakes up glossy and deeply browned, even in a home oven.
  • Rustic, low-drama shaping: No special rings required. Just smooth rounds and a gentle press.

Pairs Well With

Storage Tips

How to Store Rustic Burger Buns

  • Room temperature: Cool completely, then store in a zip-top bag or airtight container for up to 2 days. If your kitchen runs warm, aim for 1 day for best texture.
  • Refrigerator: Not my favorite because it dries bread out faster, but it works for up to 4 days. Rewarm to bring them back to life.
  • Freezer: The move. Freeze buns in a freezer bag for up to 2 months. Thaw at room temp, then toast or warm.
  • Reheating tip: Split and toast cut-side down in a dry skillet or toaster. For extra richness, swipe a tiny bit of butter on the cut side before toasting.

A toasted burger bun cut-side down in a skillet turning golden

Common Questions

Common Questions

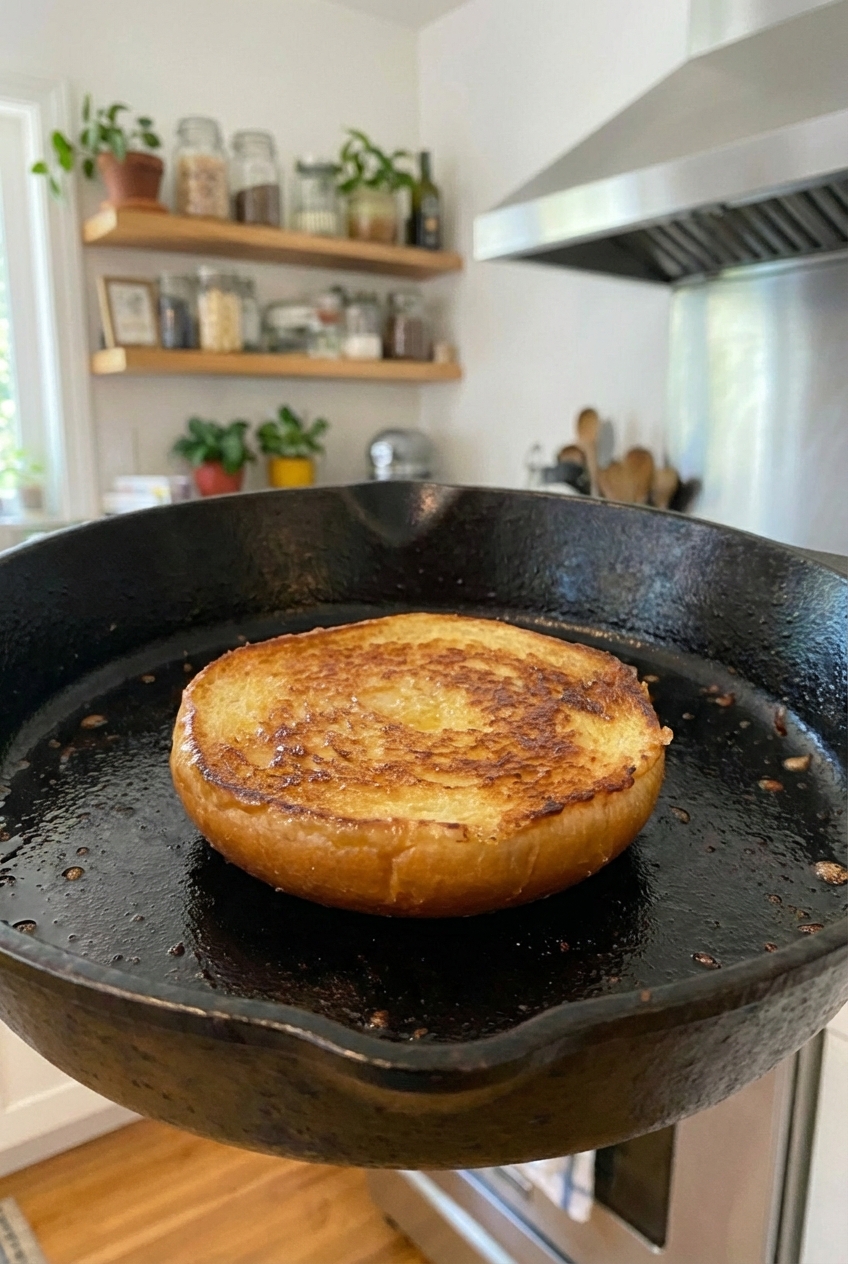
What makes these buns “velvety and rich”?

An enriched dough. Milk tenderizes, egg adds a little extra structure and color, and butter brings richness. The result is soft and plush, not dense.

Can I use instant yeast instead of active dry?

Yes. Use the same amount. If you are using instant yeast, you can skip the “wake up the yeast” step and mix it with the dry ingredients, then add the warm milk and egg. The rise time is usually similar, but always follow the dough, not the clock.

Can I make the dough ahead of time?

Yes. After the first rise, cover and refrigerate the dough for up to 24 hours. Let it sit at room temp for 30 to 60 minutes before shaping, then proceed as written.

Do I need a stand mixer?

No. It is convenient, but you can knead by hand. Expect about 10 to 12 minutes of kneading until the dough is smooth and stretchy.

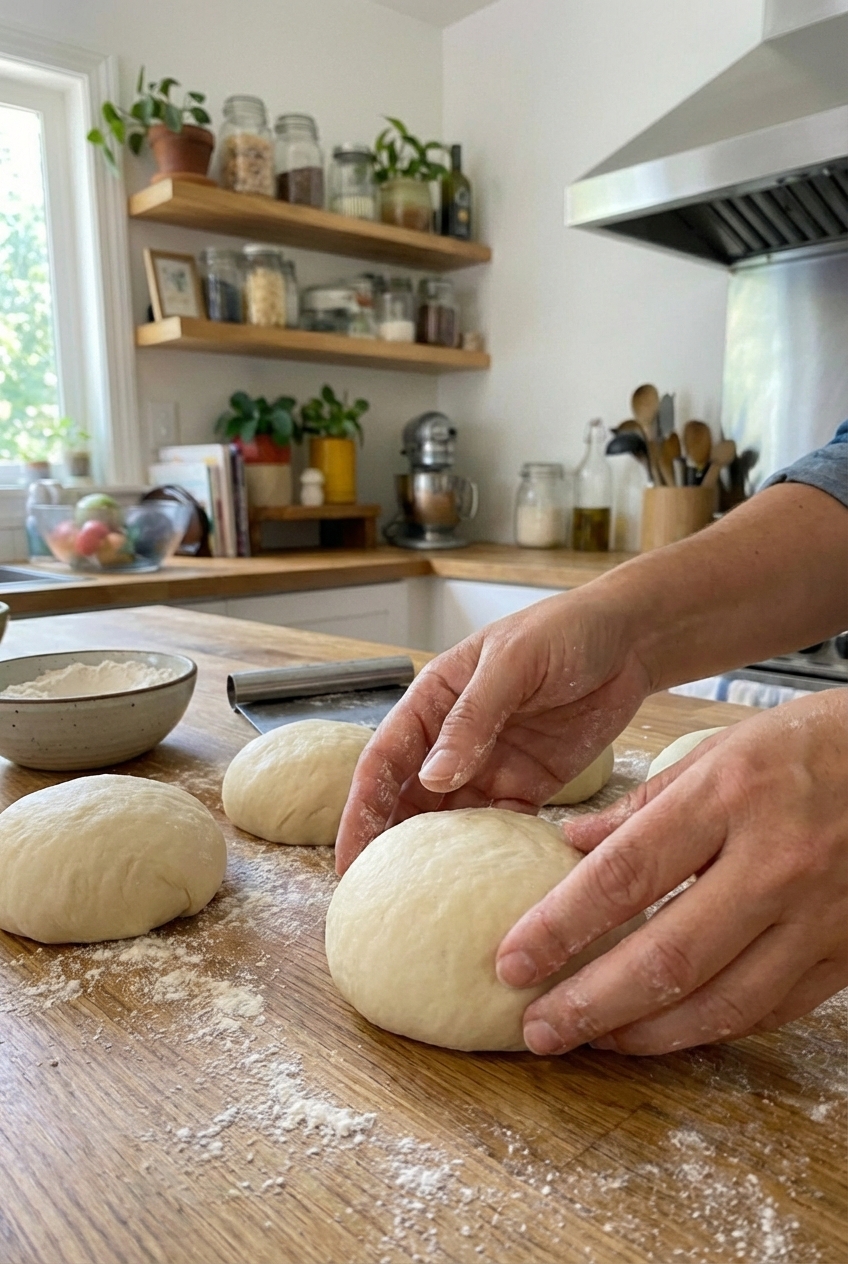
Why are my buns dense?

Most common culprits: too much flour, under-kneading, or not letting the dough rise long enough. Use the dough’s feel as your guide. It should be soft and slightly tacky, not stiff.

My dough is not rising. Now what?

Usually it is just cold. Move the bowl to a warmer spot (inside an off oven with the light on works), and give it extra time. If you never saw any bubbles or yeast activity at all, your yeast may be expired.

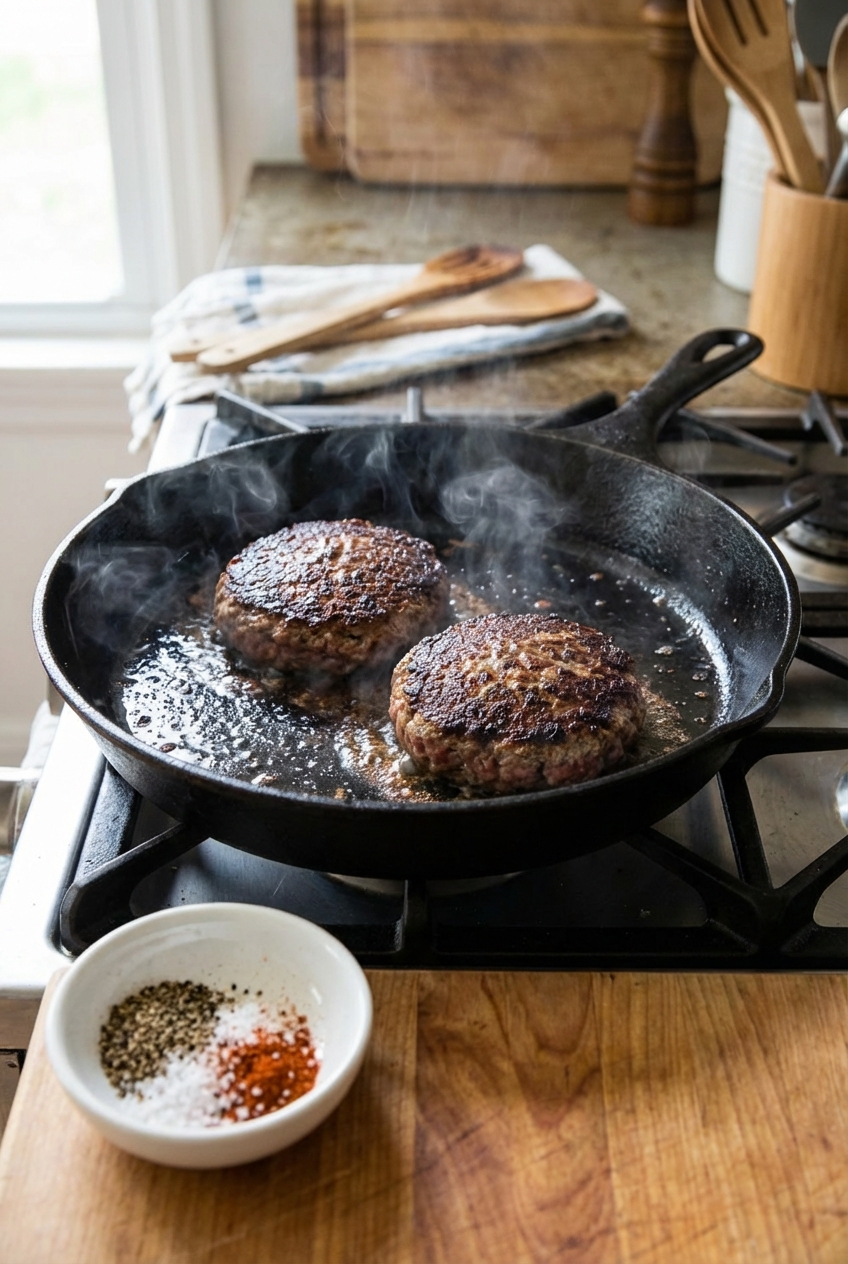
Why did my buns spread too much?

Most often: overproofing (they rose a little too long) or the dough was too soft from extra liquid or not enough gluten development. Next time, shorten the second rise slightly and make sure the dough passes the “smooth and stretchy” test before shaping.

Can I make these into slider buns?

Absolutely. Divide into 12 pieces instead of 8. Start checking for doneness at 13 to 15 minutes.

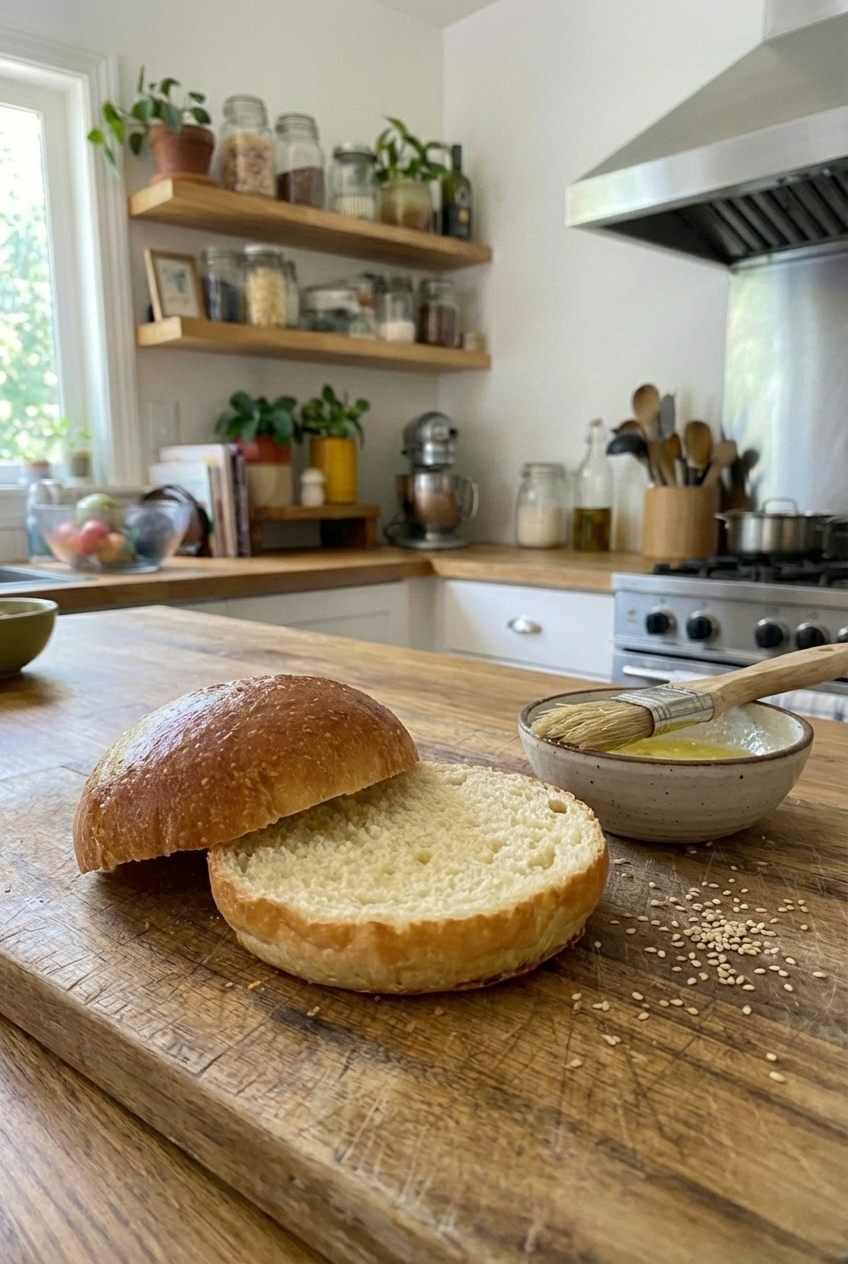
Can I skip the egg wash?

You can, but the buns will look more matte. For a quick substitute, brush with milk or cream. You will still get some browning, just less shine.

I started making buns at home because I got tired of building a great burger and then settling for a bun that tasted like… air. The first time I nailed a soft, rich crumb with a sturdy little crust, it felt like cheating, in the best way. Now I treat buns like part of the recipe, not an afterthought. Also, shaping dough rounds is weirdly calming until you realize you made them slightly different sizes, which is honestly the most rustic thing you can do.