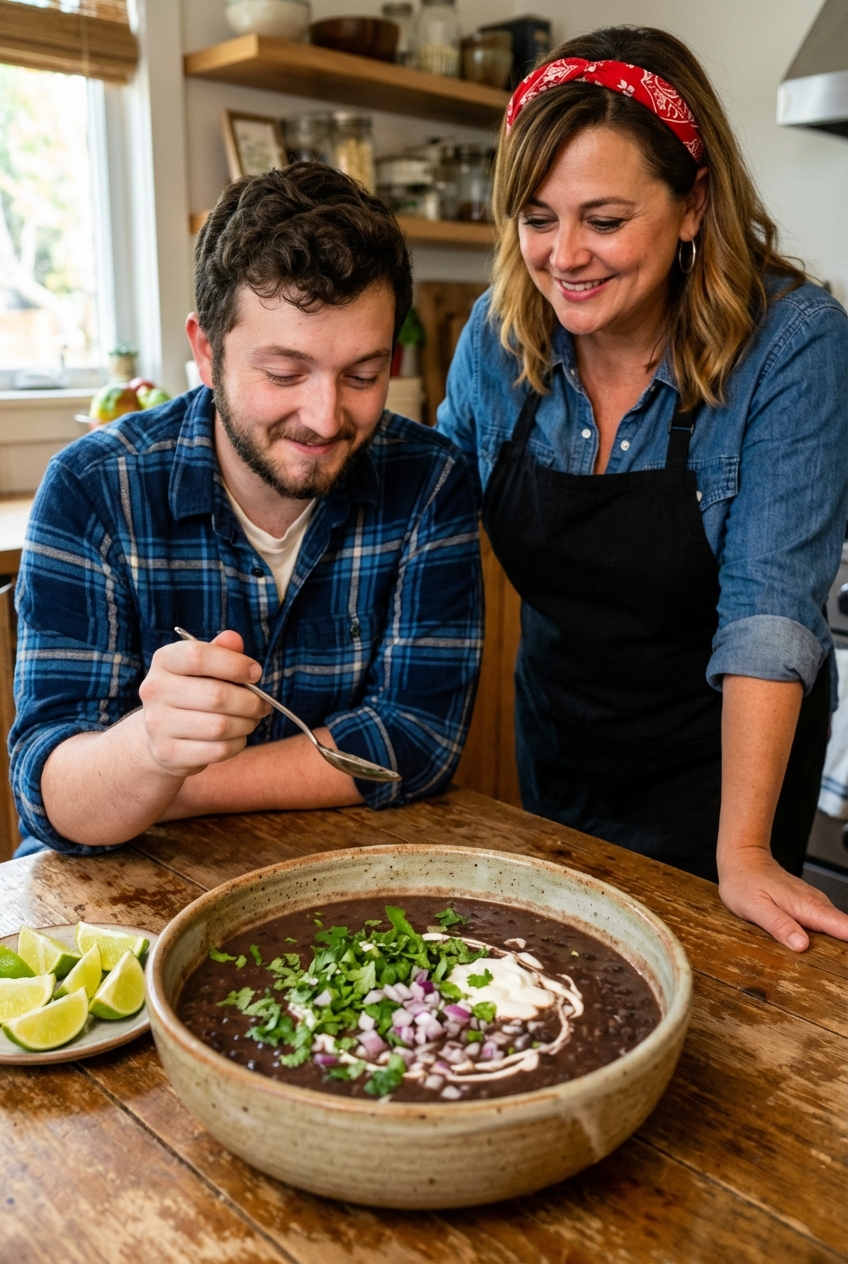
Mom's Best Recipes
Recipe

Simple Arepa Recipe

Crisp-edged on the outside, tender and steamy inside. These easy arepas use pantry staples and cook up fast for breakfast, lunch, or a build-your-own dinner.

Author By Matt Campbell
4.8
A real photo of golden arepas split open on a wooden board with butter melting inside and a small bowl of avocado and lime on the side

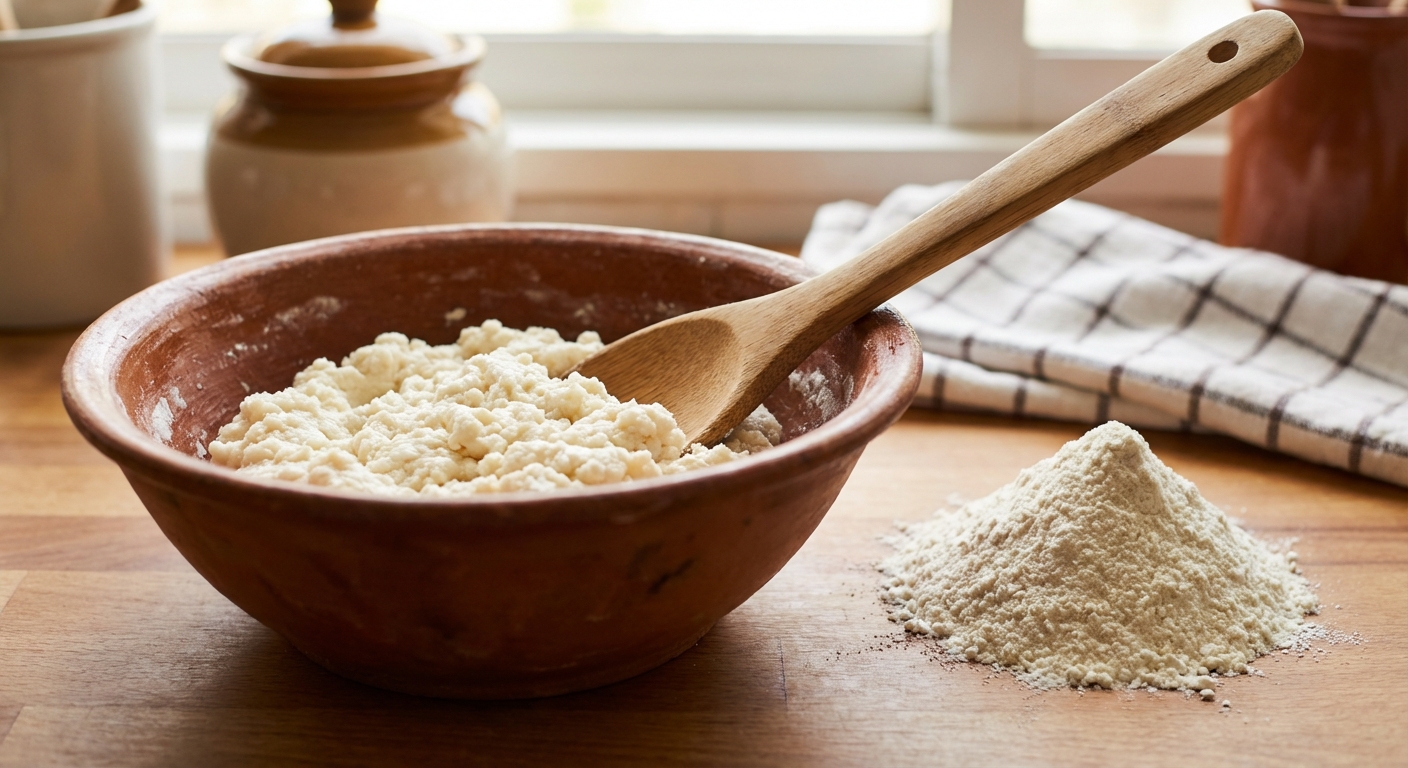
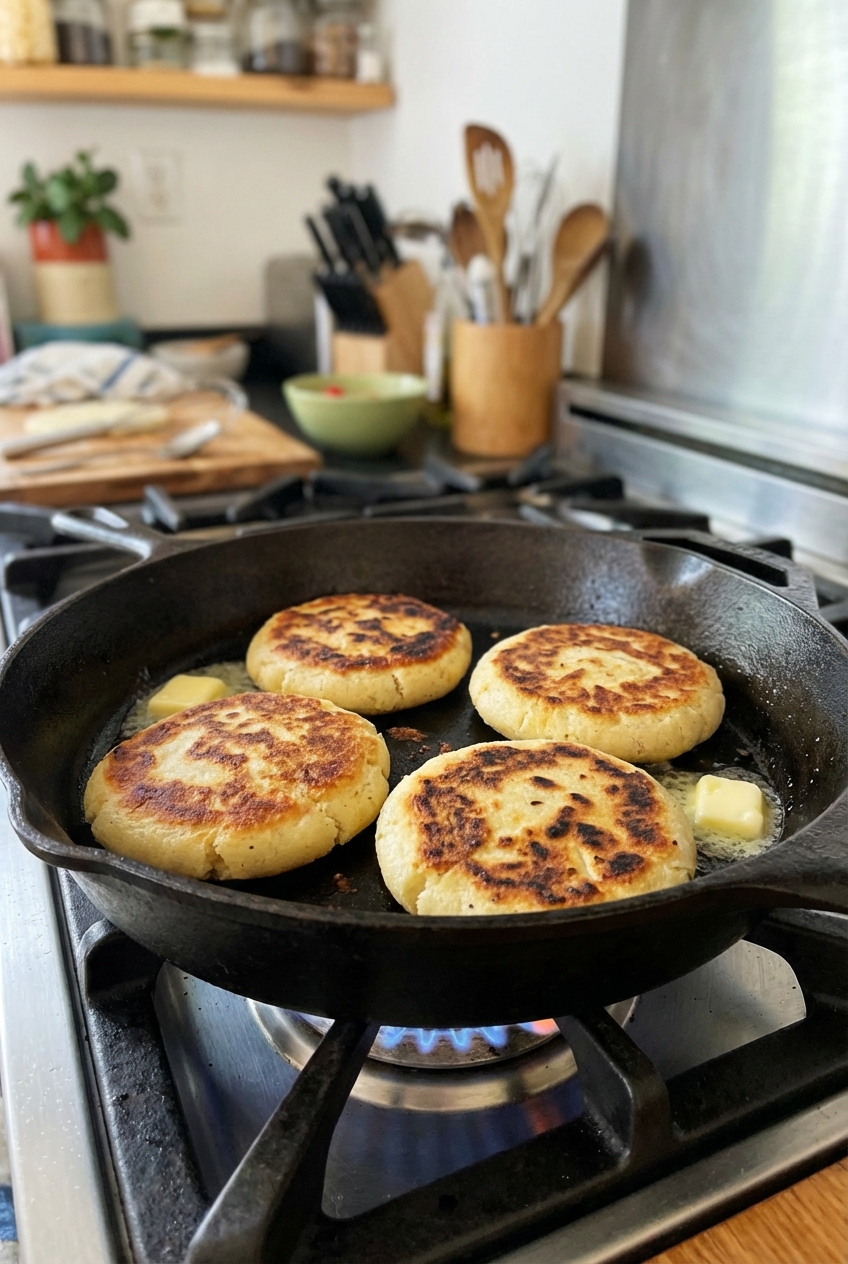
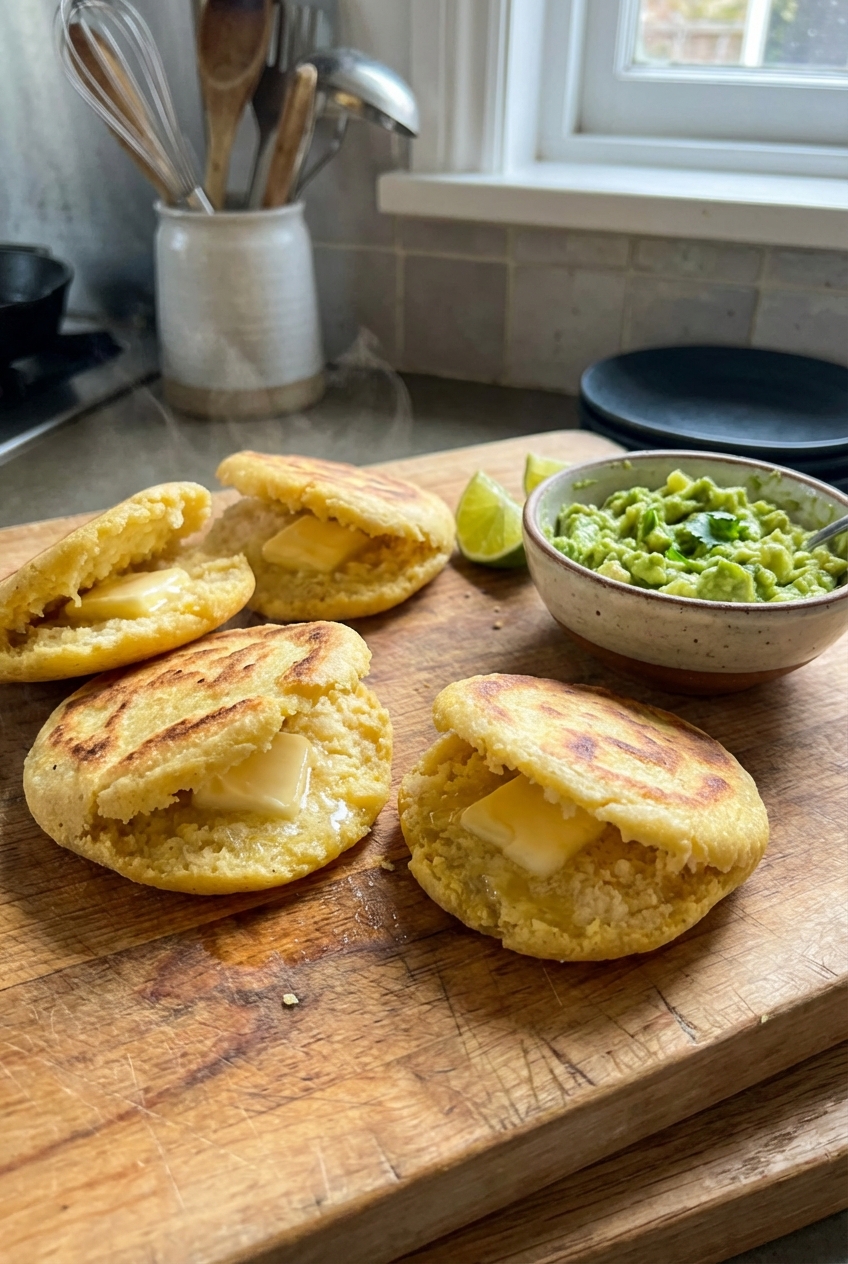
Arepas are one of those magical kitchen wins: a dough you can mix with a spoon, shape with your hands, and turn into a crispy, cozy corn cake that begs to be stuffed. This version is my weeknight go-to because it stays juicy and tender inside, not dry or crumbly, with that lightly crisp crust that makes you keep “testing” pieces straight from the pan.

No fancy ingredients. No culinary degree required. Just warm water, salt, and pre-cooked cornmeal (the one labeled masarepa). From there, you can go full comfort mode with butter and cheese, or turn them into a full meal with shredded chicken, beans, eggs, or anything hanging out in your fridge.

A real photo of arepa dough in a mixing bowl with a spoon and a small pile of masarepa nearby

Why It Works

  • Hydrated dough = tender arepas. A short rest lets the masarepa fully absorb water, so the center turns steamy and soft instead of chalky.
  • Two-step cook = crisp plus fluffy. A quick sear in a skillet builds crust, then a short bake finishes the middle gently.
  • Easy to split and stuff. These hold together well, making them ideal for cheese, eggs, shredded meats, or simple butter and salt.
  • Reliable with accessible ingredients. If you can find masarepa, you are in business.

Pairs Well With

  • Black beans with cumin and lime

  • Scrambled eggs with scallions and hot sauce

  • Shredded chicken mixed with avocado

  • Quick tomato and onion salad

Storage Tips

Best move: store cooked arepas, then reheat to bring back the crisp edges.

  • Fridge: Cool completely, then store in an airtight container for up to 4 days.
  • Freezer: Wrap each arepa, then freeze in a zip-top bag for up to 2 months.
  • Reheat (best texture): Toast in a dry skillet over medium heat 2 to 4 minutes per side, or bake at 350°F for 8 to 12 minutes.
  • Reheat (fast): Split and toast in a toaster oven. The cut sides get extra crisp, which is never a problem around here.

If you are stuffing them, store fillings separately when possible so the arepas do not get soggy.

Common Questions

What kind of cornmeal do I need for arepas?

You want pre-cooked cornmeal sold as masarepa. Popular brands include P.A.N. and Goya (look for “masarepa” or “arepa flour”). Regular cornmeal and polenta will not hydrate the same way.

Why did my arepas crack when shaping?

The dough is usually too dry. Wet your hands and knead in 1 to 2 tablespoons more warm water, then let it rest 5 minutes and try again.

Why are my arepas dry inside?

Dry arepas are almost always from not enough water or not enough resting time. Measure the masarepa, use warm water, and rest the dough so it fully hydrates before cooking.

Can I cook arepas without the oven?

Yes. Keep them in the skillet on medium-low, covered, flipping every few minutes until they sound hollow when tapped and feel lighter, about 12 to 16 minutes total. The oven just makes the inside foolproof.

Are arepas gluten-free?

Masarepa is naturally gluten-free corn flour, but always check the package for facility warnings if you are sensitive.

The first time I made arepas at home, I treated the dough like it was biscuit dough and kept adding flour because it felt “too soft.” Surprise. I ended up with corn hockey pucks. Once I stopped fighting the moisture and let the dough rest like it wanted to, everything clicked: crispy shell, tender middle, and that satisfying split for stuffing. Now I make them when I want comfort food that still feels bright and fun, especially when the fridge is a random collection of leftovers that need a mission.