Mom's Best Recipes
Recipe

Simple Cake Pops Recipe

Moist, tender cake pops with a smooth chocolate shell, made with easy ingredients and zero fancy equipment. Perfect for birthdays, bake sales, and snacky little celebrations.

Author By Matt Campbell
4.8
A plate of glossy chocolate-coated cake pops with colorful sprinkles on a bright kitchen counter

Cake pops are the kind of dessert that look like you tried really hard, even if you were kind of just vibing in the kitchen. And I mean that as a compliment. These are moist, tender, and not crumbly, with a crisp chocolate shell that gives you that satisfying crack before the soft cake center hits.

The secret is simple: we keep the cake moist, bind it with just enough frosting to hold, then chill the balls so dipping stays clean and low drama. No dry doughy centers. No heavy sugar-bomb paste. Just bite-sized cake that tastes like actual cake.

Hands rolling cake pop mixture into smooth balls on a parchment-lined baking sheet

Why It Works

  • Tender and moist inside: Using oil-based cake (and adding sour cream, if you want) keeps the crumb plush, not chalky.
  • Holds together without becoming frosting dough: We start with less frosting than most recipes and add only what the cake needs.
  • Clean dipping: Chilling firms the centers so the coating sets fast and the pops stay round.
  • Crisp shell, no thick clumps: A little coconut oil or shortening in the coating keeps it smooth and pourable.

Pairs Well With

Storage Tips

How to Store Cake Pops

  • Room temperature: Store in an airtight container for 1 to 2 days in a cool, dry kitchen. Candy melts tend to hold best at room temp. If you used a perishable homemade frosting or your kitchen runs warm or humid, play it safe and refrigerate.
  • Refrigerator: Store up to 1 week, but for the best texture aim for 3 to 5 days. Let cake pops sit at room temp for 15 to 20 minutes before eating so the center softens back up. Expect a little condensation when they first come out, especially in humid weather.
  • Freezer: Freeze (finished and fully set) up to 6 weeks. Wrap in a layer of plastic wrap, then store in a freezer bag or airtight container. Thaw overnight in the fridge, then bring to room temp. Candy melts usually freeze and thaw smoother than real chocolate, which can bloom.
  • Humidity tip: If you see condensation after chilling, let them sit uncovered for a few minutes so the moisture evaporates instead of making the shell sticky.

Common Questions

Common Questions

Why did my cake pops crack?

Usually it is a temperature shock issue: very cold cake centers meeting warm coating. Let the cake balls sit 5 minutes after the freezer, and make sure your coating is warm but not hot.

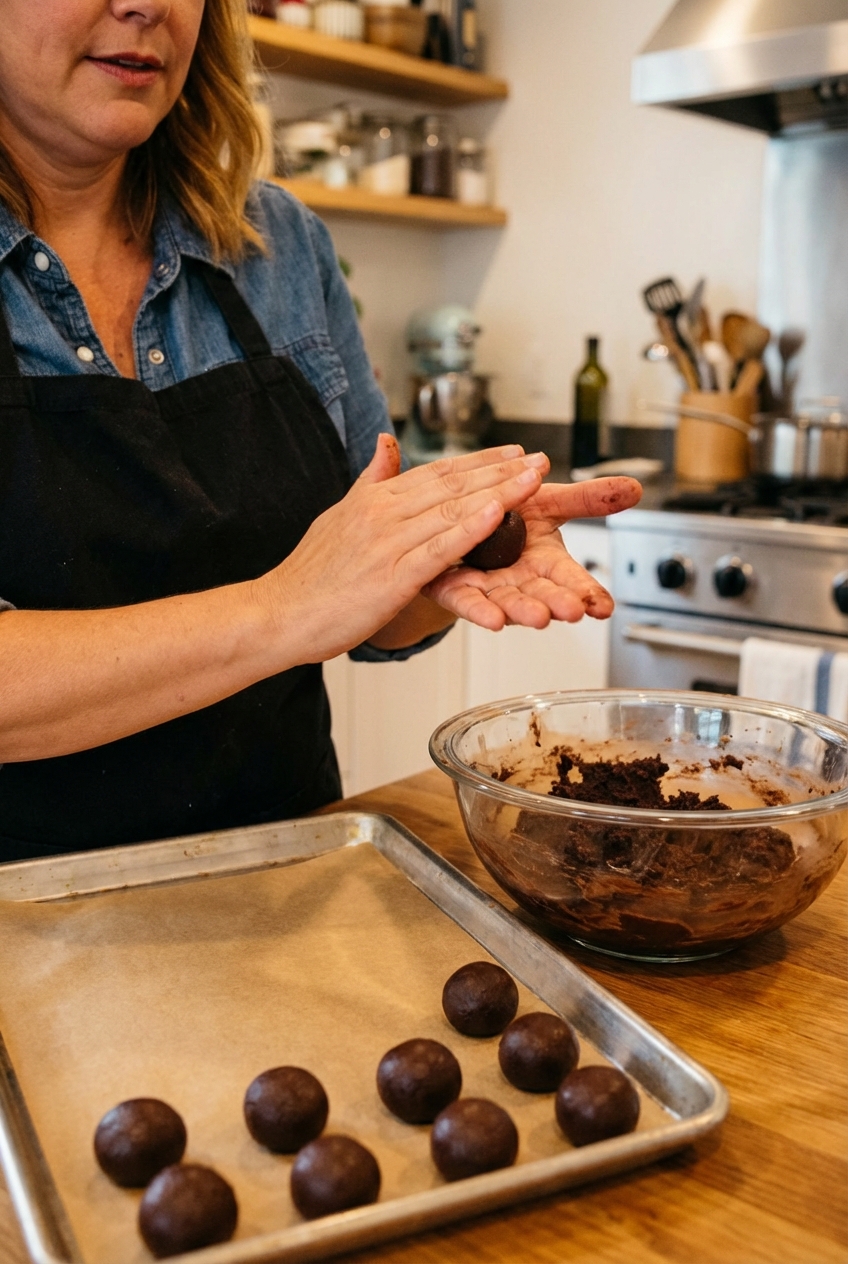
Why are my cake pops falling off the stick?

Two big causes: the cake balls are too warm, or the coating is too thick and heavy. Chill the balls until firm, and thin your coating with a little coconut oil or shortening. Also, dip the stick in melted coating first, then insert it and chill again to “glue” it in place.

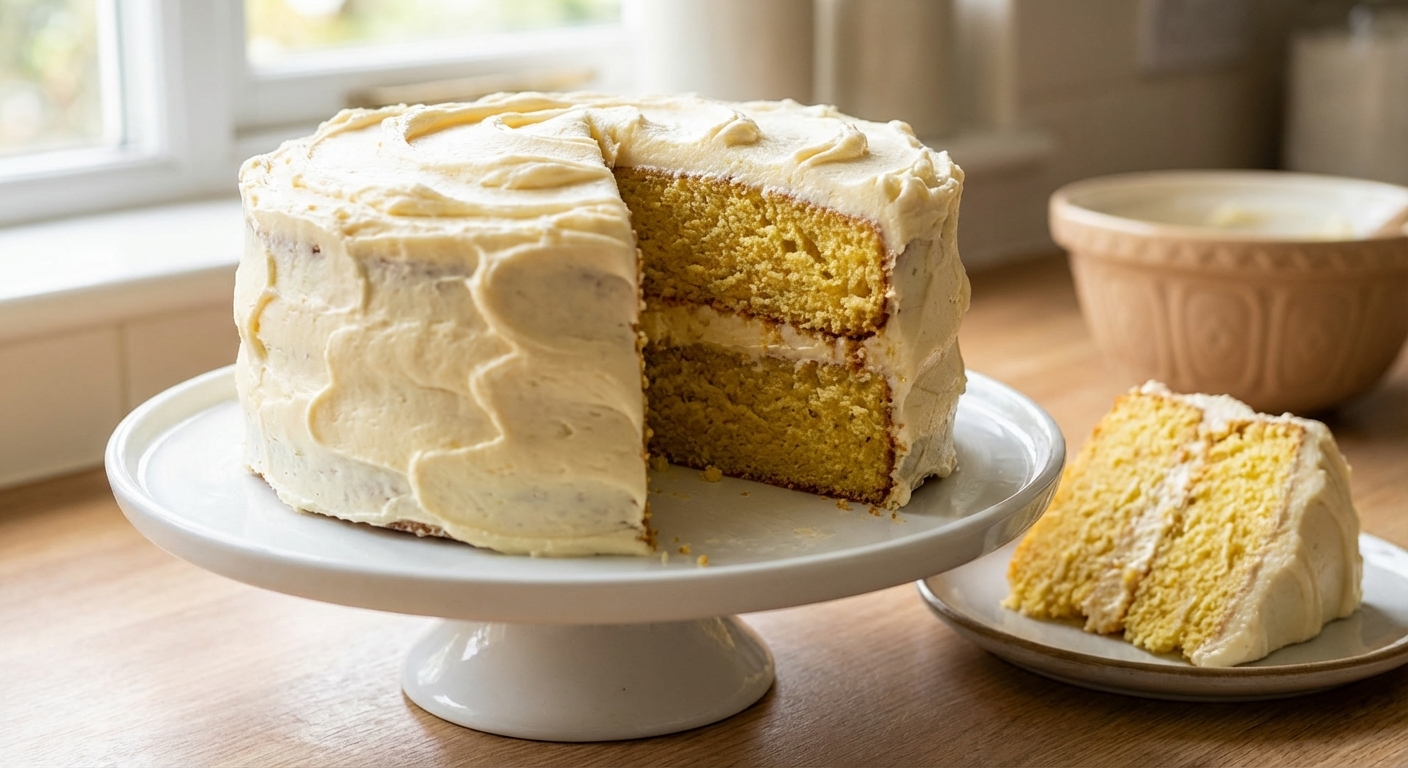
Can I use homemade cake instead of boxed mix?

Absolutely. Use any cake you love, but aim for a moist crumb. If your cake is on the drier side, you may need a touch more frosting.

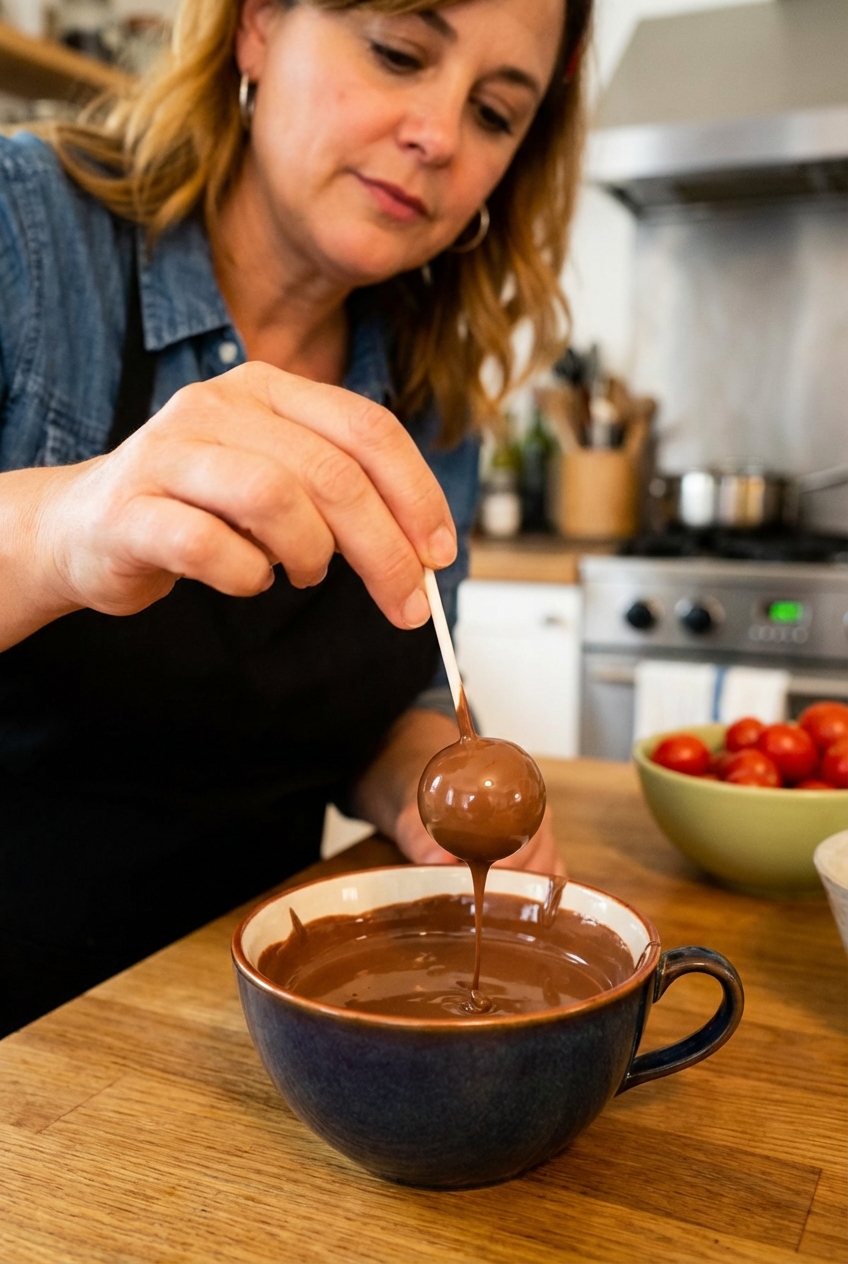
Can I use real chocolate instead of candy melts?

Yes, and it tastes amazing. Just melt gently (low heat, short bursts) and do not overheat. Chocolate can set thicker and may bloom (get a harmless whitish cast) after chilling or freezing. Candy melts are more forgiving and tend to stay smoother after storage.

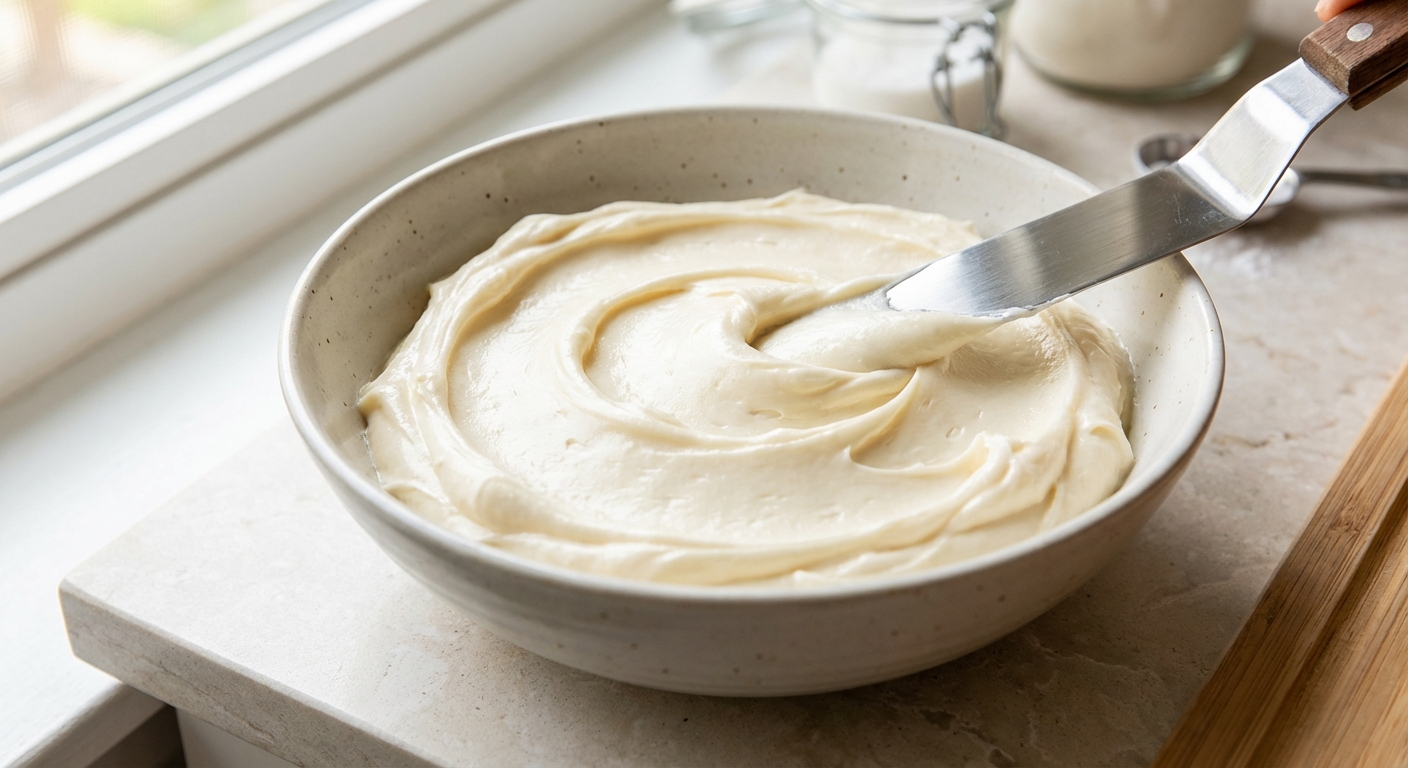
How do I keep the coating smooth?

Melt slowly, stir often, and avoid water at all costs. Even a tiny splash can seize chocolate. If it looks thick, add 1 teaspoon coconut oil at a time until it dips like warm paint. Note: coconut oil can slightly soften the set and reduce snap, so add only what you need.

Do I need a special cake pop stand?

Nope. A foam block works, or poke holes in an upside-down cardboard box. If you are going stick-free, set them on parchment like truffles. You will get a small flat spot, but it is still cute (and usually less dramatic).

The first time I made cake pops, I treated them like a “quick little project” and ended up covered in chocolate, holding a stick with a sad cake boulder slowly sliding off like it was giving up on me. The fix was not more skill. It was better temperature control and less frosting. Now I make them the way I wish someone had told me: start modest, chill on purpose, and keep the coating thin enough to actually behave. They come out tender, moist, and snackable in that dangerous way where you grab one “just to test” and suddenly three are gone.