Mom's Best Recipes
Recipe

Simple Ham Glaze Recipe

A glossy, sweet and savory glaze that bakes into crisp edges and keeps ham juicy and tender. Mix it in minutes with pantry staples.

Author By Matt Campbell
4.8
A spiral-cut ham in a roasting pan brushed with glossy brown sugar and honey glaze, caramelized at the edges

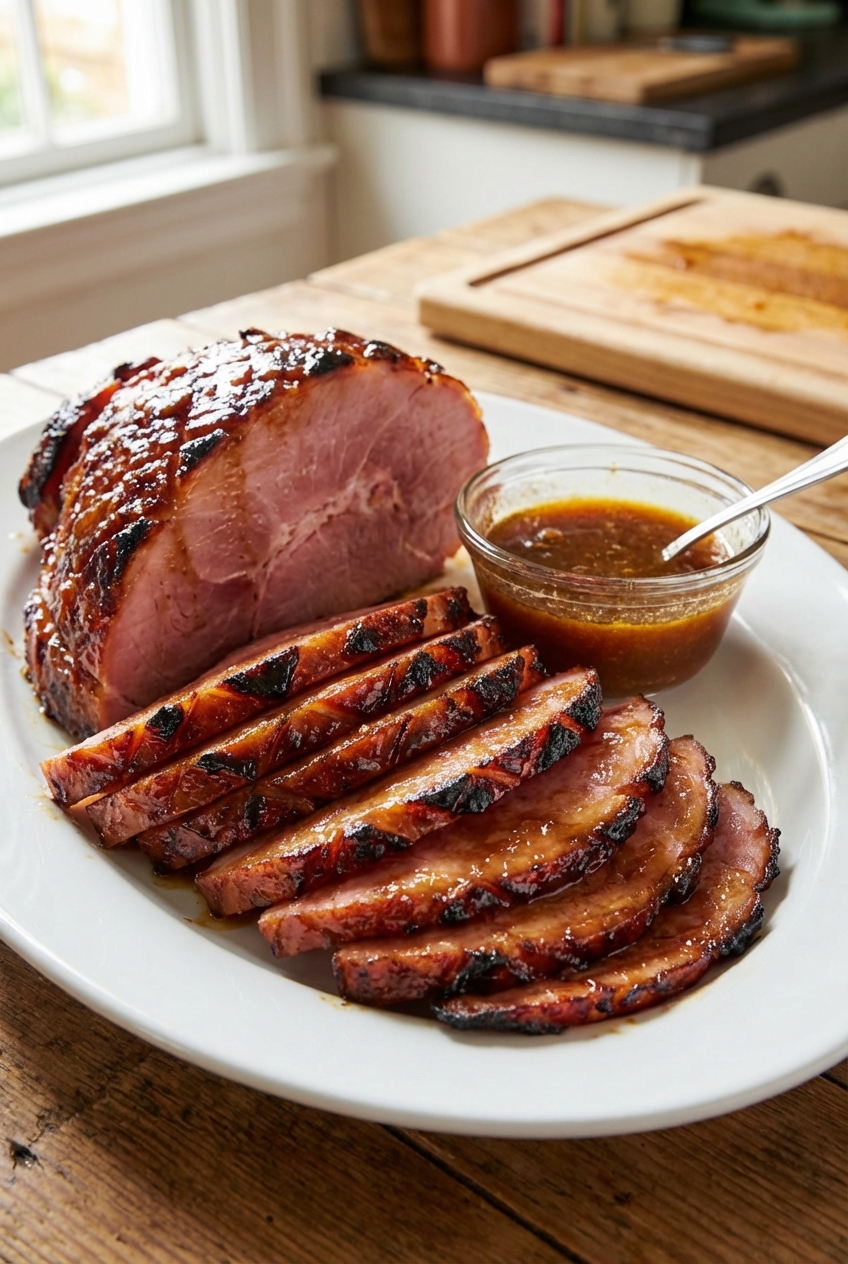
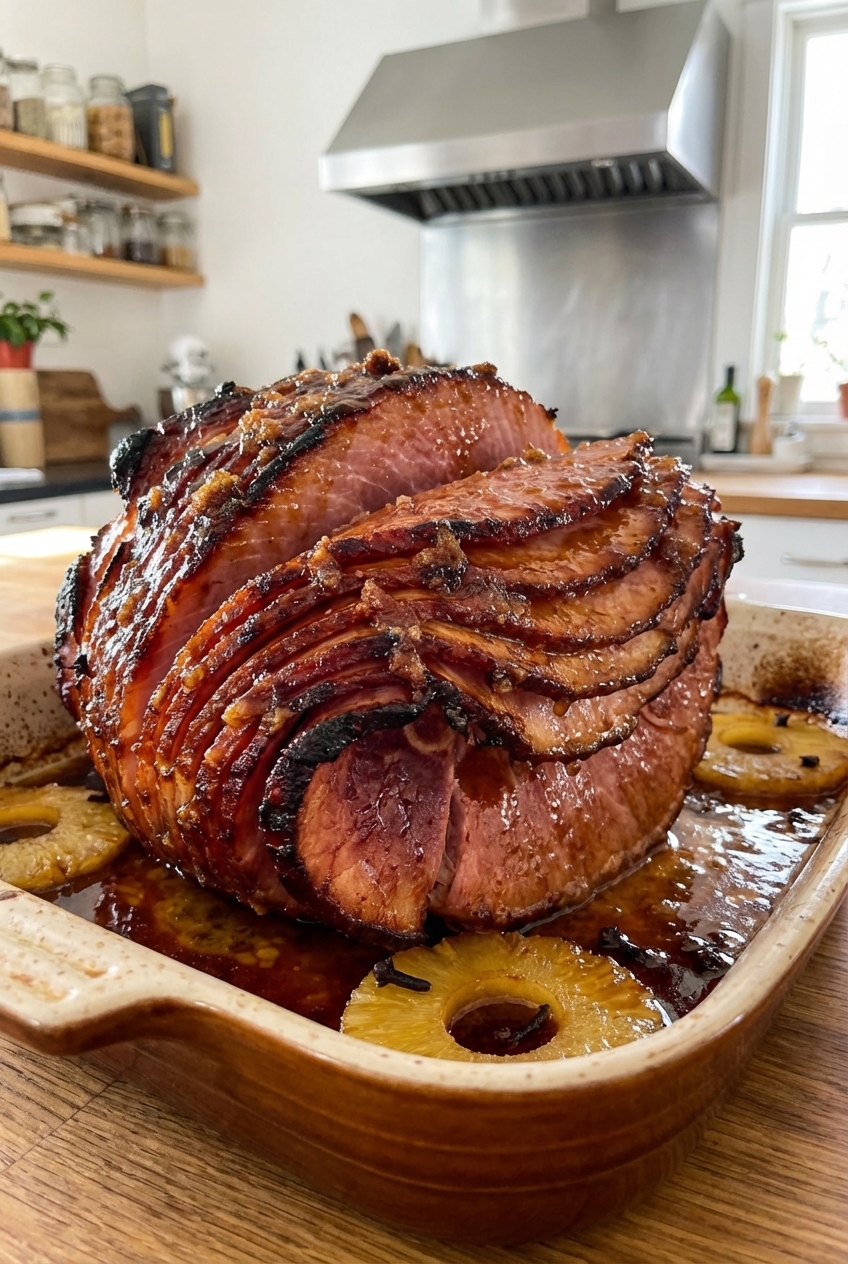
Ham is already doing a lot of the heavy lifting. It is salty, smoky, and basically born to be the hero of a holiday table or a random Tuesday when you want leftovers that actually excite you. The only thing it needs is a glaze that plays nice: a little sweet, a little tang, and enough flavor to make the edges go sticky and caramelized without turning the whole situation into candy.

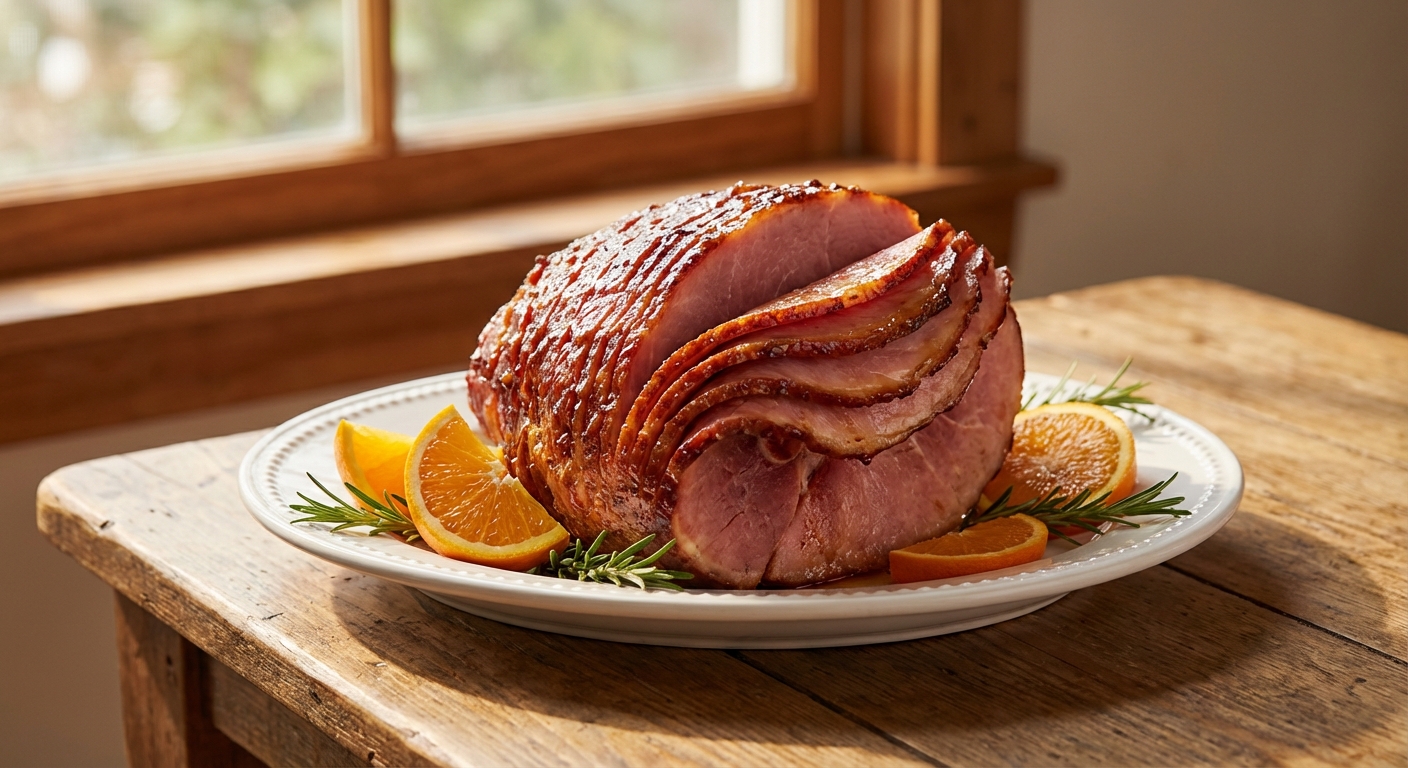
This simple ham glaze is my go-to because it hits the sweet spot between easy and “people will ask what you put in that”. You whisk it together on the stove in about 5 minutes, brush it on, and let the oven do the rest. No fancy ingredients, no drama, just a juicy ham with a shiny, lacquered finish.

A hand brushing thick ham glaze over a spiral-cut ham with a pastry brush

Why It Works

  • Balanced flavor fast: Brown sugar and honey bring the cozy sweetness, Dijon and vinegar add bite so it never tastes flat.
  • Better texture: A quick simmer thickens the glaze so it actually clings to the ham instead of sliding into the pan.
  • Juicy, not dry: Layering glaze during the last part of baking builds a sticky shell while protecting the meat underneath.
  • Flexible: Works with spiral-cut, bone-in, boneless, and even ham steaks.

Diet notes: Contains dairy (butter) and mustard. Honey makes it not vegan.

Pairs Well With

Storage Tips

Total time note: The 10 minutes total time is for making the glaze. Ham bake time varies by size and style, so follow your package directions and use a thermometer.

Store leftover glaze: Refrigerate unused glaze (glaze that never touched the ham or brush that touched the ham) in a jar or airtight container for up to 7 days. Warm gently in a small saucepan or microwave until brushable.

Food safety note: If you brushed glaze on meat and want to serve more at the table, set some aside before glazing. Do not save or serve glaze that has been used as a baste unless you boil it first.

Store glazed ham: Wrap ham tightly or store slices in an airtight container. Refrigerate up to 4 days.

Freeze: Freeze sliced ham in freezer bags with as much air pressed out as possible for up to 2 months (best quality within 1 to 2 months). Thaw overnight in the fridge.

Reheat without drying out: Place ham slices in a baking dish with a splash of water, broth, or apple juice. Cover with foil and warm at 300°F until hot. Brush with a little warmed glaze right at the end.

Common Questions

Do I glaze ham at the beginning or end?

Mostly at the end. Ham is usually already cooked, so you are reheating it. Glazing too early can burn the sugars. Start glazing during the last 30 to 45 minutes of baking, then add a couple more coats as it finishes.

Can I use this glaze on a fully cooked spiral ham?

Yes, that is the best use for it. Spiral hams love glaze because it seeps into the slices. Just keep the oven temp moderate and cover with foil for most of the reheat so it stays juicy.

What if my glaze is too thick?

Whisk in 1 to 2 tablespoons warm water, apple juice, or pineapple juice until it is brushable.

What if my glaze is too thin?

Simmer it for another 2 to 4 minutes, stirring often. It thickens more as it cools, so do not chase a syrupy thickness on the stove. A good cue is when it lightly coats a spoon.

Can I make it without honey?

Absolutely. Swap in maple syrup or extra brown sugar. If using only sugar, add 1 tablespoon water to help it dissolve smoothly.

Is this glaze safe for people who avoid alcohol?

Yes, this recipe is alcohol-free. If you want the flavor of a bourbon-style glaze, use 1 teaspoon alcohol-free vanilla plus an extra pinch of cinnamon. (Standard vanilla extract contains alcohol, which some people prefer to avoid.)

I used to overthink ham. I would stare at the spiral-cut situation like it was a final exam, then panic-glaze it early and wonder why my pan smelled like burnt sugar. The fix was embarrassingly simple: make a glaze that is thick enough to cling, then save the real glazing for the final stretch. Now I treat it like painting a fence in the best way: quick coats, keep moving, taste as you go. When those edges come out sticky and bronzed, it feels like you pulled off something fancy even though you barely broke a sweat.