Mom's Best Recipes
Recipe

Best Rice Crispy Bars

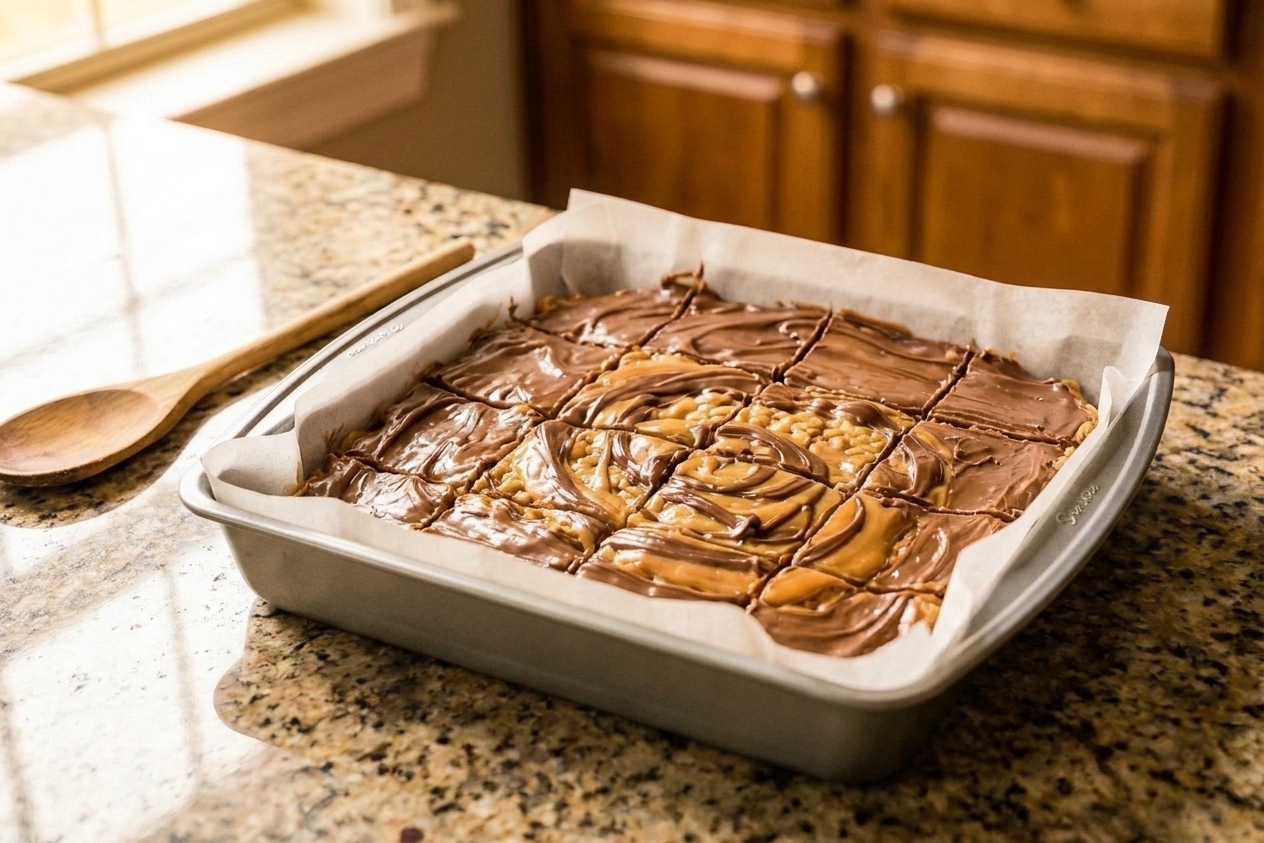
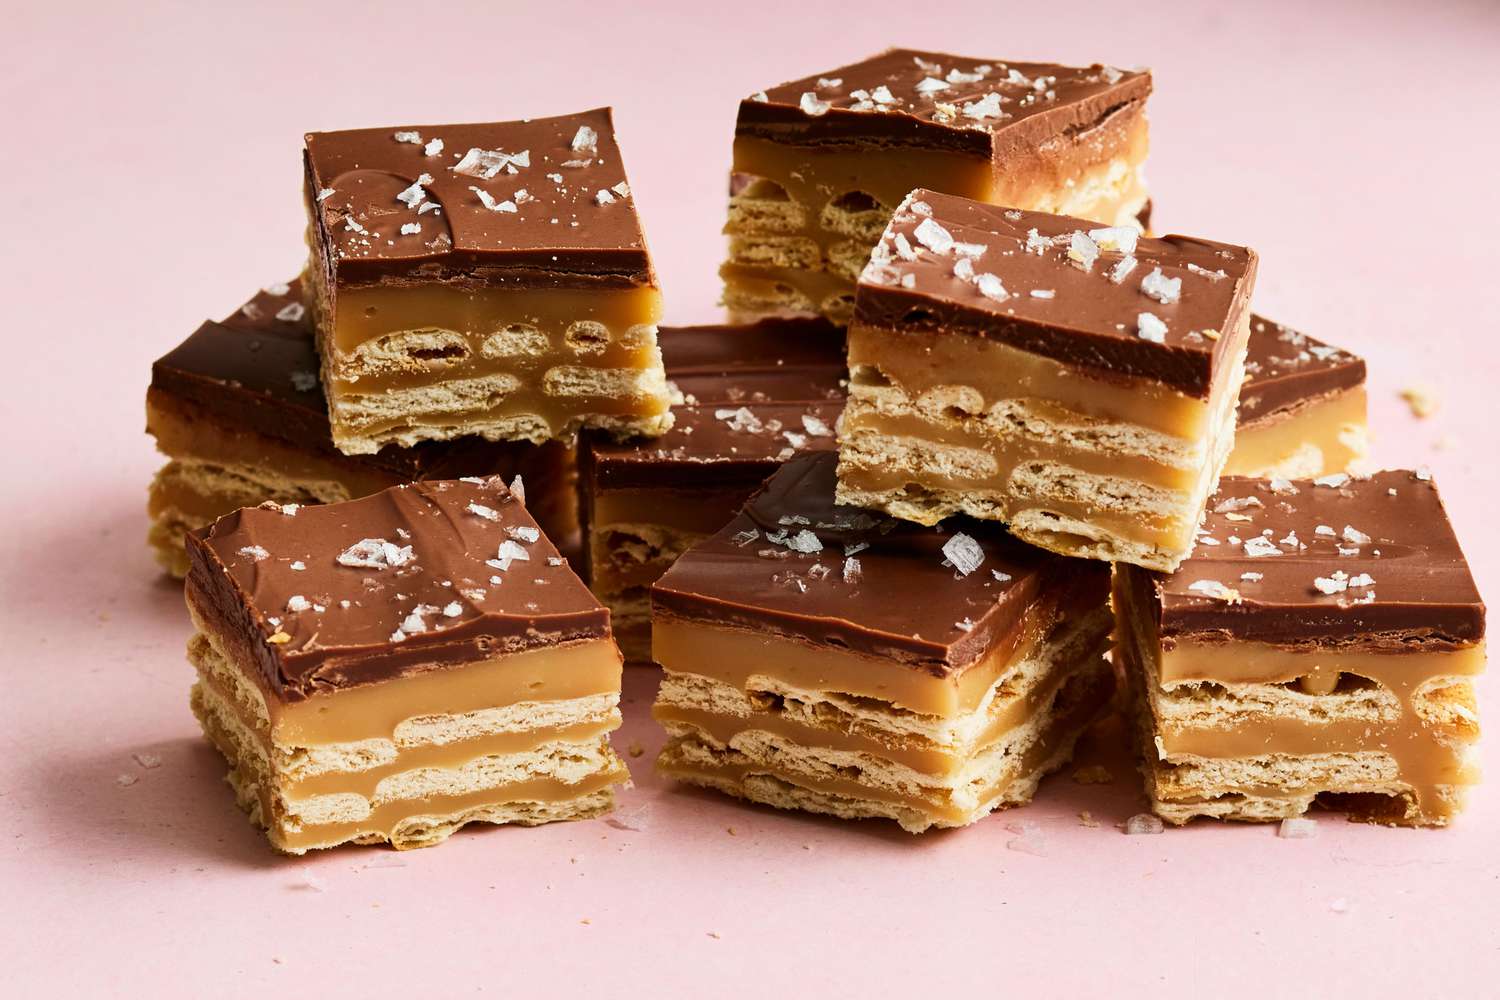
Buttery, gooey, and perfectly chewy with crisp edges. A classic no-bake treat that comes together fast and disappears even faster.

Author By Matt Campbell
4.8
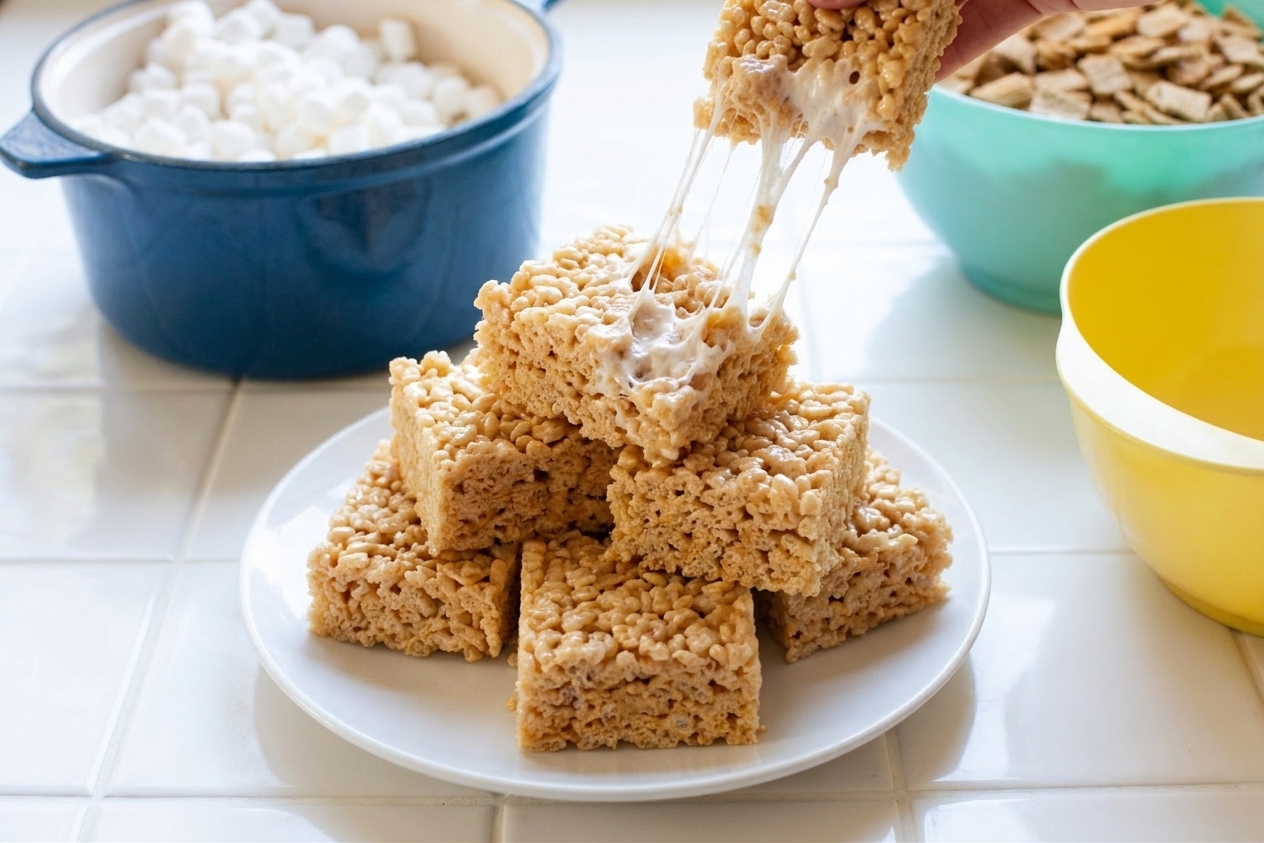
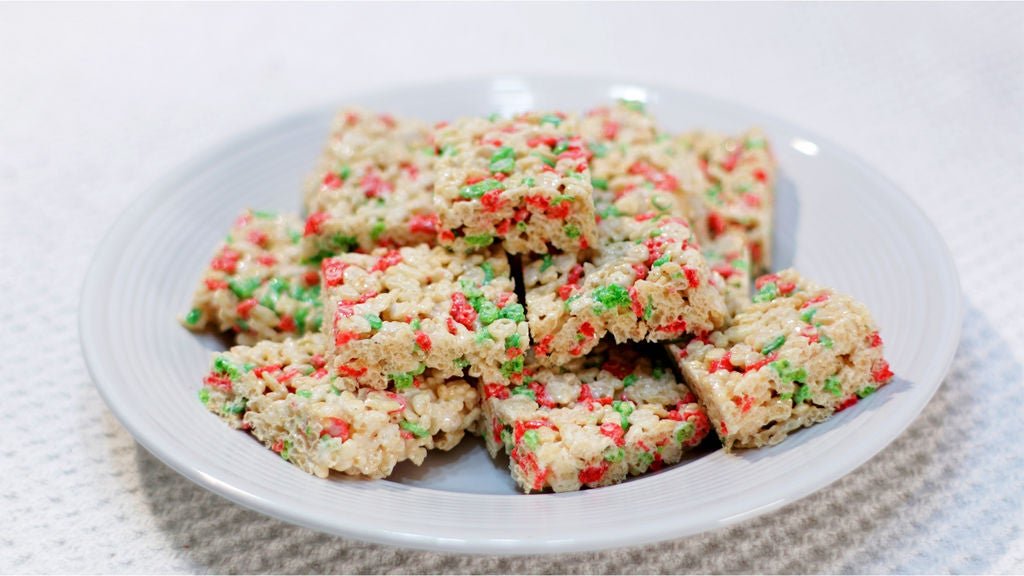
A stack of golden rice crispy bars with a gooey marshmallow pull on a white plate on a bright kitchen counter

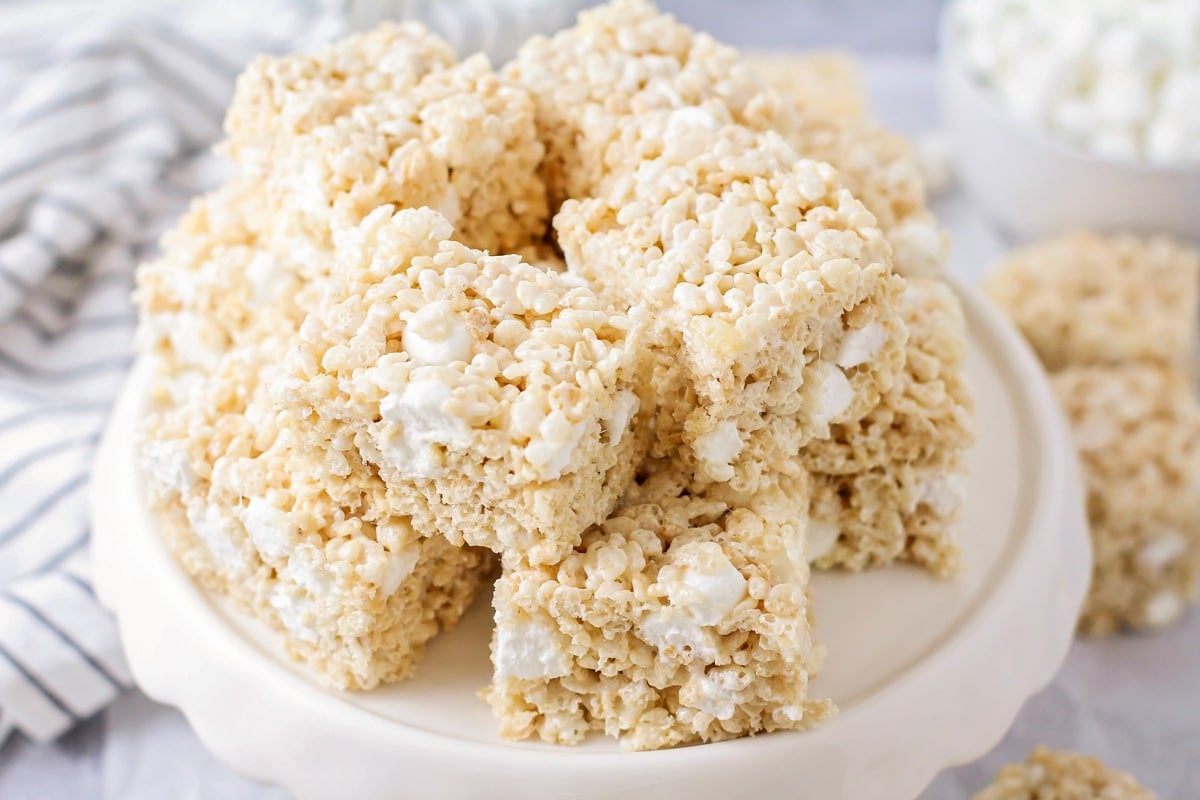
If you have ever bitten into a rice crispy bar and thought, this is fine, I am here to fix that. We are going for bars that are buttery and toasty, with a soft center that gives a little, crisp edges that snap just a bit, and enough salt and vanilla to make you take a second bite for science.

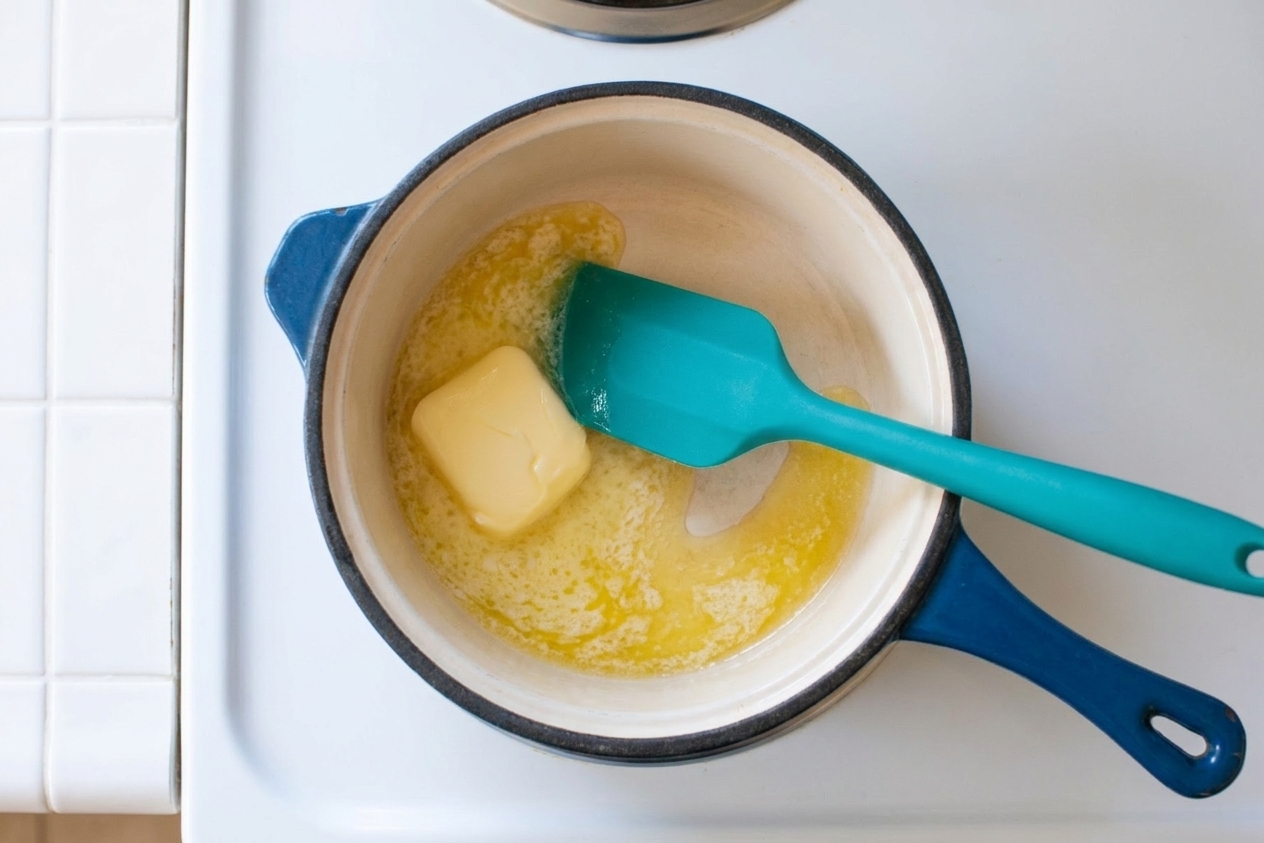
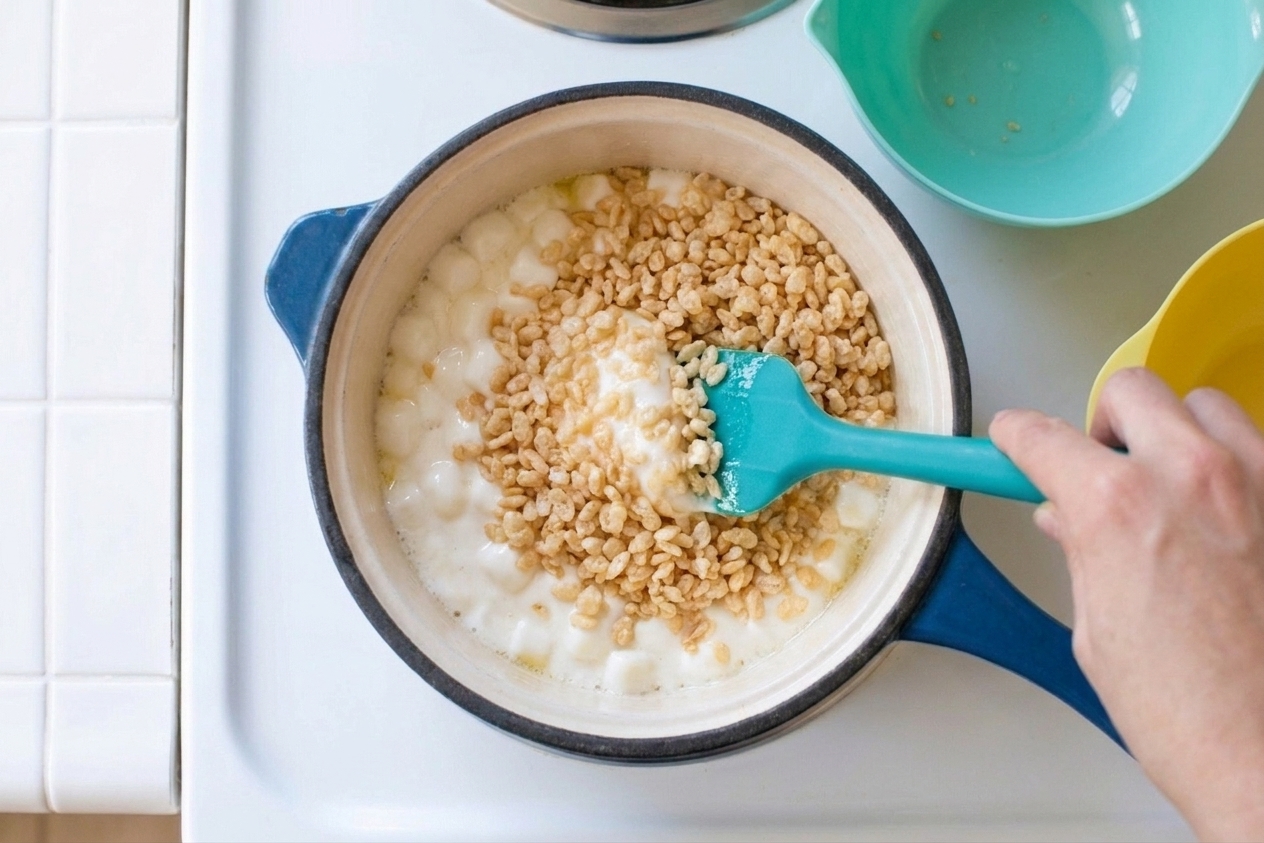
These are the kind of treats you can make on a Tuesday with one saucepan and a spatula, and they still feel like you did something special. No baking, no drama, no fancy ingredients, just a few small choices that make a huge difference.
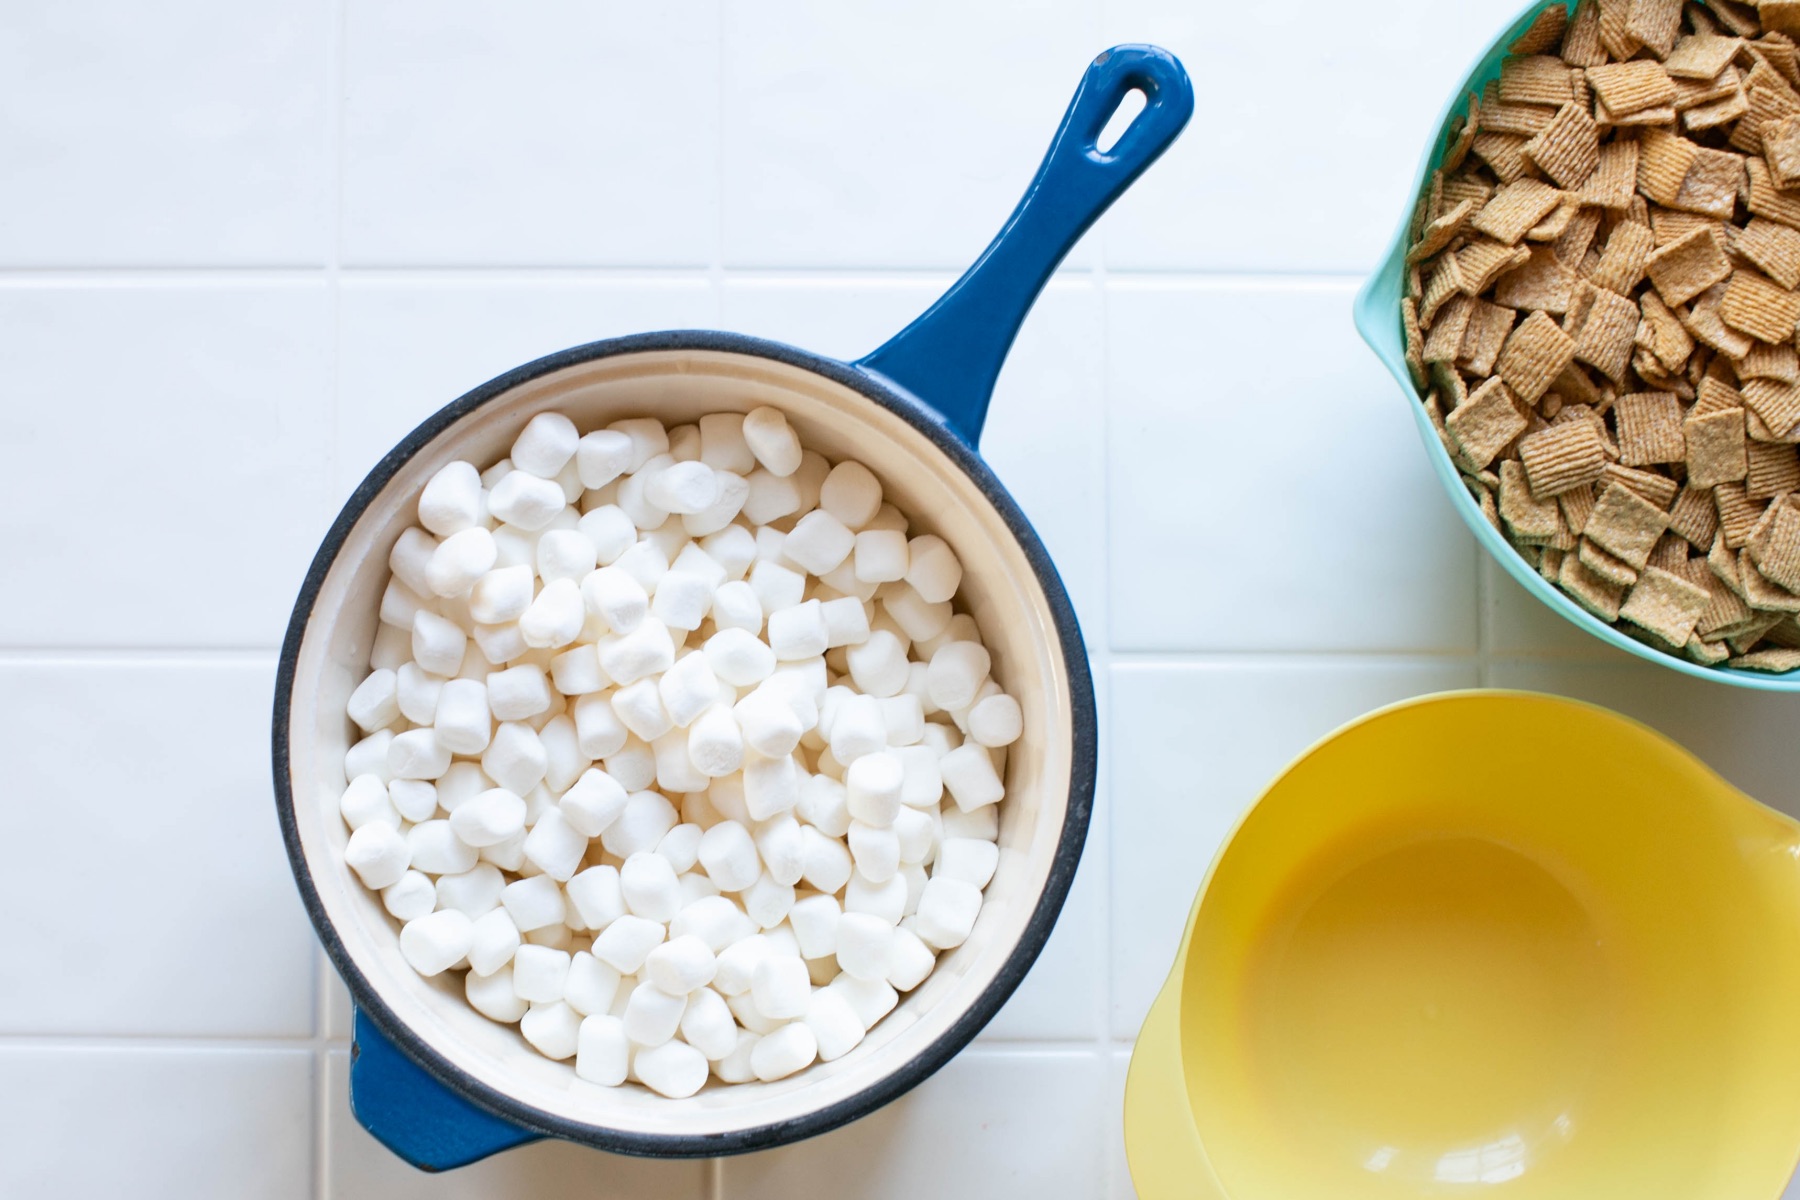
A saucepan surrounded by butter, mini marshmallows, vanilla extract, flaky salt, and crispy rice cereal on a clean kitchen counter

Why It Works

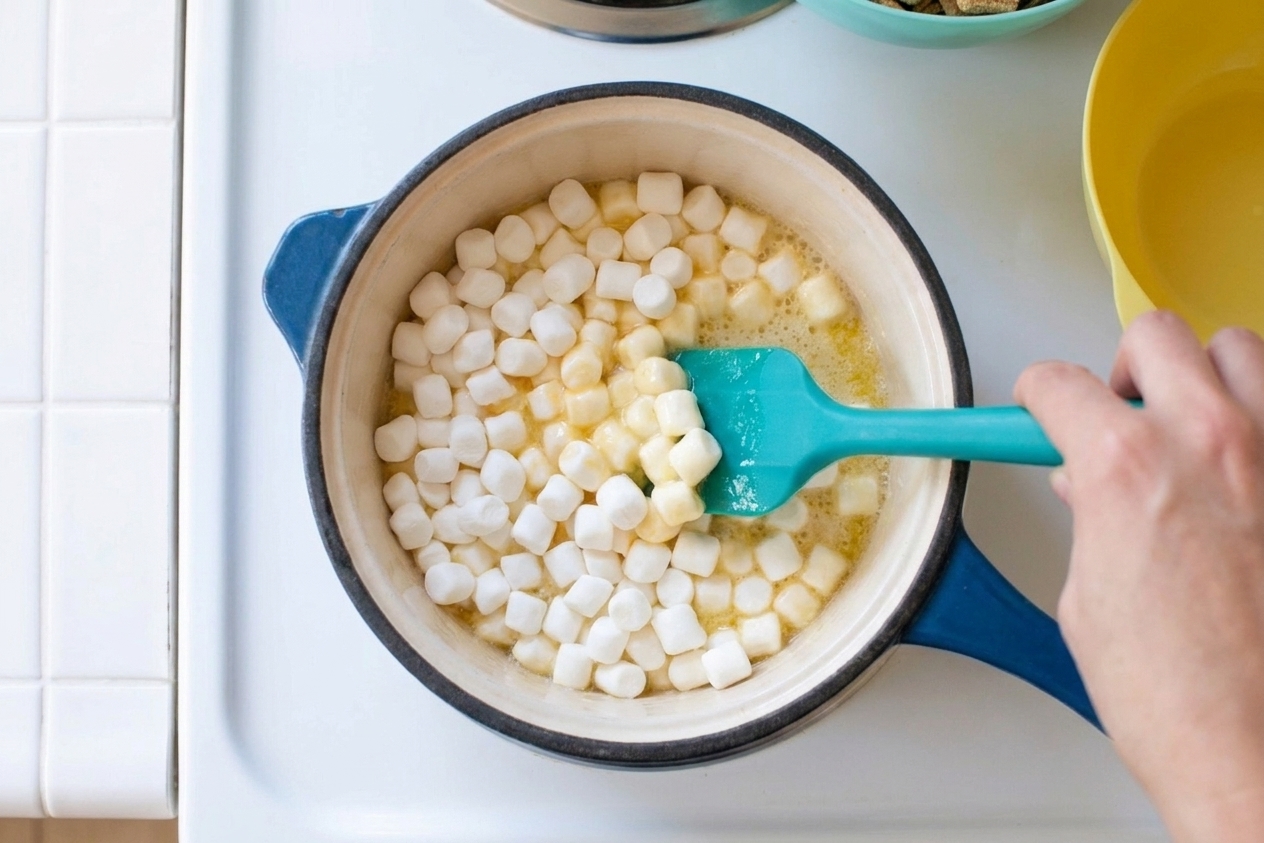
  • Lower heat, better texture: Melting the marshmallows gently keeps the bars soft instead of tough.
  • Extra butter plus salt (to taste): Gives that cozy, caramel-y vibe and keeps the sweetness from feeling flat.
  • Vanilla at the end: It pops more when stirred in off heat.
  • No crushing the cereal: Pressing lightly keeps the bars chewy, not dense.

Pairs Well With

Storage Tips

Room temperature: Store bars in an airtight container for up to 3 days. Place parchment or wax paper between layers so they do not glue themselves together.

Keep them soft: Many bakers swear by adding a slice of sandwich bread to the container to help maintain moisture. Swap the bread slice daily.

Freezer: Wrap individual bars in plastic wrap, then place in a freezer bag for up to 6 weeks. Thaw at room temperature for 30 to 60 minutes.

Tip: Avoid the refrigerator if you can. It makes the bars firm and a little stale tasting.

Common Questions

Why did my rice crispy bars turn out hard?

Two main culprits: high heat and over-pressing. Keep the heat low once the butter melts and press the mixture into the pan gently. Think: tuck it in, do not compact it.

Can I use large marshmallows instead of mini?

Yep. Use the same weight. Large marshmallows just take longer to melt, so keep the heat low and stir patiently.

How do I keep the mixture from sticking to my hands or spatula?

Lightly butter your spatula and hands, or use cooking spray. You can also press with a piece of parchment paper on top.

Can I add mix-ins?

Absolutely. Fold in up to 1 cup of add-ins after the cereal is coated: mini chocolate chips (let the mixture cool for 2 minutes first), sprinkles, toasted coconut, or chopped peanut butter cups.

What pan size is best?

A 9x13-inch pan makes classic thickness. For thicker, bakery-style bars, use a 9x9-inch pan and expect slightly longer cooling time.

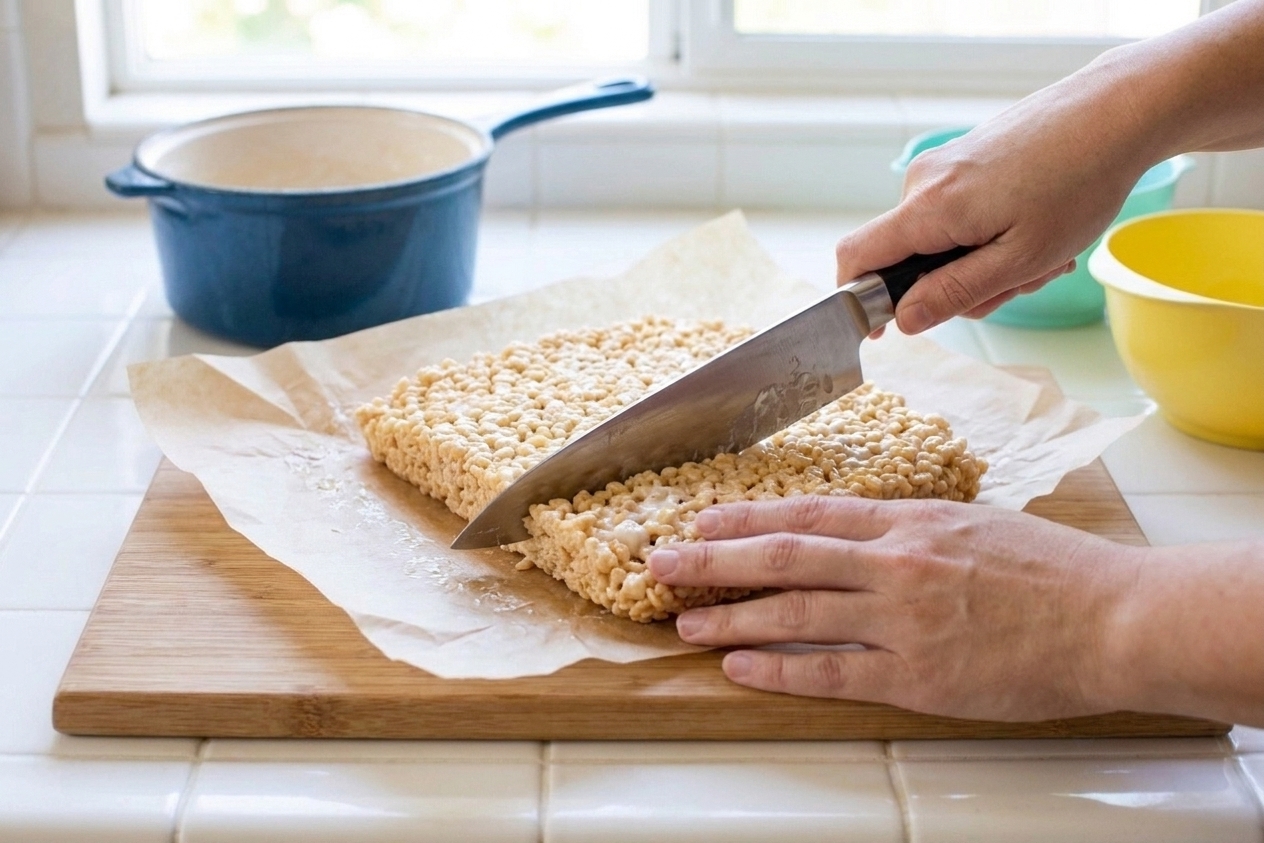
How do I slice them cleanly?

Let the bars cool until set and no longer warm. For extra neat edges, butter your knife (or lightly spray it) and wipe it clean between a few cuts.

I used to treat rice crispy bars like a “whatever” dessert. Melt, stir, smash into a pan, done. Then I made a batch that was weirdly tough, like it had been doing push-ups. I started paying attention to the little stuff: low heat, real butter, salt, vanilla, and pressing like I am handling something fragile. Now these are my go-to when I want a guaranteed win, whether it is a potluck, a kid event, or just me standing at the counter cutting “taste test” slivers that somehow turn into half the pan.