Mom's Best Recipes
Recipe

Classic Rice Krispies Treats

Soft, chewy, buttery squares with just enough vanilla and salt to make the cereal taste like dessert, not packing peanuts.

Author By Matt Campbell
4.8
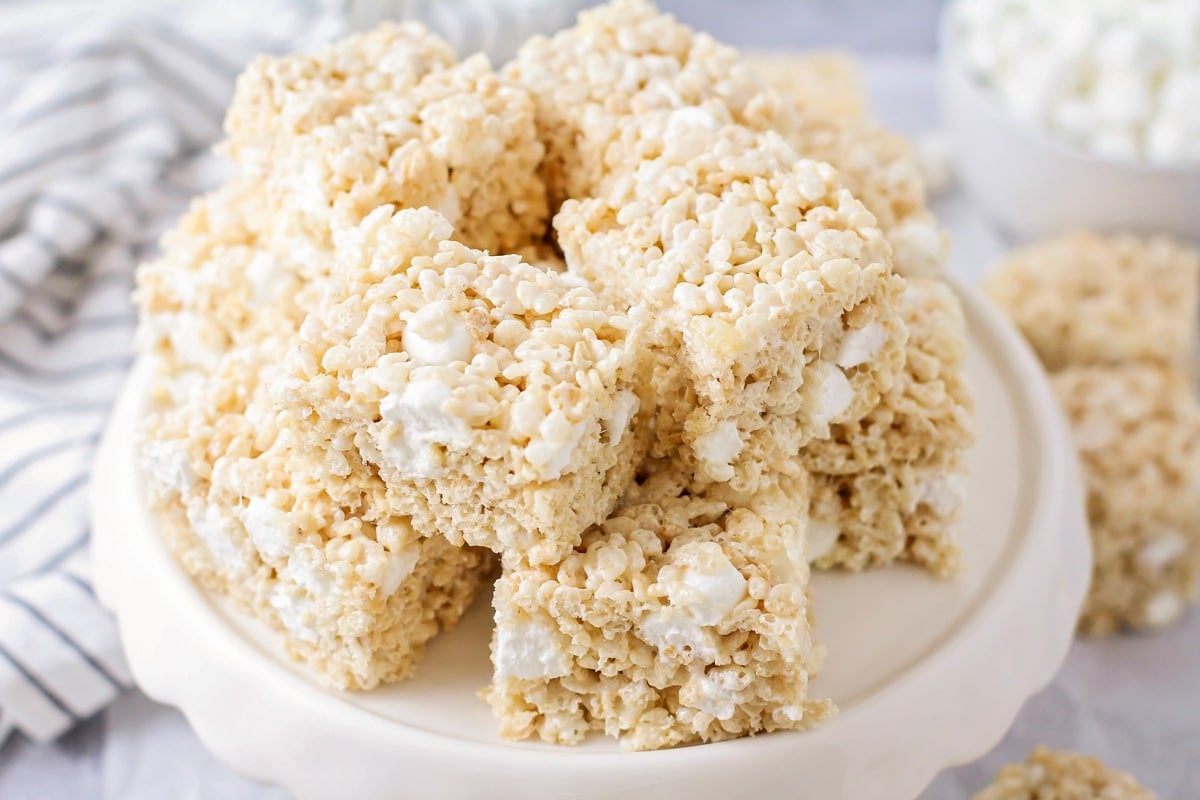
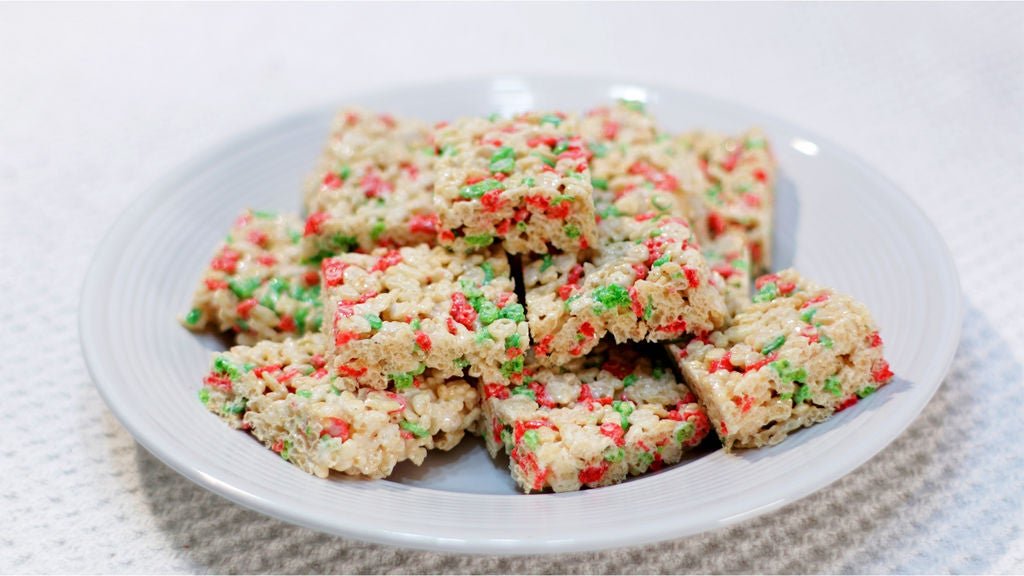
A stack of gooey Rice Krispies treats on a white platter with a few extra squares nearby on a warm-toned kitchen counter in natural light

Rice Krispies treats are the rare dessert that hits three notes at once: nostalgic, genuinely delicious, and doable even when your kitchen energy is set to low. This is the classic version, but with a couple tiny moves that make a big difference. We’re talking buttery flavor, soft chew, and clean slices, without turning the whole thing into a sticky wrestling match.

My rule is simple: keep ingredients accessible and the instructions crystal clear. Then we add a pinch of salt and a splash of vanilla so the marshmallows taste like something you meant to do. If you’ve got 10 minutes and a saucepan, you’re in business.
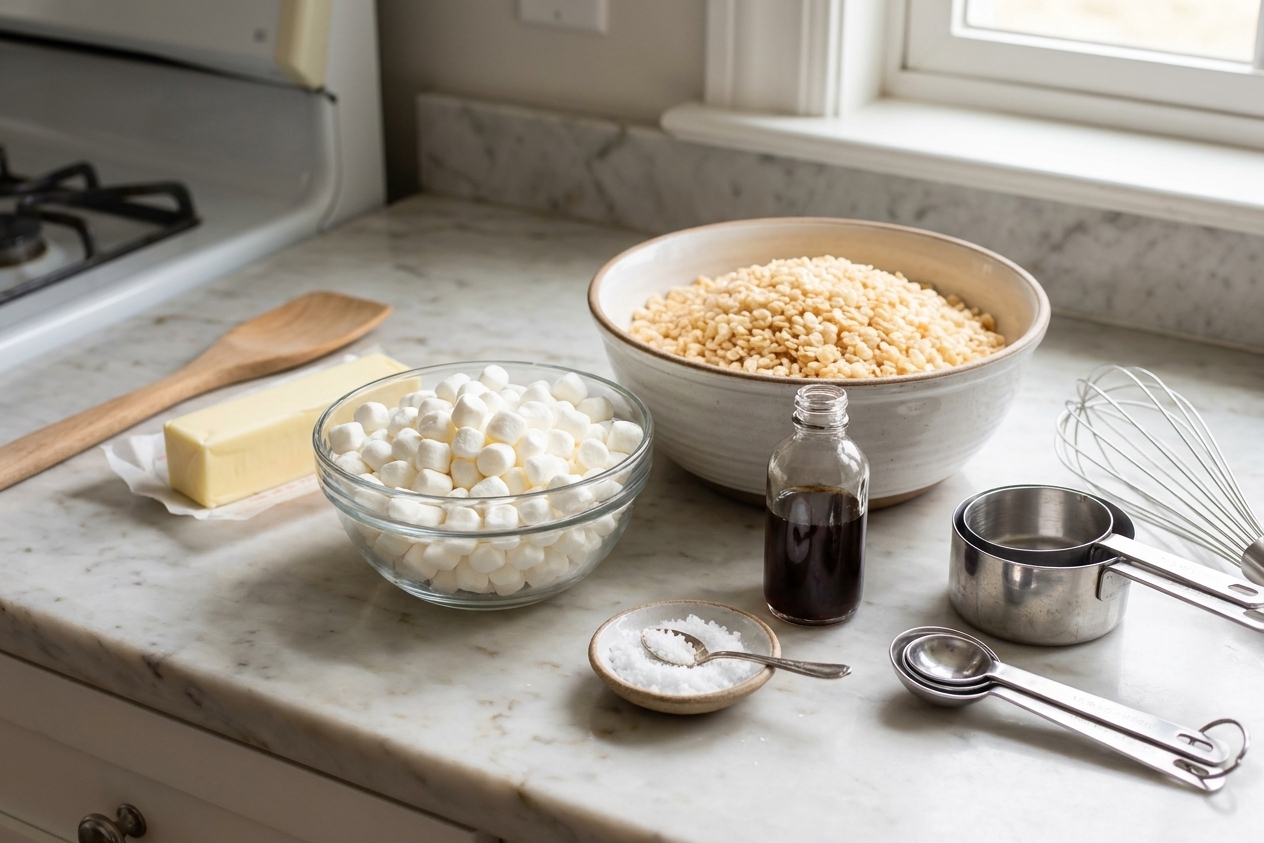
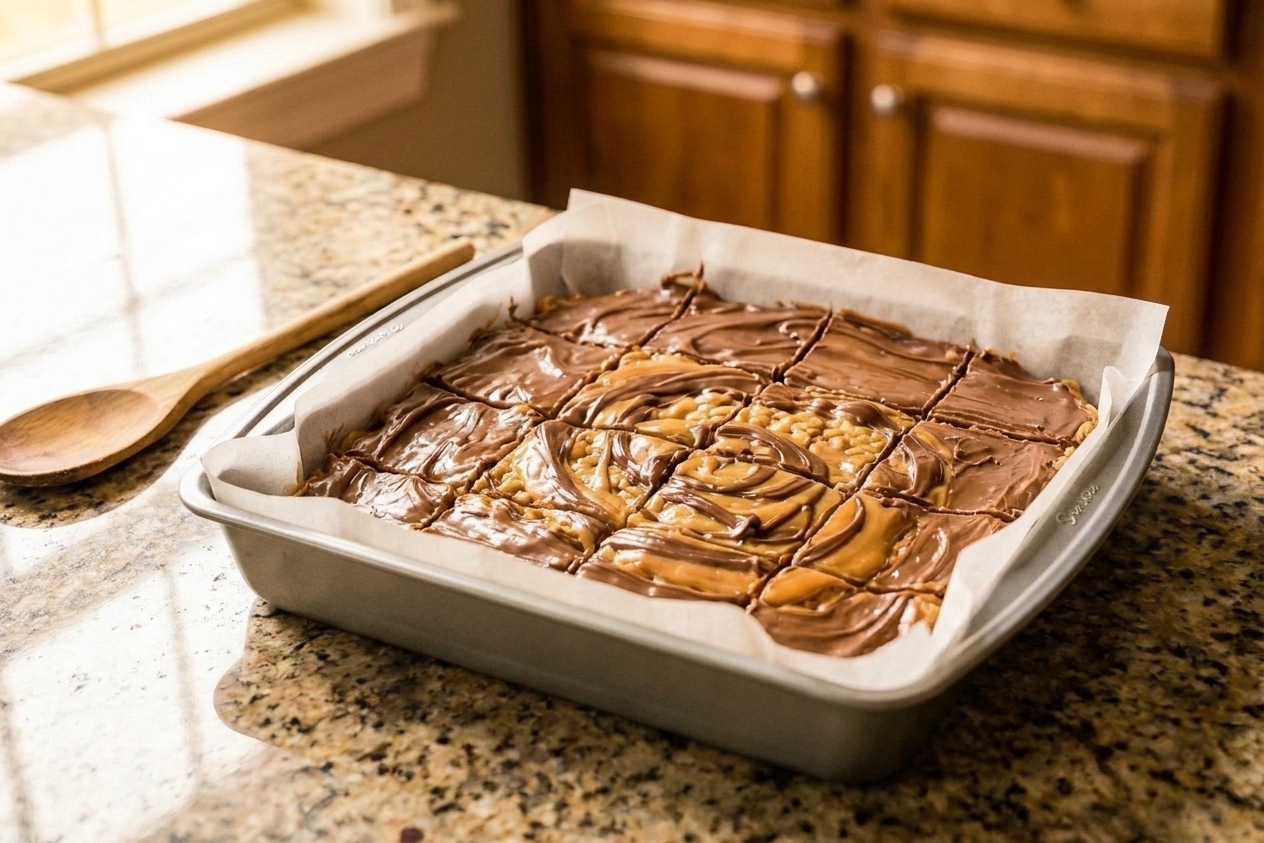
Butter, mini marshmallows, Rice Krispies cereal, vanilla extract, and flaky salt arranged on a kitchen counter with measuring tools

Why It Works

  • Soft and chewy texture because we melt gently and don’t compress the life out of them.
  • Better flavor with real butter, vanilla, and salt to balance the sweetness (to your taste).
  • No drama slicing thanks to a quick cool-down and smart pan prep.
  • Flexible enough for mix-ins like sprinkles, chocolate chips, or browned butter when you want to show off a little.

Pairs Well With

Storage Tips

Room temperature: Store in an airtight container for up to 3 days. For maximum softness, place a piece of parchment between layers and keep the lid truly sealed.

How to keep them from drying out: Many people swear by adding a slice of sandwich bread to the container. It’s a classic kitchen trick, and it can help maintain softness.

Refrigerator: Not my favorite since it firms them up. If you must, let squares sit at room temp 20 to 30 minutes before eating.

Freezer: Wrap individual squares tightly in plastic wrap, then freeze in a zip-top bag for up to 6 weeks. Thaw at room temp, still wrapped, so condensation stays on the wrap, not your treat.

Common Questions

Why are my Rice Krispies treats hard?

Usually one of three things: you cooked the marshmallow mixture too hot or too long, you pressed the mixture too firmly into the pan, or you used stale marshmallows. Keep the heat low (don’t let it boil), stir constantly, and press gently like you’re tucking it in, not packing a suitcase.

Can I use regular marshmallows instead of mini?

Yes. Minis melt faster, but regular marshmallows work fine. Use the same weight. If you’re measuring by cups, regular marshmallows are less precise, so go by the bag weight when you can.

How do I cut them cleanly without sticking?

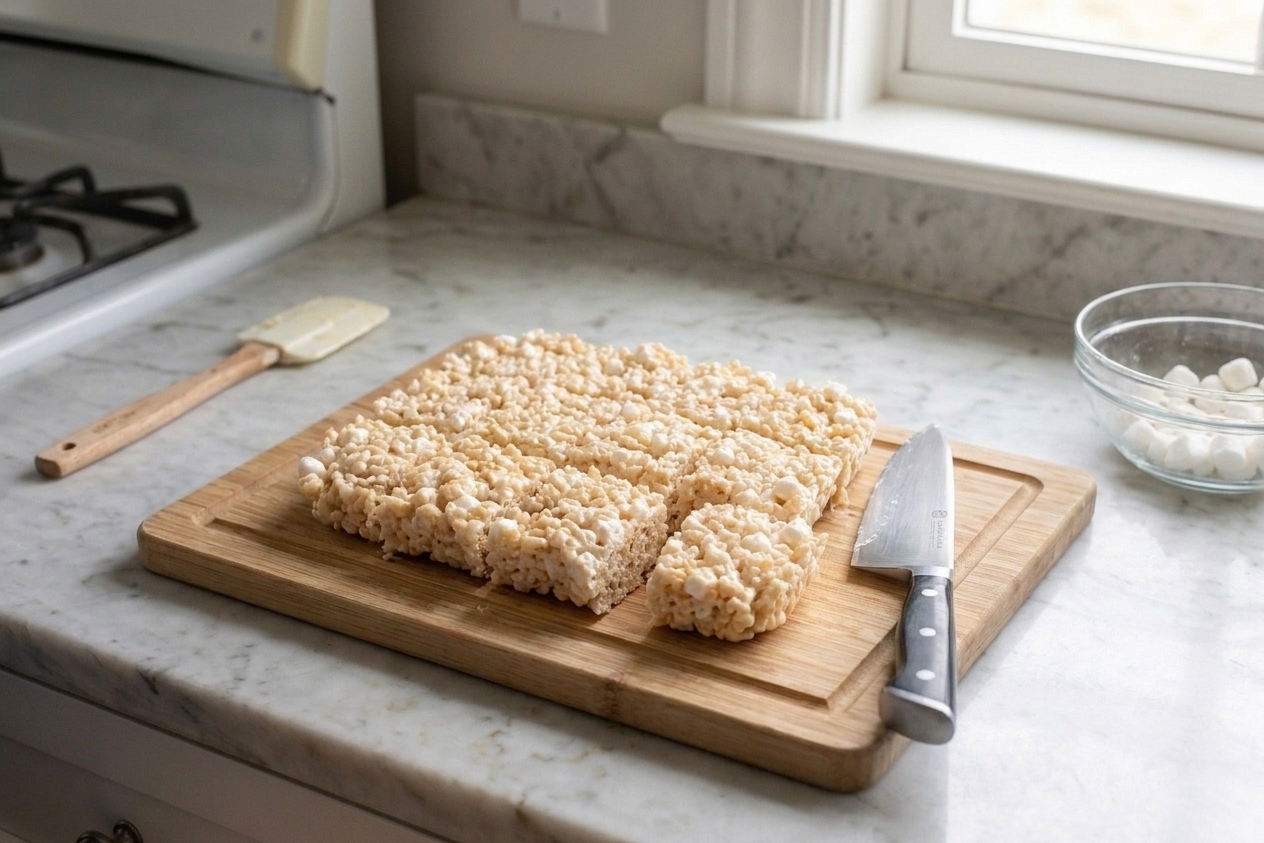
Let them cool at least 30 minutes, then use a sharp knife lightly greased with butter or neutral oil. A plastic bench scraper also works great.

Can I make these in the microwave?

Yes. Microwave the butter and about 3/4 of the marshmallows in a large microwave-safe bowl in 30-second bursts, stirring each time, until smooth. Stir in salt and vanilla, fold in cereal, then fold in the remaining marshmallows. Press gently into the pan and cool. (If the bowl feels screaming hot or the mixture starts bubbling like lava, you’ve gone too far. Shorter bursts, more stirring.)

What size pan should I use?

A 9 x 13-inch pan makes classic thickness. For thicker, bakery-style squares, use a 9 x 9-inch pan and expect slightly fewer servings.

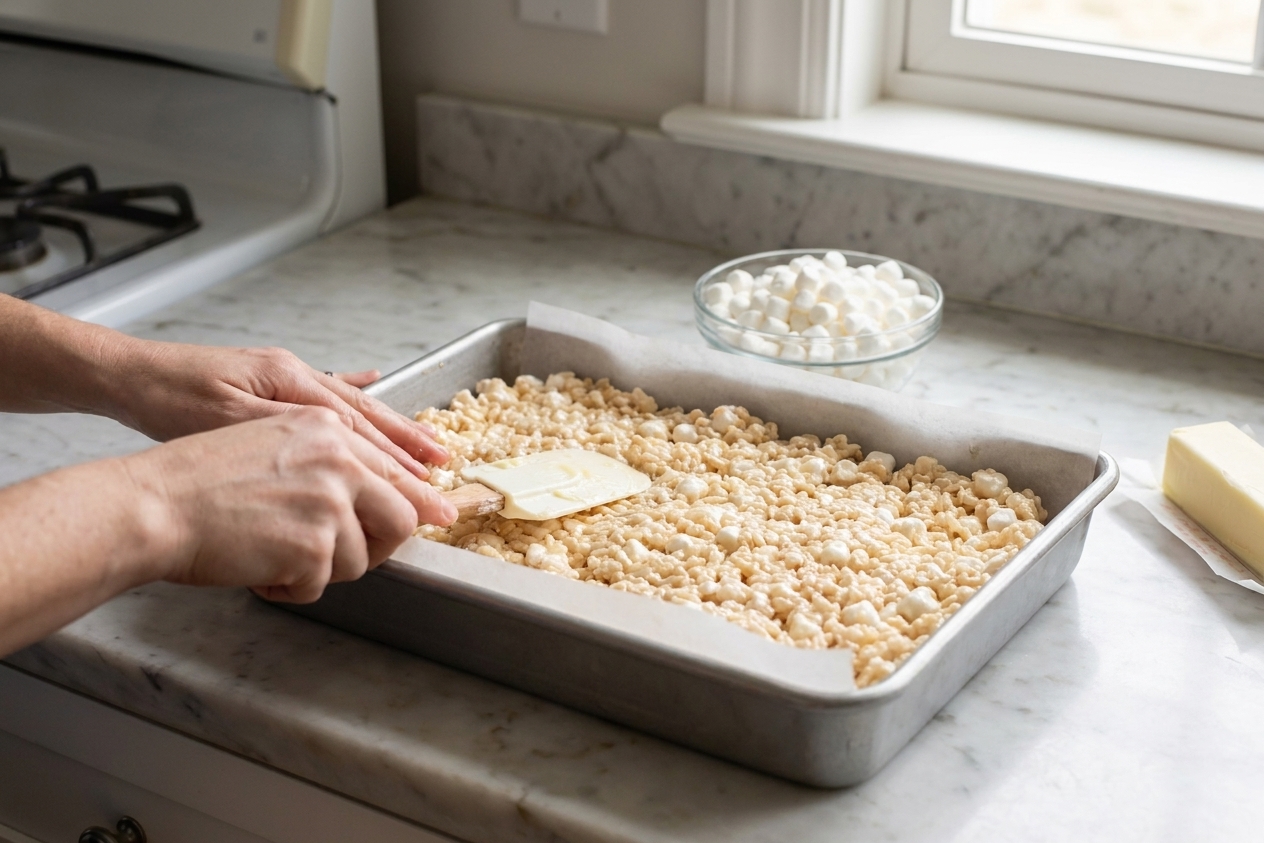
Hands using a buttered spatula to gently press warm Rice Krispies treat mixture into a parchment-lined 9x13 baking pan

I wanted a culinary degree once, but I ended up chasing the hands-on route, the kind where you learn by doing and occasionally by scraping marshmallow off your forearm. Rice Krispies treats are that exact energy. They look like a kid snack, but they’re secretly a lesson in heat control and restraint. The first time I made them “as an adult,” I pressed them down like I was building a patio. They turned into sweet cereal bricks. Now I keep it relaxed: low heat, quick fold, gentle press, and a pinch of salt that makes you stop mid-bite like, wait a second.