Mom's Best Recipes
Recipe

Buttermilk Fried Chicken Tenders

Golden, crunchy tenders with a tangy buttermilk soak and a seasoned crust that actually stays crispy.

Author By Matt Campbell
4.8
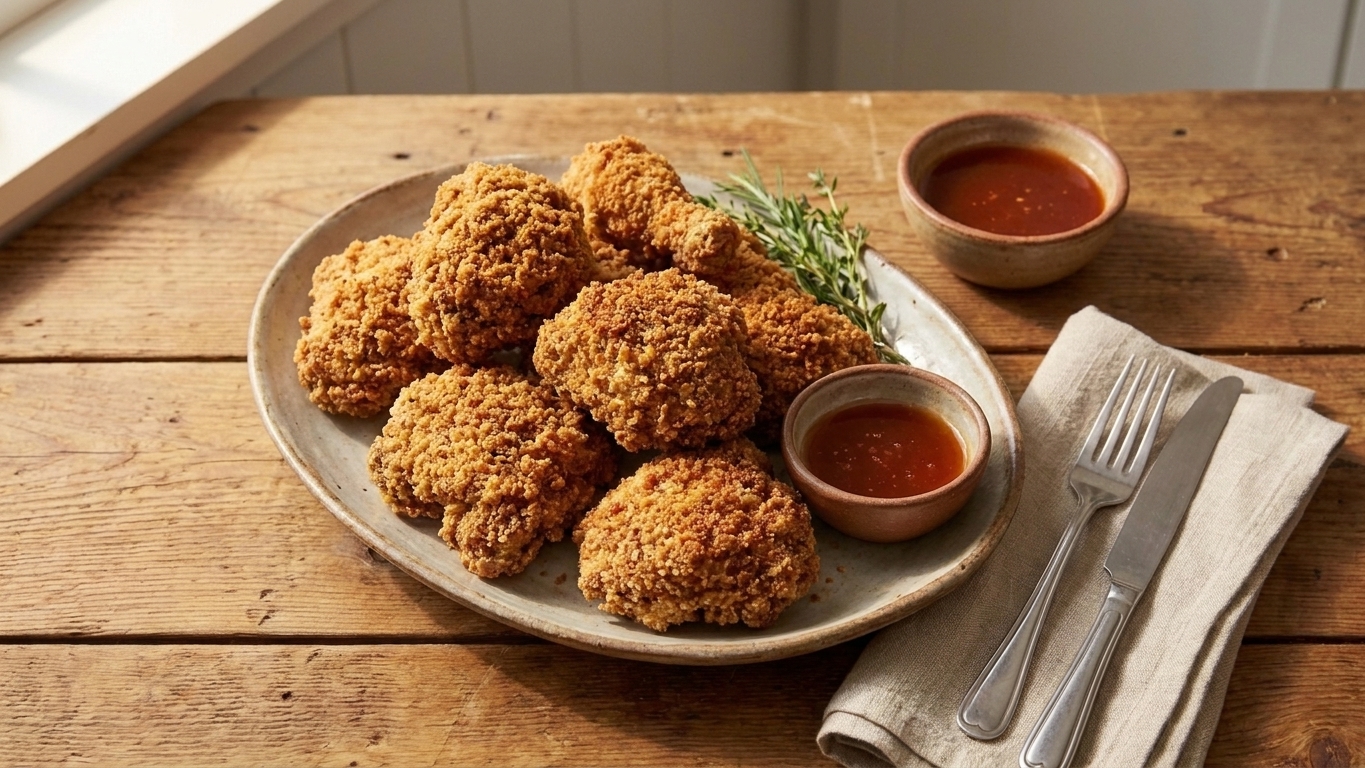
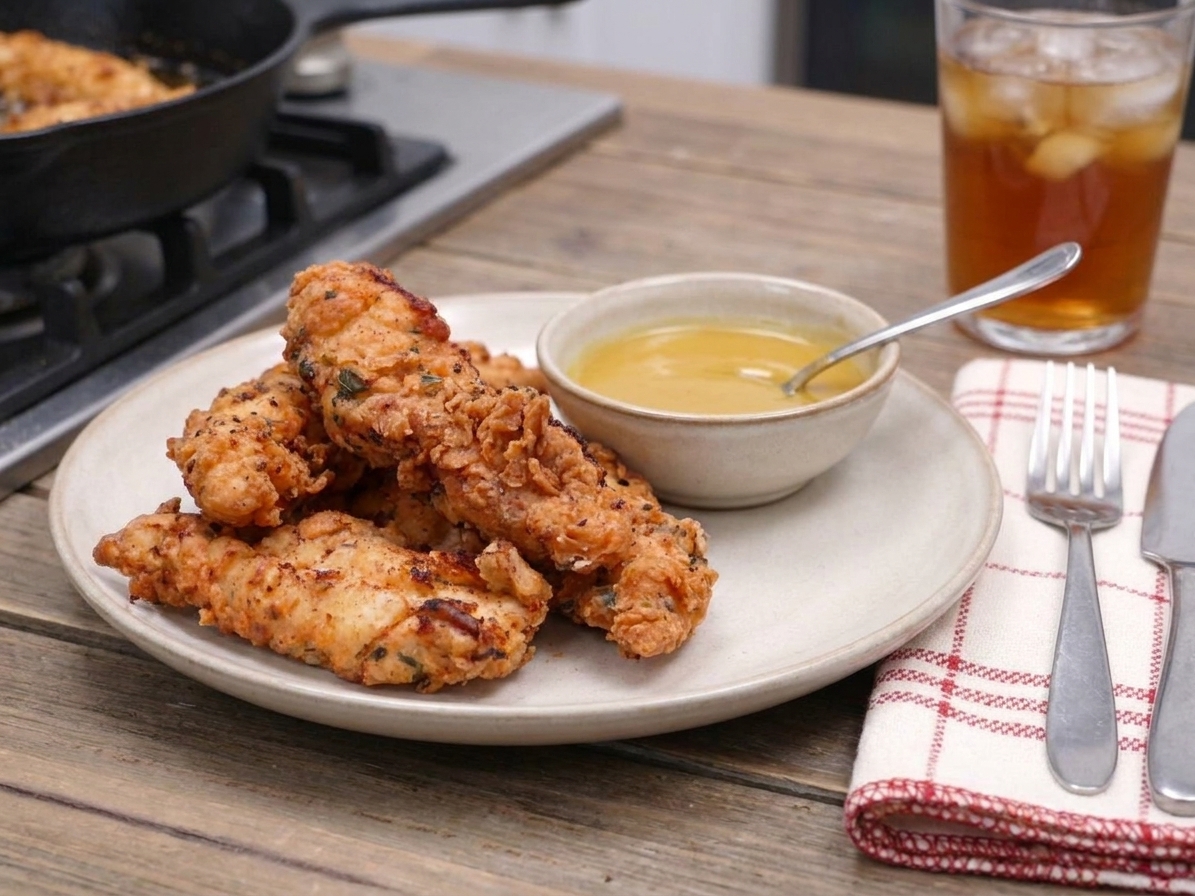
A platter of golden brown buttermilk fried chicken tenders with a craggy crisp coating, served with a small bowl of dipping sauce on a rustic kitchen table

Buttermilk is basically a cheat code for chicken. It tenderizes, it seasons, and it gives you that subtle tang that makes fried chicken taste like more than just salt and crunch. These buttermilk fried chicken tenders are the kind of dinner that disappears off the plate while you are still hunting for a clean fork.

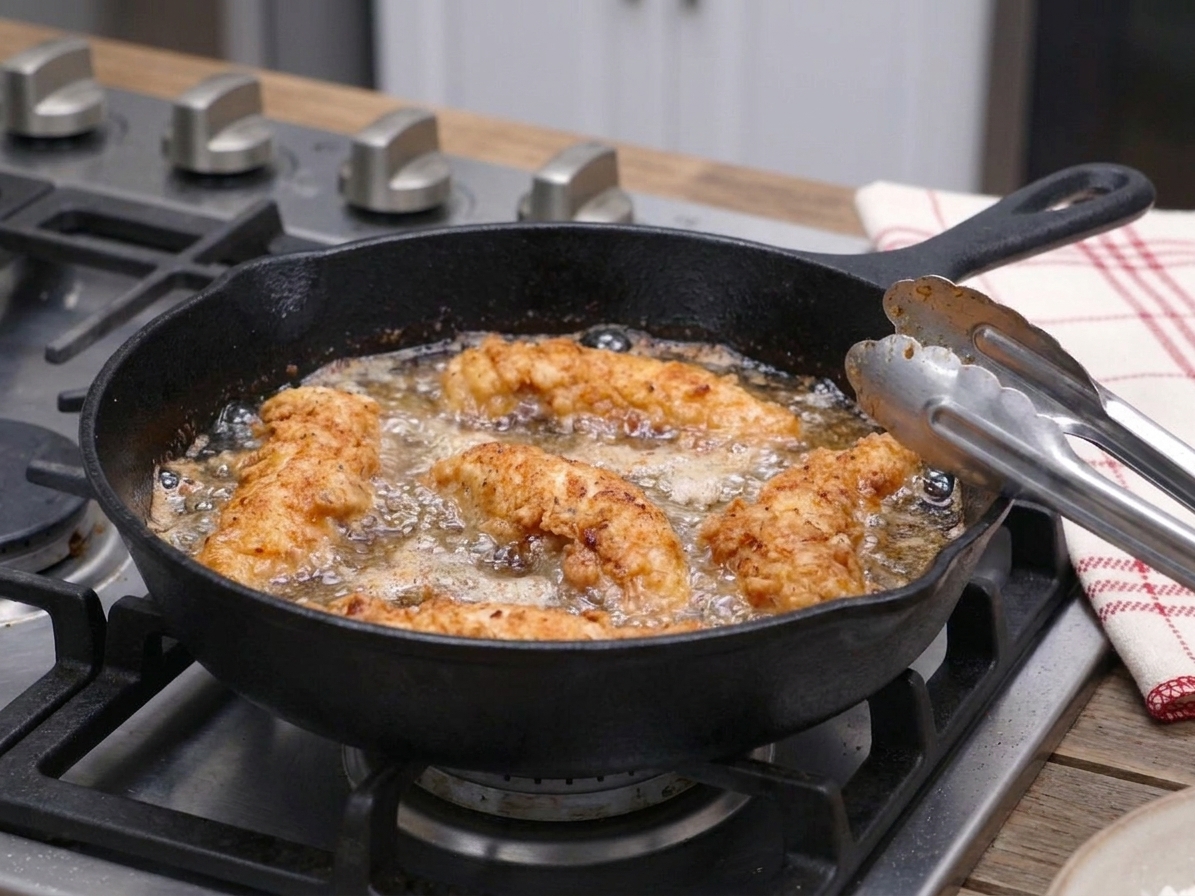
The vibe here is: accessible ingredients, clear steps, and maximum crispy edges. You do not need a deep fryer. You do not need fancy spices. You just need a good soak, a bold dredge, and oil that is hot enough to sizzle happily but not so hot it panics.
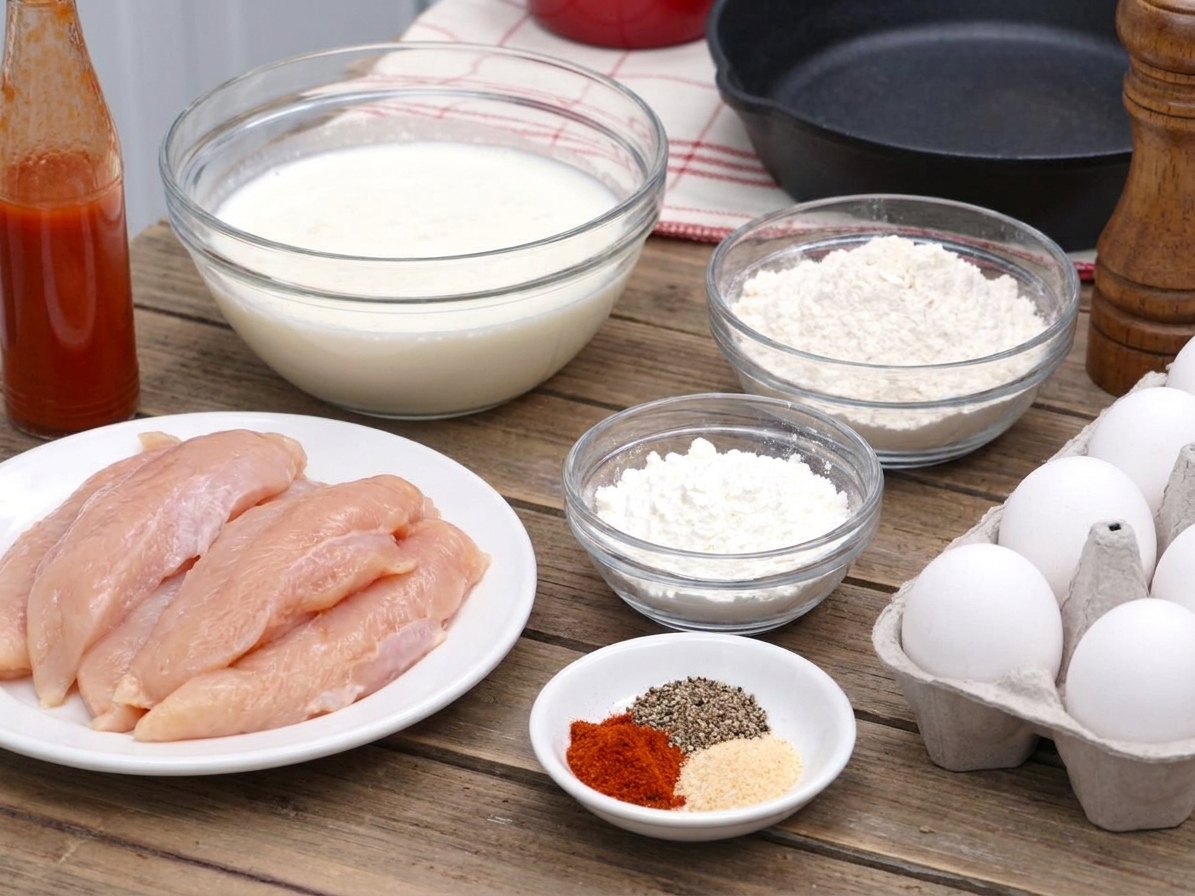
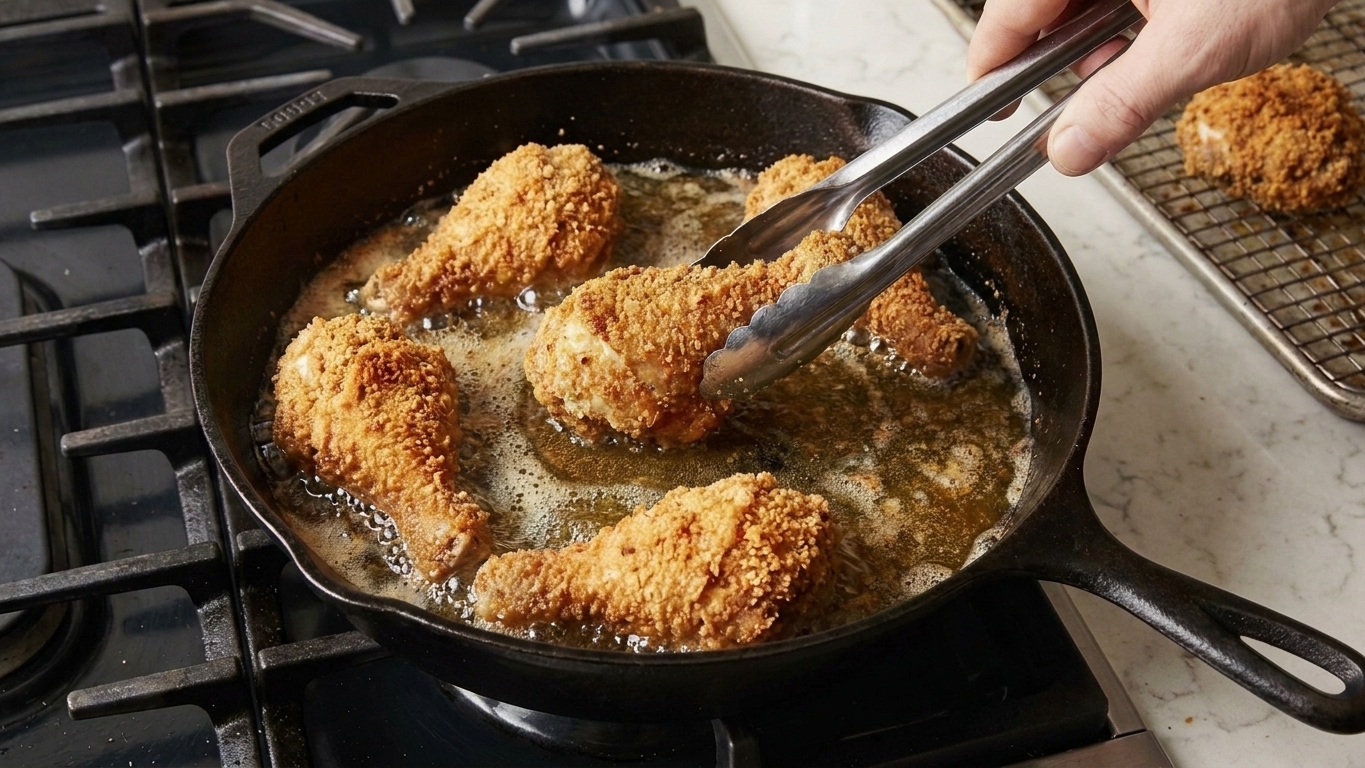
Buttermilk, raw chicken tenders, flour, cornstarch, spices, eggs, and hot sauce arranged on a bright kitchen counter

Why It Works

  • Juicy every time: The buttermilk soak keeps the chicken tender and helps salt and spices sink in.
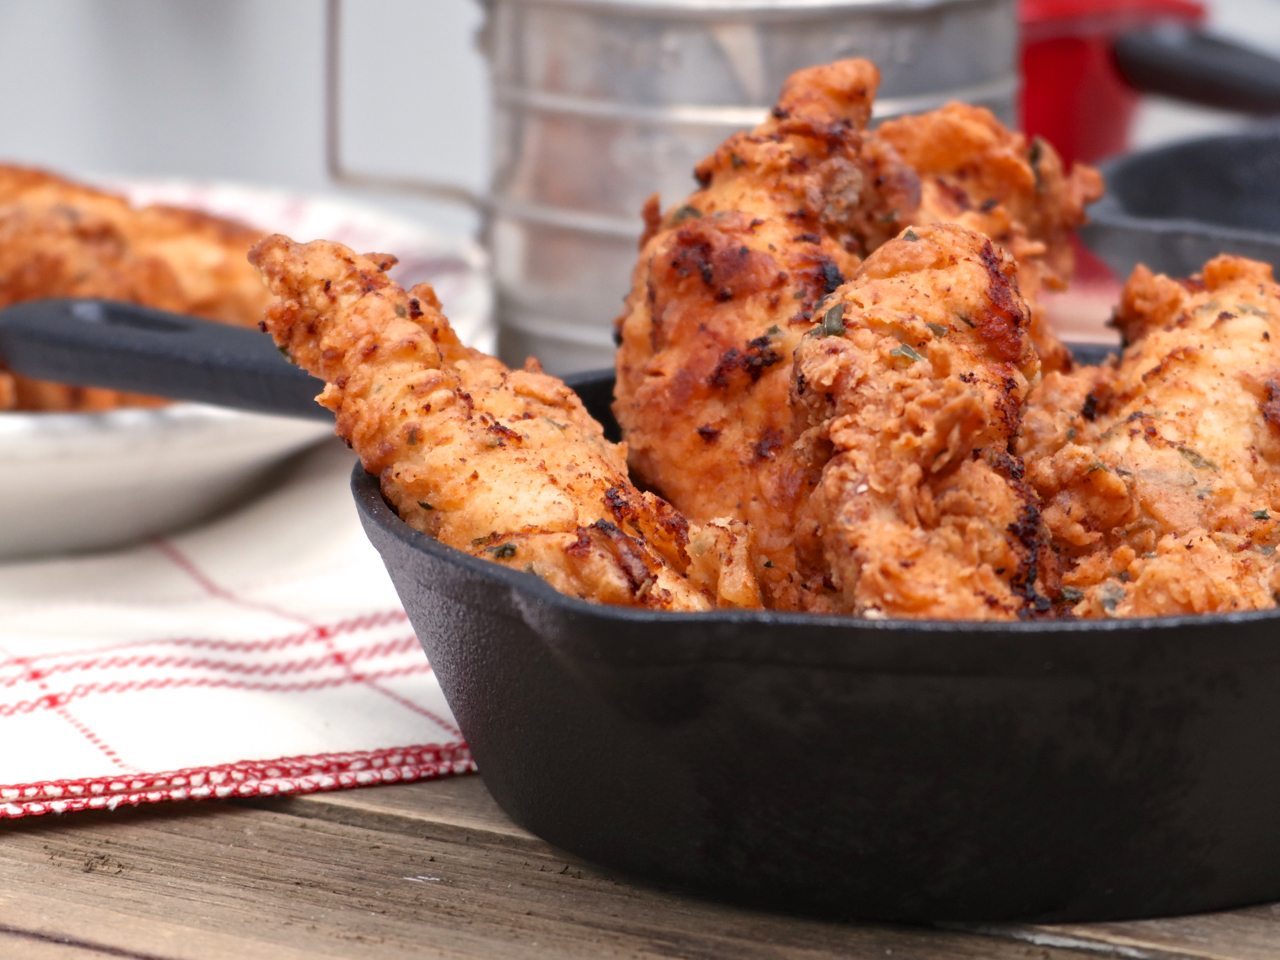
  • Big crunchy coating: A flour plus cornstarch dredge creates those craggy, crisp ridges that stay crunchy longer.
  • No complicated gear: A heavy skillet and a thermometer, or careful heat control, gets you restaurant-level results at home.
  • Flexible seasoning: Keep it classic, go spicy, or lean herby. The base method holds up.

Pairs Well With

Storage Tips

Fridge: Cool tenders completely, then store in an airtight container lined with a paper towel. Refrigerate up to 3 days.

Reheat for crispness: Bake on a wire rack set over a sheet pan at 400°F for 8 to 12 minutes, flipping once. An air fryer at 375°F for 5 to 8 minutes also works great.

Freezer: Freeze cooled tenders in a single layer on a sheet pan until solid, then transfer to a freezer bag. Freeze up to 2 months. Reheat from frozen at 400°F for 15 to 18 minutes on a rack.

Common Questions

Do I have to soak the chicken in buttermilk overnight?

Nope. You get great results with at least 30 minutes. Overnight is amazing if you planned ahead, but even a short soak noticeably improves tenderness and flavor.

What if I do not have buttermilk?

In a pinch, mix 2 cups milk with 2 tablespoons lemon juice or white vinegar. Let it sit 5 to 10 minutes until slightly thickened. Real buttermilk is better, but this gets you close.

How do I keep the breading from falling off?

Three things: (1) let excess buttermilk drip off before dredging, (2) press the flour mix onto the chicken, and (3) rest the breaded tenders for 10 minutes before frying so the coating hydrates and grips.

What oil is best for frying tenders?

Use a neutral oil with a high smoke point like peanut, canola, vegetable, or avocado oil. Olive oil is not ideal here.

How do I know they are done without cutting them open?

A thermometer is your best friend. Pull tenders when the thickest part hits 165°F.

I started making these tenders when I realized I was chasing two things at the same time: comfort food crunch and not turning my kitchen into a full-time fry shack. The buttermilk soak was the turning point. It makes the chicken taste seasoned all the way through, not just on the outside.

Now it is my go-to for those nights when you want something fun and familiar, but still want to feel like you cooked. Also, I have learned the hard way that “taste as you go” applies to the dredge too. A pinch of salt in the flour is not optional, it is the whole personality.

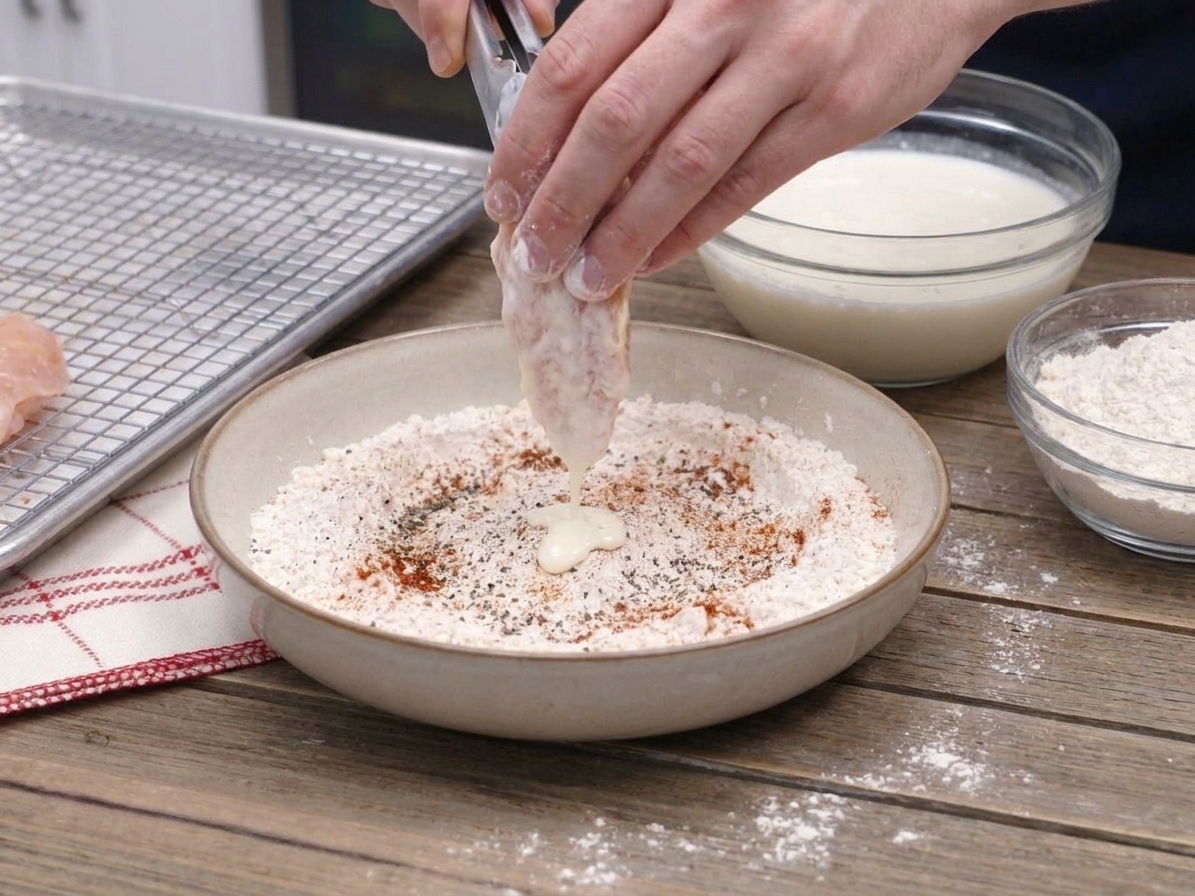
Hands dredging raw buttermilk-soaked chicken tenders in seasoned flour on a kitchen counter with a wire rack nearby