Mom's Best Recipes
Recipe

Classic Yeast Donuts

Pillowy, golden yeast-raised donuts with a quick vanilla glaze and the crisp edges you want.

Author By Matt Campbell
4.8
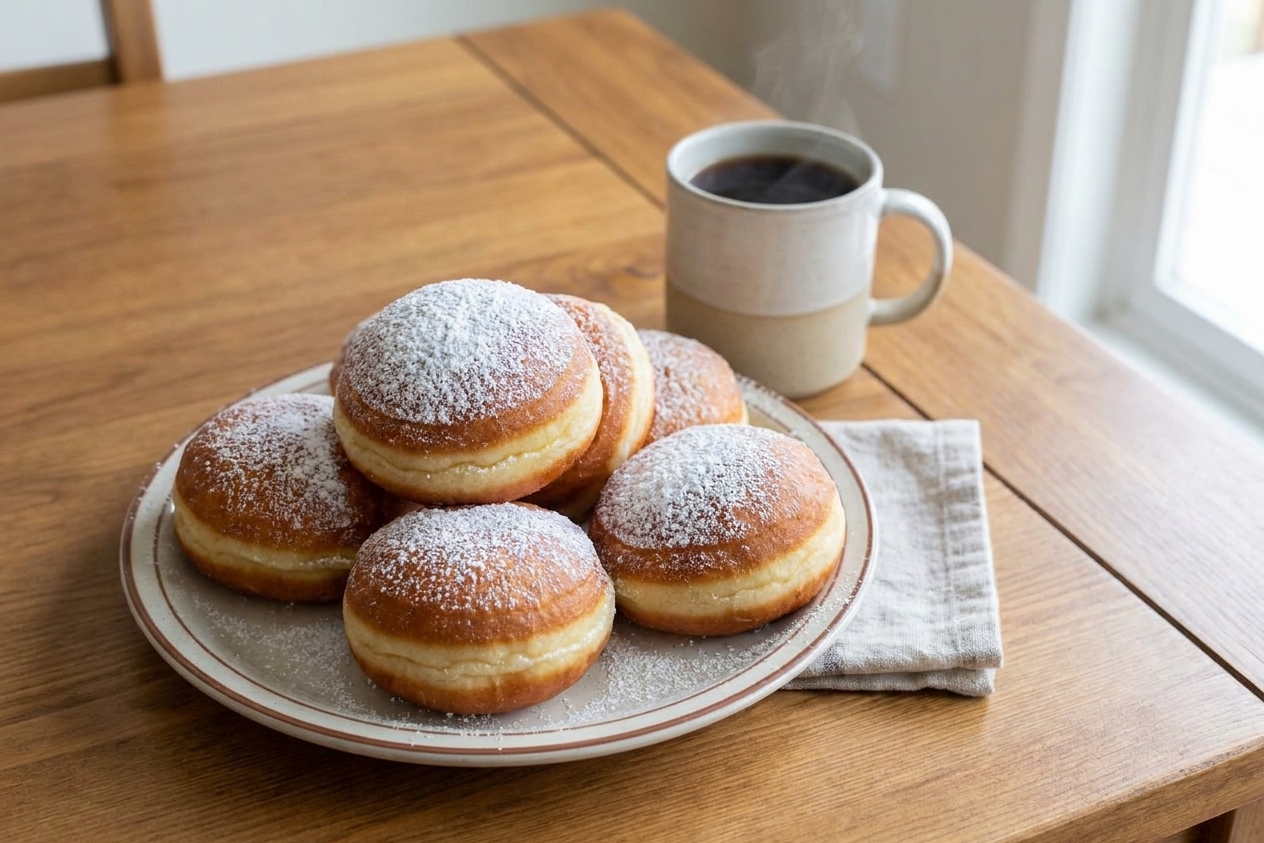
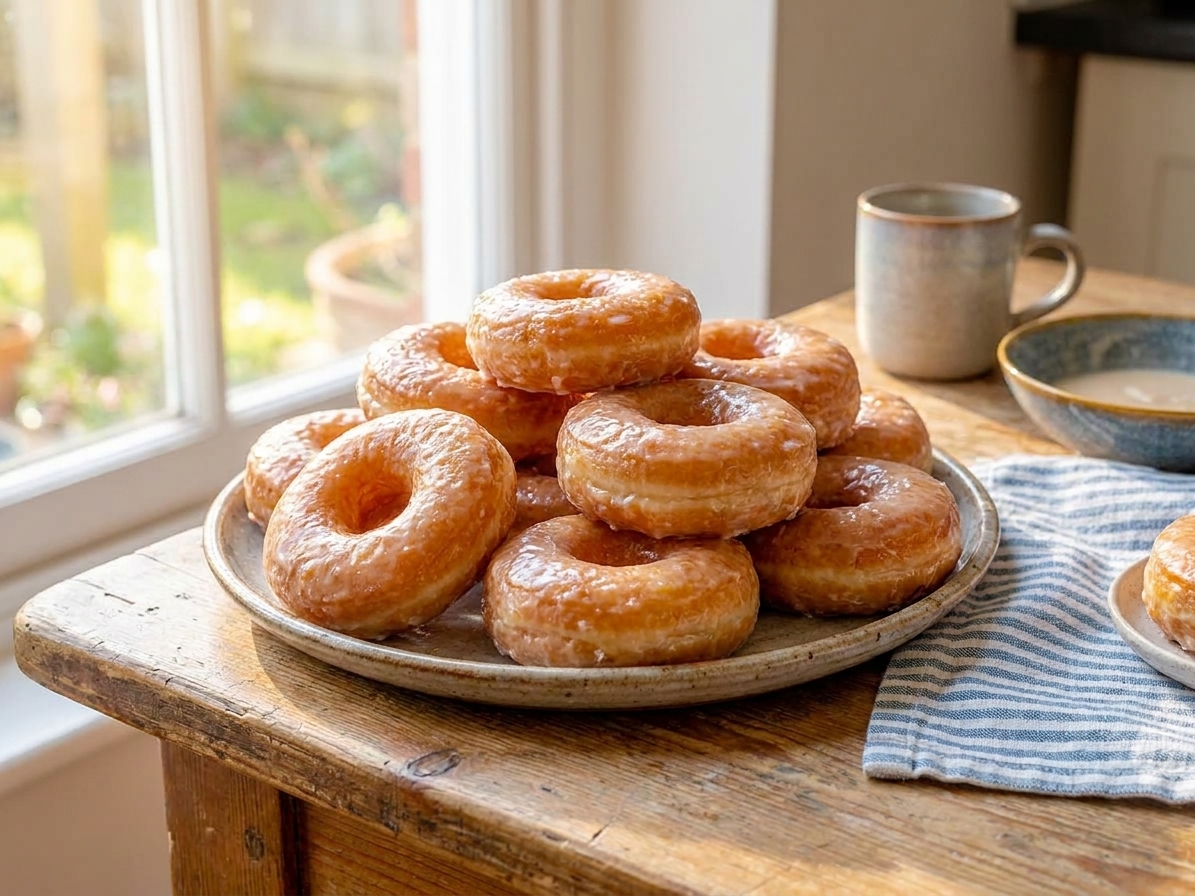
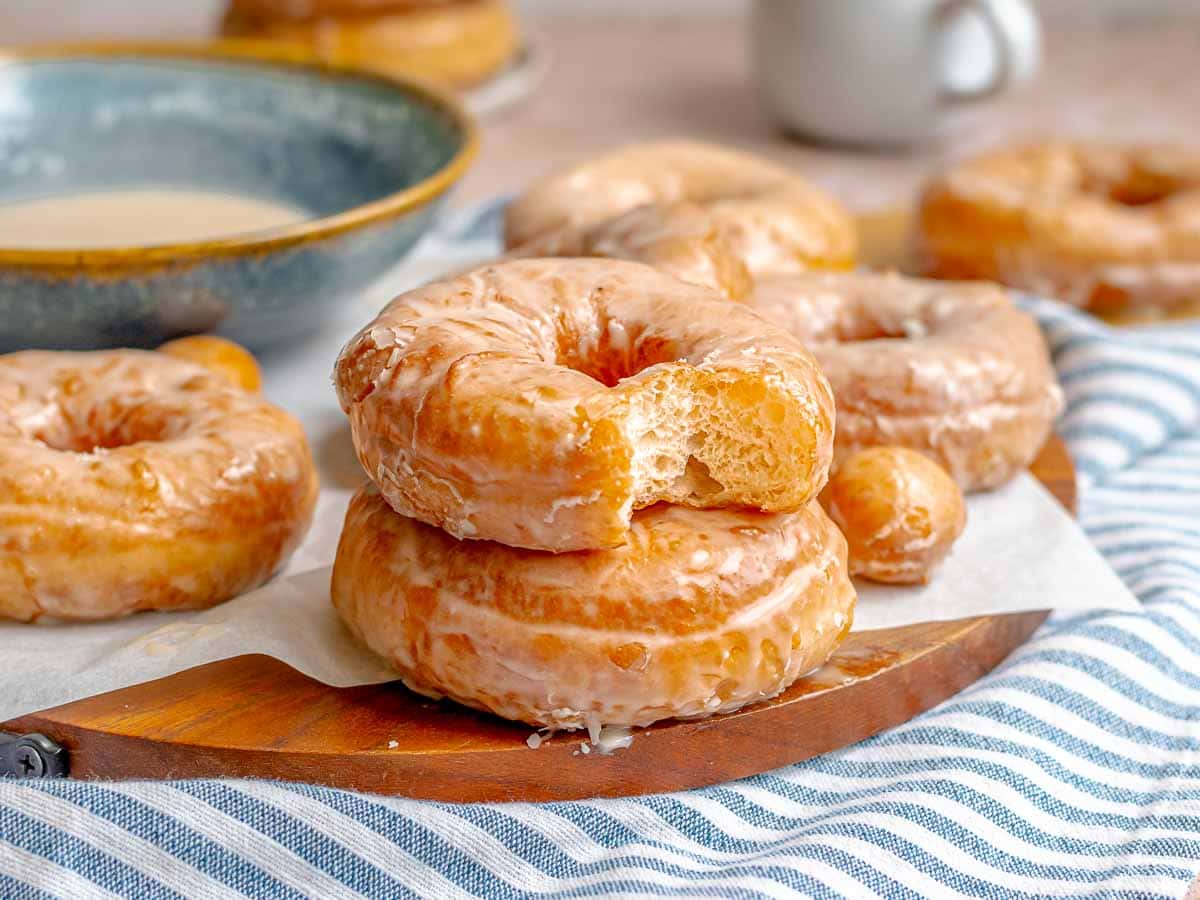
A platter of freshly glazed yeast-raised donuts with a light sheen, set on a wooden kitchen table near a sunlit window

Yeast donuts are the cozy carb version of a high five. They are light, a little chewy, and somehow both delicate and sturdy enough to take a proper dunk in coffee. If you have ever bitten into a donut and thought, “How is this so fluffy?” it is not magic. It is yeast, time, and a little respect for warm dough.

This is my go-to classic glazed yeast donut. The ingredient list is approachable, the steps are clear, and the payoff is big: a donut with a crisp, golden exterior and a soft center that pulls apart in those dreamy layers. We are not chasing perfection here. We are chasing donuts you want to eat standing at the counter while the glaze is still tacky.
Measured flour, sugar, yeast, milk, eggs, butter, and salt arranged on a clean kitchen counter with mixing bowls

Why It Works

  • Fluffy interior, crisp edges: A slightly enriched dough and the right oil temperature give you that classic bite.
  • Reliable rise: Two proofs build flavor and structure so the donuts do not turn dense.
  • Easy glaze that sets: A simple powdered sugar glaze clings while warm and dries with a soft sheen.
  • Beginner-friendly frying: Clear temperature targets, safety notes, and small batch frying keep things calm and controlled.

Pairs Well With

Storage Tips

Donuts are at their peak the day you fry them. That said, life happens and so do leftovers.

Room temperature (best option)

  • Store completely cooled donuts in an airtight container for up to 1 day.
  • If they are glazed, place parchment between layers to prevent sticking.

Reheating

  • Warm unglazed donuts in the microwave for 8 to 12 seconds or in a 300°F oven for 5 minutes.
  • If glazed, microwave briefly. The glaze will soften, which is not a problem, it is a feature.

Freezing (surprisingly solid)

  • Freeze unglazed donuts in a zip-top bag for 1 to 2 months.
  • Wrap well (plastic wrap, then bag) to prevent freezer burn.
  • Thaw at room temp, warm gently, then glaze fresh.

Common Questions

Do I have to use a thermometer for frying?

I strongly recommend it. Donuts are quick-cooking, so a small temperature swing makes a big difference. Aim for 350°F. If the oil is cooler, donuts soak up oil. Hotter, the outside browns before the center cooks.

Why did my donuts turn out dense?

The usual culprits are underproofing, too much flour, or oil that is too cool. The dough should feel soft and slightly tacky. During the second rise, the cut donuts should look puffy and airy, not tight.

Can I make the dough ahead?

Yes. After the first rise, cover the dough and refrigerate it overnight (about 8 to 16 hours). The next day, let it sit at room temperature until the dough is pliable and cool, not stiff and a gentle poke slowly springs back, usually 30 to 60 minutes depending on your kitchen.

Can I bake these instead of frying?

You can, but they will be more like a sweet yeast roll than a true donut. If you want baked, brush with melted butter after baking and dip in glaze to help with that “donut shop” vibe.

What oil is best for frying donuts?

Use a neutral oil with a higher smoke point like canola, vegetable, peanut, or avocado oil. Olive oil is not the move here.

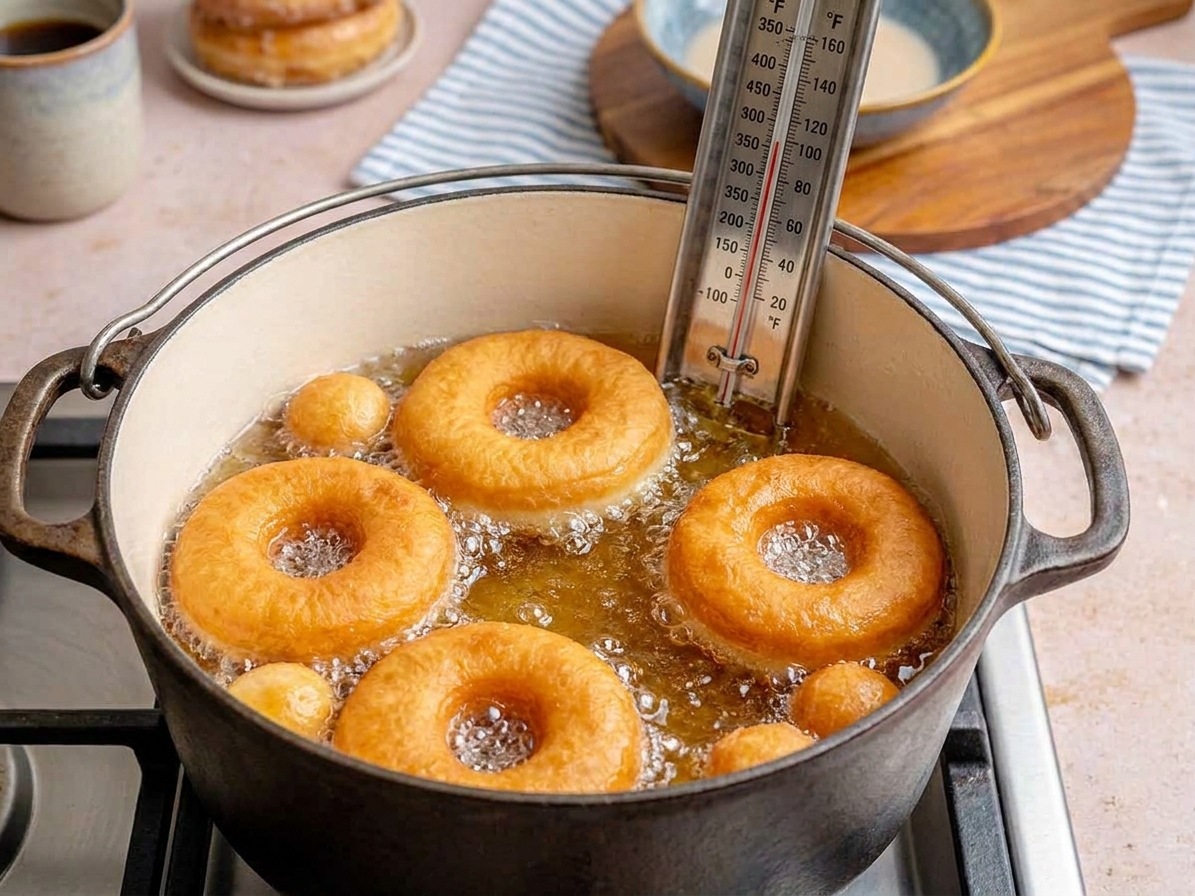
Yeast donut rings frying in a heavy pot of oil with a thermometer clipped securely to the side, bubbles rising around the dough

The first time I made yeast donuts at home, I treated them like a science project and still managed to get glaze on the cabinet. Worth it. What hooked me was the moment the dough hit the oil and puffed like it had a secret. Ever since, yeast donuts have been my favorite “slow morning” flex: not complicated, just a little patient. If you are cooking with kids, this is also top-tier. Cutting out donut rings feels like edible arts and crafts, and nobody complains about taste-testing the holes.