Mom's Best Recipes
Recipe

Crispy Fried Ravioli

Golden, crunchy ravioli with a Parmesan breadcrumb crust and a bright dipping sauce that makes the whole thing taste like a restaurant appetizer at home.

Author By Matt Campbell
4.8
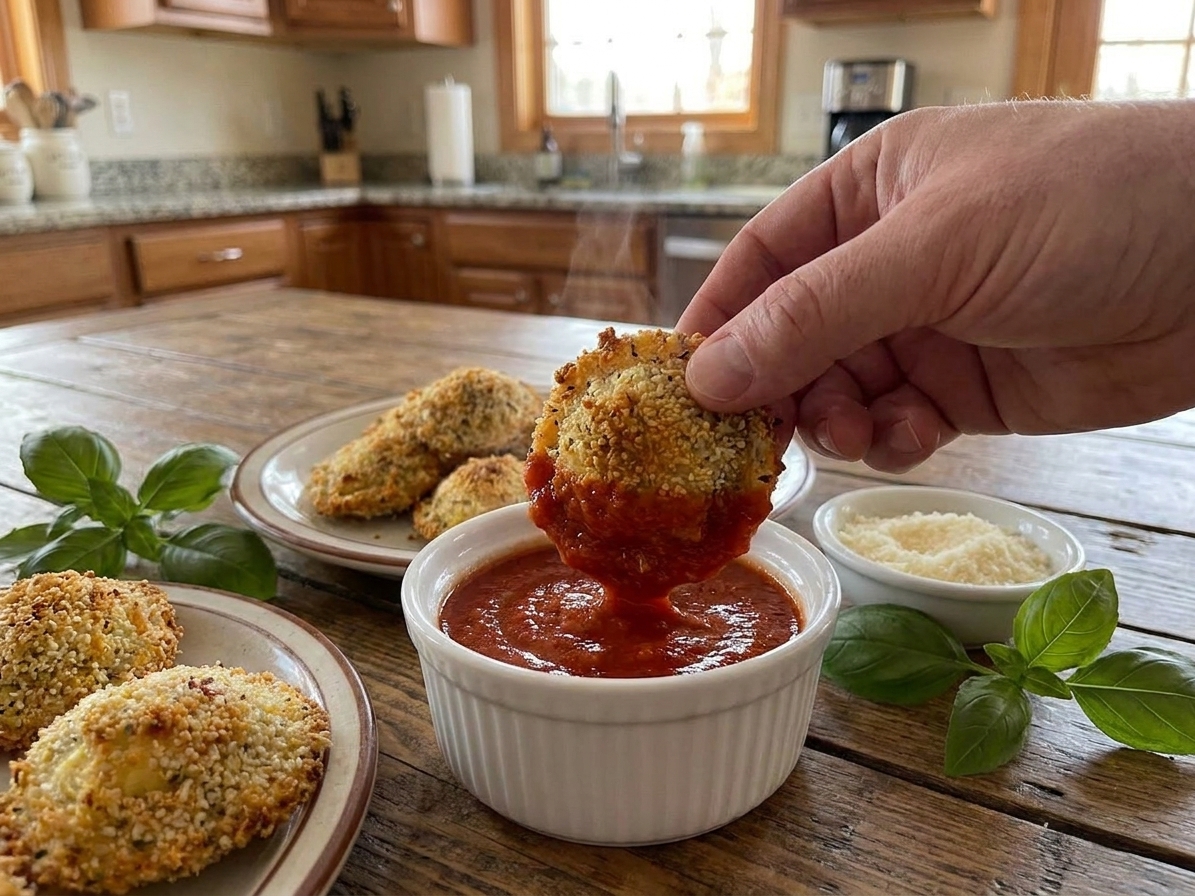
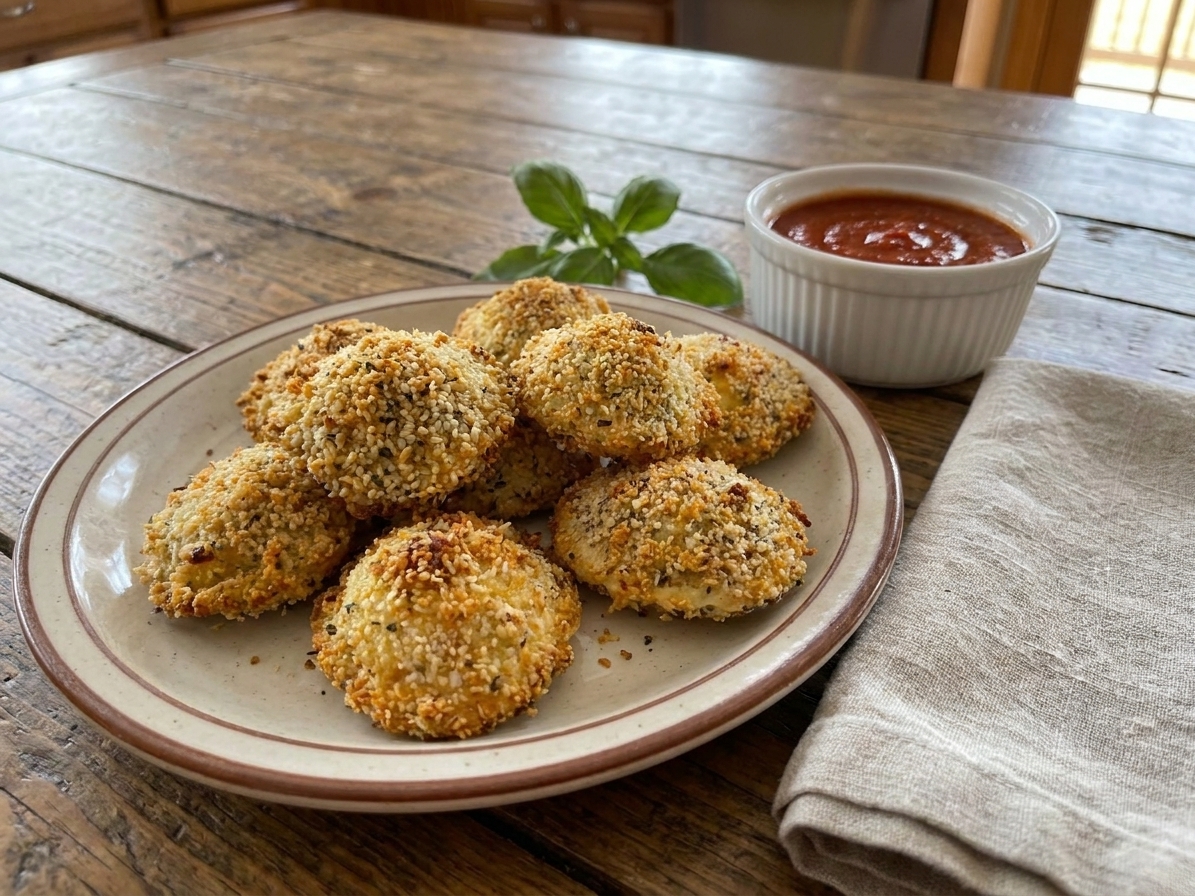
A plate of golden brown fried ravioli with crisp breadcrumb coating, served with a small bowl of marinara on a wooden table with a simple linen napkin

Fried ravioli is one of those foods that feels a little mischievous in the best way. Take something cozy and cheesy, give it a crunchy jacket, and suddenly you have an appetizer that disappears faster than you can say, “Wait, did we make enough?”

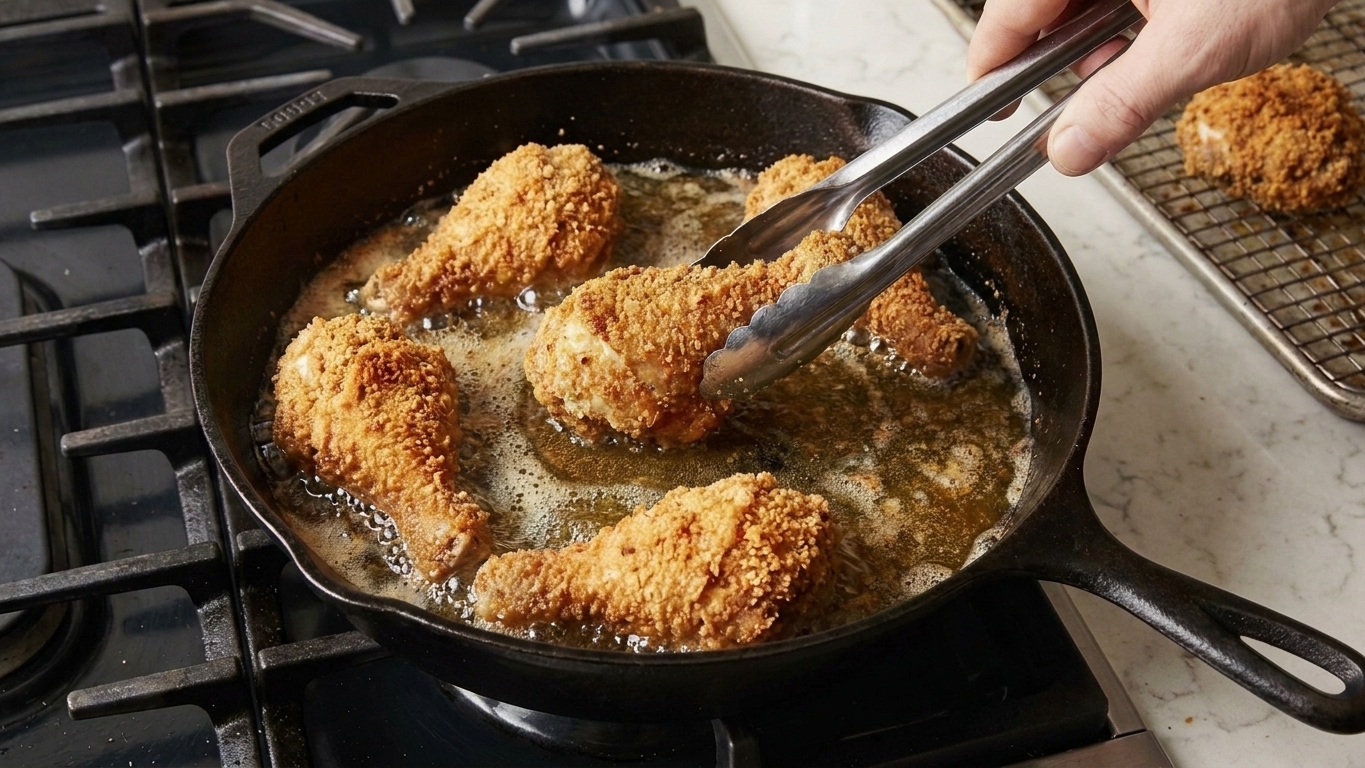
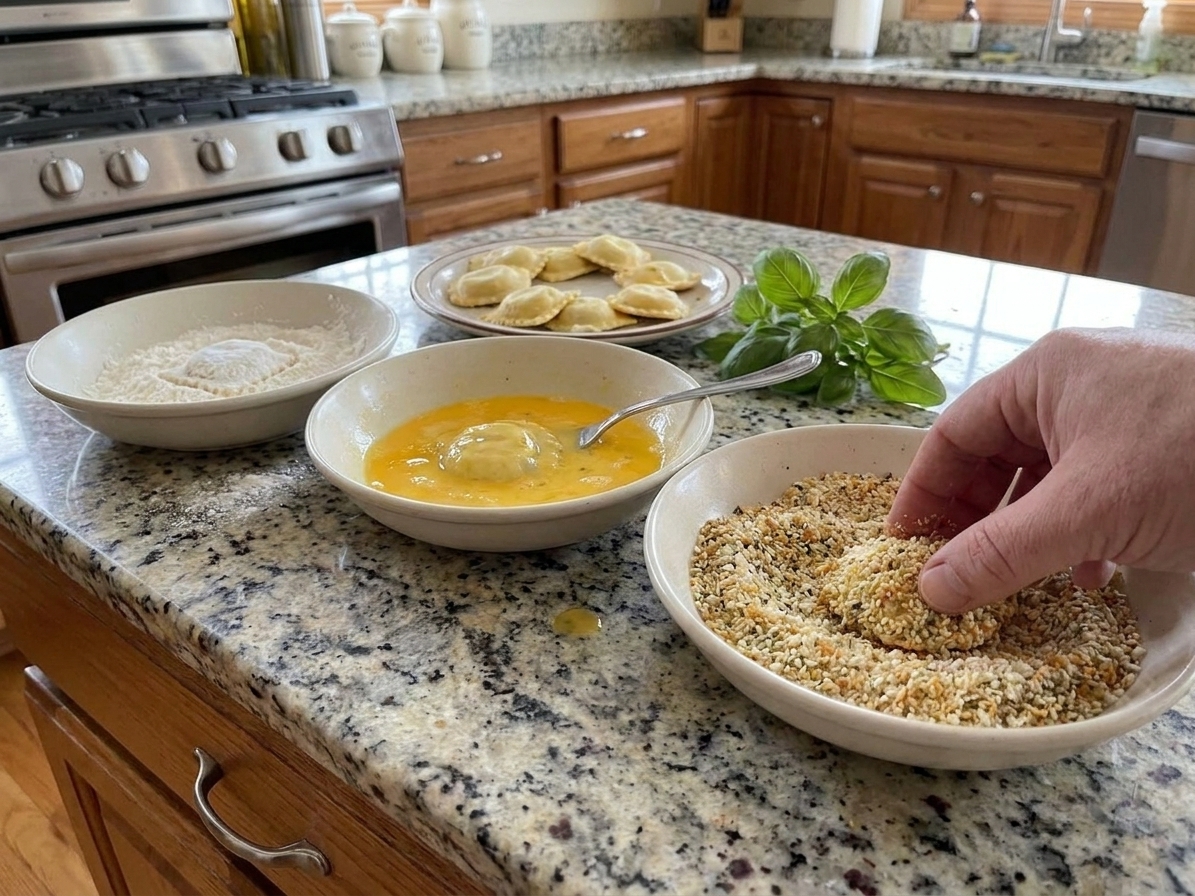
This version keeps it simple: store-bought refrigerated ravioli, a quick flour-egg-breadcrumb assembly line, and a steady fry you can actually manage. The coating is extra crisp thanks to panko + Parmesan, and the dipping sauce is a fast marinara glow up with a little lemon and garlic so it tastes bright, not flat.

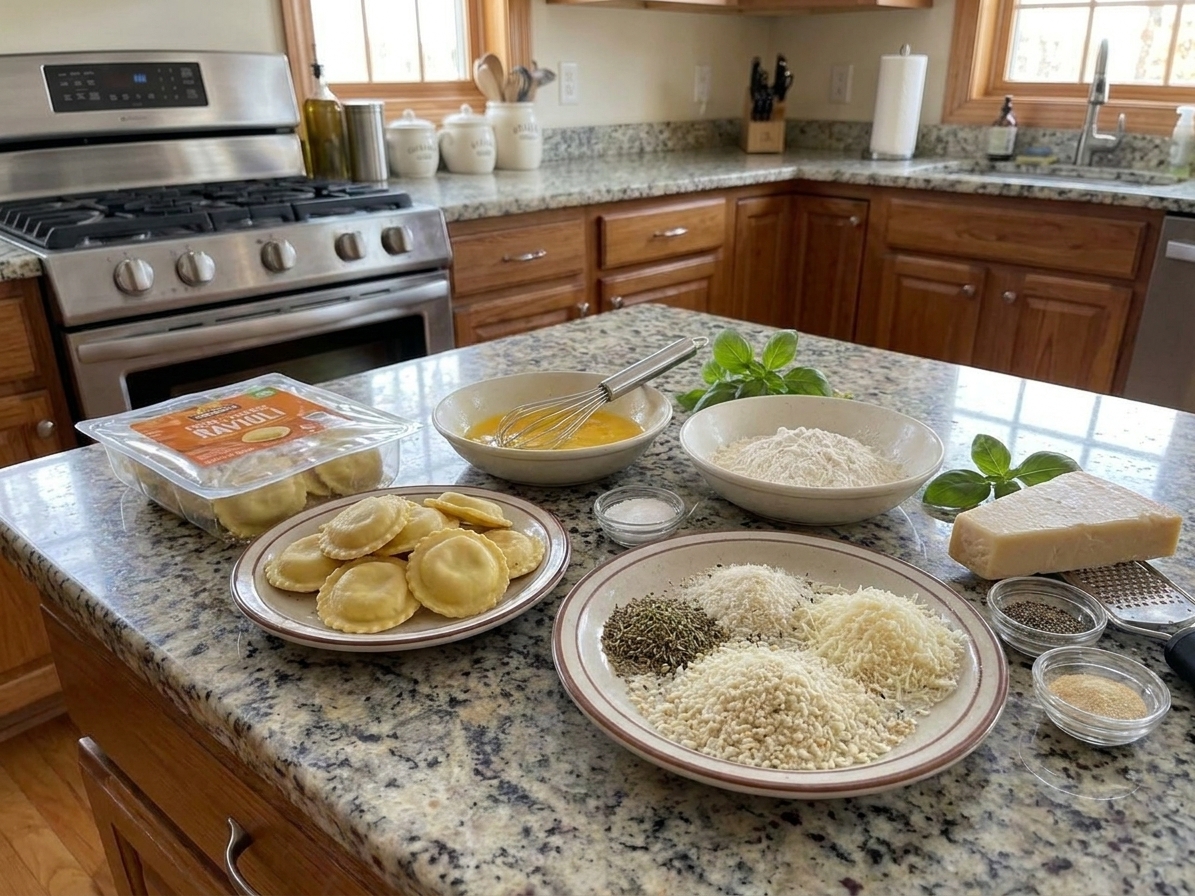
Ingredients for breading fried ravioli laid out on a kitchen counter, including refrigerated ravioli, eggs, flour, panko breadcrumbs, Parmesan, and seasonings

Why It Works

  • Crisp edges, tender center: A quick simmer before breading helps ensure the pasta is cooked through so the coating can brown without the center lagging behind.
  • No drama breading: A light flour dust helps the egg stick, and panko brings the crunch without needing fancy tricks.
  • Flavor built in: Parmesan, garlic powder, and Italian seasoning make the coating taste like something, even before the sauce shows up.
  • Works with what you have: Cheese, beef, sausage, spinach, even butternut squash ravioli all work. Adjust the sauce and you are good to go.

Pairs Well With

Storage Tips

Fried ravioli is best fresh, but leftovers can still be very respectable if you re-crisp them properly.

Refrigerate

  • Cool completely, then store in an airtight container for up to 3 days.
  • Keep sauce separate so the coating stays crisp.
  • Note: the coating will soften a bit over time, but it crisps back up well in the oven or air fryer.

Reheat (best methods)

  • Air fryer: 350°F for 4 to 7 minutes, shaking once halfway through.
  • Oven: 400°F on a wire rack over a sheet pan for 8 to 12 minutes.
  • Skillet: A thin layer of oil over medium heat, 2 to 3 minutes per side.

Freeze (after frying)

  • Freeze in a single layer on a sheet pan until solid, then transfer to a freezer bag. Freeze up to 2 months for best quality.
  • For the best crunch and least freezer burn, press out extra air (or use a freezer-safe container) and reheat within that window.
  • Reheat from frozen in a 400°F oven or 375°F air fryer until hot and crisp, 10 to 14 minutes depending on size.

Common Questions

Do I need to boil the ravioli before frying?

If you are using fresh refrigerated ravioli, you can skip boiling and go straight to breading. That said, I like a quick 1 to 2 minute simmer because it helps ensure the pasta is tender and the filling heats through quickly without needing a long fry that could over-brown the coating.

Can I use frozen ravioli?

Yes. Boil frozen ravioli according to the package directions until just tender, then drain and cool on a tray. Pat them dry very well before breading so the coating sticks.

Why is my breading falling off?

  • Ravioli were too wet. Pat dry thoroughly.
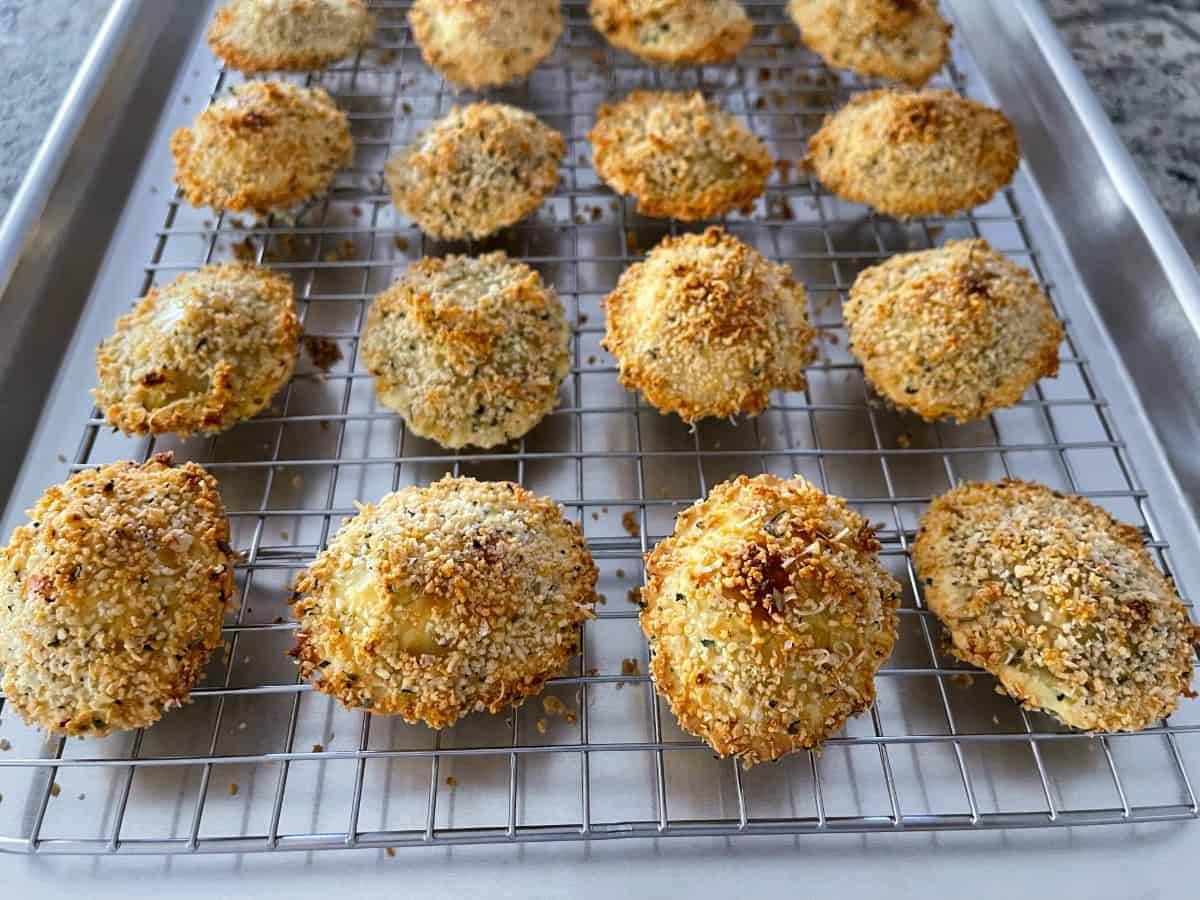
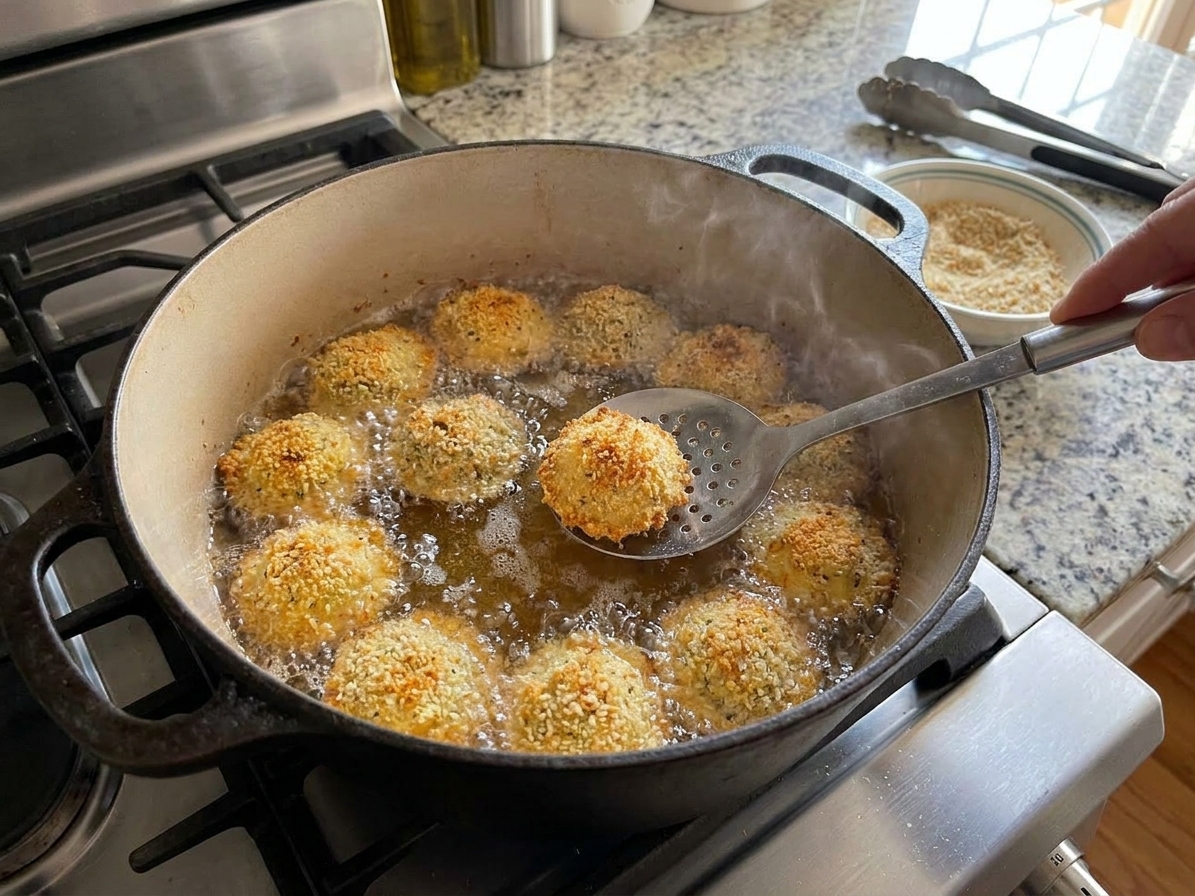
  • Oil was not hot enough. Aim for 325 to 350°F.
  • You skipped the flour step. A light flour coat helps the egg cling.
  • You moved them too much early on. Let the crust set for 45 to 60 seconds before nudging.

What oil is best for frying?

Use a neutral, high smoke point oil like canola, peanut, vegetable, or avocado oil.

Can I bake or air fry instead?

Absolutely.

  • Air fryer: Spray both sides with oil, cook at 375°F for 6 to 9 minutes, flipping halfway.
  • Oven: Bake on a wire rack at 425°F for 12 to 16 minutes, flipping once. Spray with oil for better browning.

Deep frying gives the most even crunch, but these methods still hit the craving.

Fried ravioli is my “we are not trying that hard, but we are eating like we are” appetizer. The first time I made it at home, I was convinced it would be fussy. Then I realized it is basically chicken tenders energy, just smaller and way more snackable. Now it is my go-to whenever I want something crispy and comforting, with a dipping sauce that makes everyone hover near the stove like it is a live event.