
Mom's Best Recipes
Recipe

Glazed Pumpkin Scones

Tender, spiced pumpkin scones with crisp edges and a simple vanilla glaze.

Author By Matt Campbell
4.8
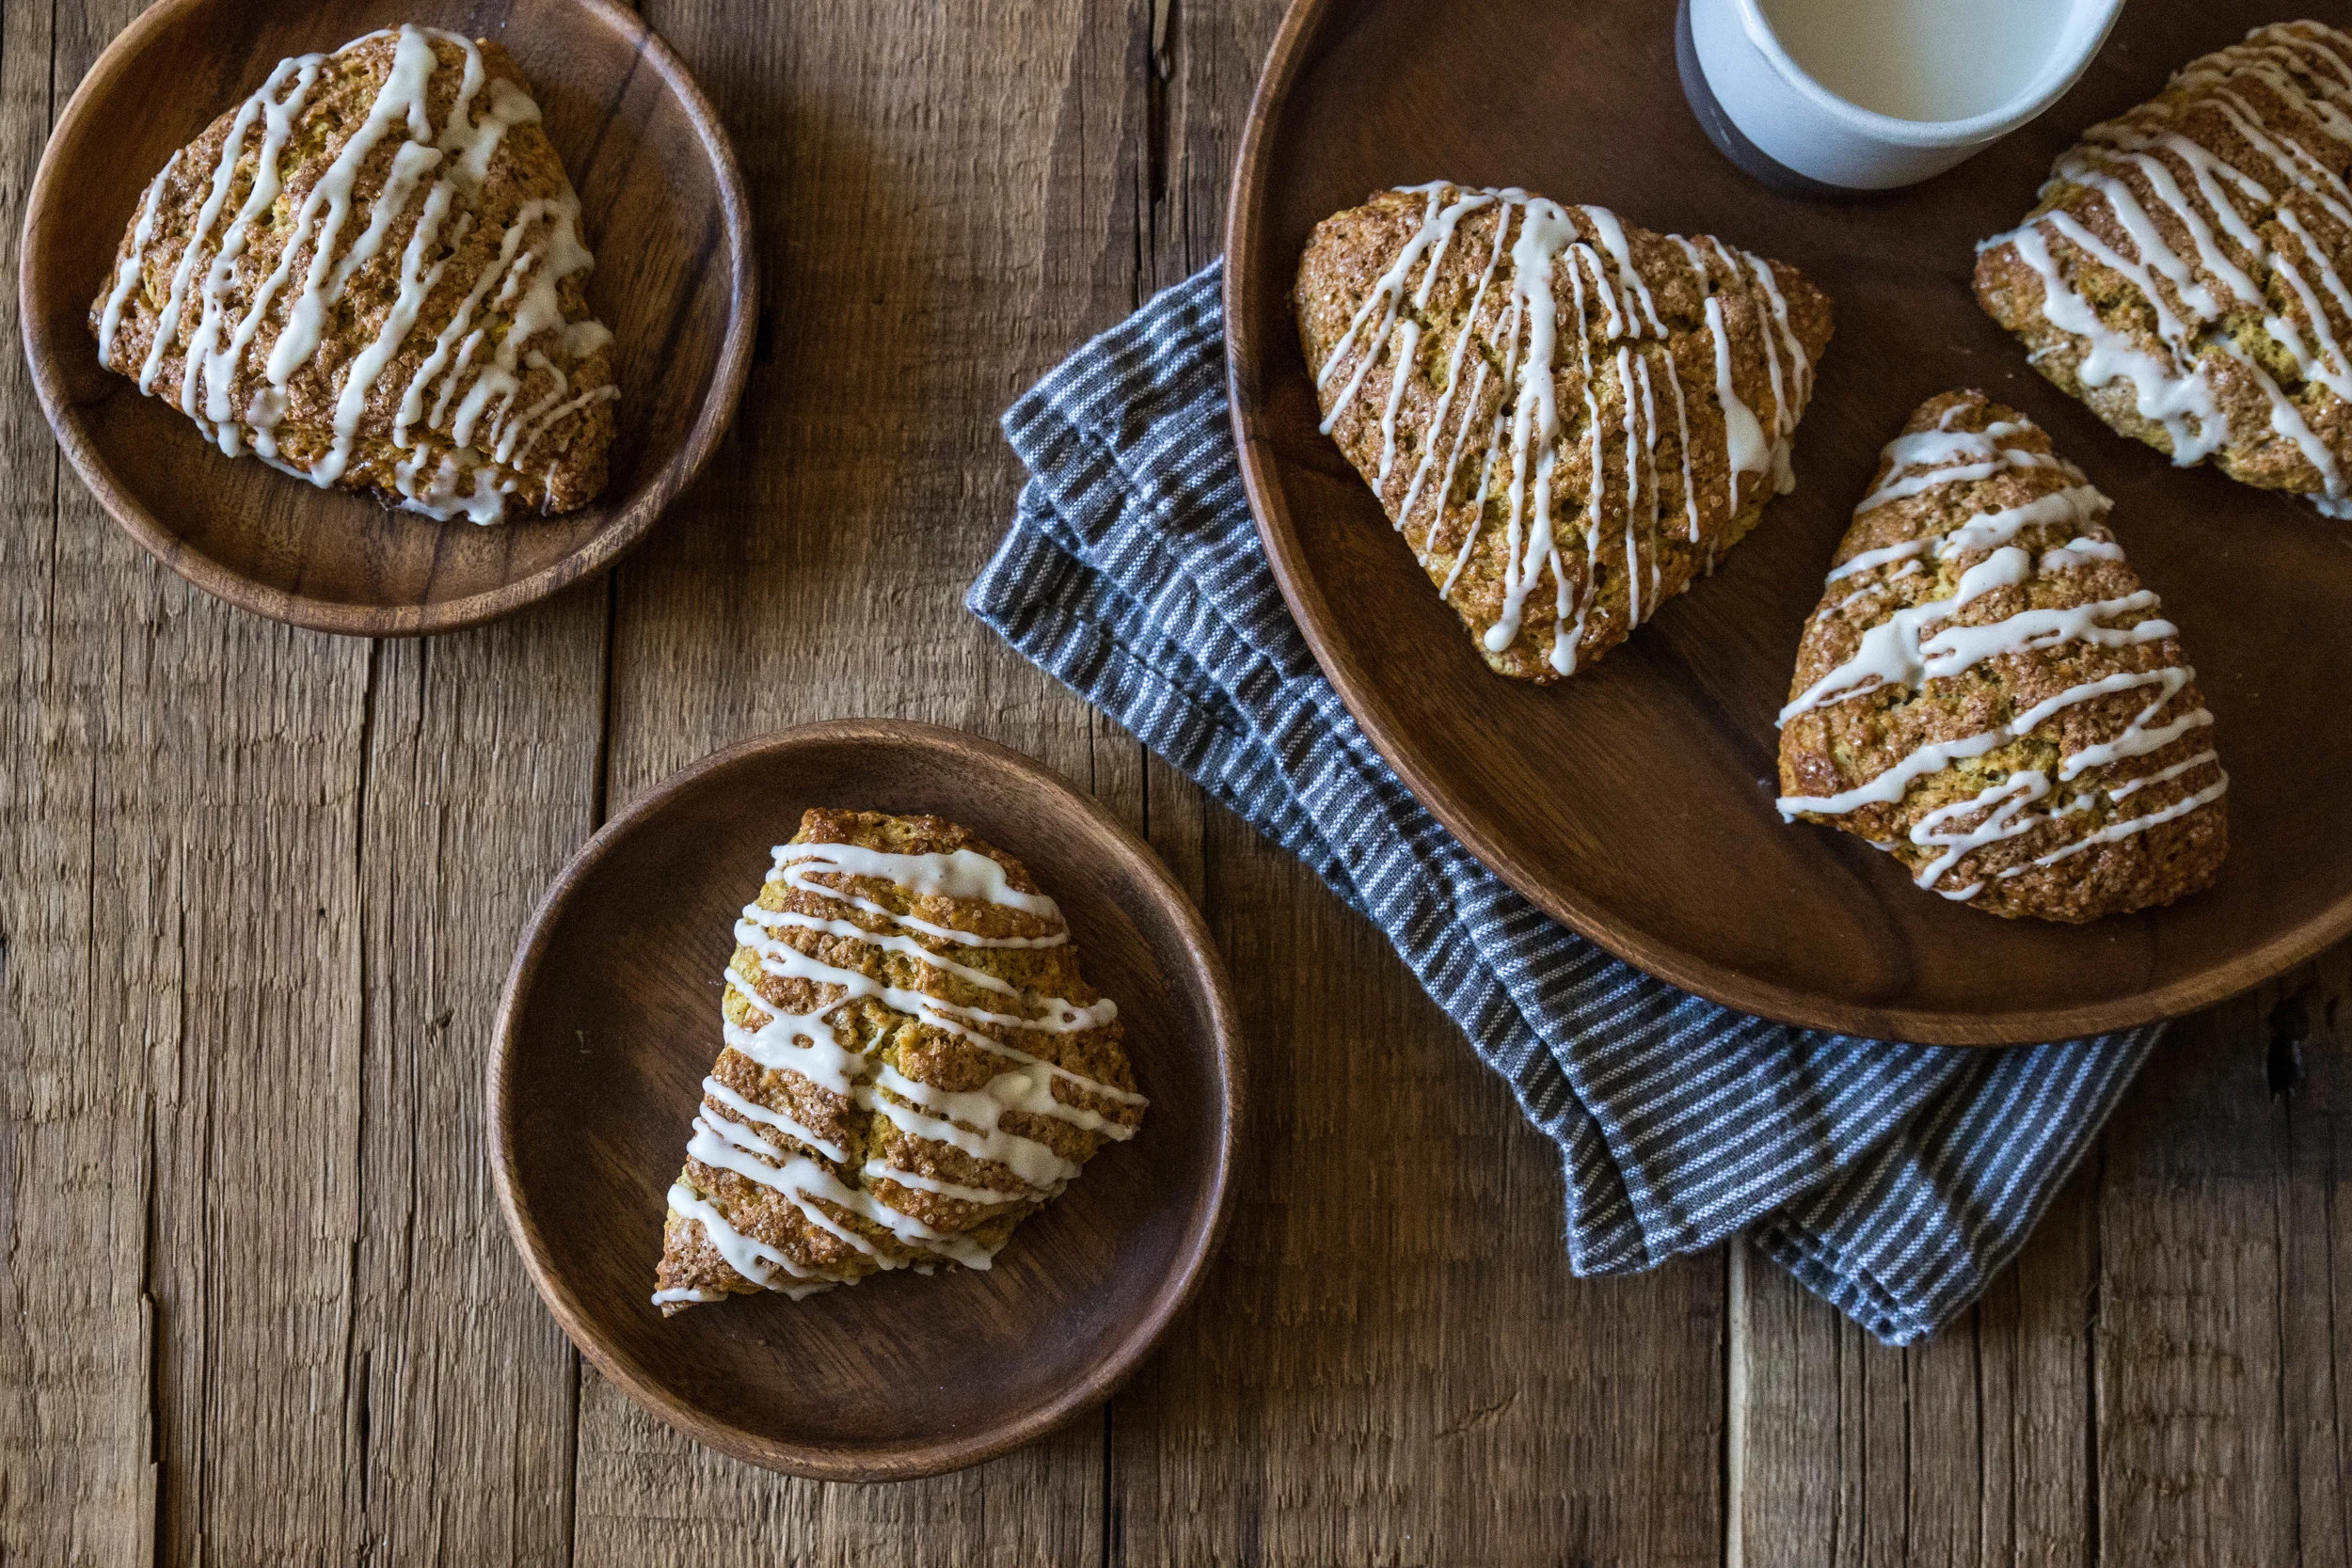
A platter of glazed pumpkin scones with a shiny vanilla drizzle, set on a warm-toned kitchen table with a mug of coffee nearby

Pumpkin scones are one of those baked goods that feel like you did something impressive, even if you mostly just stirred, patted, and baked. These are soft in the middle, crisp at the edges, and loaded with warm spice so your kitchen smells like you lit the good candle, but edible.

We are using canned pumpkin (because life is short), keeping the ingredient list friendly, and leaning on a simple trick that makes a huge difference: pat the dough thick and chill it so the scones bake up tall instead of spreading into sad pumpkin biscuits.
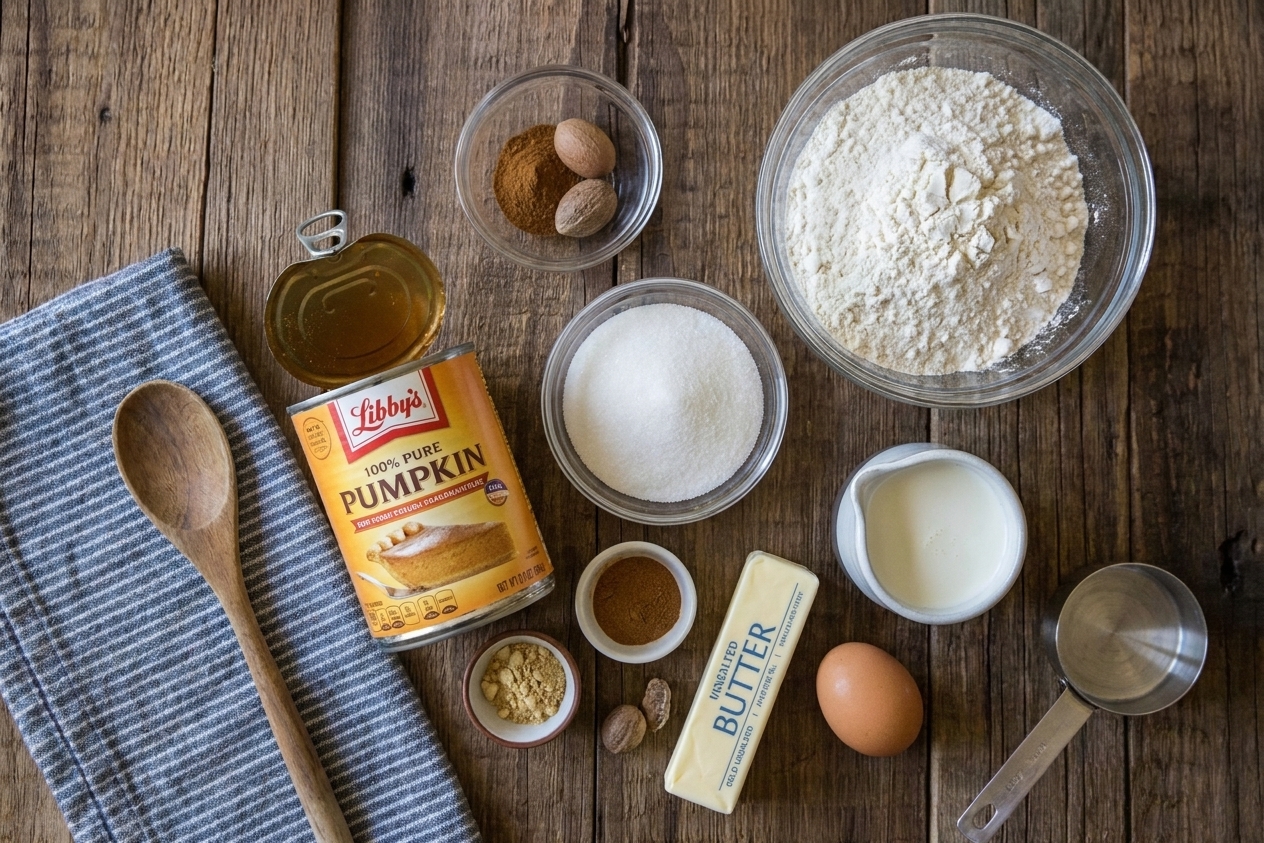
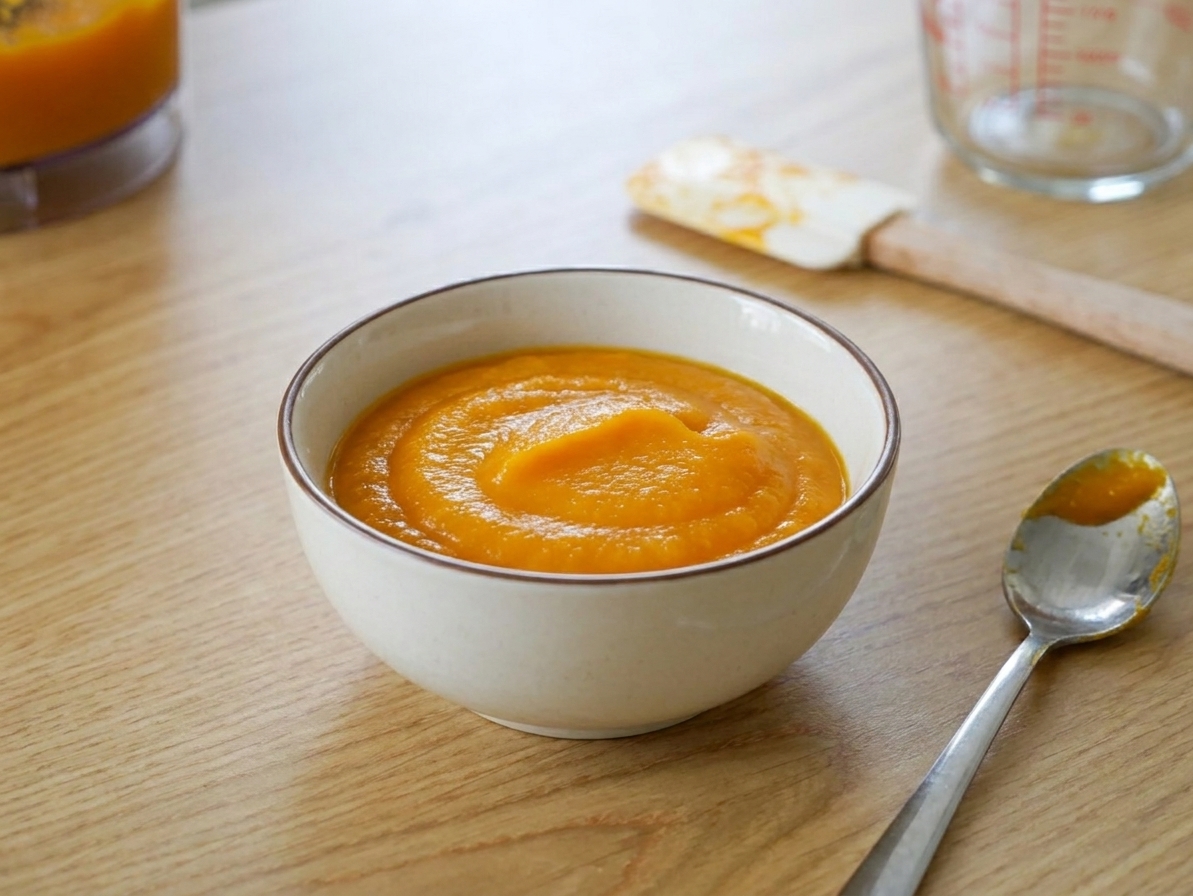
Canned pumpkin, flour, sugar, butter, cream, egg, and spices arranged on a light kitchen counter

Why It Works

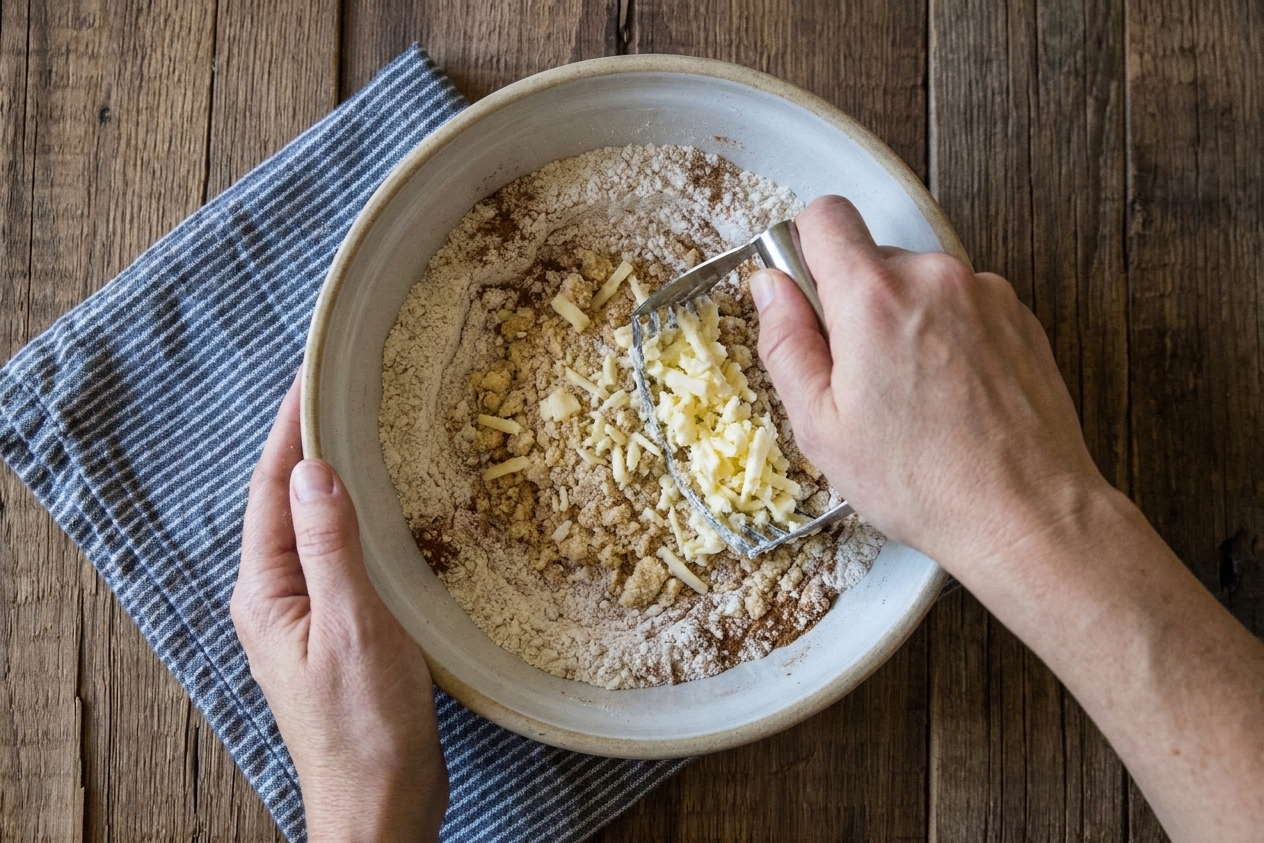
  • Bakery-style texture: Cold butter + a quick chill gives you flaky layers with a tender center.
  • Big pumpkin flavor without being wet: Pumpkin puree adds moisture and color, while the right flour ratio keeps the dough workable.
  • Crisp edges, cozy middle: A hot oven sets the outside fast so you get that golden bite.
  • Glaze that sets: A thicker vanilla glaze dries to a smooth finish, especially when the scones are fully cooled.

Pairs Well With

Storage Tips

Room temp: Store scones in an airtight container for up to 2 days. If they are glazed, place parchment between layers to keep the tops pretty.

Fridge (only if you need it): Up to 5 days in a truly airtight container, but the fridge can dry them out. If you are choosing between fridge and freezer, freezer wins.

Freezer (best option): Freeze unglazed scones in a freezer bag up to 2 months. Thaw at room temp, then glaze. You can also freeze glazed scones, but the glaze may look a little mottled after thawing.

Reheat: Warm in a 300°F oven for 6 to 8 minutes (or about 10 minutes from frozen). Microwaving works in a pinch, but the edges lose their crisp.

Common Questions

Why is my pumpkin scone dough so sticky?

Pumpkin brings a lot of moisture. Two fixes: (1) flour your hands and surface and pat it gently instead of kneading, and (2) chill the dough 15 to 20 minutes before cutting. If it is still unmanageable, sprinkle in 1 tablespoon flour at a time, stopping as soon as it is workable. Too much flour makes scones tough.

Can I use fresh pumpkin puree?

Yes, but fresh puree is often wetter than canned. If you do it, blot it with paper towels or let it drain in a fine-mesh strainer for 20 to 30 minutes. Otherwise your dough will spread.

How do I get tall scones with clean edges?

Pat the dough into a thick disk (about 1 inch), then cut with a sharp knife. Avoid twisting a cutter if you use one. And bake them cold.

Can I make these ahead?

Absolutely. Freeze the cut, unbaked scones on a sheet pan, then bag them. Bake straight from frozen, adding 2 to 4 minutes, but trust the visuals most: look for golden edges and a set center that springs back lightly. Glaze after cooling.

What glaze works best?

A thicker glaze made with powdered sugar, vanilla, and a splash of milk sets nicely once the scones are fully cooled. If you glaze them warm, it can soak in (still delicious, just less dramatic). If you want a little tang, swap in maple syrup or a spoonful of cream cheese for part of the liquid.

I started making pumpkin scones when I wanted that coffee shop vibe at home without paying eight bucks for something that might be dry. The first batch I ever made spread into one giant, very confident pumpkin pancake because I treated the dough like cookie dough. Lesson learned: scone dough likes a lighter touch and a colder attitude. Now I keep it simple, chill the wedges, and let the glaze do the bragging.