Mom's Best Recipes
Recipe

Pizzoli

Crispy, golden Italian-style hand pies stuffed with mozzarella, tomato, and herbs, pan-fried for crackly edges and a gooey center.

Author By Matt Campbell
4.8
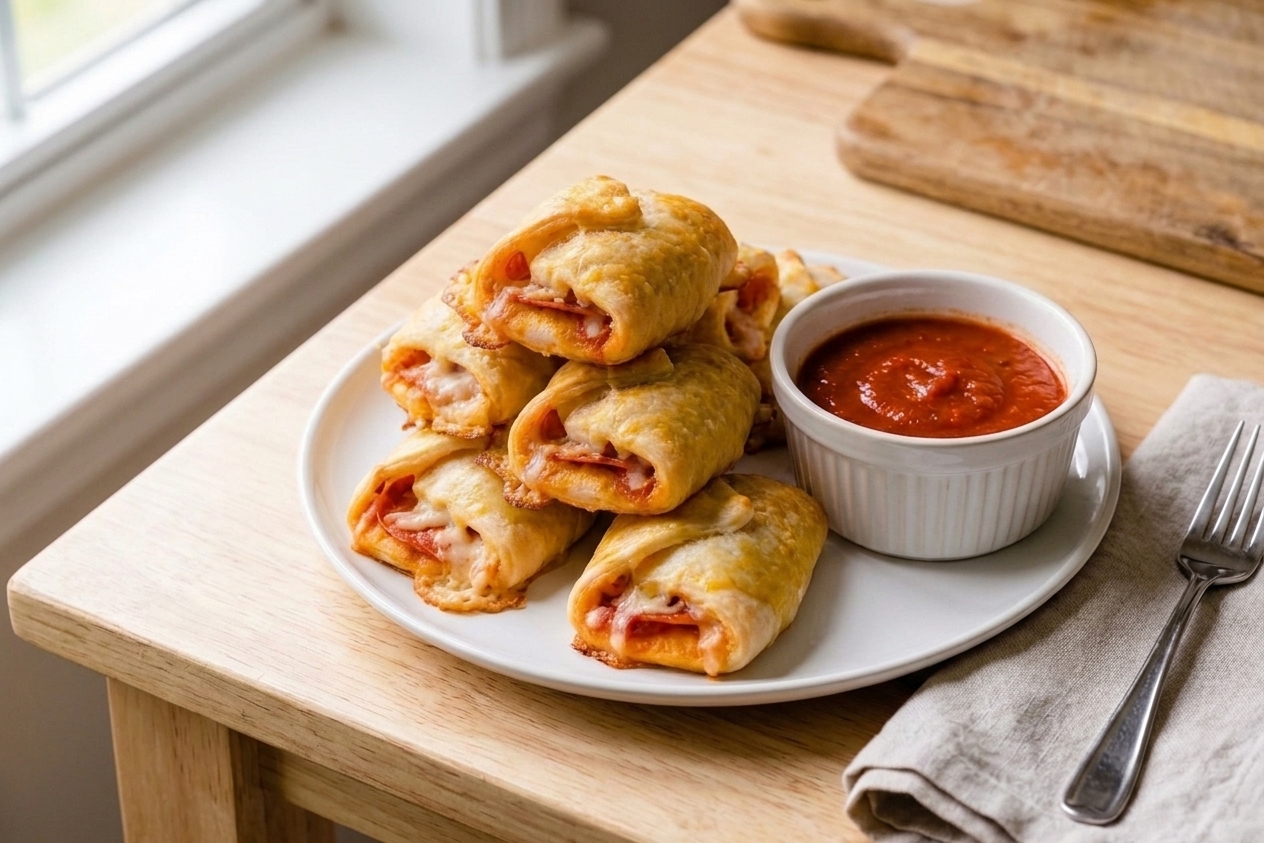
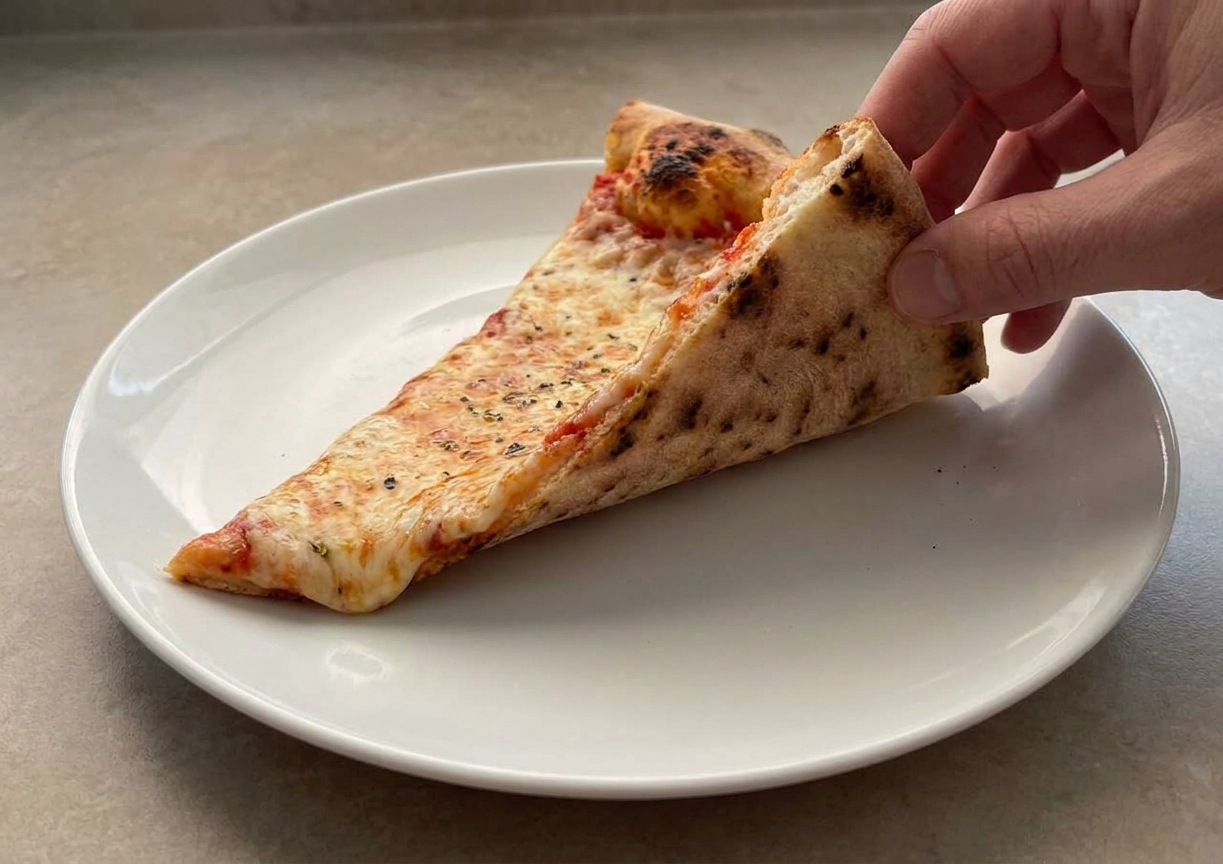
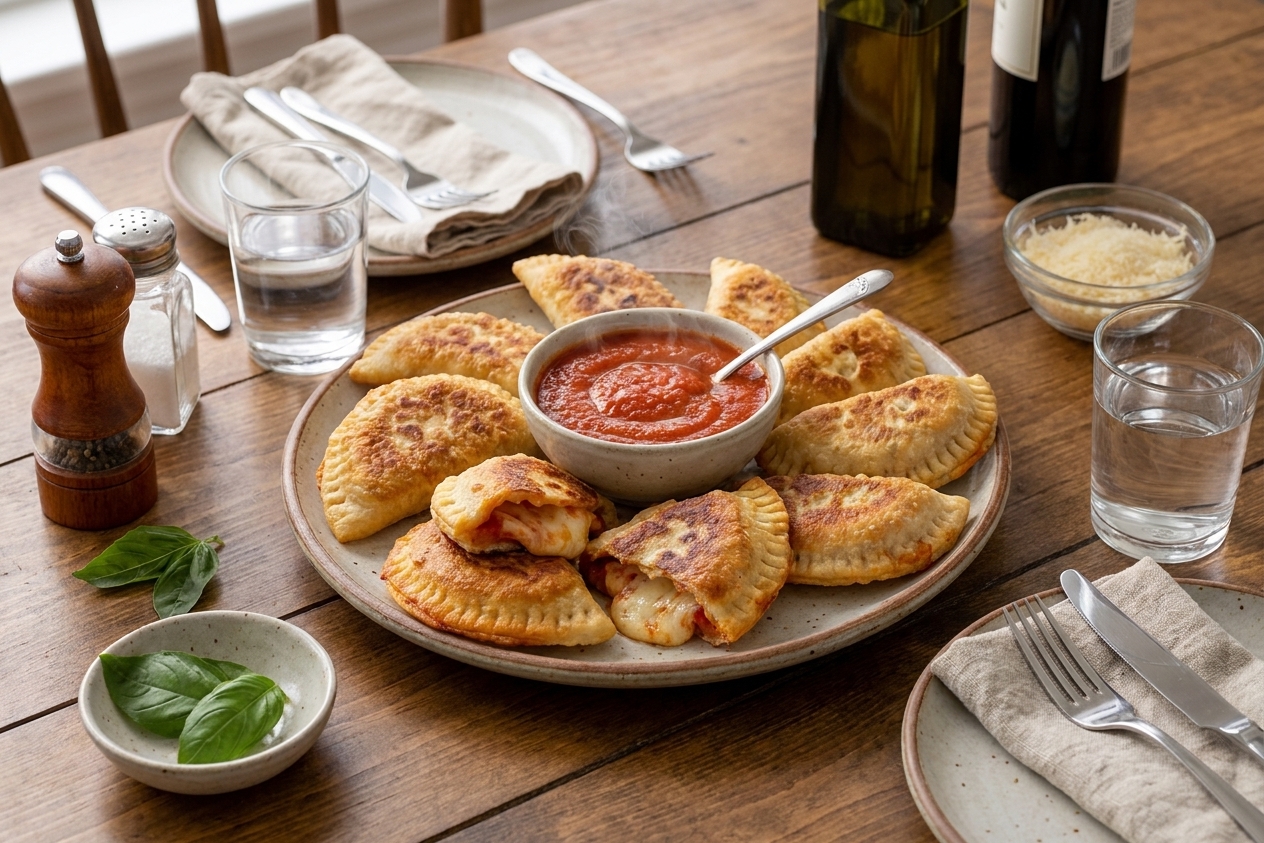
A plate of golden, pan-fried pizzoli hand pies with one cut open to show melted mozzarella and tomato filling on a rustic wooden table with a linen napkin

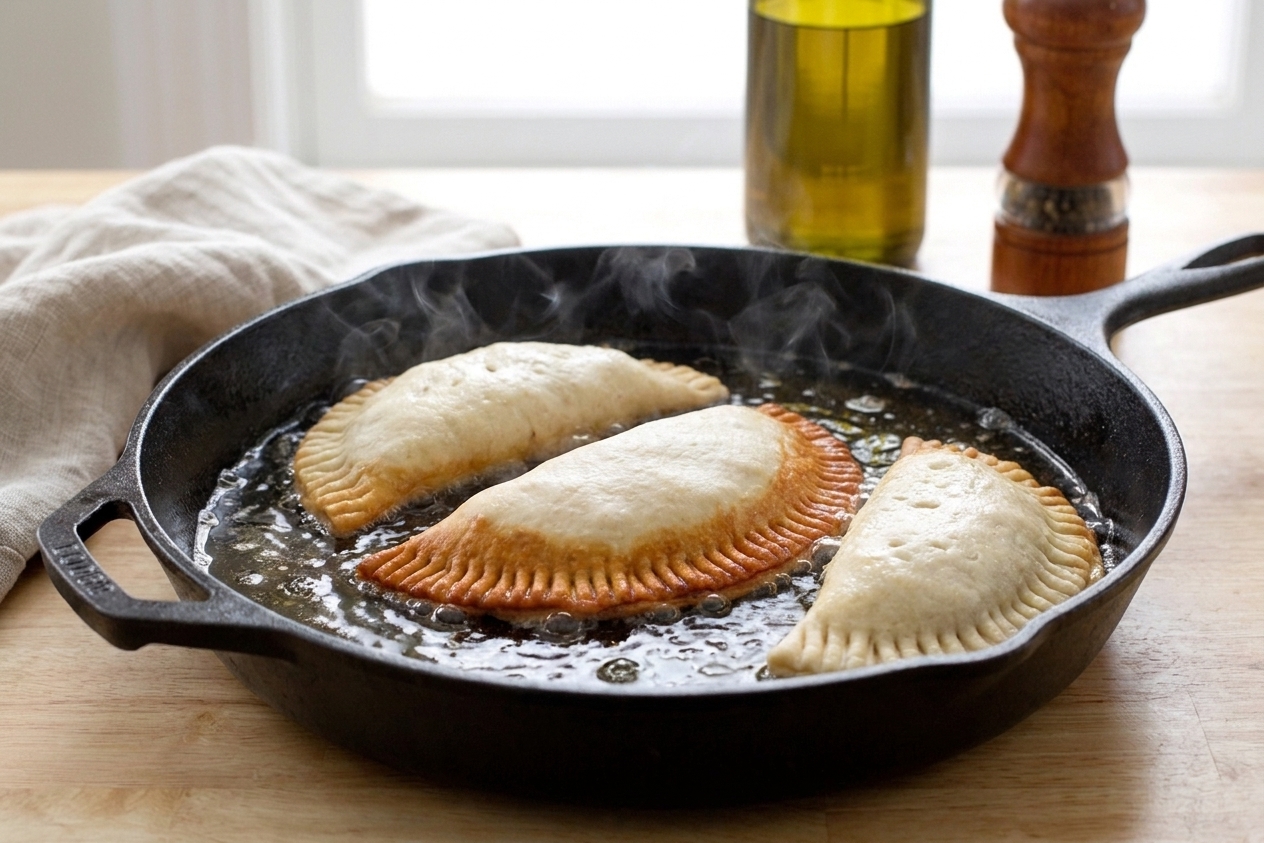
Pizzoli are the kind of snack that accidentally becomes dinner. They are little Italian-style hand pies with a simple dough, a cozy filling, and a very important finishing move: a hot skillet that turns the outside into a crisp, blistered shell while the inside goes full mozzarella-lava.

This version keeps things accessible: pantry staples for the dough, jarred marinara for brightness, and mozzarella for that stretchy payoff. You can absolutely riff from here, but I recommend making the classic once so you understand the vibe. Crisp edges, soft center, and a dip of warm sauce on the side.

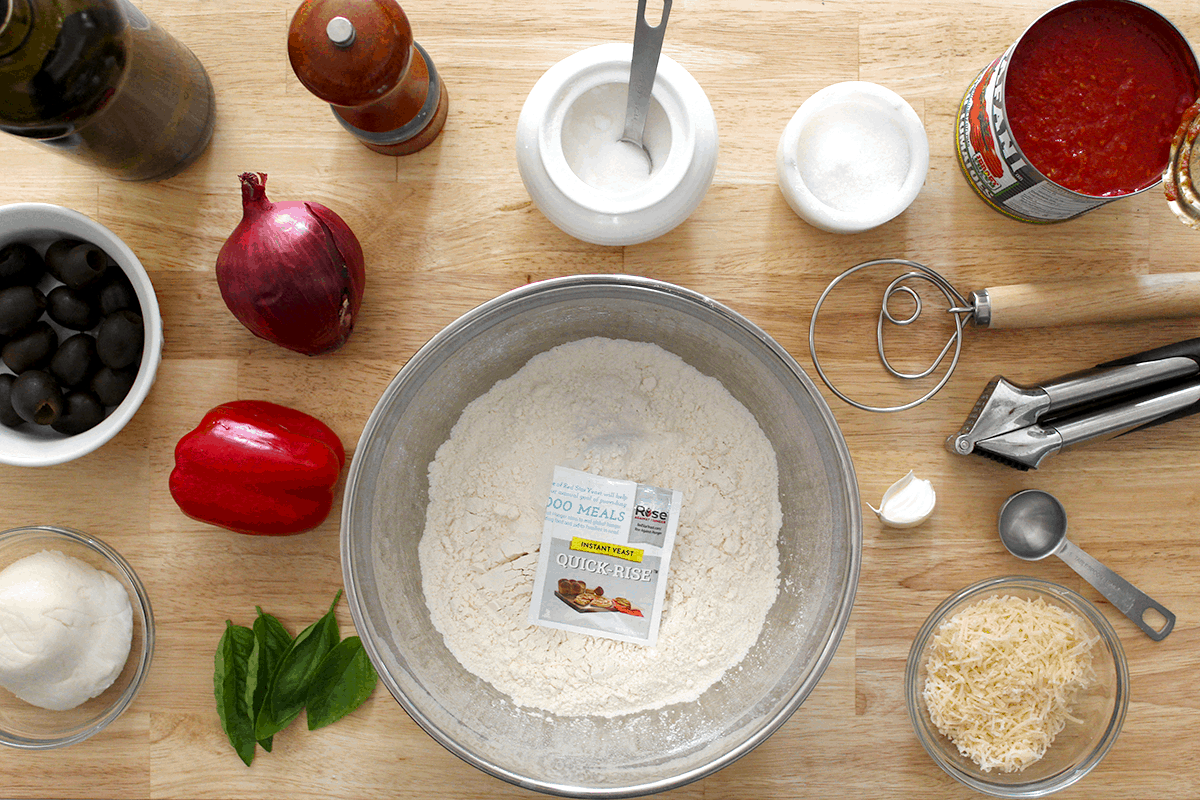
Measured flour, yeast, olive oil, salt, mozzarella, marinara, and dried oregano arranged on a clean kitchen counter in natural light

Why It Works

  • Crisp outside, tender inside: A quick pan-fry gives you that golden crunch without turning on the oven.
  • Big flavor with simple ingredients: Marinara, garlic, herbs, and mozzarella do the heavy lifting.
  • Make-ahead friendly: Refrigerate the dough overnight or assemble earlier in the day, then fry when you are ready.
  • Flexible: Swap fillings based on what you have, as long as you keep them not-too-wet.

Pairs Well With

Storage Tips

How to Store and Reheat

Fridge: Cool pizzoli completely, then store in an airtight container for up to 3 days. If you stack them, slide parchment between layers so they do not steam each other into softness.

Freezer: Freeze cooked pizzoli on a sheet pan until firm, then transfer to a freezer bag. They keep well for about 2 months.

Reheat for crispness: Skip the microwave if you can. Reheat in a dry skillet over medium-low heat for 2 to 3 minutes per side, or in a 375°F oven for 8 to 12 minutes until hot and crisp.

Pro tip: If the filling feels dry after reheating, warm a little marinara for dipping. Instant revival.

Common Questions

Common Questions

What are pizzoli, exactly?

Think of pizzoli as Italian-style stuffed dough pockets, basically a hand pie that eats like a fried calzone. The name is not as standardized as calzone or panzerotti, so you might see similar things called panzerotti, fried calzones, or “pizza fritte” depending on region and family. This recipe goes for a classic pizza-adjacent filling and a skillet fry for maximum crunch.

Can I bake them instead of frying?

Yes. Brush (or lightly spray) with olive oil and bake at 425°F for 12 to 16 minutes, until deeply golden. For best browning, rotate the pan halfway through. They will be a little more bread-y and less shatter-crisp than pan-fried, but still great.

How do I keep them from leaking?

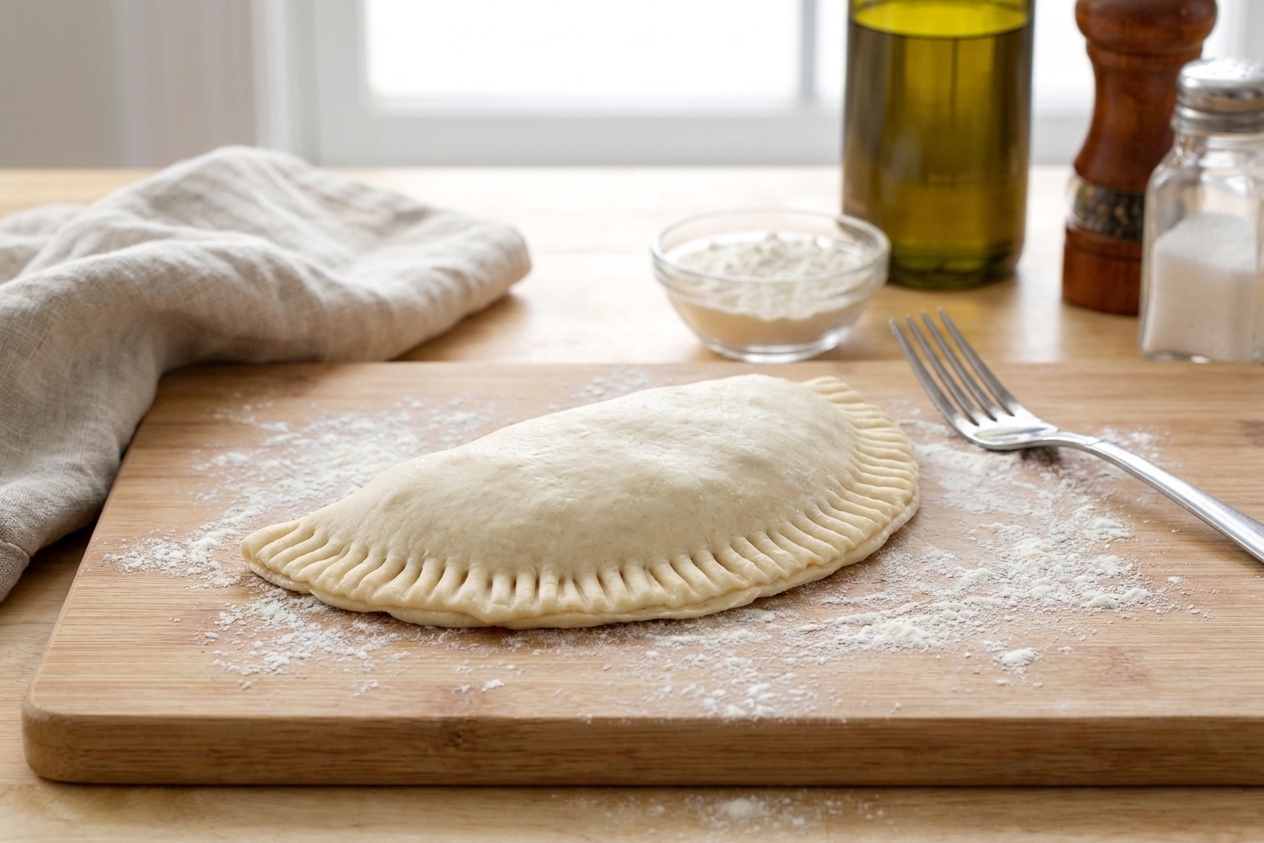
Three things: keep the filling fairly thick and cold, leave a clean border around the edge, and seal like you mean it. Press the seam firmly, then crimp with a fork. Also, do not overfill. If a little marinara sneaks out in the pan, you are still going to live a good life.

Can I use store-bought pizza dough?

Absolutely. Let it come to room temp so it stretches easily, then continue with the filling and frying steps. You may need a touch more flour for rolling.

What fillings work best?

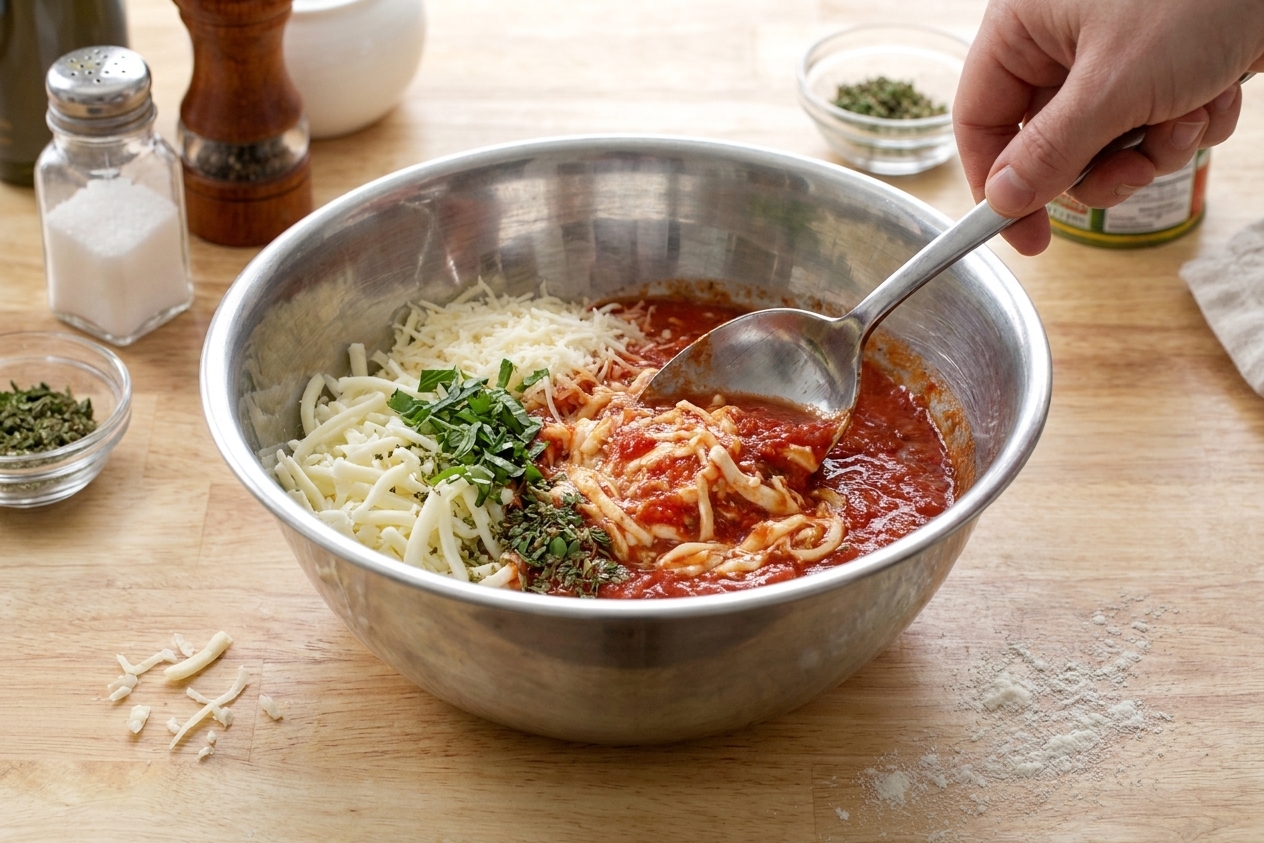
Go for fillings that are flavorful but not watery: pepperoni and mozzarella, sautéed spinach and ricotta, cooked sausage and provolone, or mushrooms with a little thyme. If it looks wet, cook it down or blot it first.

Can I make them ahead?

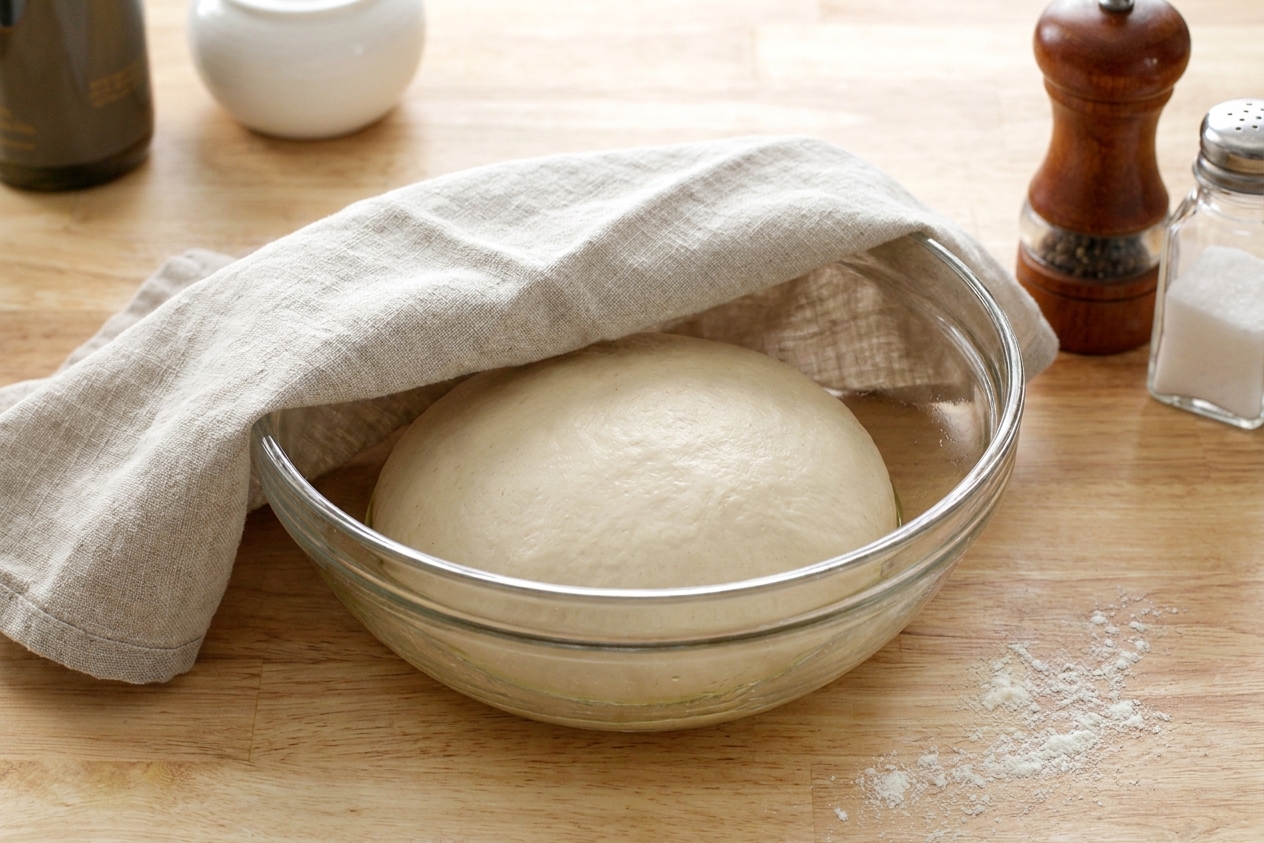
Yes. You have options: (1) Make the dough, let it rise once, then refrigerate it (covered) up to 24 hours. Bring to room temp before shaping. (2) Assemble the pizzoli, place on a parchment-lined sheet pan, cover, and refrigerate up to 8 hours before frying or baking. Cold pizzoli actually seal and handle nicely.

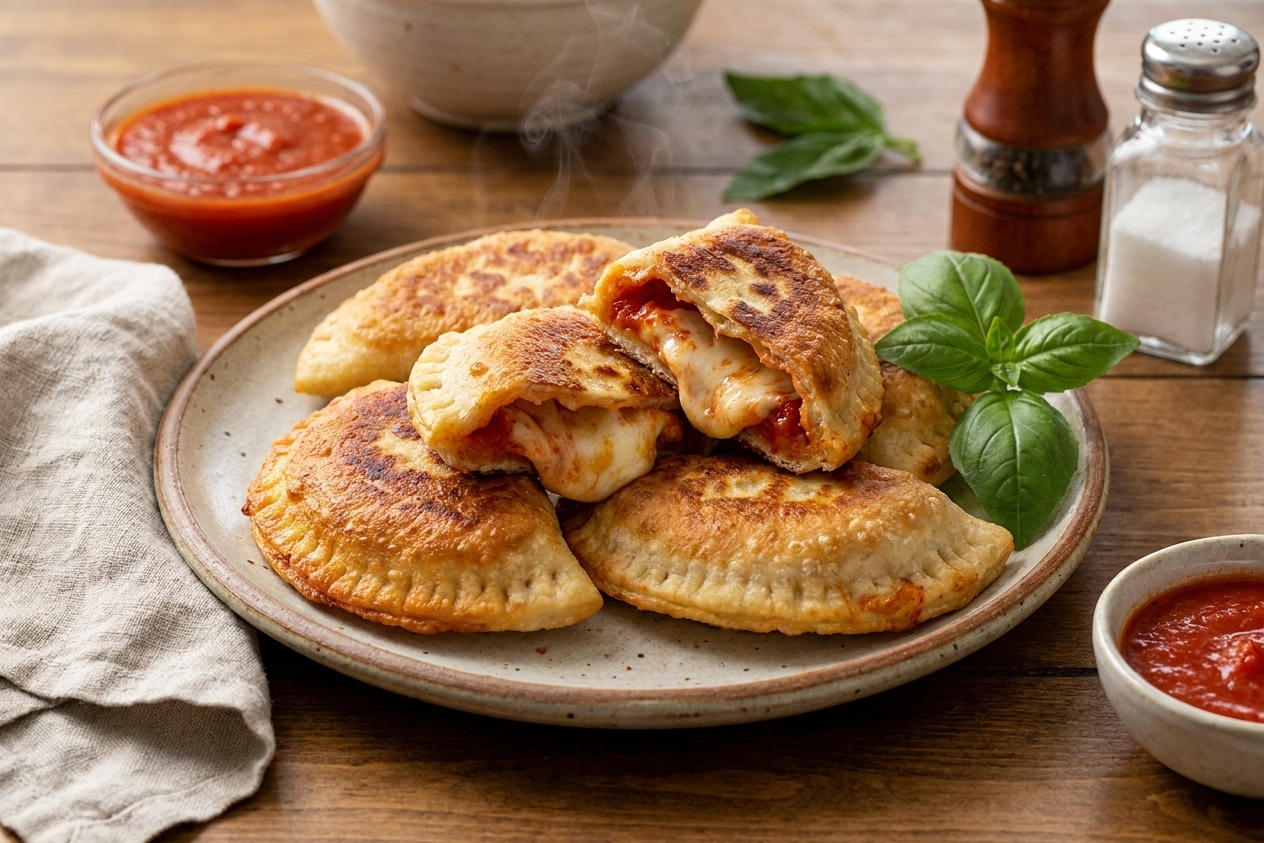
I am a sucker for anything that lands somewhere between snack and full-on comfort food, and pizzoli live right there. The first time I made them at home, I was aiming for a quick bite and ended up hovering over the skillet like it was a campfire. The sound is the giveaway: when the seam hits hot oil and starts to crackle, you know you are about to get those crisp edges that taste like effort even when the steps are actually pretty chill.