
Mom's Best Recipes
Recipe

Red Velvet Biscuits

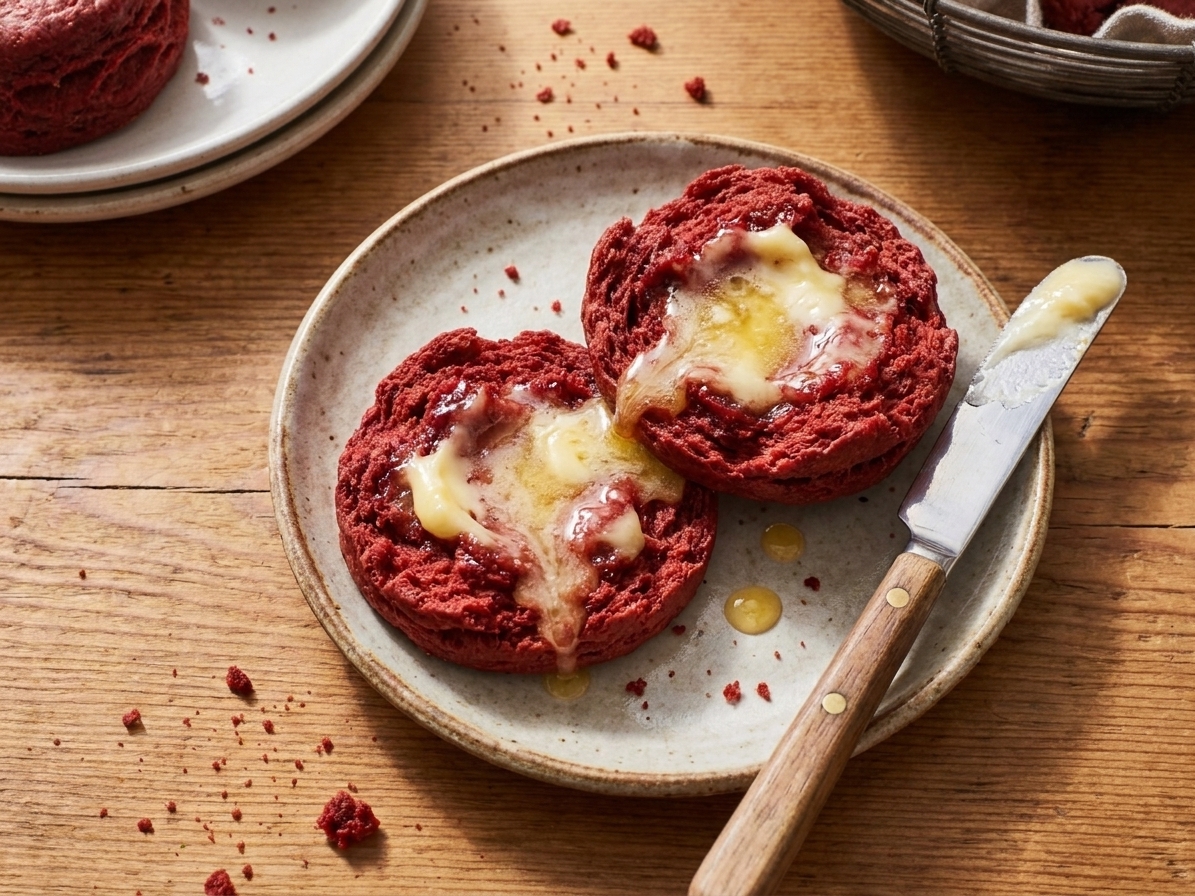
Buttery, flaky biscuits with a gentle cocoa tang and classic red velvet color, perfect for brunch, dinner, or a sweet-savory snack.

Author By Matt Campbell
4.8
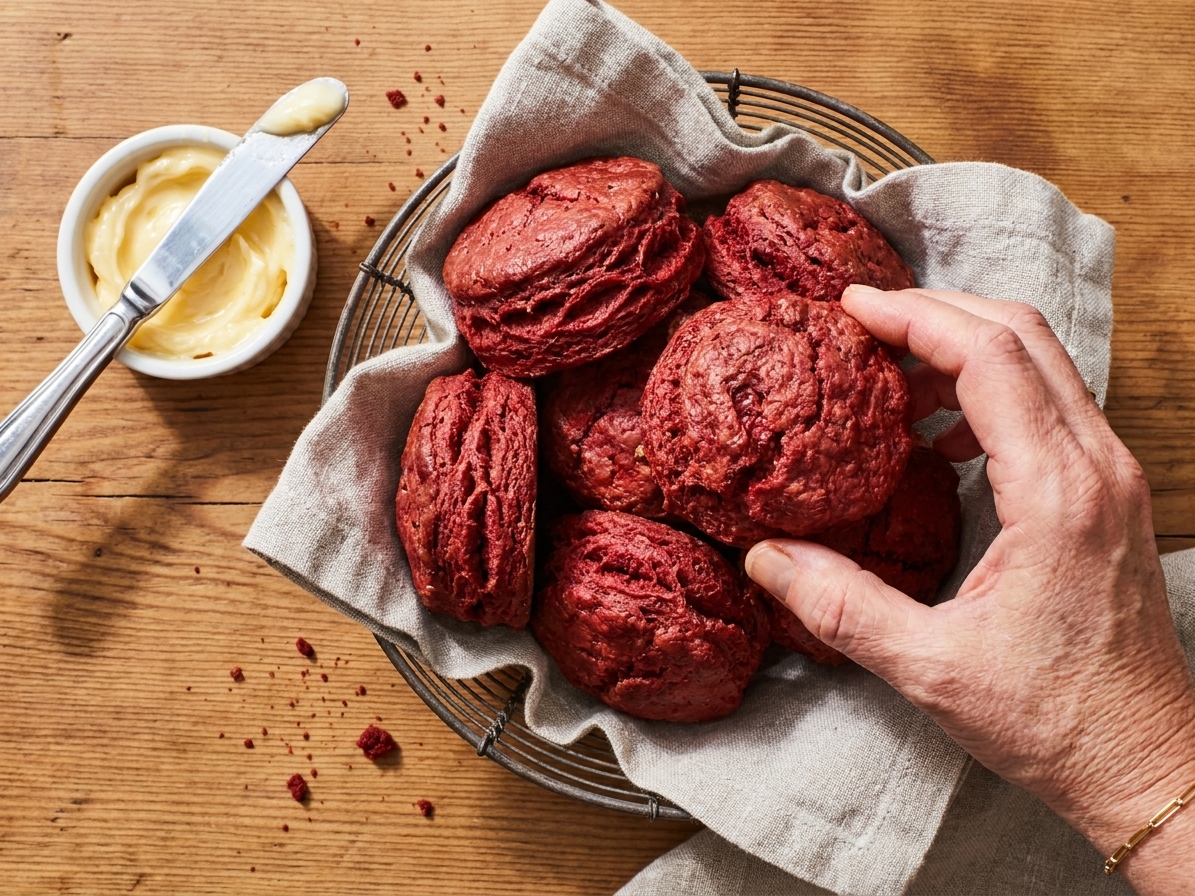
A basket of warm red velvet biscuits with crisp, flaky layers, served on a wooden table with a small dish of honey butter

Red velvet biscuits are what happens when your favorite cozy carb puts on a fancy jacket and still shows up ready to work. They are tender and flaky like a good buttermilk biscuit, with a subtle cocoa vibe and that classic deep red color that makes everyone at the table do a double take.

This is not a cupcake in biscuit clothing. The goal is butter-forward, lightly sweet, and sturdy enough for a fried chicken situation, but also very happy being split open and smeared with honey butter. If you have ever wanted a biscuit that feels a little extra without turning into a baking project, this one is for you.
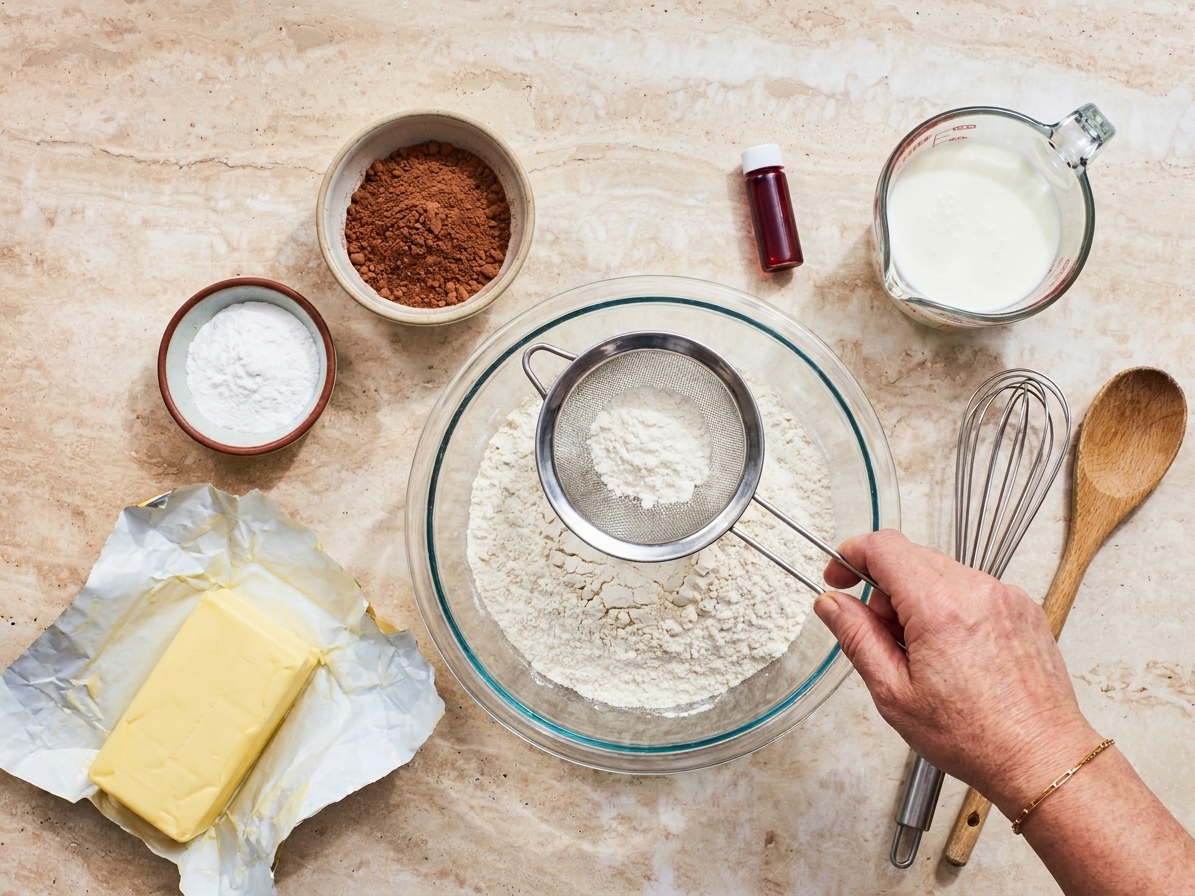
All ingredients for red velvet biscuits measured on a kitchen counter, including flour, cocoa powder, baking powder, butter, buttermilk, and red food coloring

Why It Works

Why It Works

  • Cold butter = flaky layers. Those little butter pockets melt in the oven and create lift and crisp edges.
  • Buttermilk brings tenderness and tang. It keeps the crumb soft and balances the cocoa so the biscuits taste rich, not bitter.
  • A small amount of cocoa is enough. Red velvet should whisper chocolate, not shout brownie.
  • Gentle handling prevents toughness. We mix just until combined, then fold a couple times for layers.
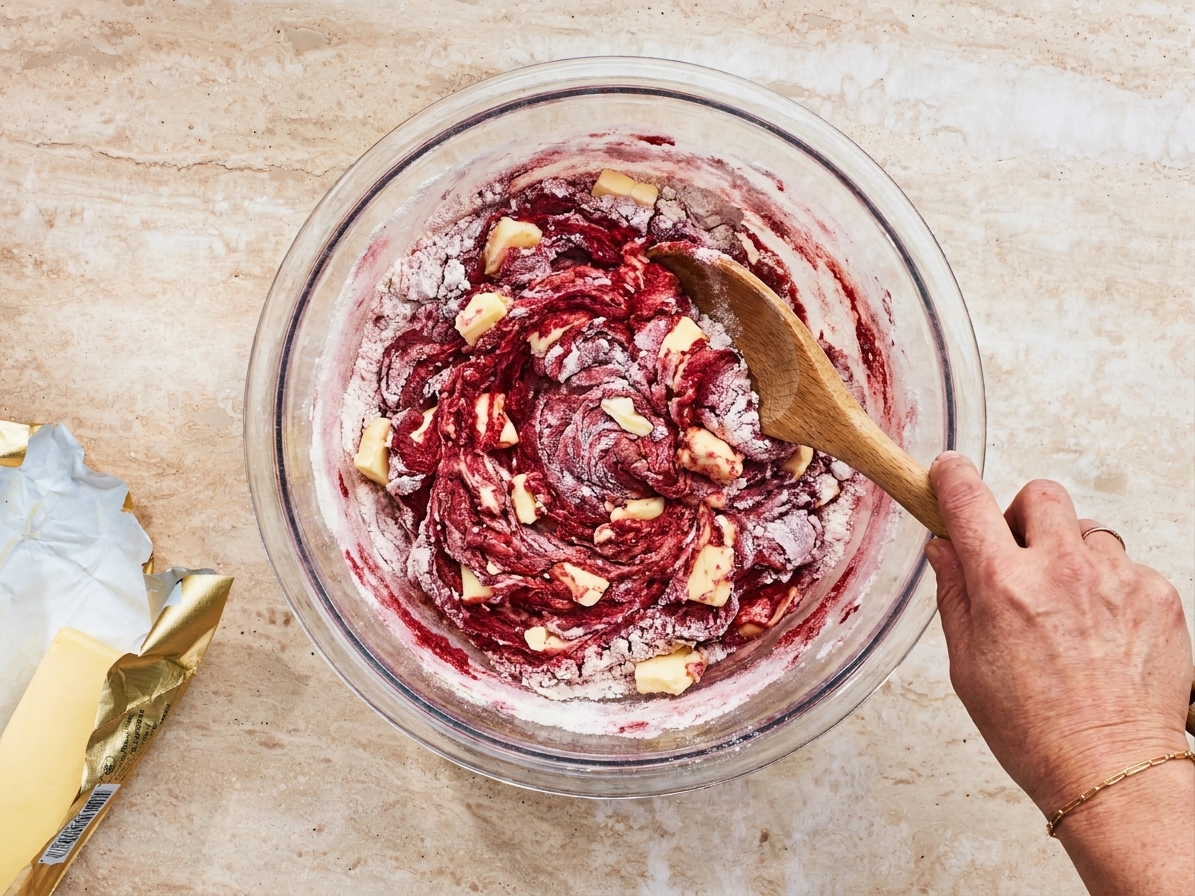
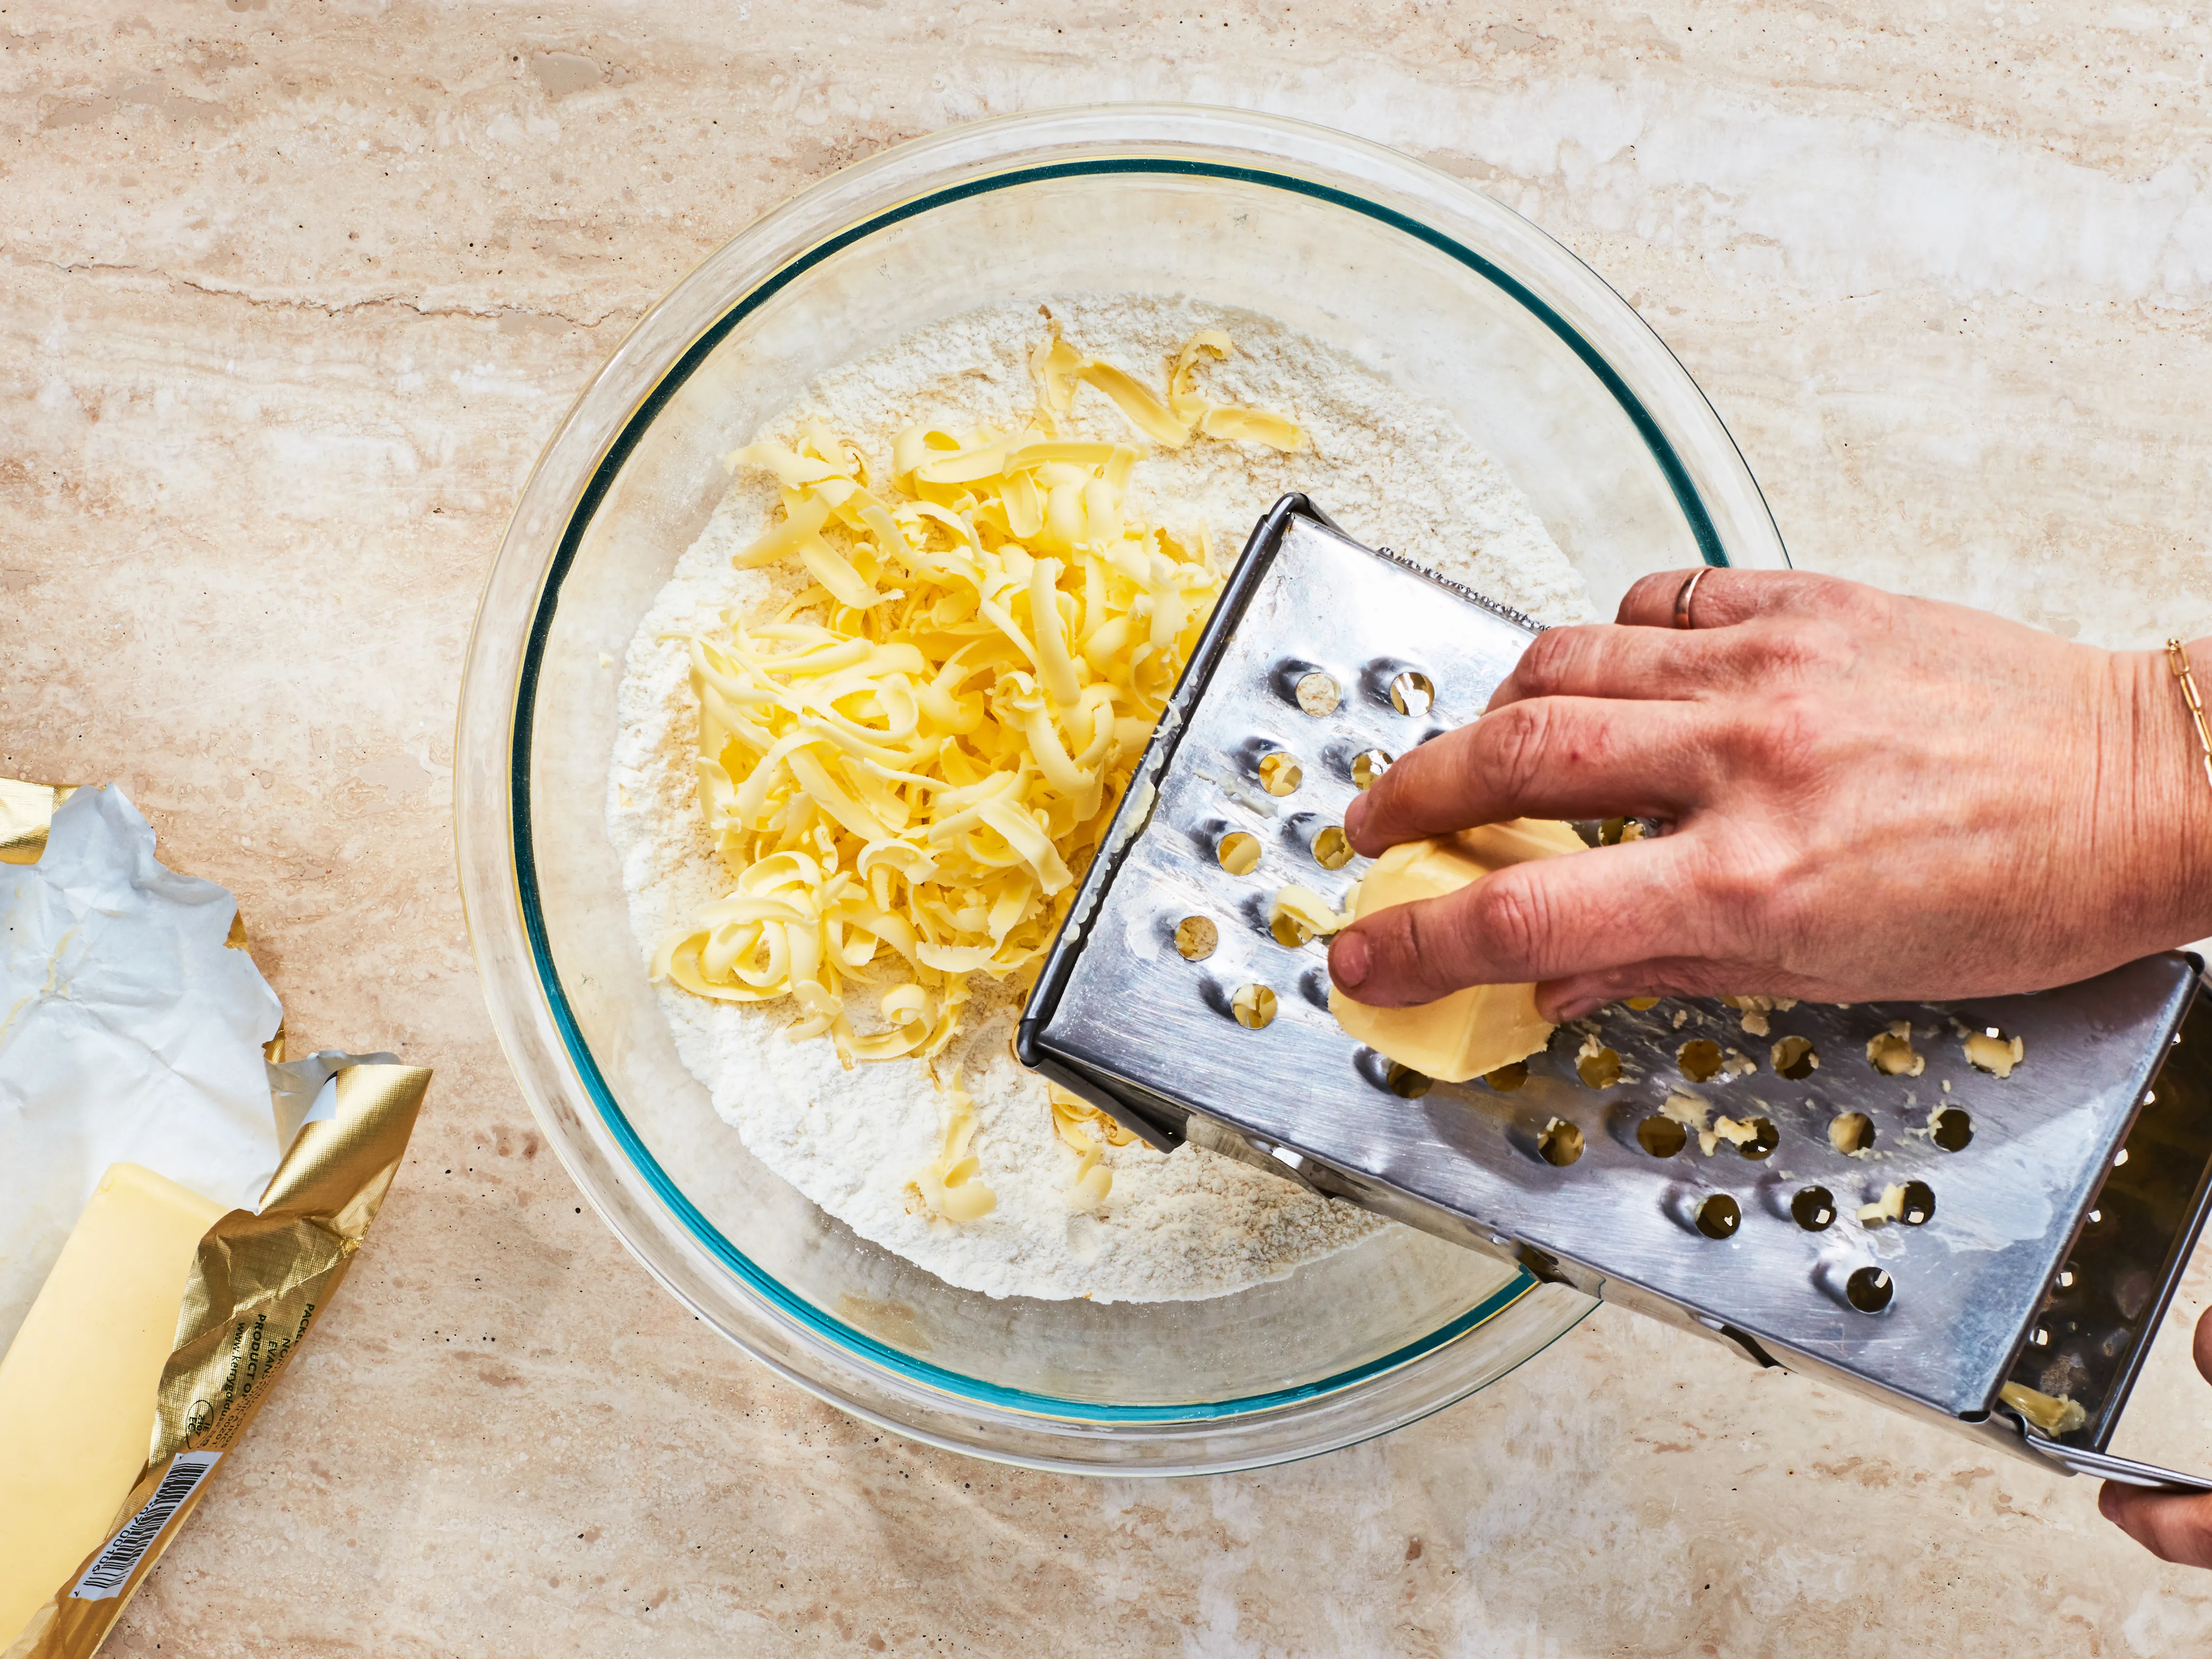
Cold butter being grated into a bowl of dry biscuit ingredients on a kitchen counter

Pairs Well With

Storage Tips

Room temperature: Store cooled biscuits in an airtight container for up to 2 days.

Refrigerator: Up to 5 days, but for best texture, aim for 2 to 3 days. Rewarm before serving so they taste fresh again.

Freezer: Freeze biscuits in a zip-top bag up to 2 months. Thaw at room temperature or warm straight from frozen.

Best reheat: Wrap in foil and warm at 325°F for 8 to 12 minutes, or split and toast cut-side down in a skillet with a little butter for crisp edges.

Common Questions

Do these taste like cake?

No. These are true biscuits: buttery, flaky, lightly sweet. The cocoa is subtle, like classic red velvet.

What food coloring should I use?

Gel food coloring gives the deepest color with less liquid. Liquid food coloring works too, you just may need more. Add coloring until the dough is a deep brick red before baking (it bakes up a touch darker).

Can I make them without buttermilk?

Yes. Mix 1 cup whole milk with 1 tablespoon lemon juice or white vinegar. Let it sit 5 minutes, then use it like buttermilk. It is a good swap, just a little thinner and less tangy than the real deal.

Why is vinegar listed, and do I need it?

You do not need it. A small splash of vinegar adds a little extra acidity, which can help baking soda do its job and may nudge the color brighter if you are using natural cocoa. With Dutch-process cocoa and modern food coloring, the color boost is not guaranteed, but it will not hurt.

Why did my biscuits turn out dense?

Usually it is one of three things: butter got too warm, dough was overmixed, or the oven was not fully preheated. Keep everything cold and handle the dough like it is fragile because it is.

Can I make these as drop biscuits?

Yes. Skip the pat-and-cut step and scoop mounds onto the baking sheet. They will be a little more rustic and very tender.

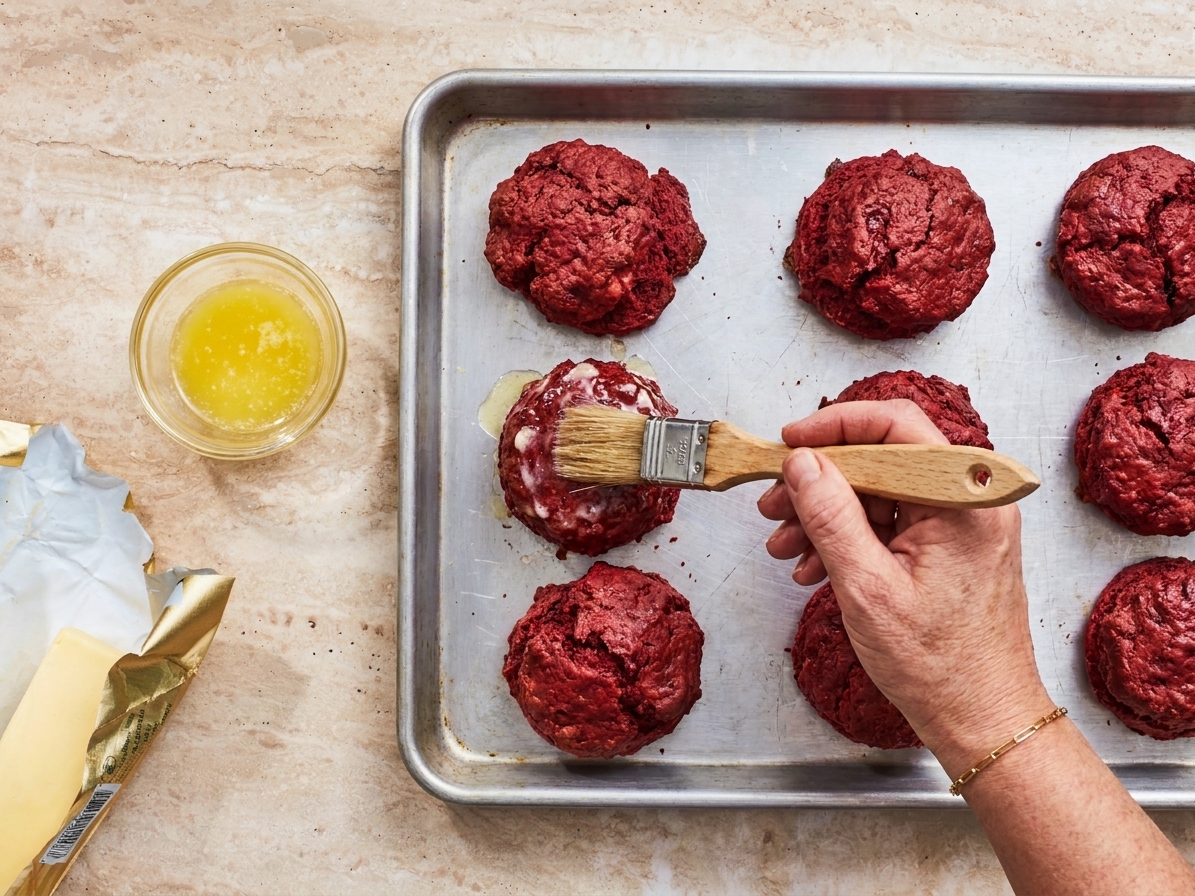
A pastry brush coating hot red velvet biscuits with melted butter on a baking sheet

I love recipes that feel like a little surprise without asking you to buy a bunch of weird stuff. The first time I made red velvet biscuits, it was honestly because I had cocoa powder, buttermilk, and a stubborn need to turn dinner into something fun. They came out with these ridiculous crisp edges and a soft middle that begged for honey butter. Now they are my go-to when I want to show up to brunch like I tried harder than I did.