Mom's Best Recipes
Recipe

Red Velvet Cheesecake

A bakery-style red velvet cheesecake with a fudgy cocoa hint, a creamy vanilla center, and a tangy cream cheese frosting that makes every slice feel like a celebration.

Author By Matt Campbell
4.8
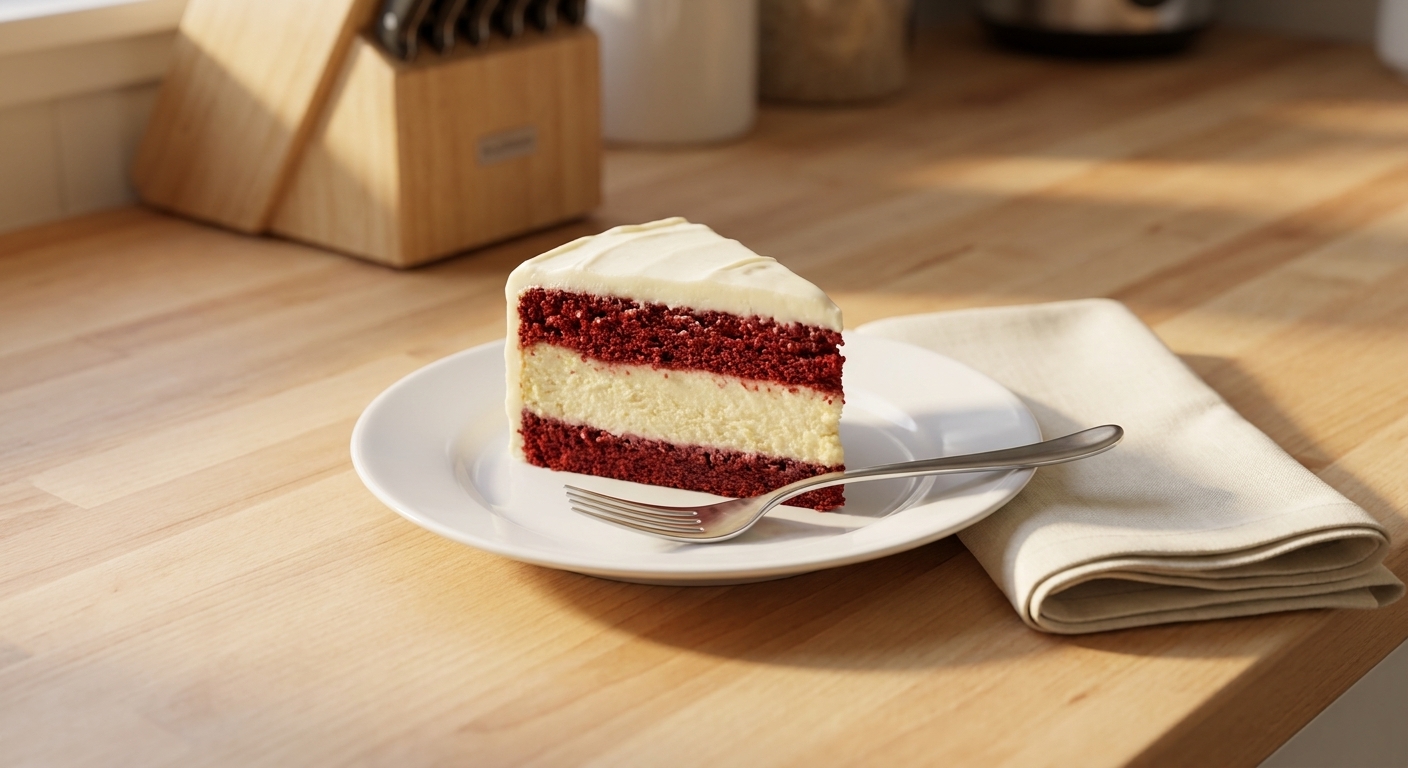
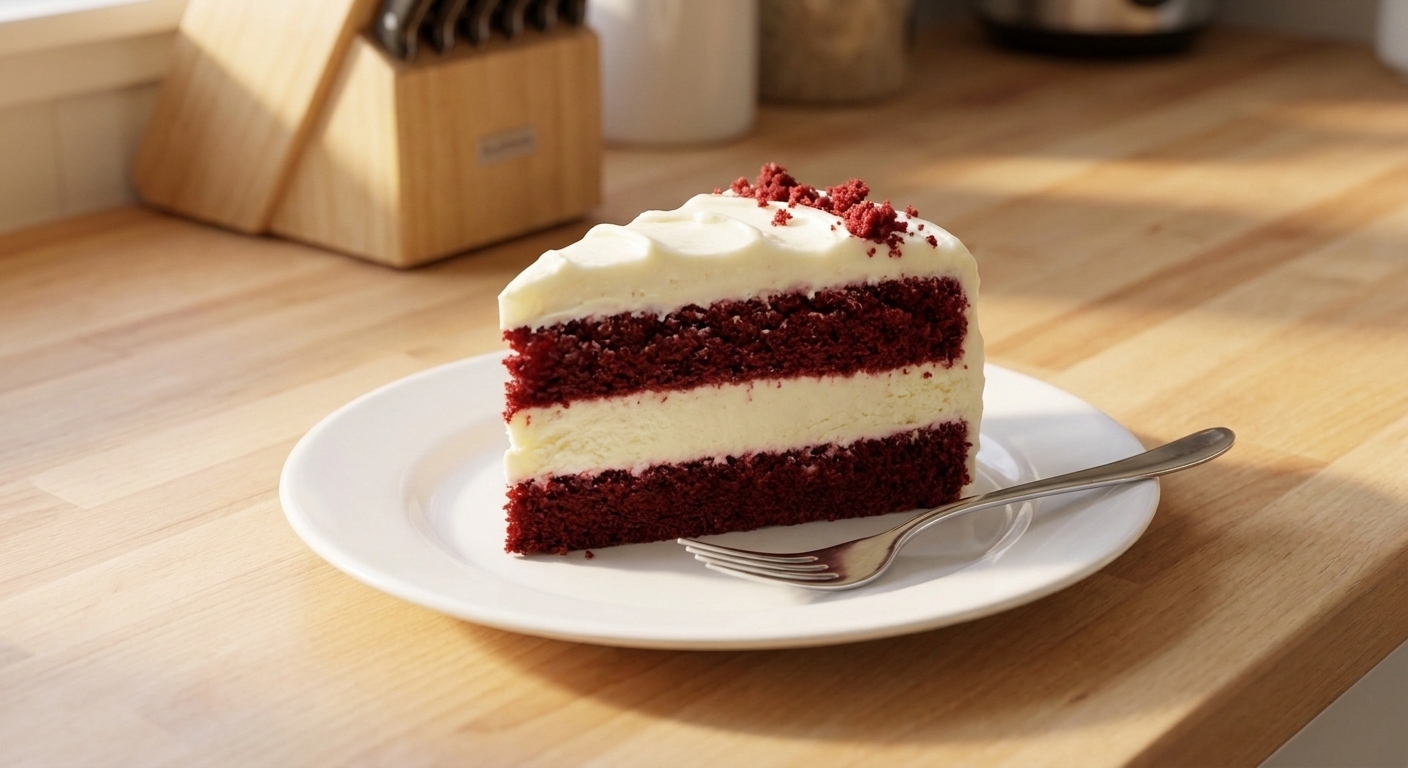
A tall slice of red velvet cheesecake on a white dessert plate, showing a deep red cake layer and a thick creamy cheesecake layer, topped with a smooth cream cheese frosting and a few red velvet crumbs, on a bright kitchen table

Red velvet cheesecake is what happens when your favorite cozy cake and your favorite fancy dessert decide to be best friends. You get that classic red velvet vibe, lightly cocoa, super tender, with a tangy, creamy cheesecake layer that makes you slow down and take a second bite on purpose.

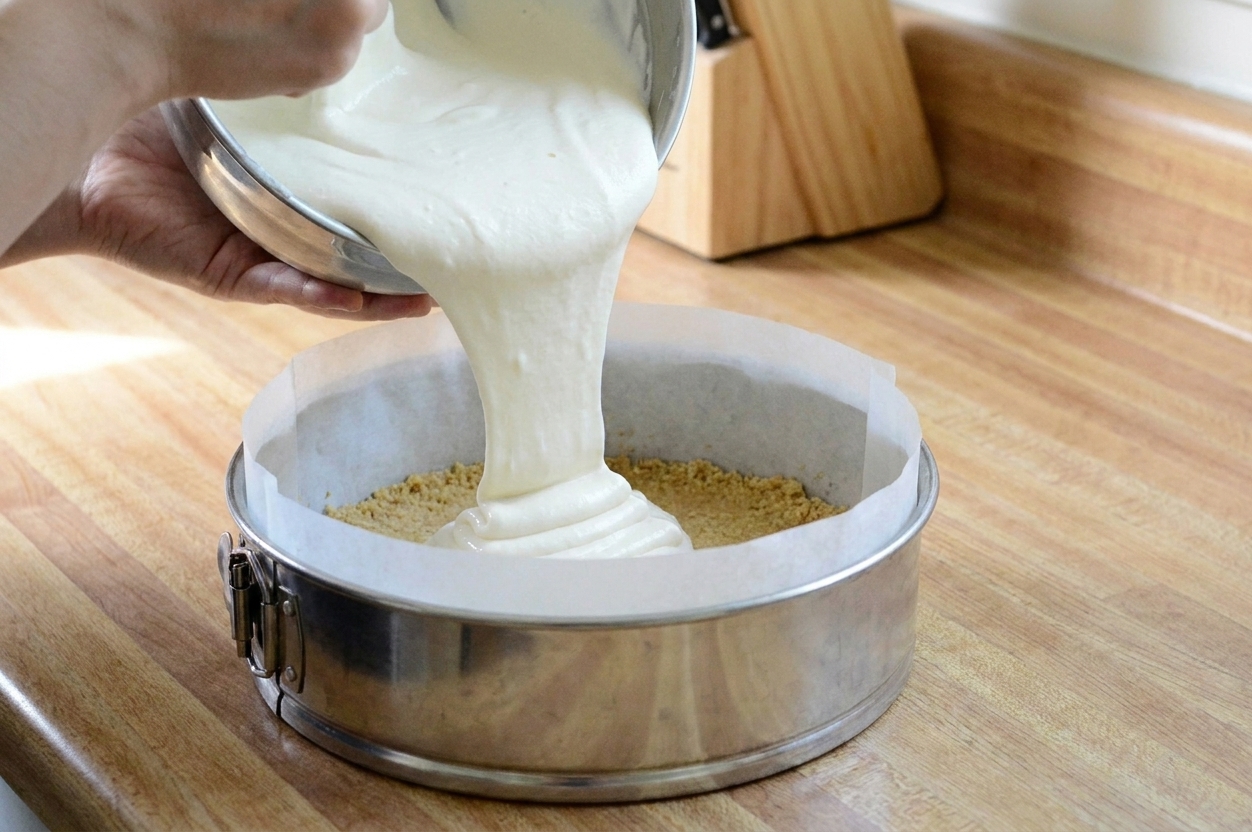
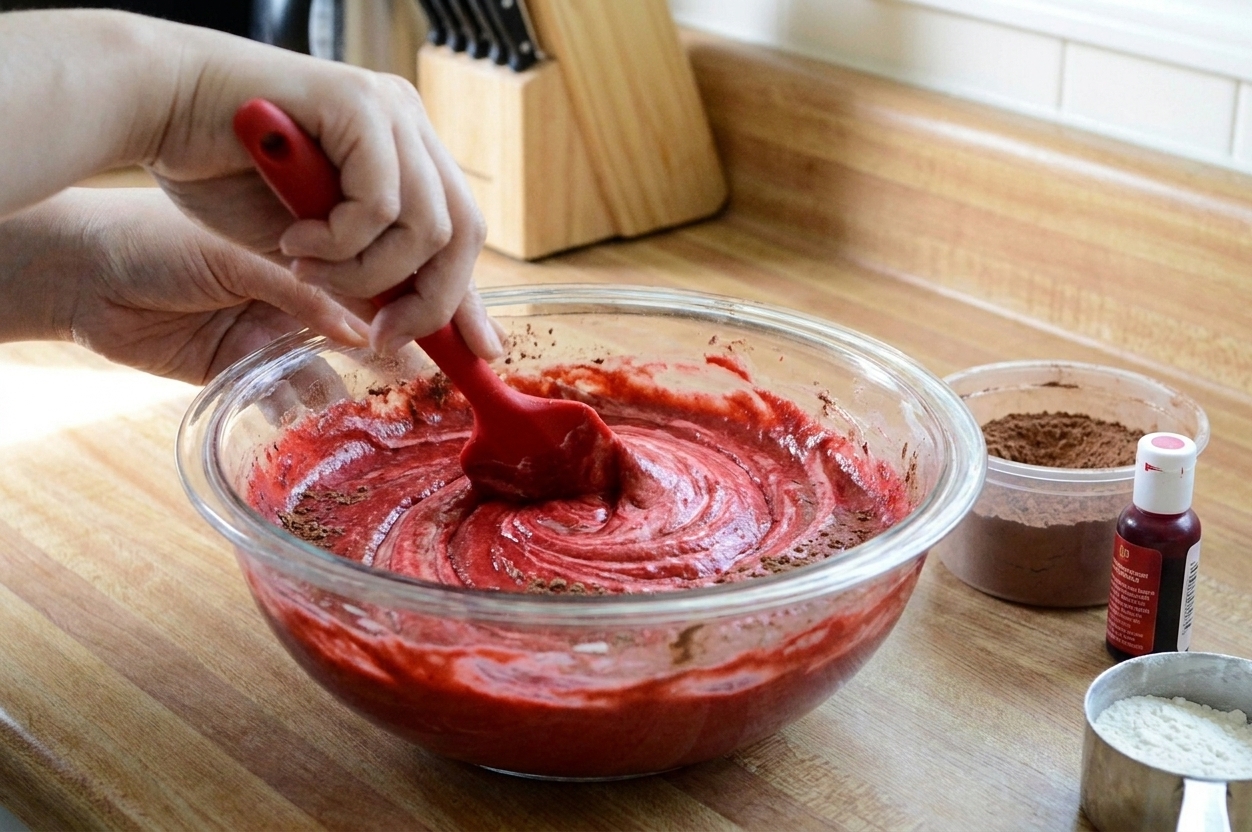
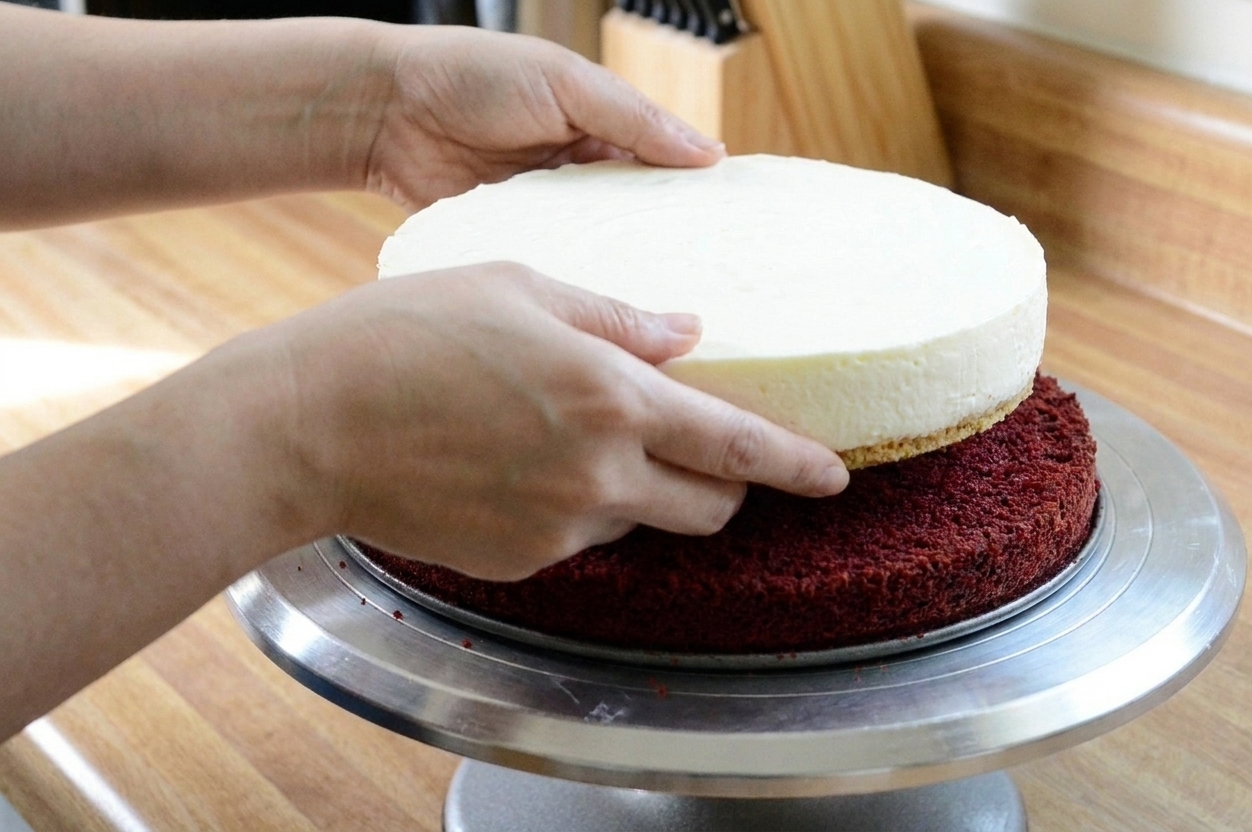
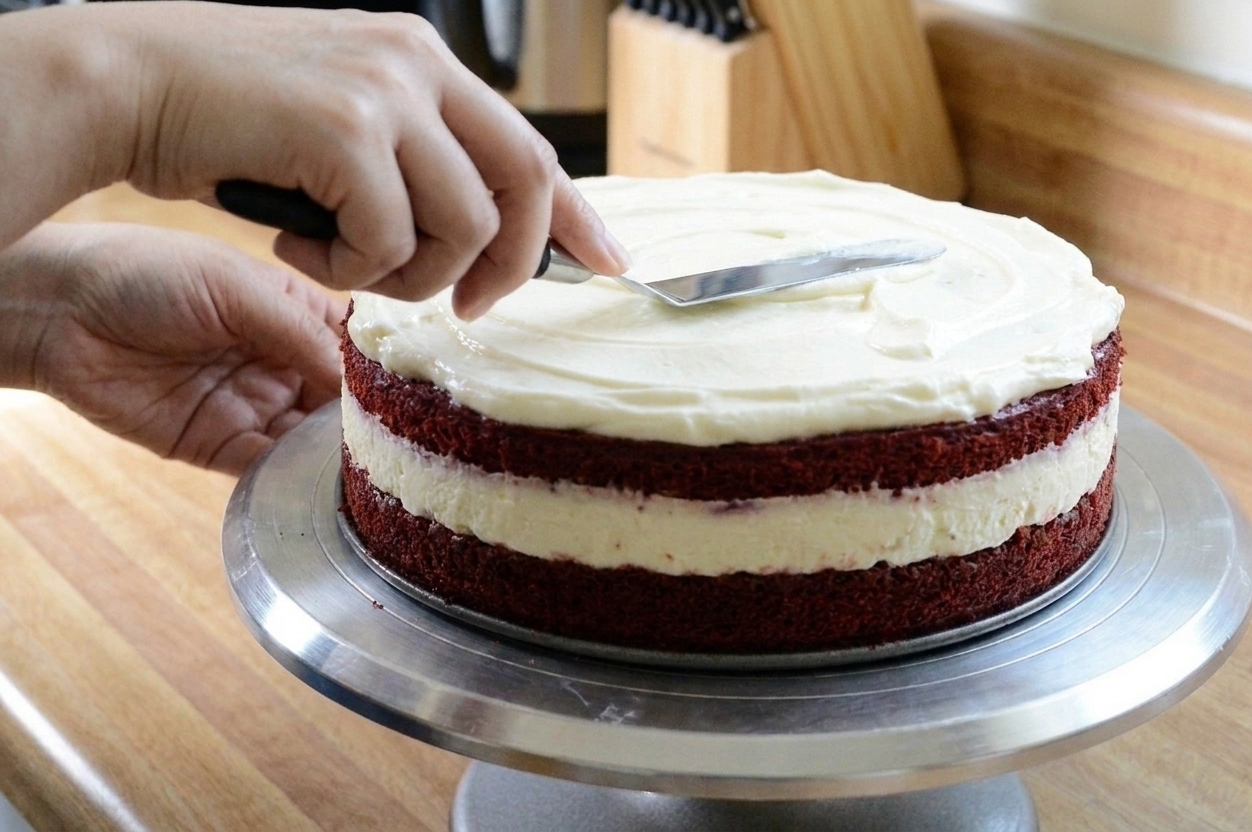
This version is built for real kitchens. No mystery steps, no ingredient scavenger hunt, and no “good luck!” energy. We bake the cheesecake first (so it stays silky), let it chill in the springform pan, then bake the red velvet layer in a simple round cake pan, stack, frost, chill, and pretend you are the type of person who always has a showstopper dessert ready. Spoiler: you are now.
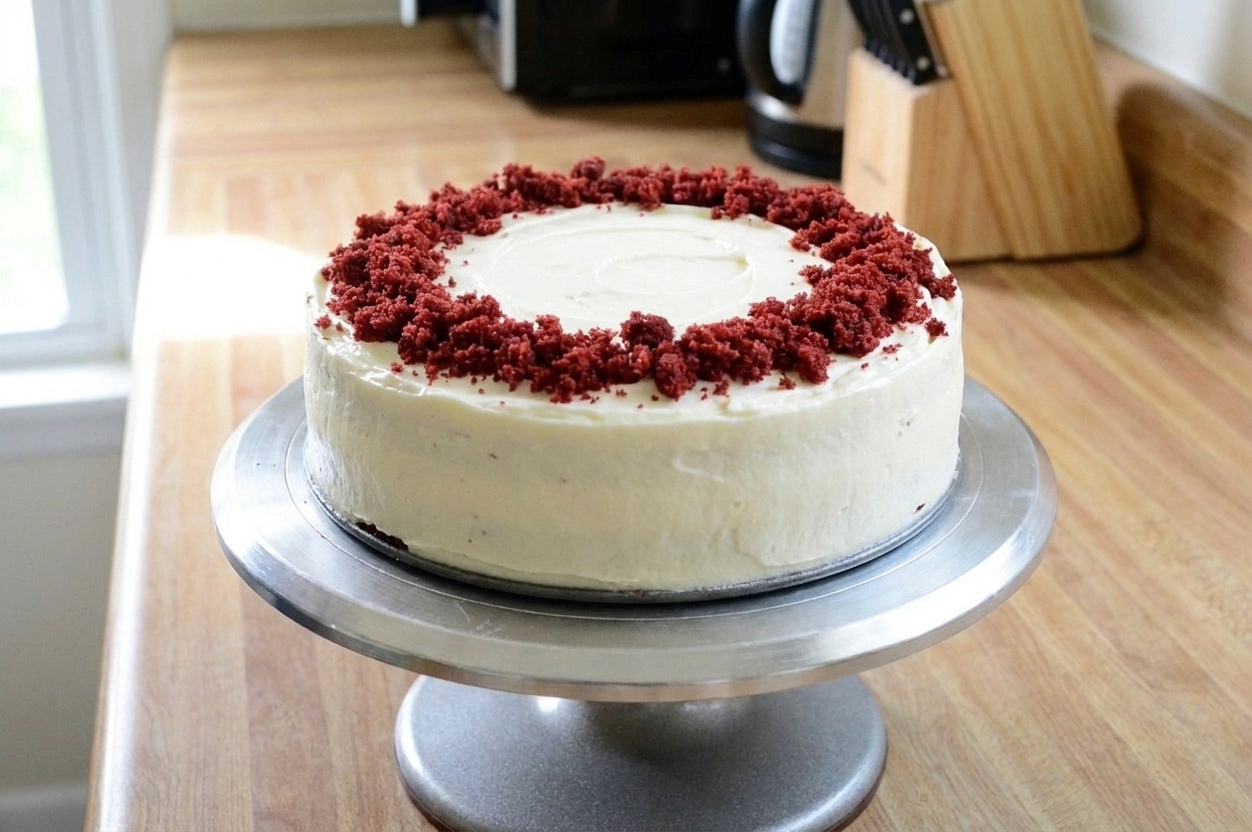
A whole red velvet cheesecake on a cake stand in a home kitchen, frosted with cream cheese frosting and decorated with a ring of red velvet crumbs around the edge

Why It Works

  • Clean layers without stress: Baking the cheesecake layer first keeps it set, sliceable, and easy to stack.
  • Real red velvet flavor: A small amount of cocoa plus buttermilk and vinegar adds that classic tang and depth, not just “red cake.”
  • Moist cake that stays tender: Oil keeps the crumb soft even after chilling.
  • No cracks panic: A gentle bake and a slow cool (plus frosting coverage) keep it looking bakery-ready.
  • Make-ahead friendly: This dessert actually prefers a chill overnight, which is my favorite kind of schedule.

Pairs Well With

Storage Tips

How to Store Red Velvet Cheesecake

  • Refrigerator: Store covered in the fridge for up to 5 days. Press plastic wrap against any cut sides for the best texture.
  • Freezer (slices): Freeze individual slices on a sheet pan until firm, then wrap tightly and place in a freezer bag. Freeze up to 2 months. Thaw overnight in the fridge.
  • Freezer (whole cake): For the best results, freeze the cake unfrosted (or with a very thin crumb coat). Cream cheese frosting can sometimes weep after thawing. Wrap well in plastic wrap, then foil. Thaw in the fridge 24 to 36 hours, then frost.
  • Serving tip: For the cleanest slices, cut cold with a hot knife (run under hot water, wipe dry, repeat).

Common Questions

Common Questions

Do I need a water bath for the cheesecake layer?

Not strictly. A water bath is great, but this recipe is designed to bake gently without one. The key is low-ish heat and not overbaking. The center should still have a slight wobble when you turn off the oven.

What food coloring should I use?

Liquid red food coloring works and is easiest to find. Gel coloring also works and gives stronger color with less liquid. Either way, add until you like the shade. The cocoa will darken it slightly.

Why vinegar in red velvet?

It is not there to make your cake taste like vinegar, promise. It helps activate the baking soda and plays nicely with the cocoa and buttermilk for that classic red velvet vibe.

What pan should I use for the cake layer?

Use a 9-inch round cake pan that is at least 2 inches deep. It is sturdy, it will not leak, and it lets your cheesecake chill in the springform pan while the cake bakes. If you only have a springform, wrap the outside tightly in heavy-duty foil to help prevent leaks.

Can I make this without buttermilk?

Yes. Mix 1 tablespoon lemon juice or white vinegar with 1 cup whole milk (preferred), let it sit 5 minutes, then use it as buttermilk.

What is the best pan size?

A 9-inch springform is ideal for the cheesecake. A 9-inch round cake pan is ideal for the red velvet layer. You can use 8-inch pans, but the layers will be taller and may need a few extra minutes of bake time.

How do I get clean slices?

Chill the cake well, then slice with a hot knife (run under hot water, wipe dry, repeat). For the best eating texture, let slices sit at room temperature for about 10 minutes before serving.

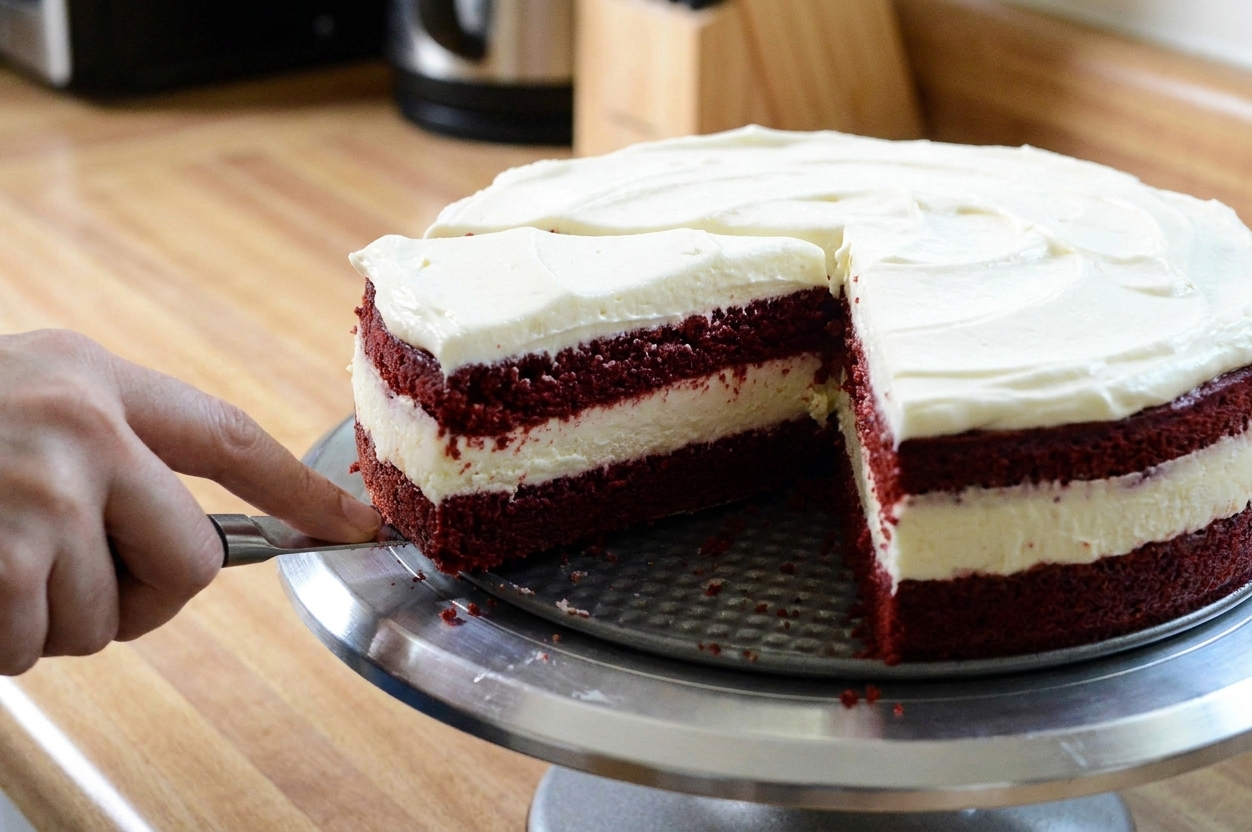
A chilled red velvet cheesecake being sliced on a cake stand, showing clean layers and a smooth cream cheese frosting

The first time I made red velvet cheesecake, I was chasing that “fancy bakery slice” feeling without the bakery price tag. I learned fast that the trick is not making it complicated. It is making it organized. Bake the cheesecake layer first, give it time to chill, then bake the cake layer in a regular round pan and build it like you are stacking delicious LEGO. The result is bold, creamy, a little dramatic, and absolutely worth clearing a spot in the fridge overnight.