Mom's Best Recipes
Recipe

Sautéed Green Beans

Crisp-tender green beans sautéed with garlic, lemon, and butter for an easy, bright, craveable side.

Author By Matt Campbell
4.8
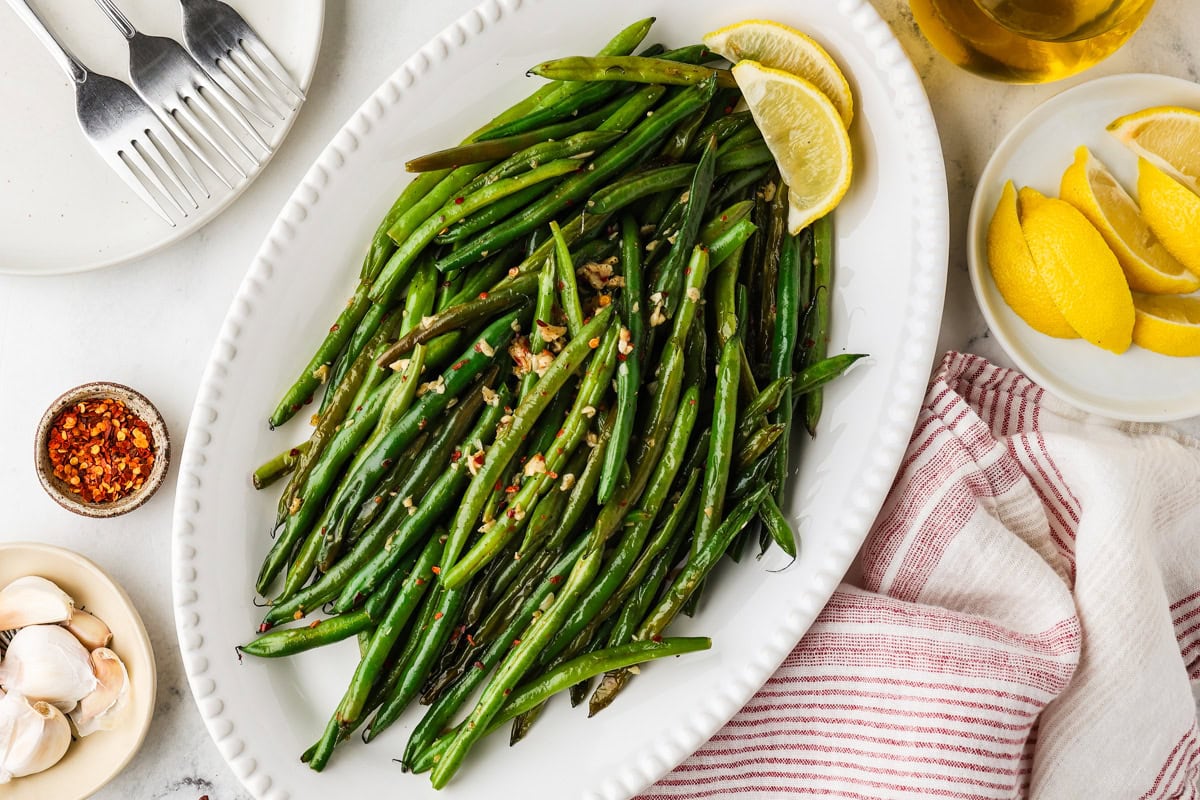
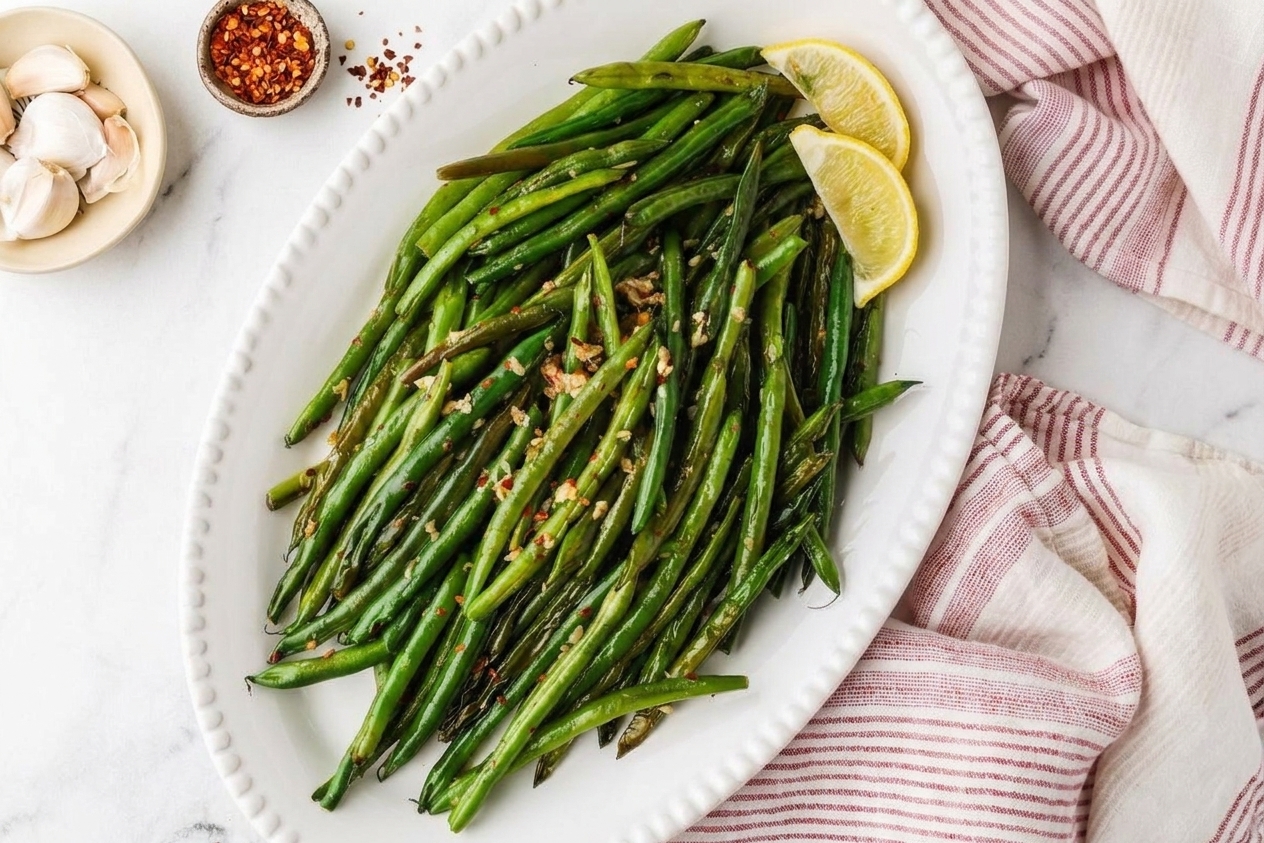
A white oval platter of sautéed green beans with golden garlic slices and a light lemon sheen

If your green beans usually land somewhere between sad and squeaky, let’s fix that. These sautéed green beans are my go-to when dinner needs a vegetable that actually has personality: crisp edges, bright lemon, and just enough buttery garlic to make you “accidentally” keep picking at the pan while you plate.

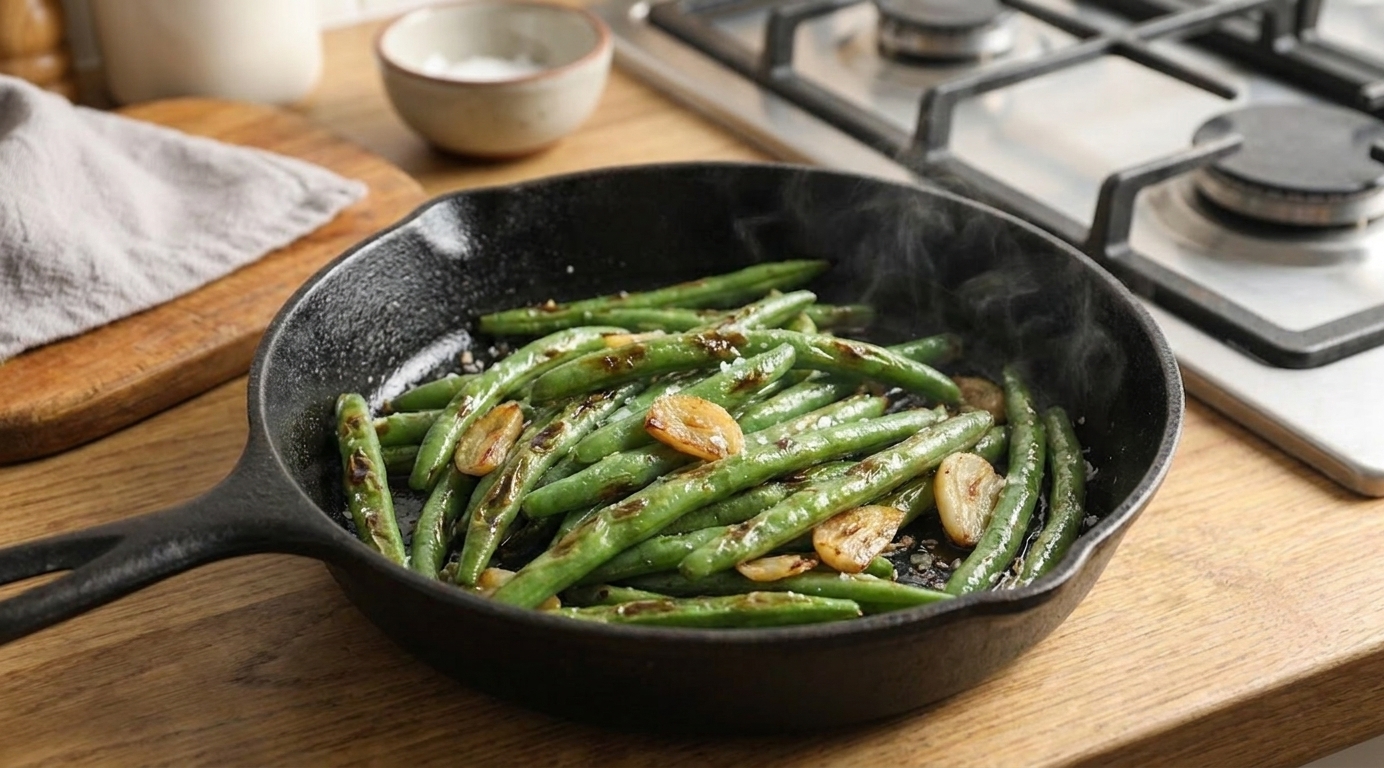
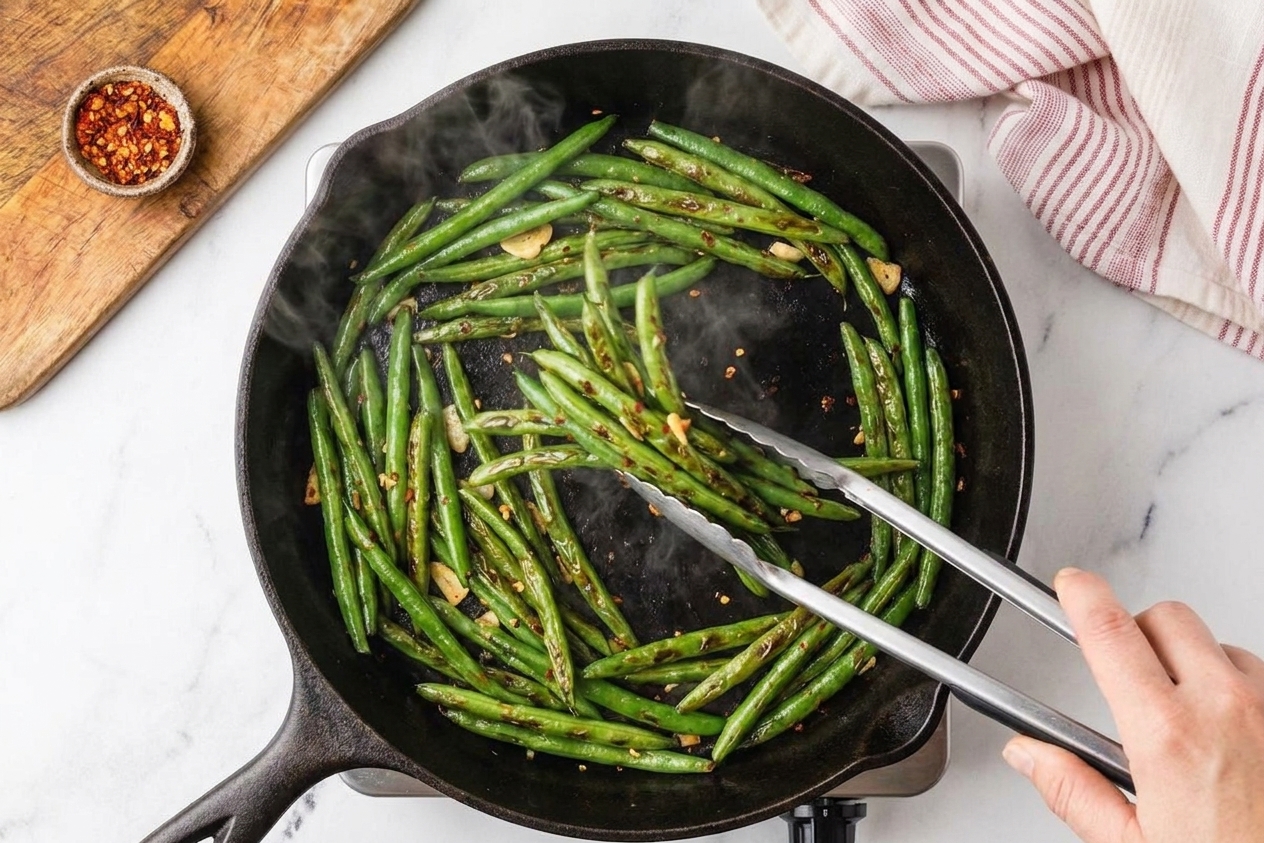
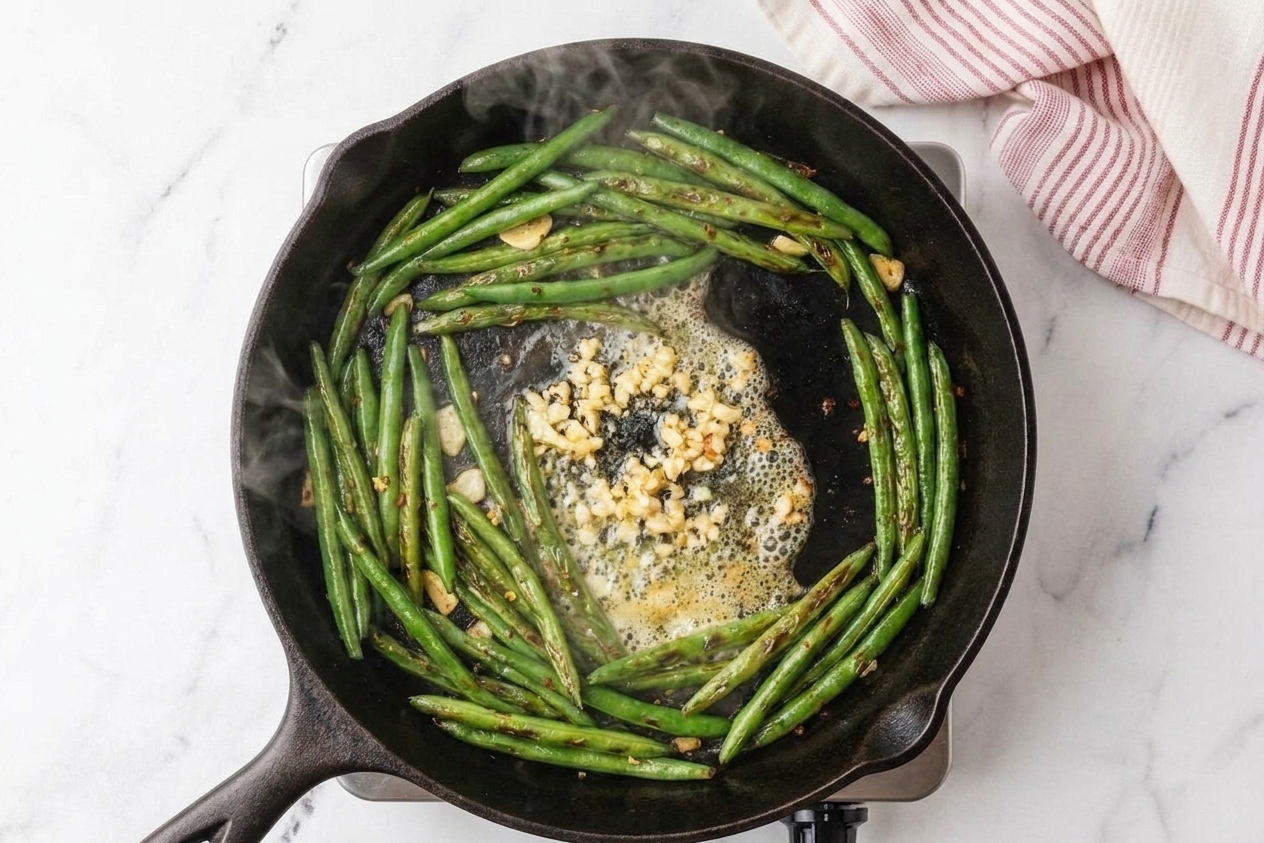
The trick is simple: get the skillet hot, give the beans a chance to sear, and use a splash of water to steam them just until crisp-tender. You get that fresh snap without sacrificing flavor.

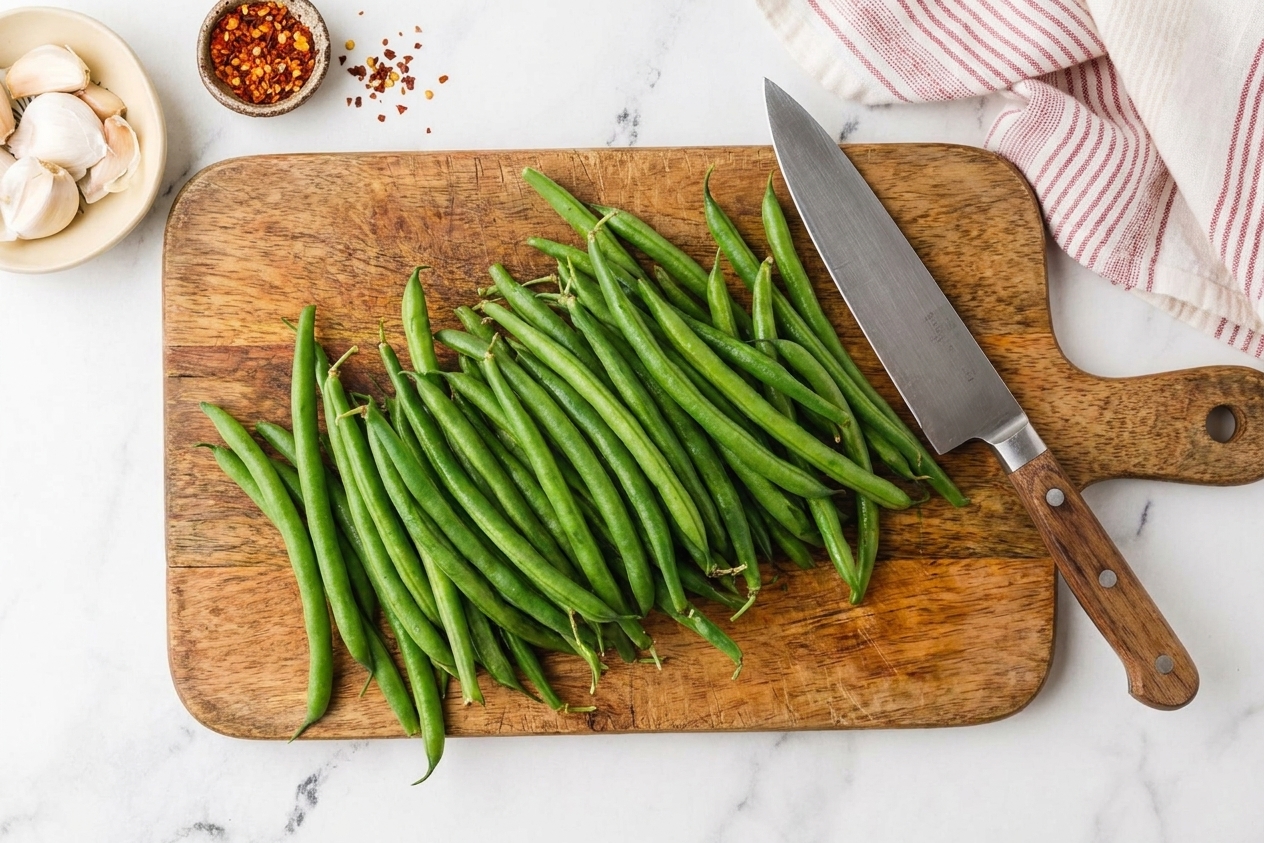
Fresh green beans, a lemon, garlic cloves, butter, and salt arranged on a counter

Why It Works

  • Crisp-tender texture, not limp: Sauté first for blistered spots, then steam briefly to finish.
  • Big flavor from small ingredients: Garlic blooms in butter, lemon wakes everything up, and a pinch of red pepper adds a quiet little backbeat.
  • Flexible for any meal: Works with chicken, pork, salmon, pasta, or the “we are eating random fridge items” special.
  • Fast and low drama: One pan, about 15 minutes, and it scales easily.

Pairs Well With

Storage Tips

Refrigerate: Store cooled green beans in an airtight container for 3 to 4 days.

Reheat: For the best texture, reheat in a skillet over medium heat with a tiny splash of water or a dab of butter. Heat just until warmed through. Microwave works, but the beans will soften more.

Use leftovers: Chop and toss into fried rice, fold into an omelet, add to pasta with parmesan, or top a salad with a quick vinaigrette.

Freezing: Not ideal after sautéing since the texture turns softer. If you want to freeze, blanch raw beans first, then sauté after thawing.

Common Questions

How do I keep sautéed green beans from getting soggy?

Two things help: a hot pan and not overcrowding. If the skillet is packed, the beans steam in their own moisture and turn soft. Use a large skillet or cook in two batches, then finish with a quick covered steam (just 2 to 3 minutes) to hit crisp-tender.

Do I need to blanch the green beans first?

Nope. This method skips blanching by using a splash of water and a quick lid-on steam at the end. If you love extra-bright green beans, you can blanch for 1 to 2 minutes, shock in cold water, then sauté to finish.

Can I make these with frozen green beans?

Yes, with a small adjustment. Most frozen green beans are already blanched, so you usually do not need the lid-on steam step. Thaw and pat dry first, then sauté a little longer to drive off moisture and add flavor. If they still seem firm in the center, you can add a tablespoon of water and cover for 1 to 2 minutes.

What flavors can I add?

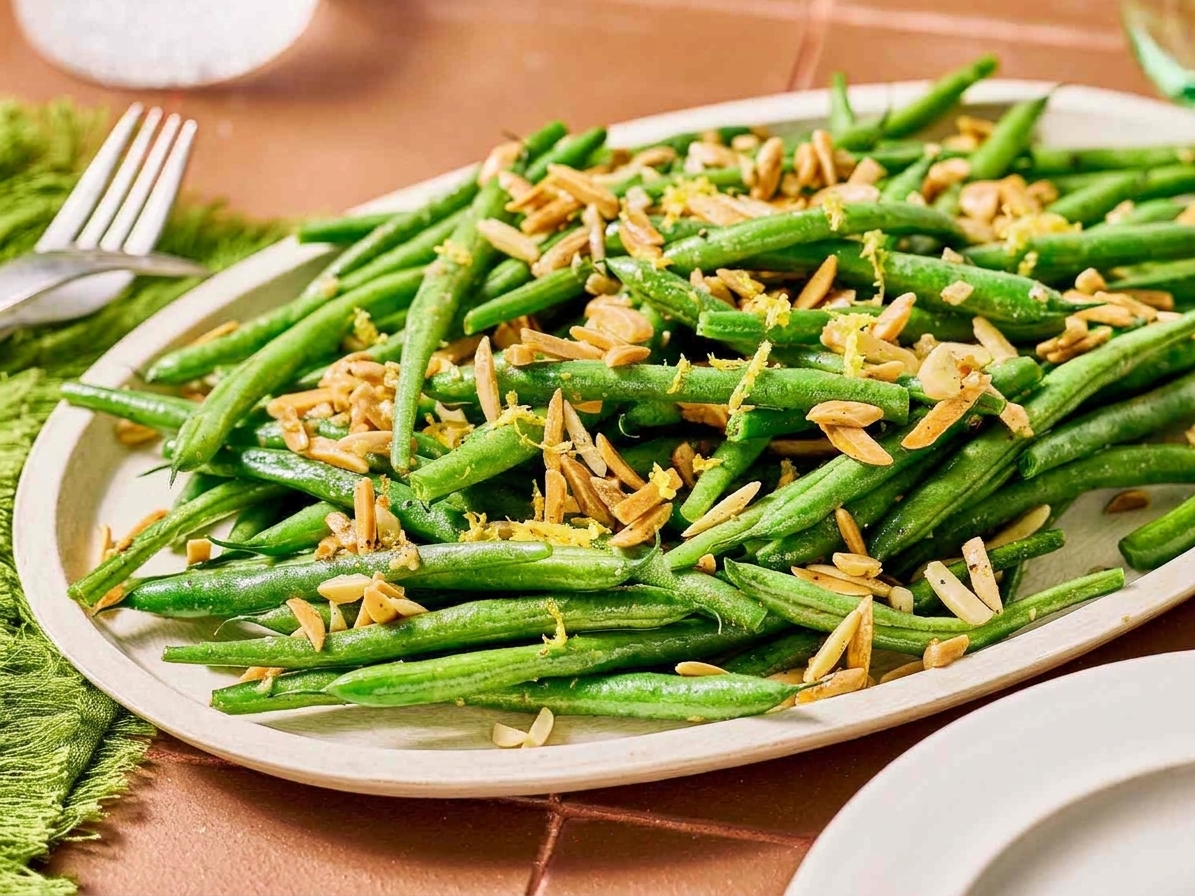
Easy upgrades: toasted almonds, parmesan, a drizzle of balsamic glaze, crispy shallots, a spoonful of pesto, or a pinch of smoked paprika. If you want it heartier, add crumbled bacon or sliced toasted walnuts.

Why are my green beans wrinkly or tough?

Older beans can be more fibrous. Trim the ends and look for beans that feel firm and snap cleanly. If they are still tough after cooking, add another splash of water and steam an extra minute or two.

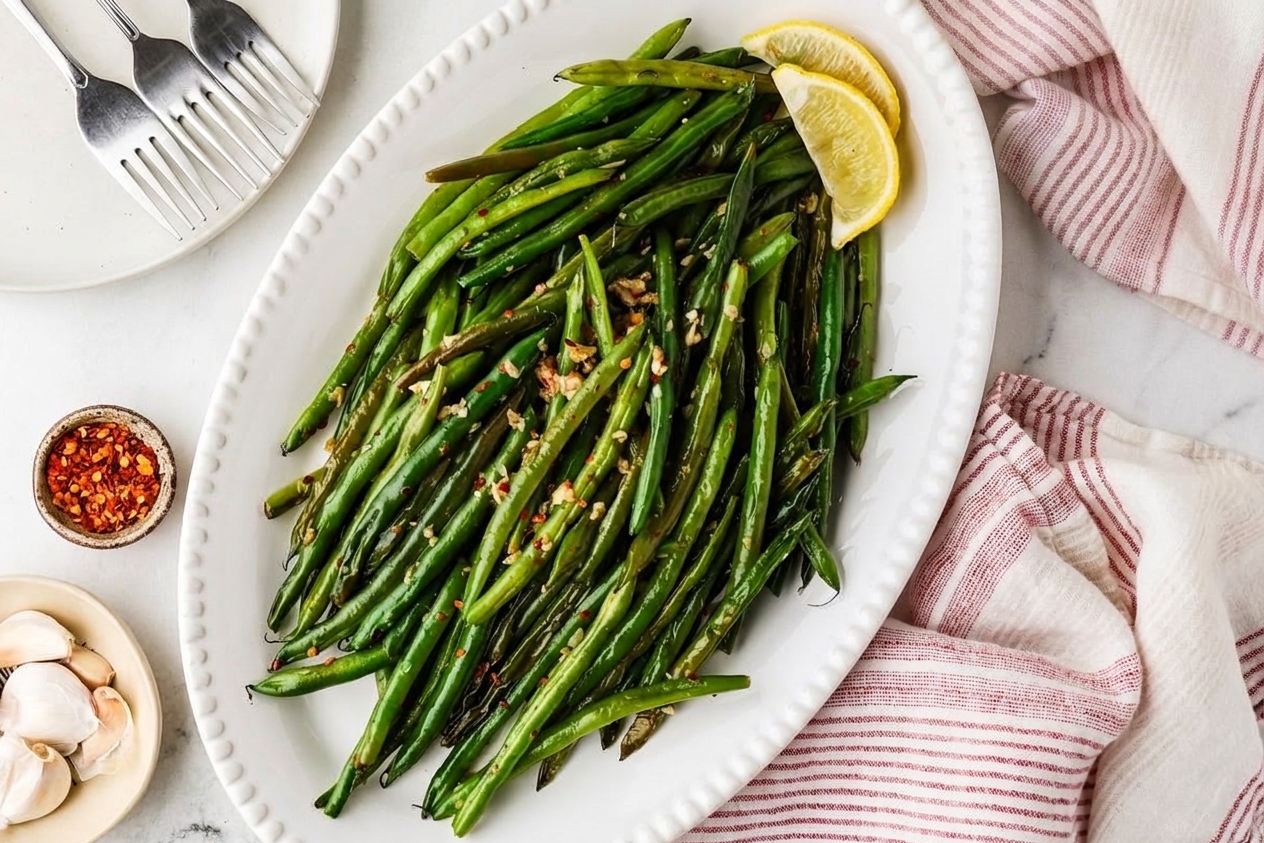
I used to treat green beans like a chore. Boil, drain, salt, done. Then I started chasing that restaurant-style vibe at home, the kind where vegetables have a little char, a little gloss, and a reason to be on the plate. This skillet method was the turning point. It is fast enough for a Tuesday, but it still feels like you tried. And if you catch me leaning over the stove eating “quality control” green beans straight from the pan, no you did not.