Mom's Best Recipes
Recipe

Easy S’mores Bars

Buttery graham crust, melty chocolate, and a perfectly toasted marshmallow top in one pan.

Author By Matt Campbell
4.8
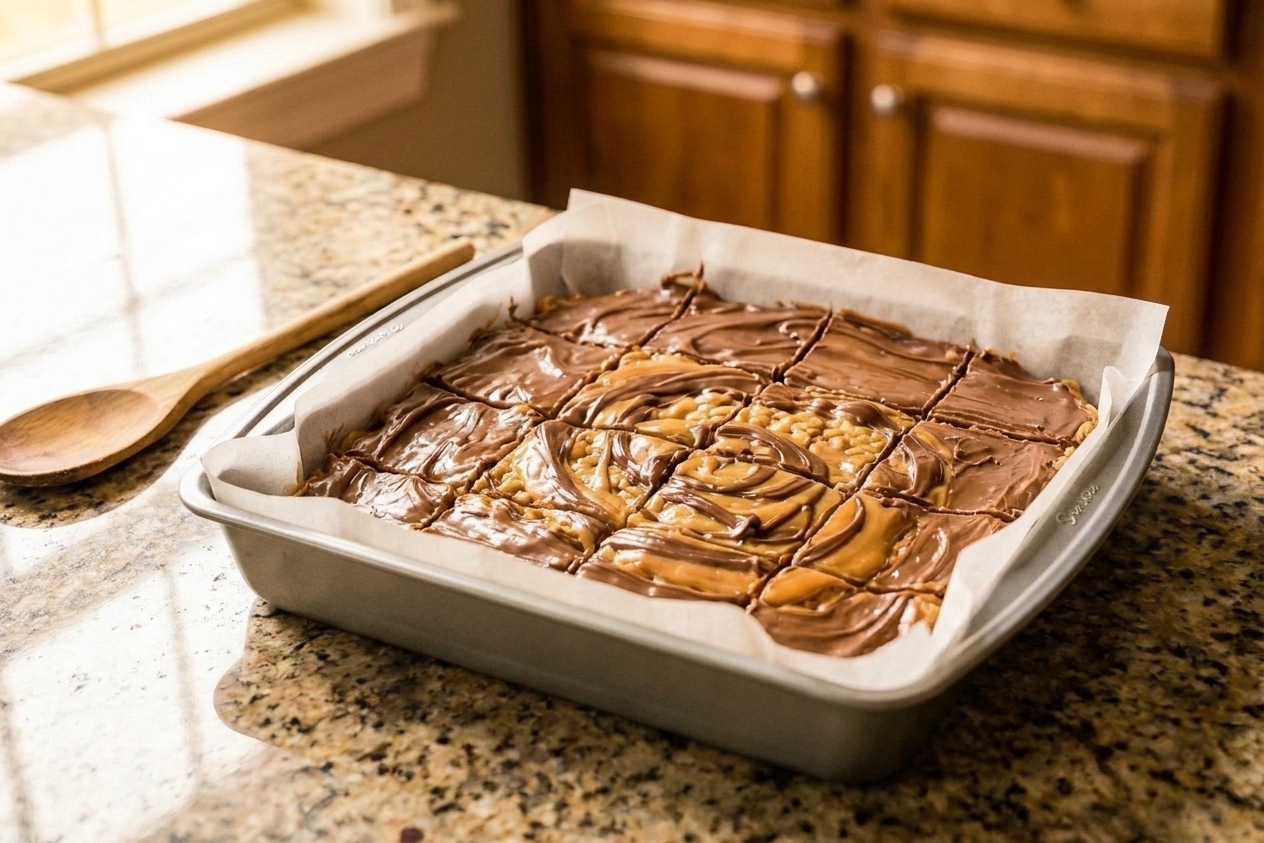
A metal baking pan filled with s’mores bars featuring a golden toasted marshmallow top with melted chocolate peeking through on a light kitchen counter

If a classic s’more is the fun, slightly chaotic campfire cousin, these s’mores bars are the weeknight friend who shows up on time with snacks and a plan. You get that buttery graham cracker base, a generous layer of chocolate, and marshmallows toasted until the tops go golden and the corners go just a little crisp.

Best part: no fire, no skewers, no chasing runaway marshmallows. Just one pan, a short ingredient list, and a dessert that tastes like summer even if you are wearing sweatpants and pretending your oven is a campfire.
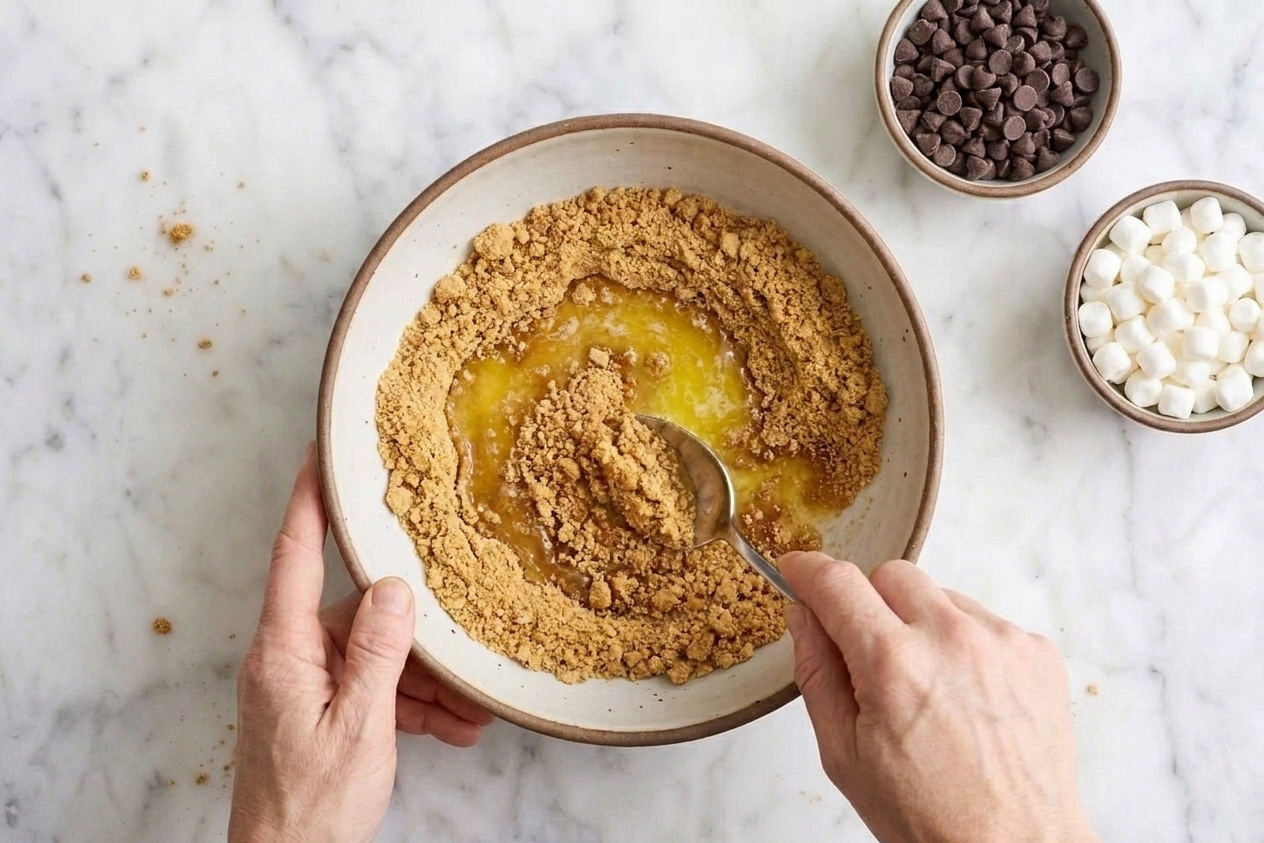
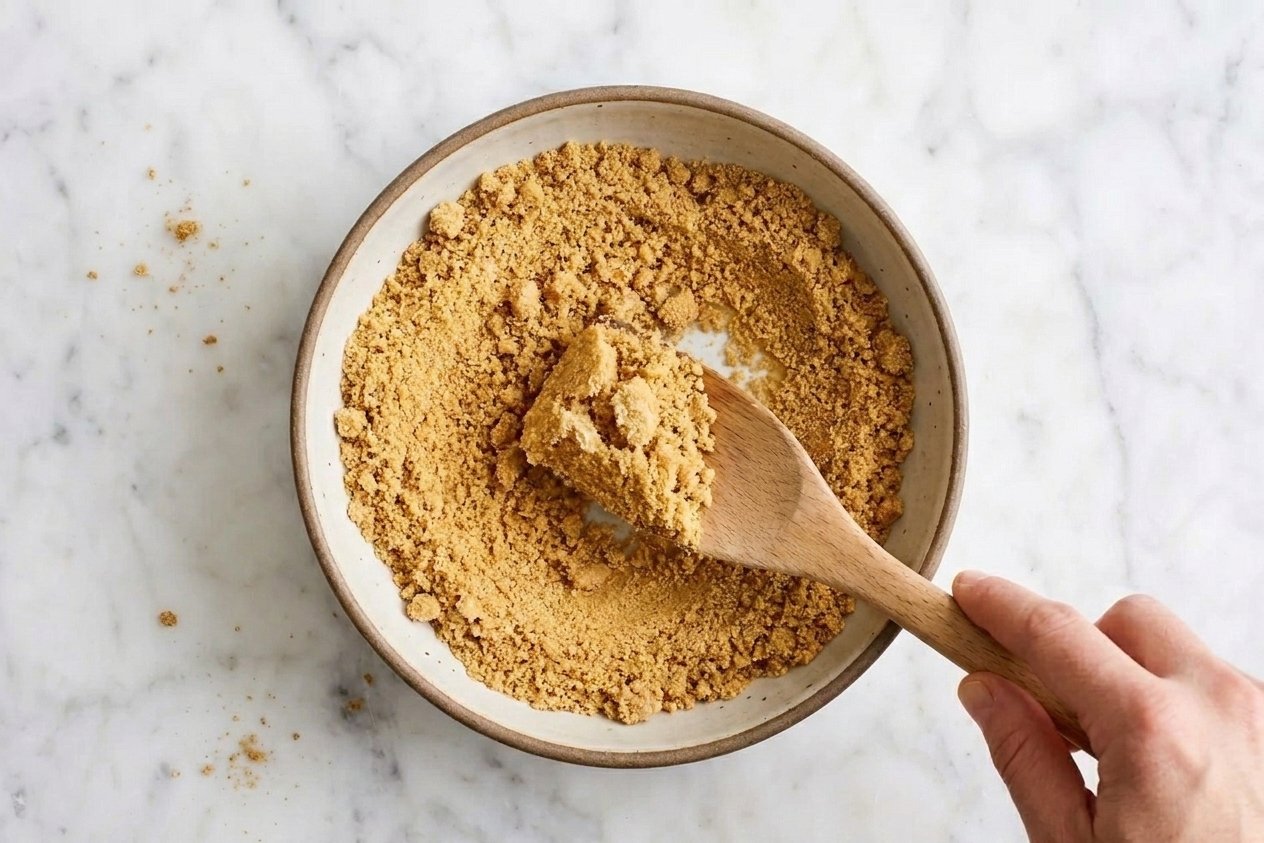
A mixing bowl with graham cracker crumbs and melted butter being stirred with a spoon on a kitchen counter, ingredients nearby

Why It Works

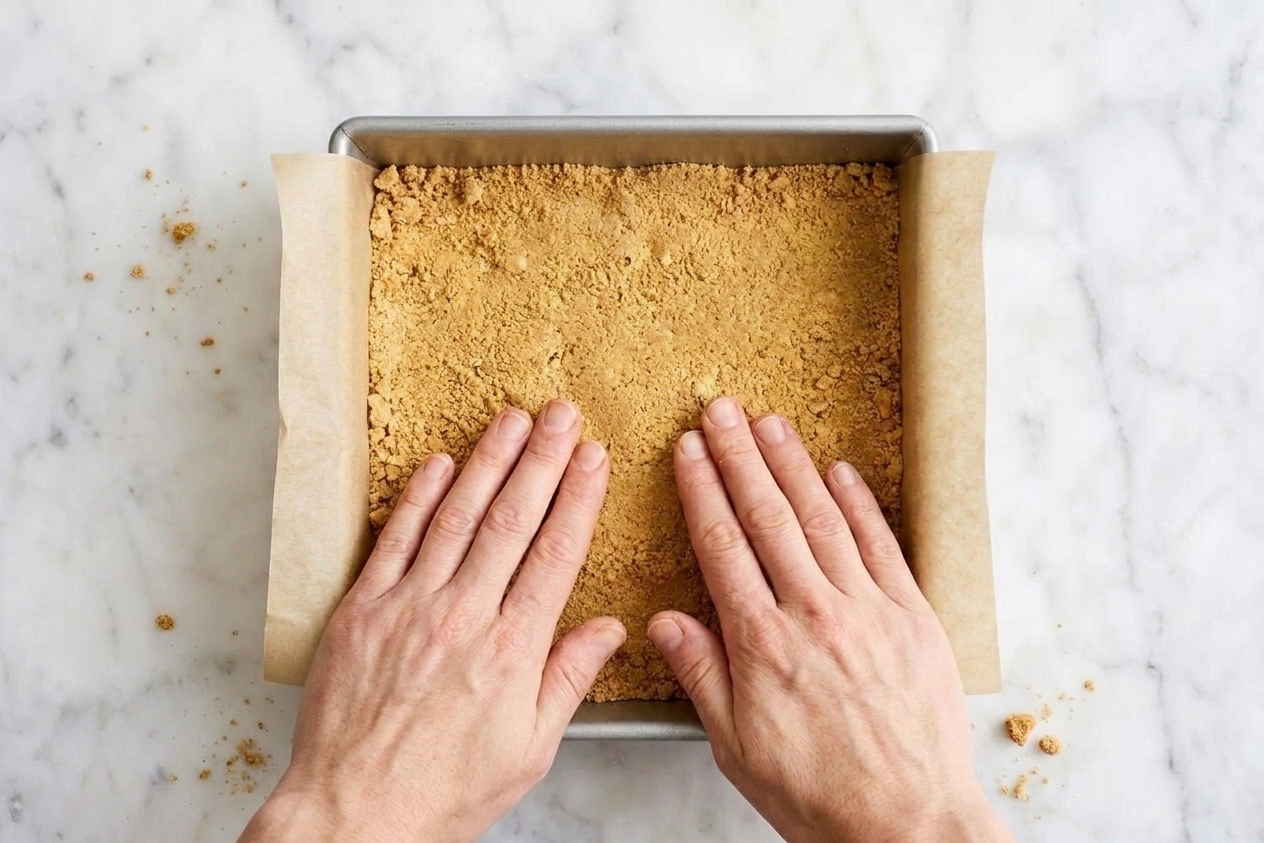
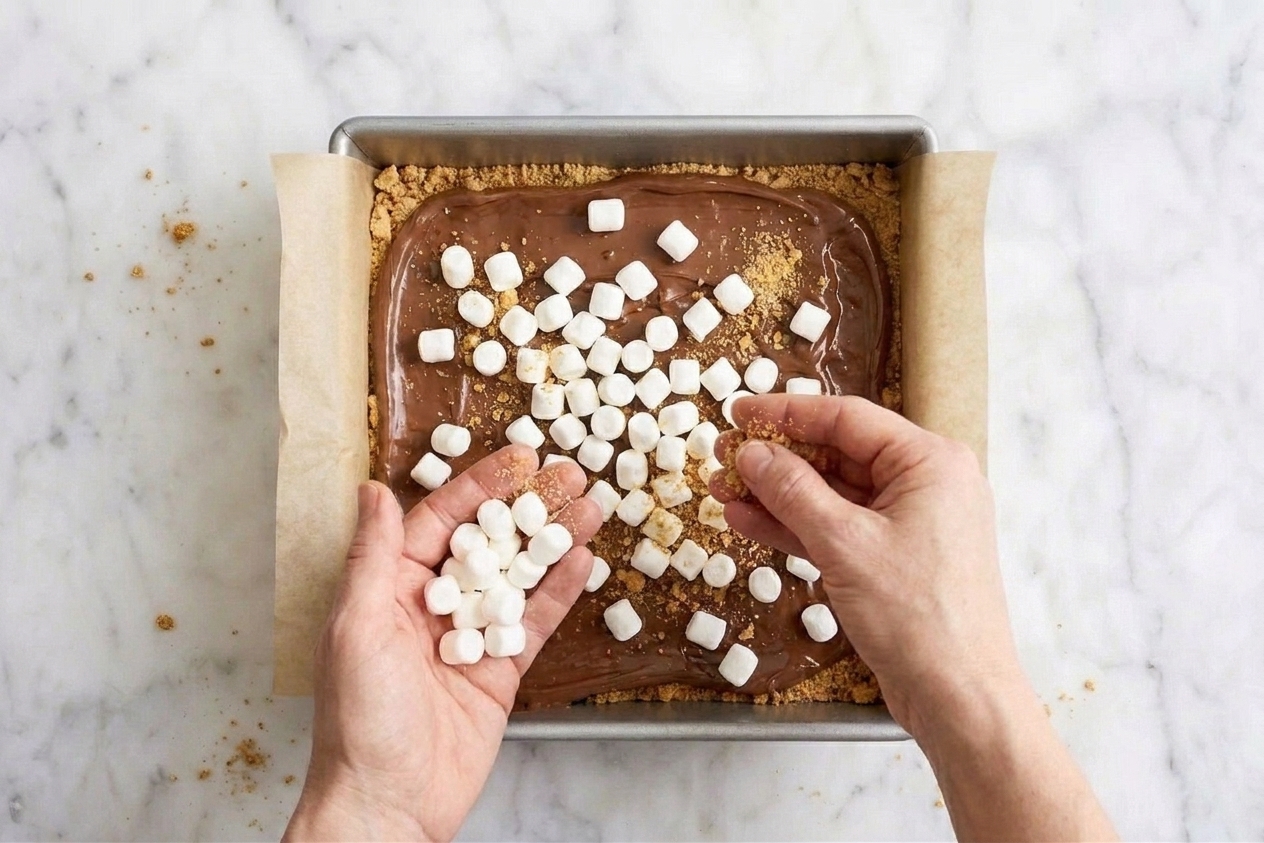
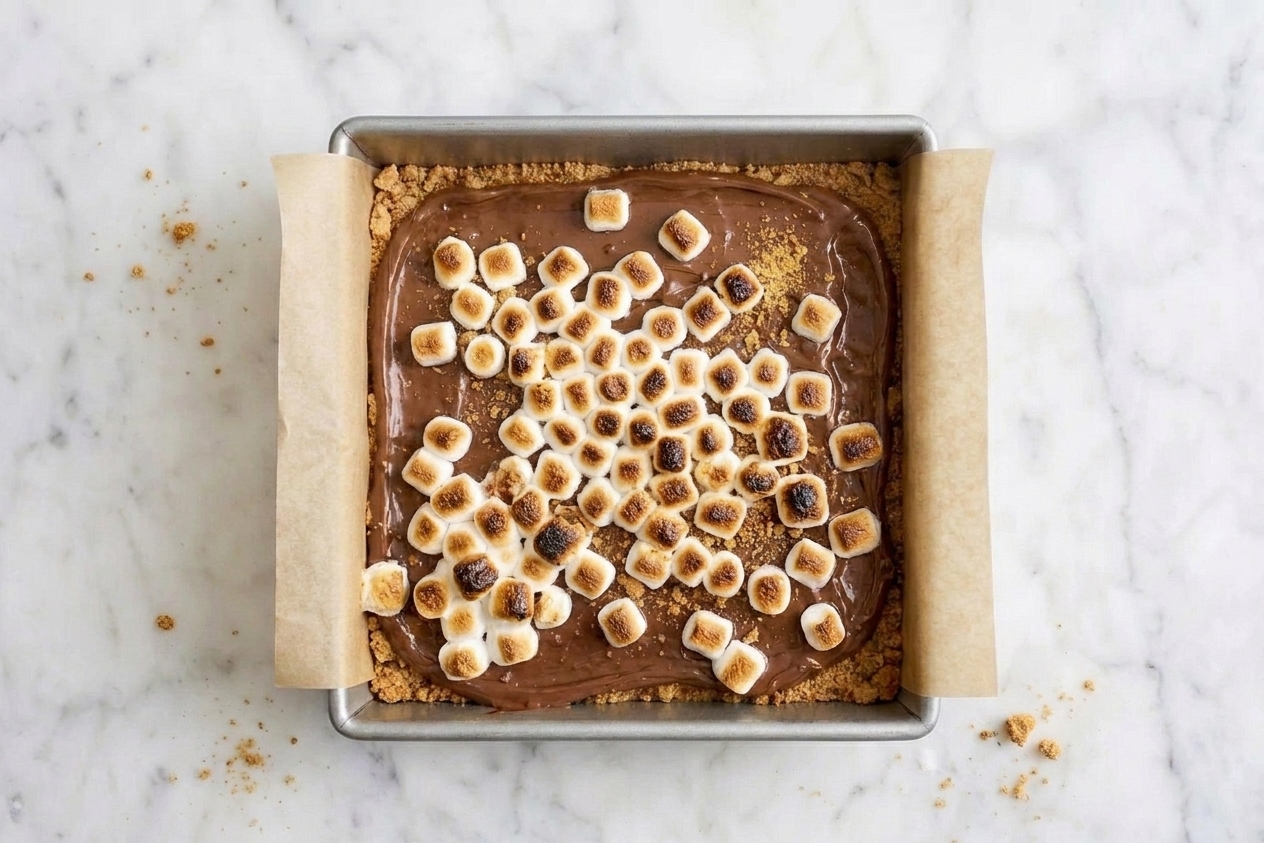
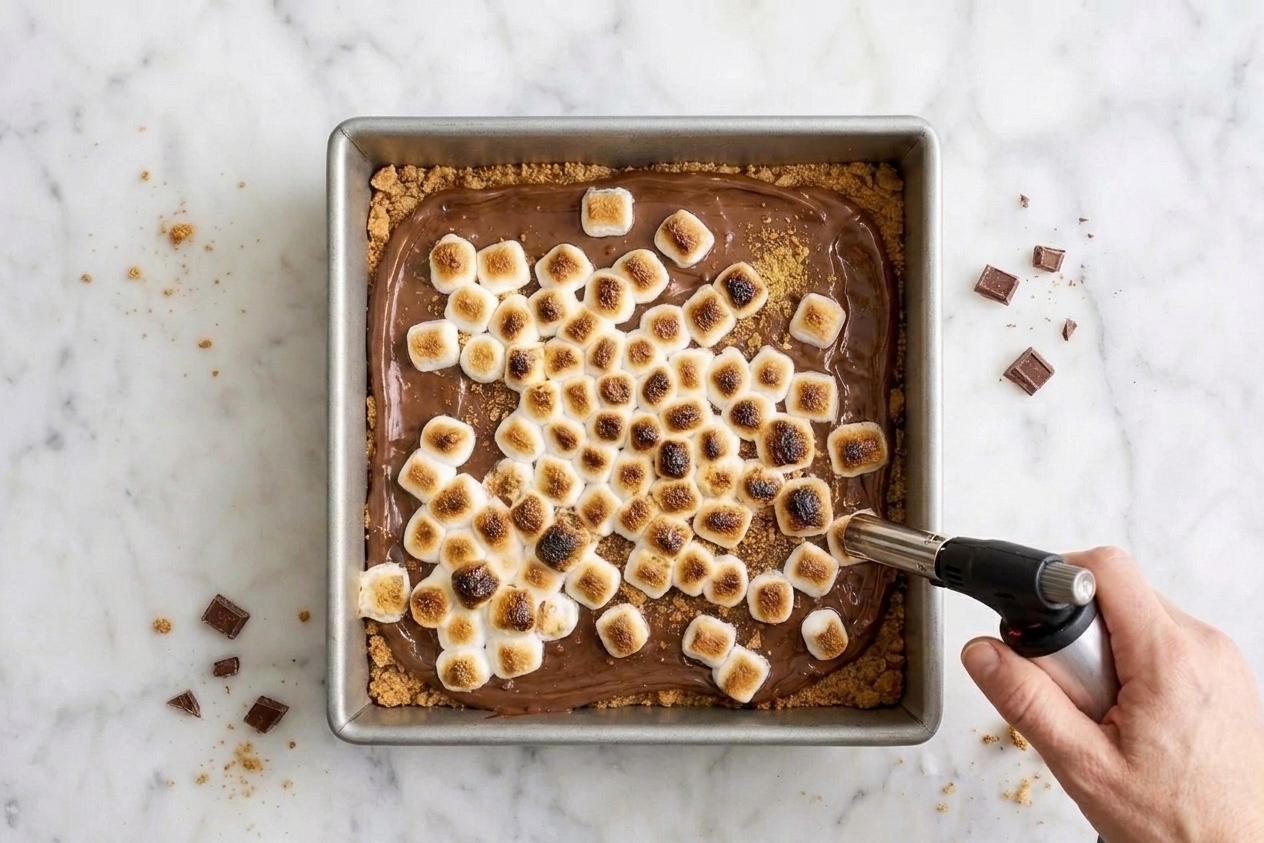
  • Big s’mores flavor, less drama. Press-in crust, quick bake, then a fast broil to toast the top.
  • Great texture. Buttery, sandy-crisp graham base with a soft center and gooey chocolate pockets.
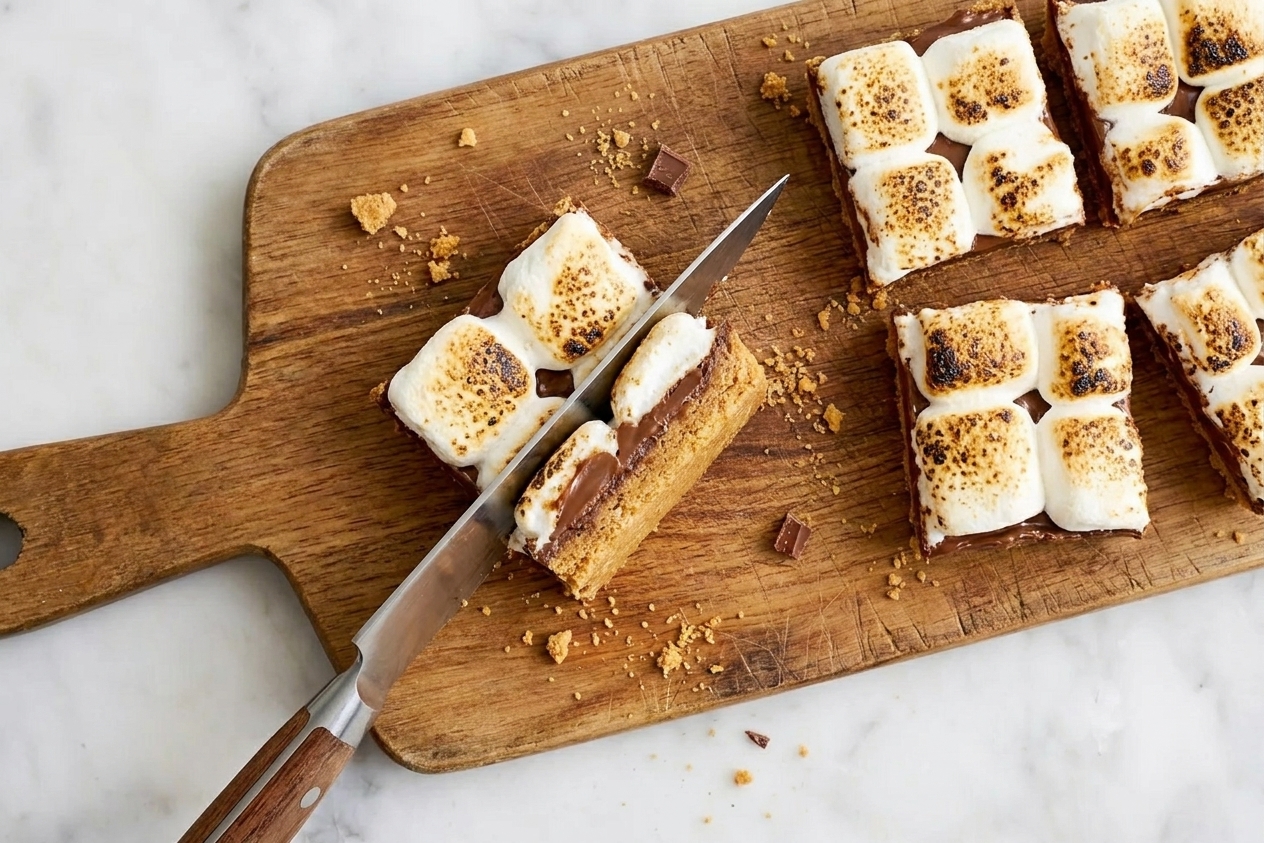
  • Easy to slice and share. Cooling time matters here, so you get clean-ish bars instead of a delicious avalanche.
  • Flexible chocolate. Use milk chocolate for classic vibes, or mix in dark chocolate for a grown-up edge.
A baking pan under an oven broiler with marshmallows turning golden on top of s’mores bars, kitchen oven light on

Pairs Well With

Storage Tips

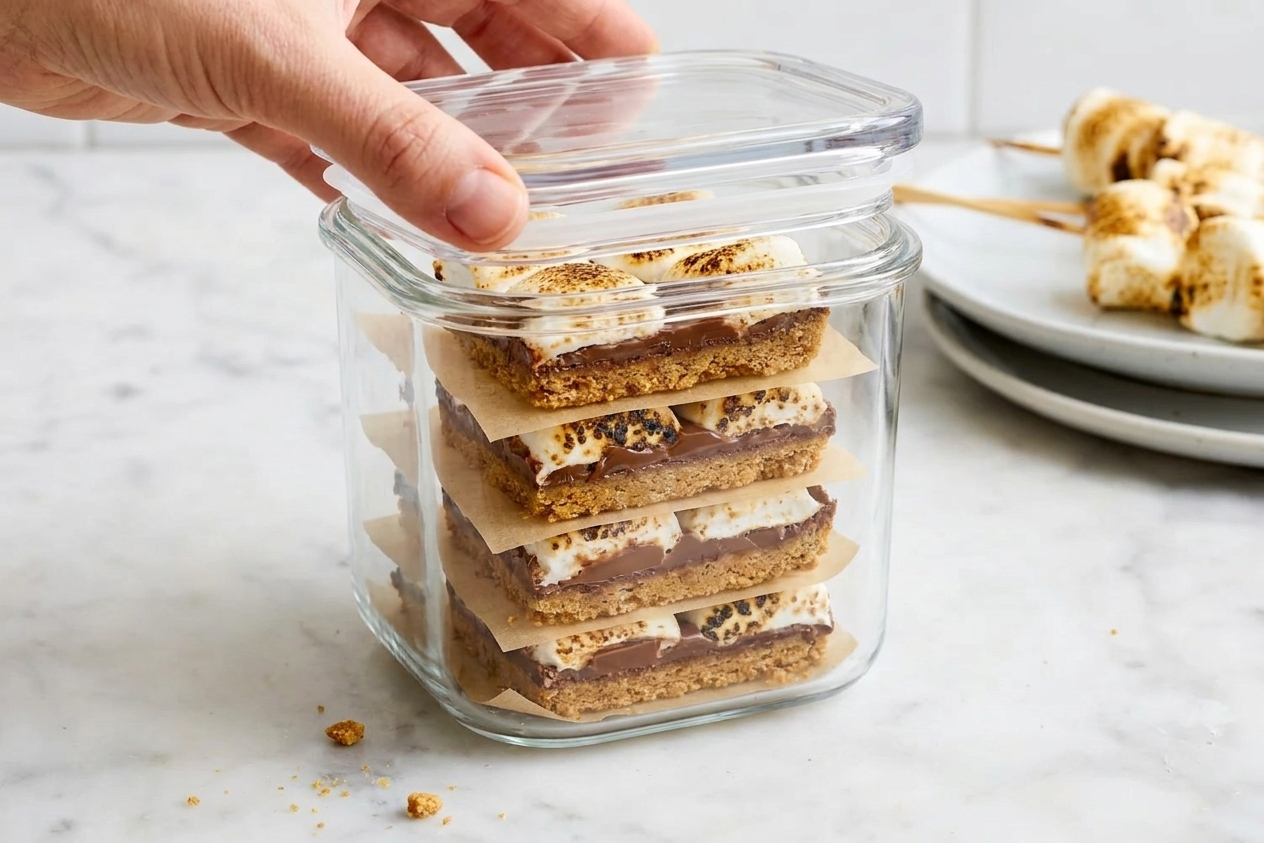
Room temperature: Store sliced bars in an airtight container for up to 3 days. Layer parchment between pieces so the marshmallow tops do not glue themselves together.

Refrigerator: Up to 5 days, airtight. The chocolate firms up and the crust gets extra sturdy. Let bars sit at room temp 15 to 20 minutes before eating for the best texture.

Freezer: Freeze bars (preferably sliced) for up to 2 months. Wrap each bar in plastic wrap, then store in a freezer bag. Thaw at room temp. If you want that gooey vibe back, warm a bar in the microwave starting with 8 to 10 seconds, then add short bursts as needed depending on your microwave.

Sliced s’mores bars stacked in an airtight container with parchment paper between layers on a kitchen counter

Common Questions

Can I use marshmallow fluff instead of mini marshmallows?

You can, but it is messier and toasts differently. If you use fluff, spread it gently over the chocolate layer, then broil very briefly. Watch it like a hawk because it can go from toasted to scorched fast.

Why did my marshmallows melt into the bars?

Usually the oven was too hot for too long after the marshmallows went on. In this recipe, we bake the base first, then add marshmallows and use a quick broil just to toast the top.

What chocolate works best?

Classic is milk chocolate bars, broken into pieces. Chocolate chips work too, but they hold their shape more. A mix of chips plus chopped chocolate gives you both melty and chunky bits.

How do I get clean slices?

Let the bars cool completely, then chill for 20 to 30 minutes before slicing. Use a sharp knife and wipe it clean between cuts.

Can I make these gluten-free?

Yes. Use gluten-free graham-style crumbs and double check your chocolate and marshmallows are labeled gluten-free.

I love ambitious cooking projects, but dessert is where I get very practical. I want maximum payoff with minimal chaos. These bars are my answer to the s’mores craving when I do not feel like playing campfire roulette with a sticky marshmallow and a half-melted chocolate square.

The first time I made them, I broiled the top and stood there like it was the Super Bowl. Two minutes later the marshmallows were perfectly toasted, and I had that same little kid feeling of, okay wow, this is exactly what I wanted.