Mom's Best Recipes
Recipe

Butter Mints

Creamy, melt-in-your-mouth butter mints made with pantry basics. Easy to color, easy to shape, and dangerously snackable.

Author By Matt Campbell
4.8
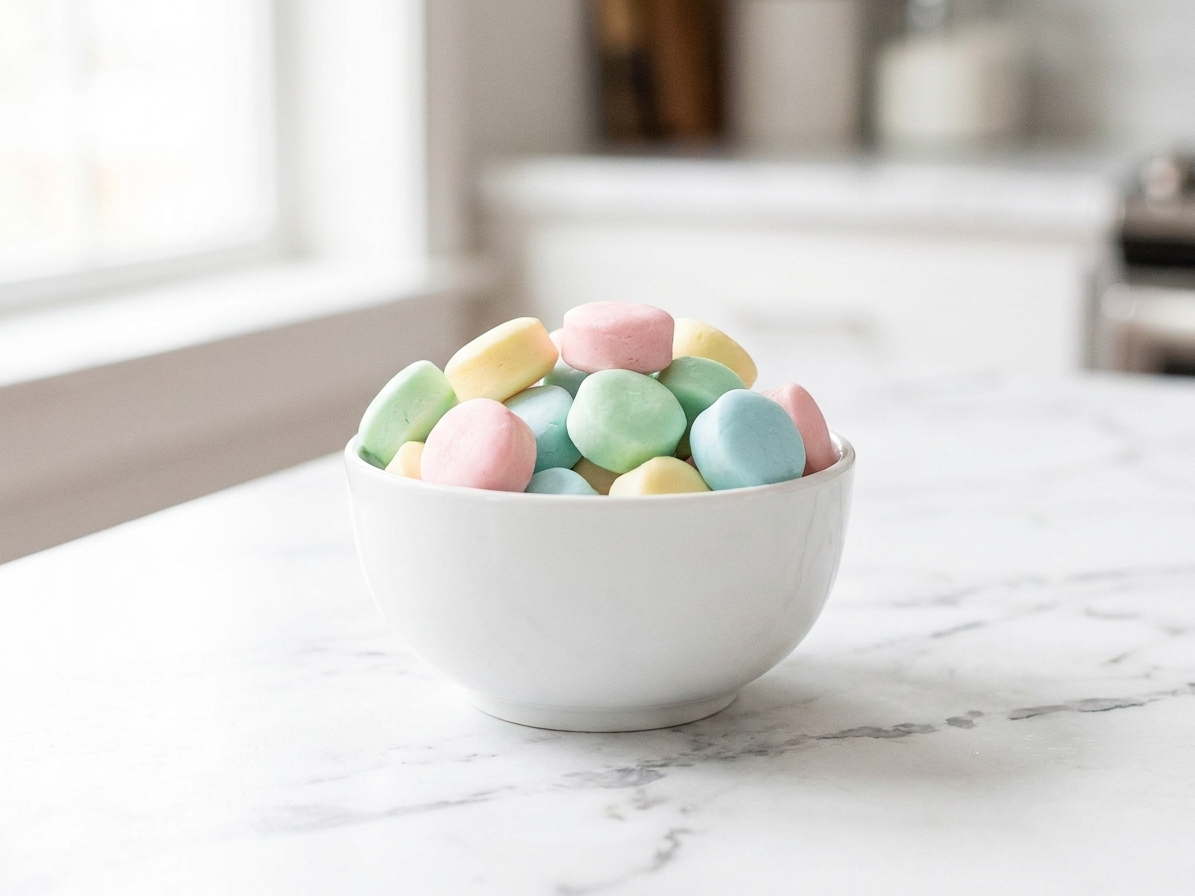
A small white bowl filled with pastel butter mints on a bright kitchen counter with soft natural light

Butter mints are one of those throwback candies that somehow feel fancy and cozy at the same time. They show up at baby showers in a glass dish, at weddings next to the guest book, and at holidays when somebody’s aunt casually drops a bowl on the table like it is no big deal. Except it is a big deal, because you eat one and suddenly you are hovering over the bowl like a seagull.

The best part is they are not “hard candy” hard. They are soft, creamy, and melt instead of crunch. And you do not need a candy thermometer, special molds, or anything dramatic. Just butter, powdered sugar, a little cream, and the willingness to get a tiny bit of sugar on your countertop. Which is basically my default setting.
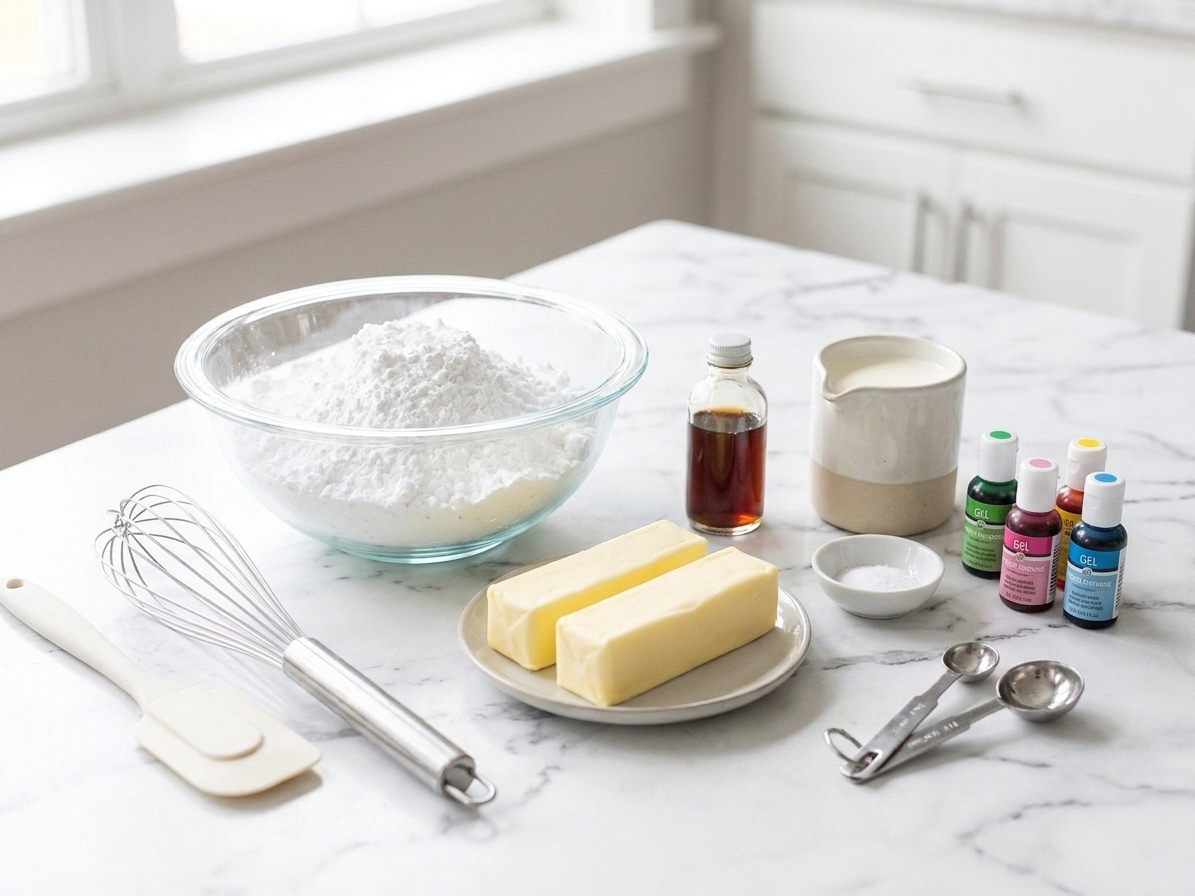
Powdered sugar, softened butter, vanilla extract, heavy cream, salt, and gel food coloring arranged on a clean kitchen counter

Why It Works

  • Melt-in-your-mouth texture: The butter and powdered sugar make a smooth, creamy dough that sets up into soft mints.
  • No candy thermometer: This is more like a sweet dough than a cooked candy, so it is low stress.
  • Easy to customize: Swap extracts, tint pastel colors, or shape them into pillows, ropes, or little coins.
  • Make-ahead friendly: They store well, so you can knock them out before a party and move on with your life.

Pairs Well With

Storage Tips

Room temperature: Store butter mints in an airtight container in a cool, dry spot for up to 2 weeks for best quality. If your home is humid or they did not dry very long, expect a shorter window.

Layering tip: If you stack them, separate layers with parchment paper so they do not stick together, especially in humid weather.

Refrigerator: You can refrigerate for up to 3 weeks (best quality varies). Let them come to room temperature before serving for the creamiest texture.

Freezer: Freeze in an airtight container with parchment between layers for up to 2 months for best quality. Thaw overnight in the fridge, then bring to room temperature.

Common Questions

Why are my butter mints sticky?

Usually it is humidity, not enough powdered sugar, or a little too much liquid. Add powdered sugar 1 to 2 tablespoons at a time until the dough feels like soft modeling clay. Also dust your hands and work surface with powdered sugar instead of flour.

Why are my butter mints crumbly?

That means the dough is too dry. Add cream 1 teaspoon at a time and knead again. It should be smooth and pliable, not cracking at the edges.

Do I need cream of tartar or peppermint oil?

Nope. Cream of tartar is not required for this style of mint. And while peppermint oil is great, peppermint extract is the easiest, most accessible option for that classic flavor.

Are butter mints always peppermint?

Not at all. Common flavors include peppermint, wintergreen, vanilla, almond, and lemon. Think “soft butter candy,” then pick your vibe.

How do I get that super smooth texture?

Start with softened butter and sift your powdered sugar if it is lumpy. Mix well, then knead by hand for 30 to 60 seconds until the dough looks silky. If it feels a little warm or greasy from your hands, just dust in a touch more powdered sugar and keep going.

Can I make them dairy-free?

You can try plant-based butter and a splash of oat or coconut cream. The texture can be slightly softer, and you may need a bit more powdered sugar to help them dry firmly. If they seem stubborn, give them extra drying time.

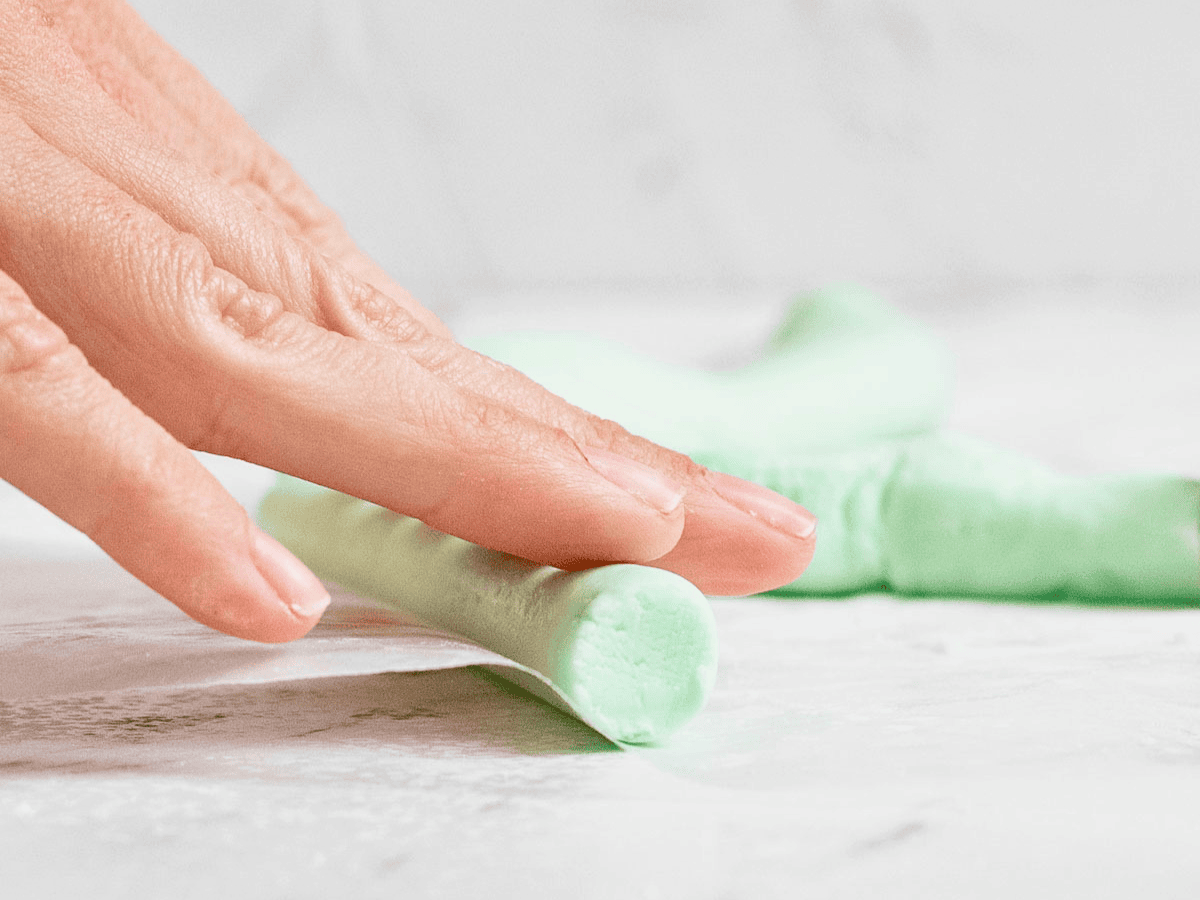
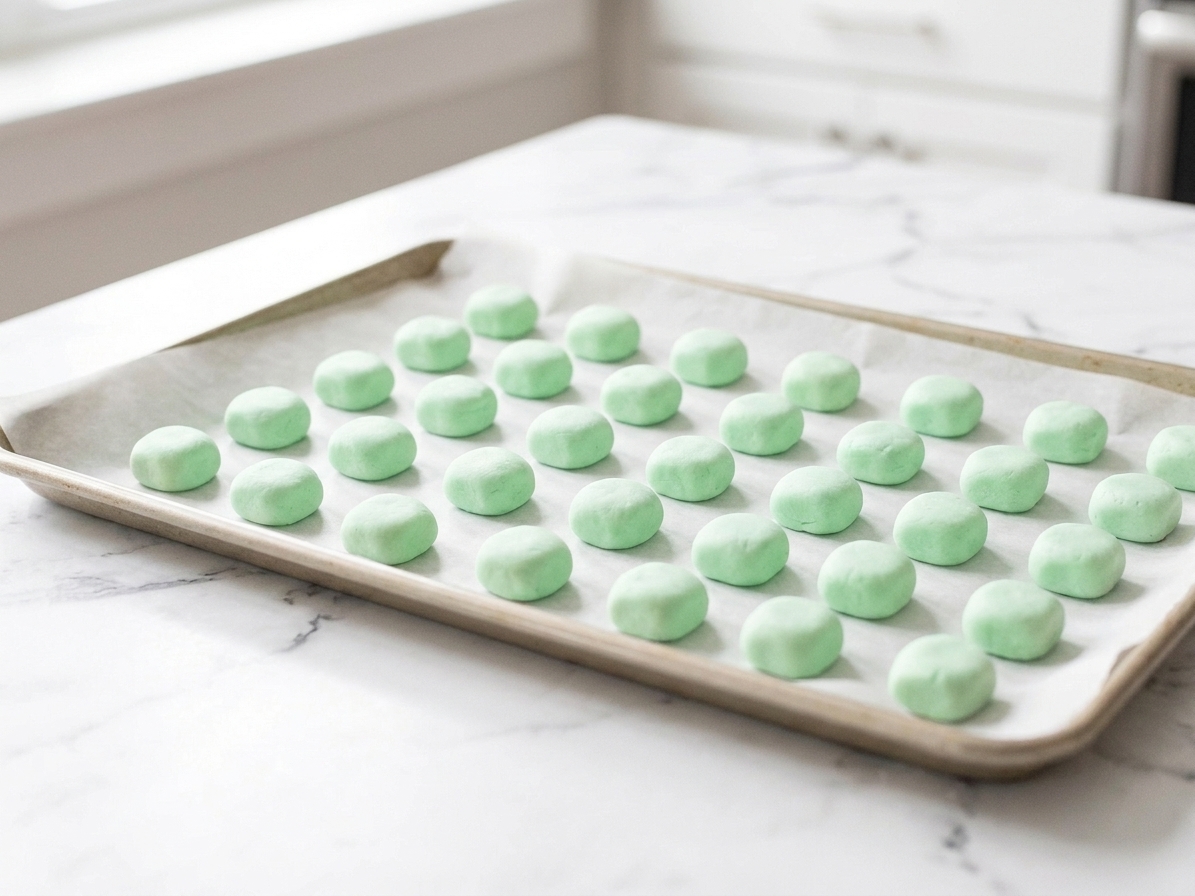
Hands rolling pale green mint dough into a rope on a powdered sugar dusted countertop

I learned butter mints the way I learn most kitchen things: by eating one at a gathering, pretending I was only going to have a couple, then realizing I had quietly developed a problem. They are sweet, yes, but it is that creamy “vanilla-butter” vibe that gets me. The first time I made them at home, I tinted them a soft pastel green and rolled them into tiny pillows like the ones from old wedding receptions. It felt like baking and craft night had a very delicious baby.