Mom's Best Recipes
Recipe

Buttermilk Fried Chicken Tenders

A quick buttermilk soak plus a crunchy, seasoned coating gives you restaurant-style tenders at home: juicy centers, crisp edges, and big flavor.

Author By Matt Campbell
4.8
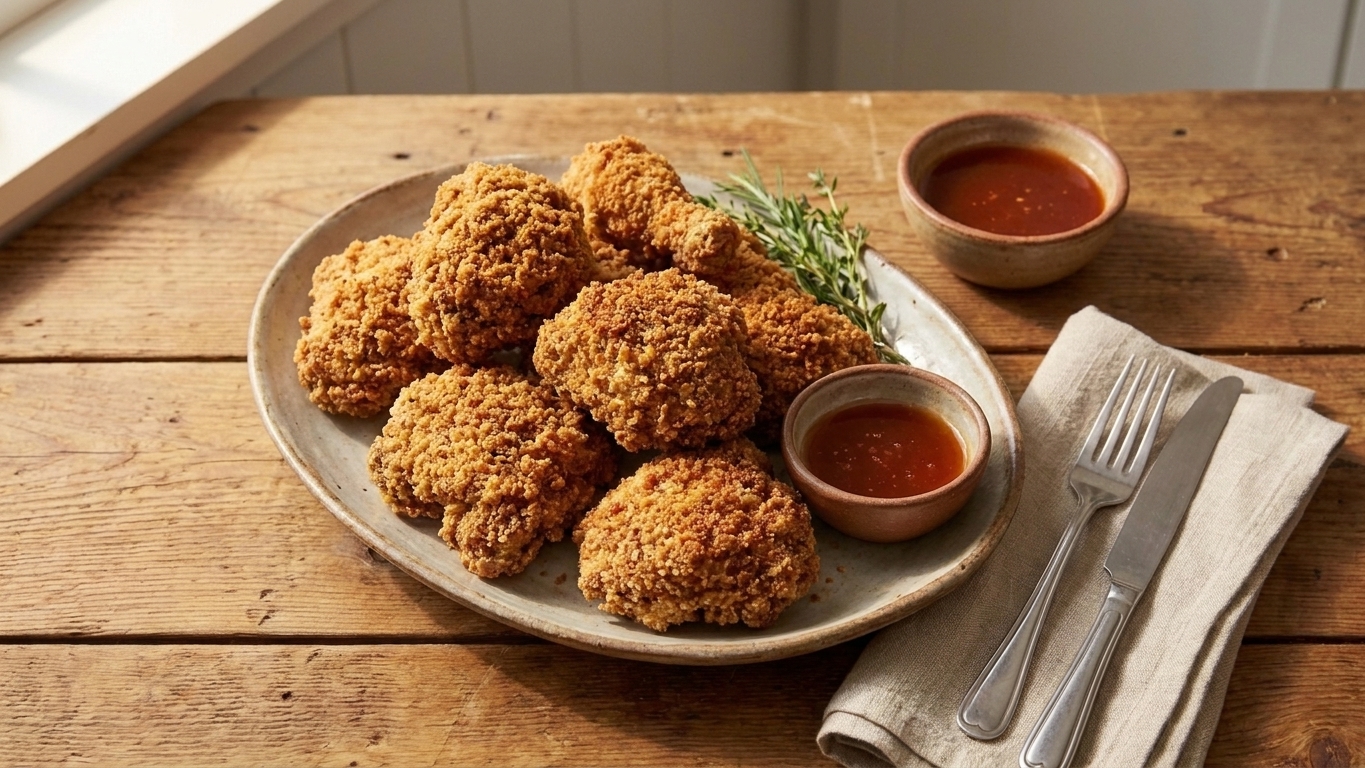
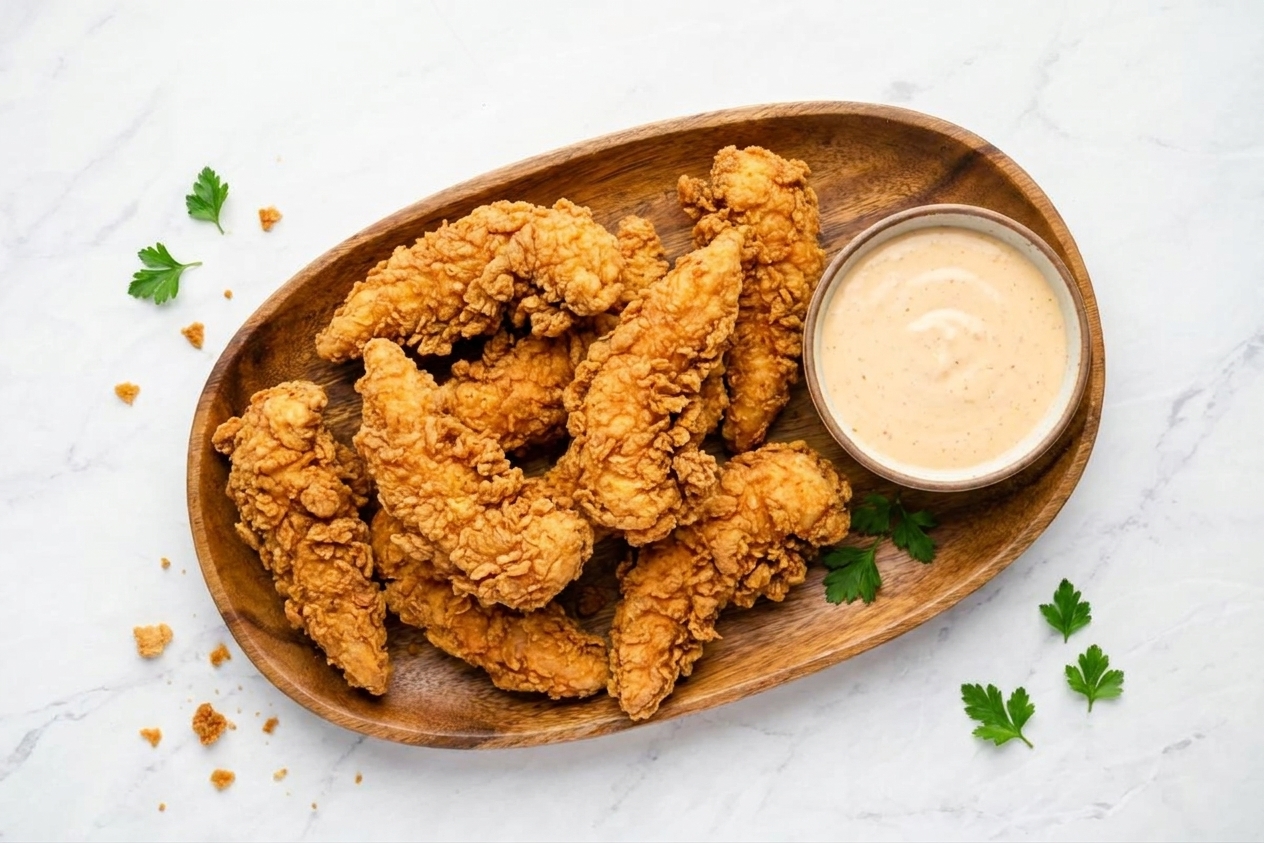
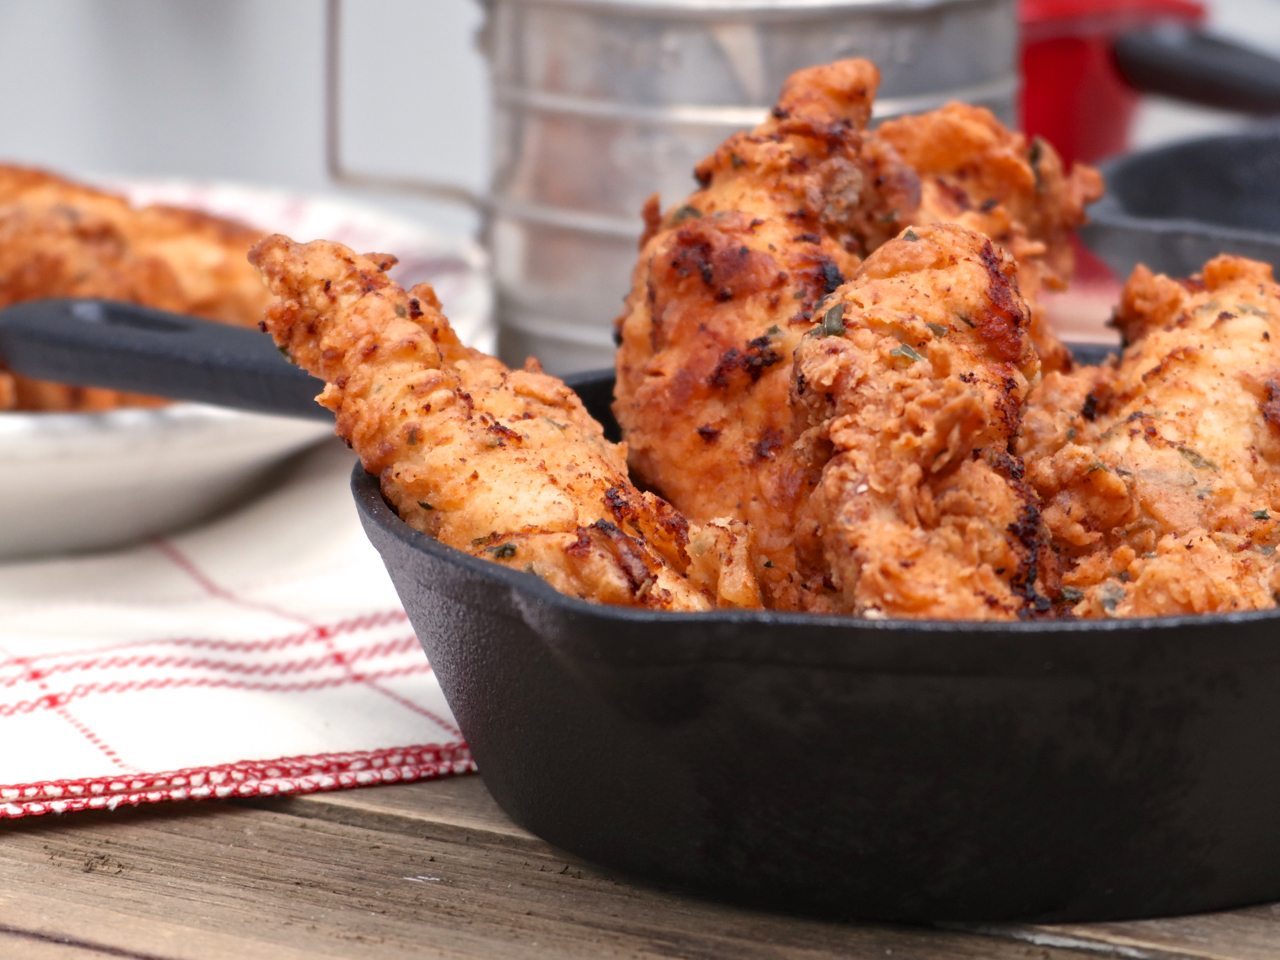
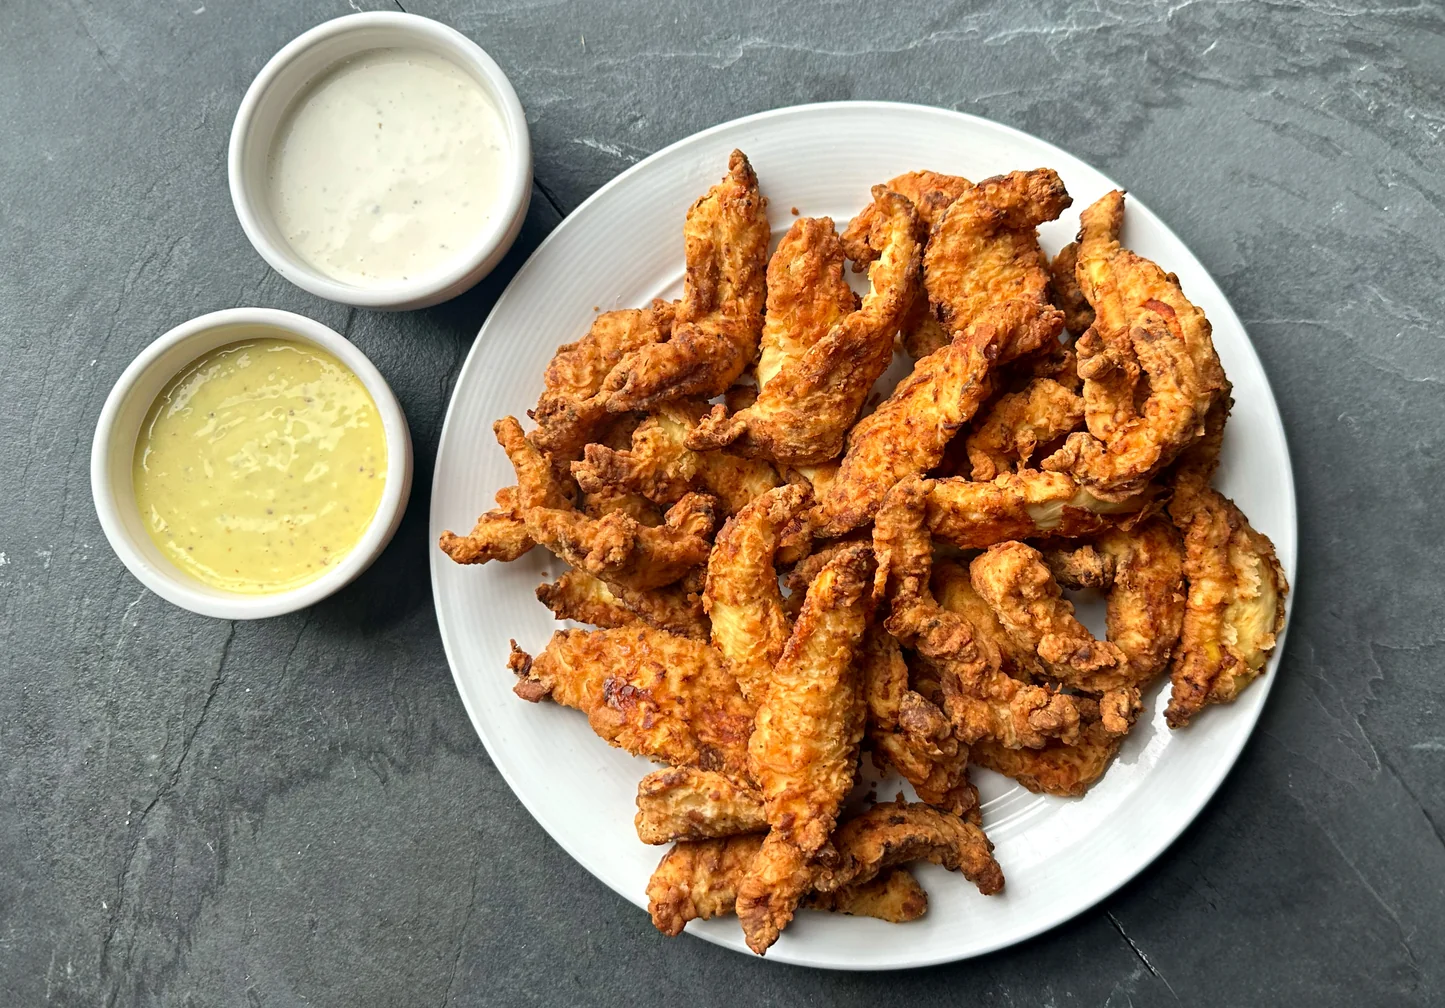
A platter of golden brown buttermilk fried chicken tenders with a craggy, crisp coating on a wooden table with a small bowl of dipping sauce

If your buttermilk is sitting in the fridge doing that thing where it quietly judges you every time you open the door, this is your sign. These buttermilk fried chicken tenders are my favorite kind of chaos: a quick soak, a crunchy dredge, and a hot pan that makes your kitchen smell like you actually have it together.

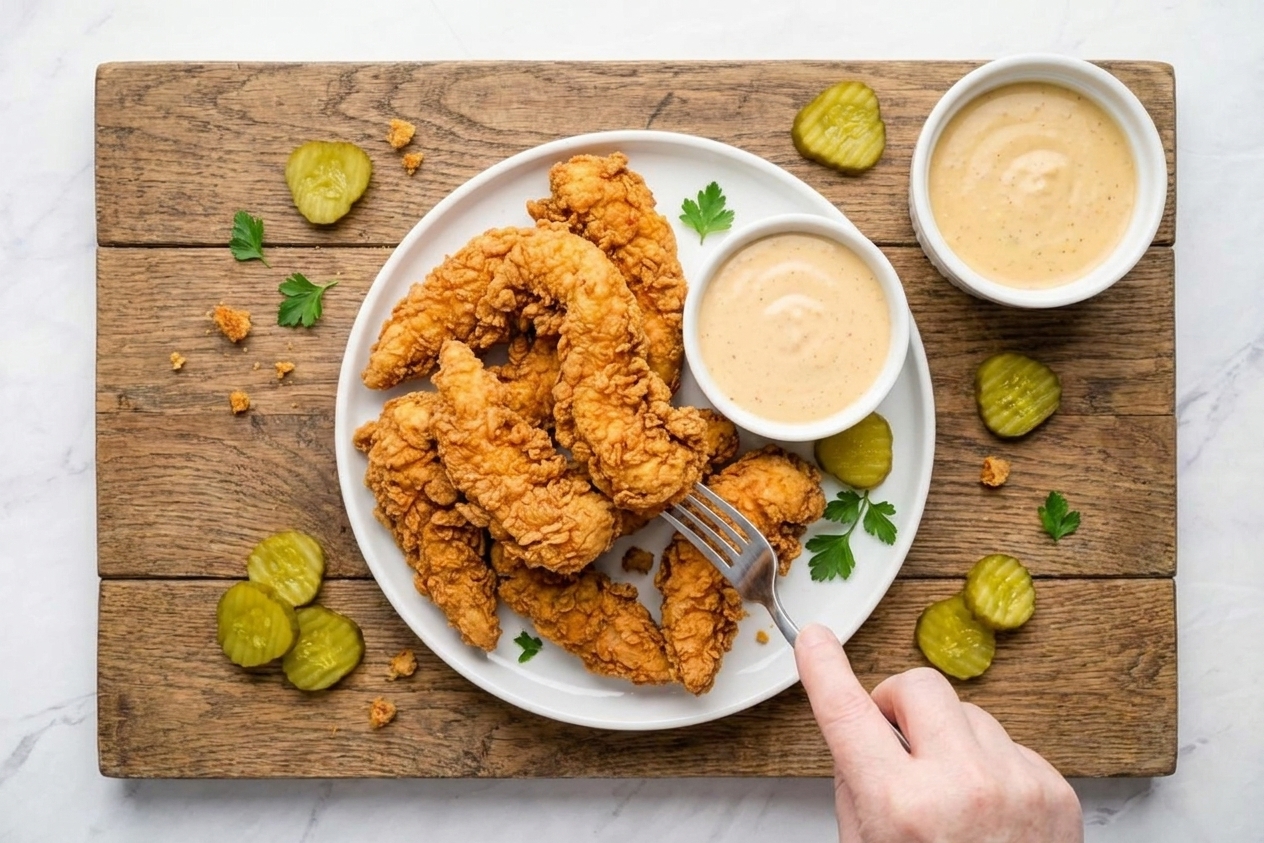
The buttermilk does two jobs at once. Its gentle acidity helps the chicken stay tender and juicy, and it gives the flour something to cling to, which means you get those craggy, crispy edges we all fight over. Serve them with honey mustard, hot sauce, ranch , or just eat one straight off the rack like a kitchen gremlin. I support it.
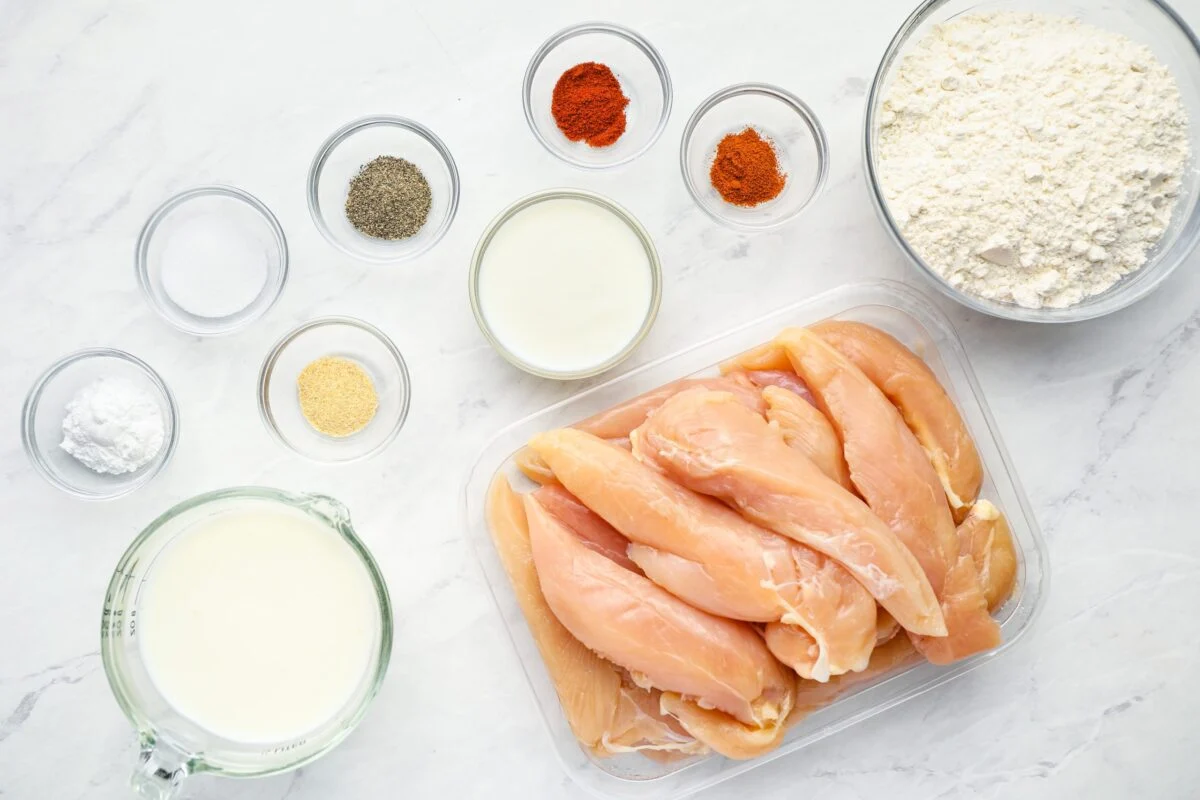
Measured ingredients for buttermilk chicken tenders including buttermilk, chicken tenders, flour, cornstarch, spices, and hot sauce arranged on a bright kitchen counter

Why It Works

  • Juicy chicken, no drama: A short buttermilk soak helps keep the tenders moist and flavorful.
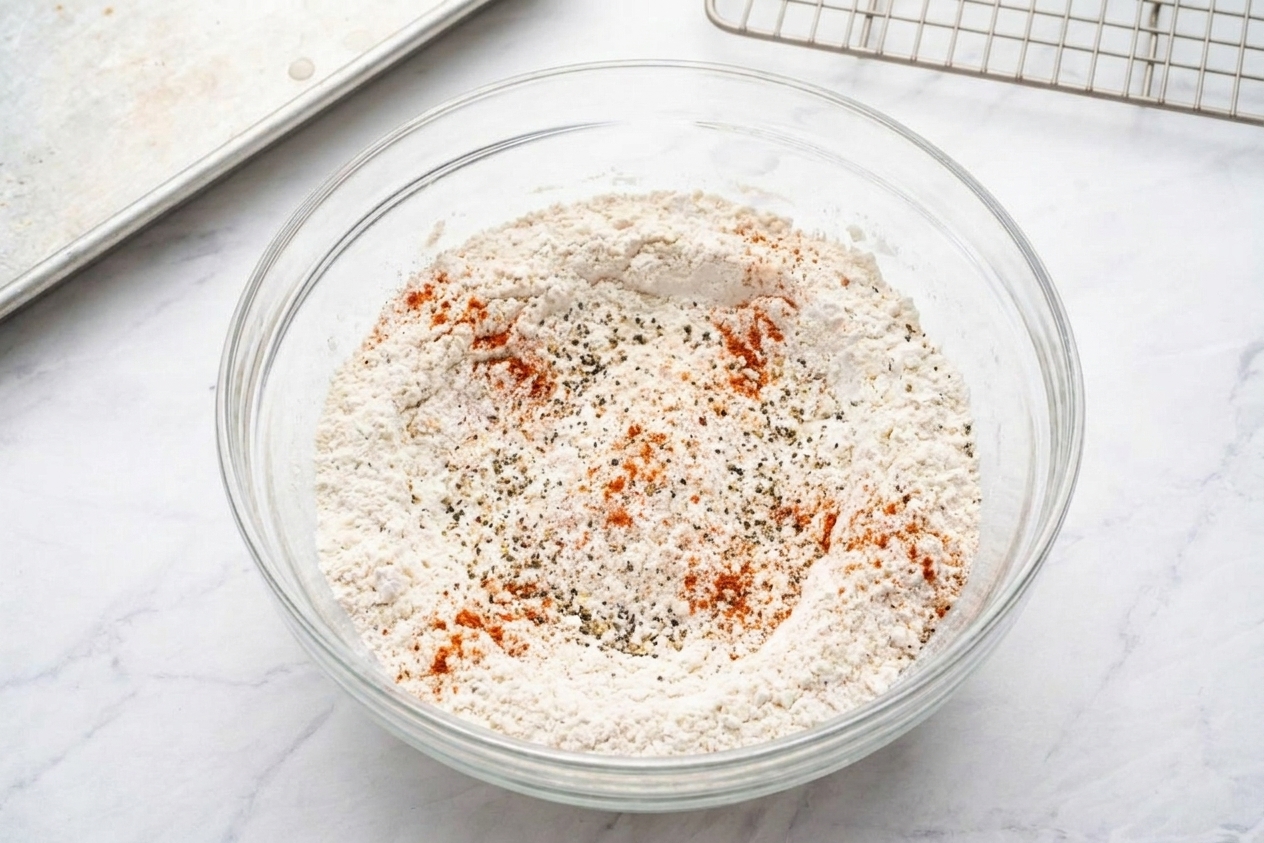
  • Crisp that actually lasts: A seasoned flour and cornstarch mix creates a light, crunchy shell.
  • Big flavor from pantry spices: Smoked paprika, garlic, and a little cayenne bring the “okay wow” bite.
  • Easy to scale: Make a small batch for weeknights or double it for a party platter.
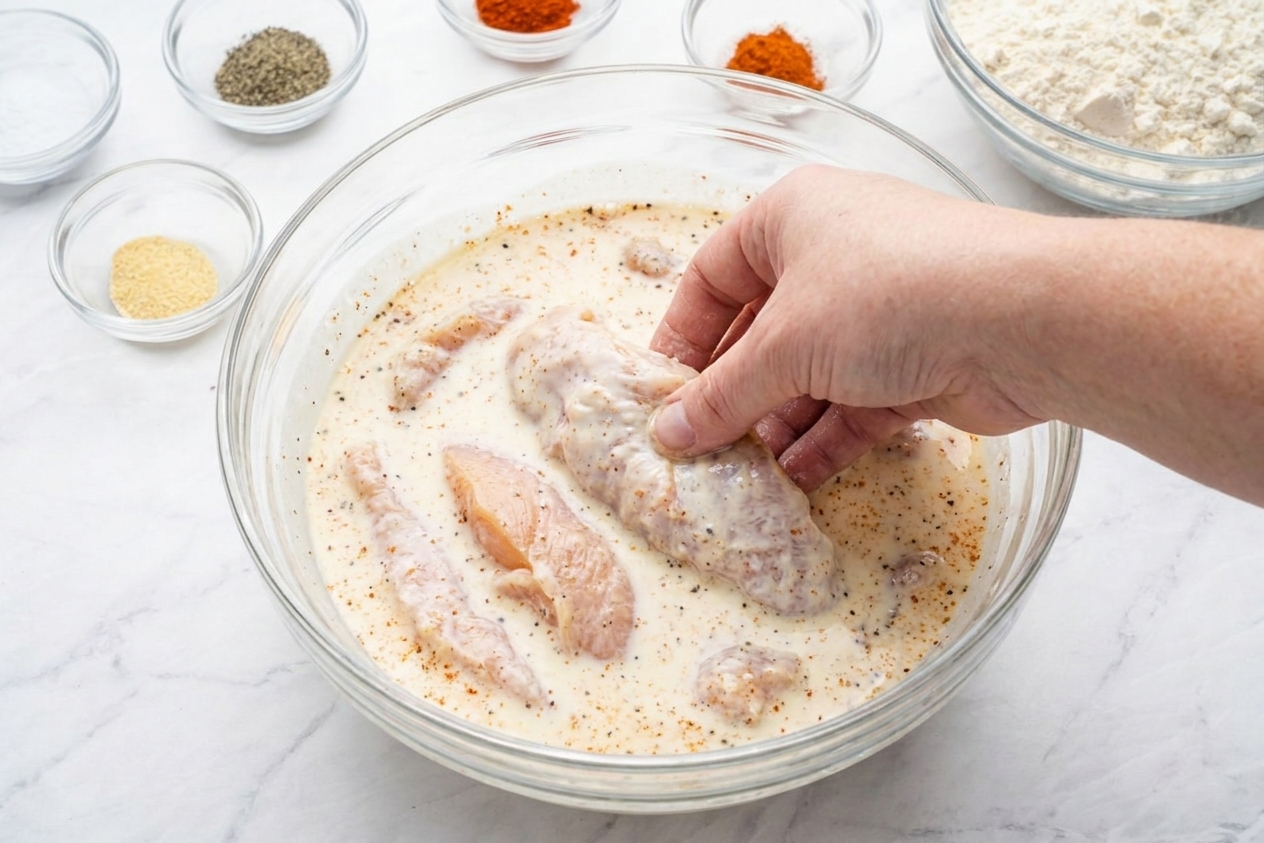
Raw chicken tenders soaking in a bowl of seasoned buttermilk on a kitchen counter

Pairs Well With

Storage Tips

How to Store and Reheat

  • Fridge: Cool completely, then store in an airtight container for up to 3 days. If you can, place a paper towel under them to catch condensation.
  • Freezer: Freeze fully cooled tenders on a sheet pan until firm, then transfer to a freezer bag for up to 2 months.
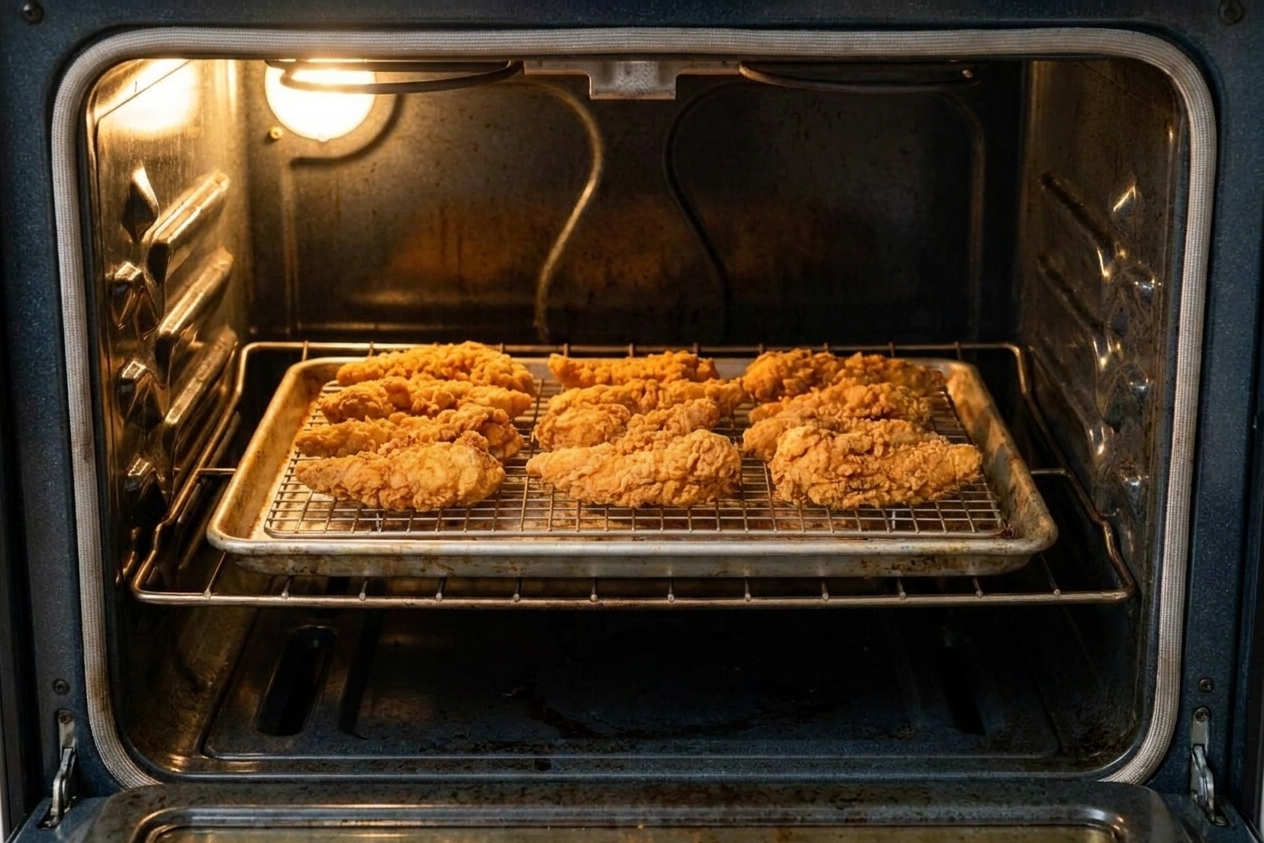
  • Reheat (best): Bake on a wire rack set over a sheet pan at 400°F for 10 to 14 minutes (longer from frozen) until hot and crisp. For best food-safety accuracy, reheat until the center hits 165°F.
  • Air fryer: 375°F for 6 to 9 minutes, flipping once, or until the center hits 165°F.
  • Avoid: Microwaving if you want crunch. It will still taste good, just softer.
Fried chicken tenders reheating on a wire rack over a baking sheet in a home oven

Common Questions

Can I use milk instead of buttermilk?

Real buttermilk gives the best tang and texture, but you can fake it in a pinch. Mix 2 cups milk with 2 tablespoons lemon juice or white vinegar, let it sit 5 to 10 minutes, then use. It will be thinner than cultured buttermilk and a little less tangy, but it still works.

How long should chicken soak in buttermilk?

Minimum 30 minutes, sweet spot 2 to 4 hours. You can go overnight, but the texture can get a bit too soft if it sits much longer than 12 hours.

Why is my coating falling off?

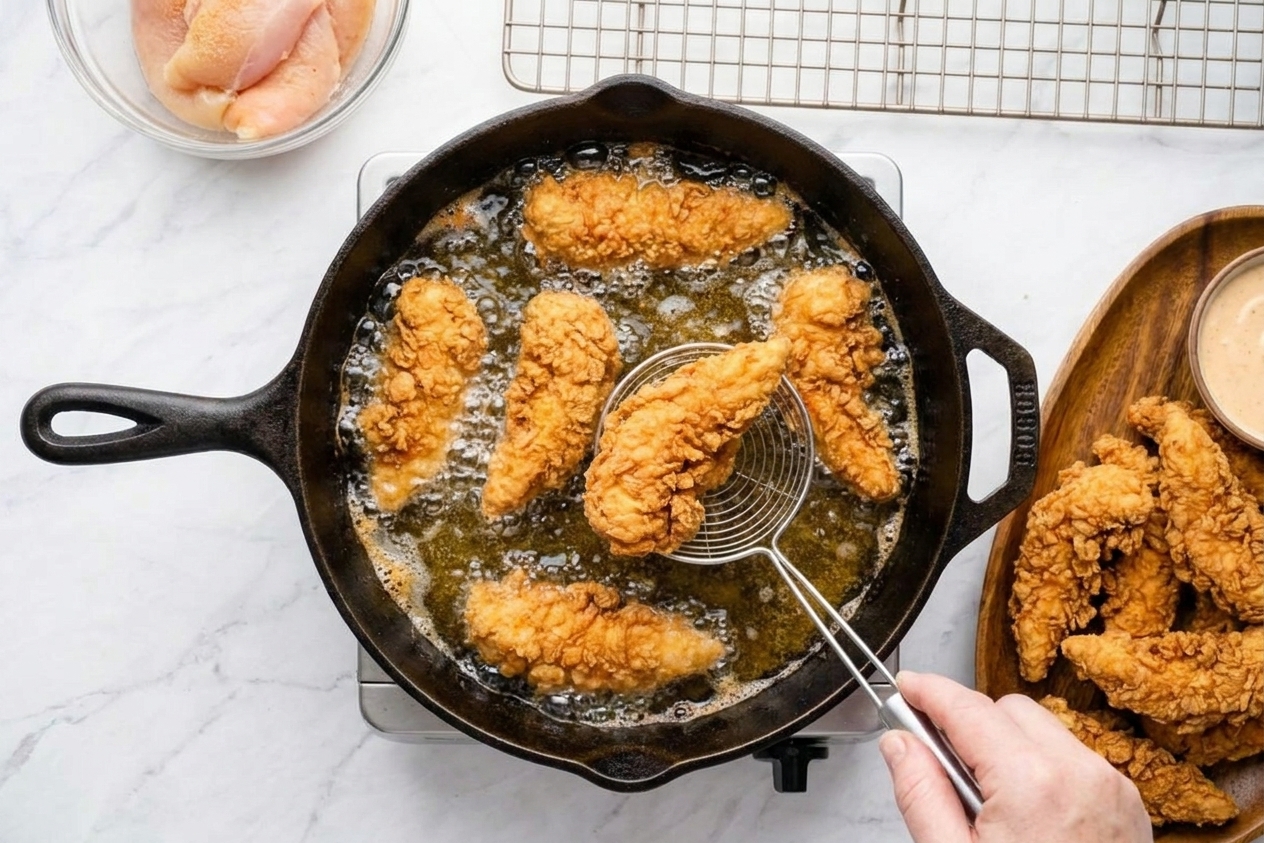
  • Oil not hot enough. Aim for 350°F, and let it recover between batches.
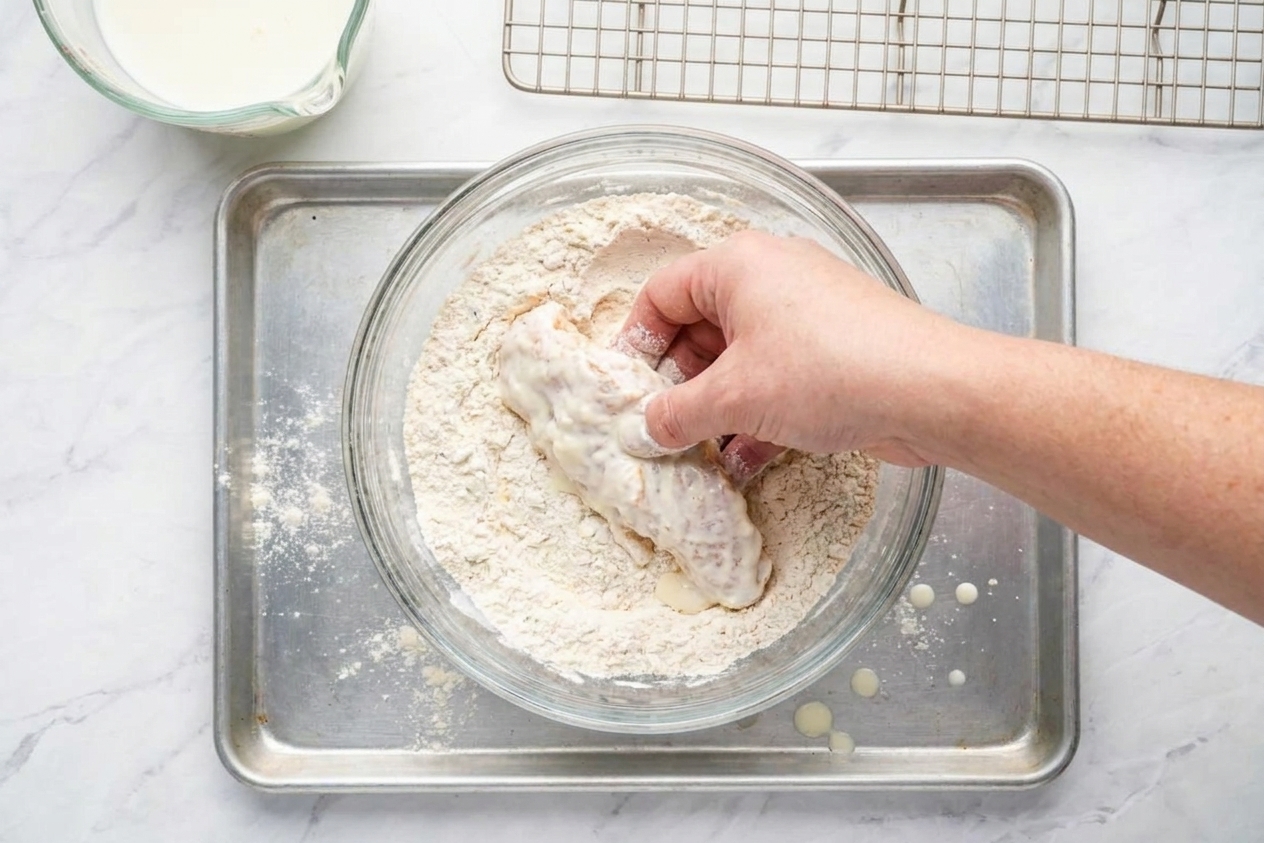
  • Skipping the rest after dredging. Let coated tenders sit 10 minutes so the flour hydrates and grips.
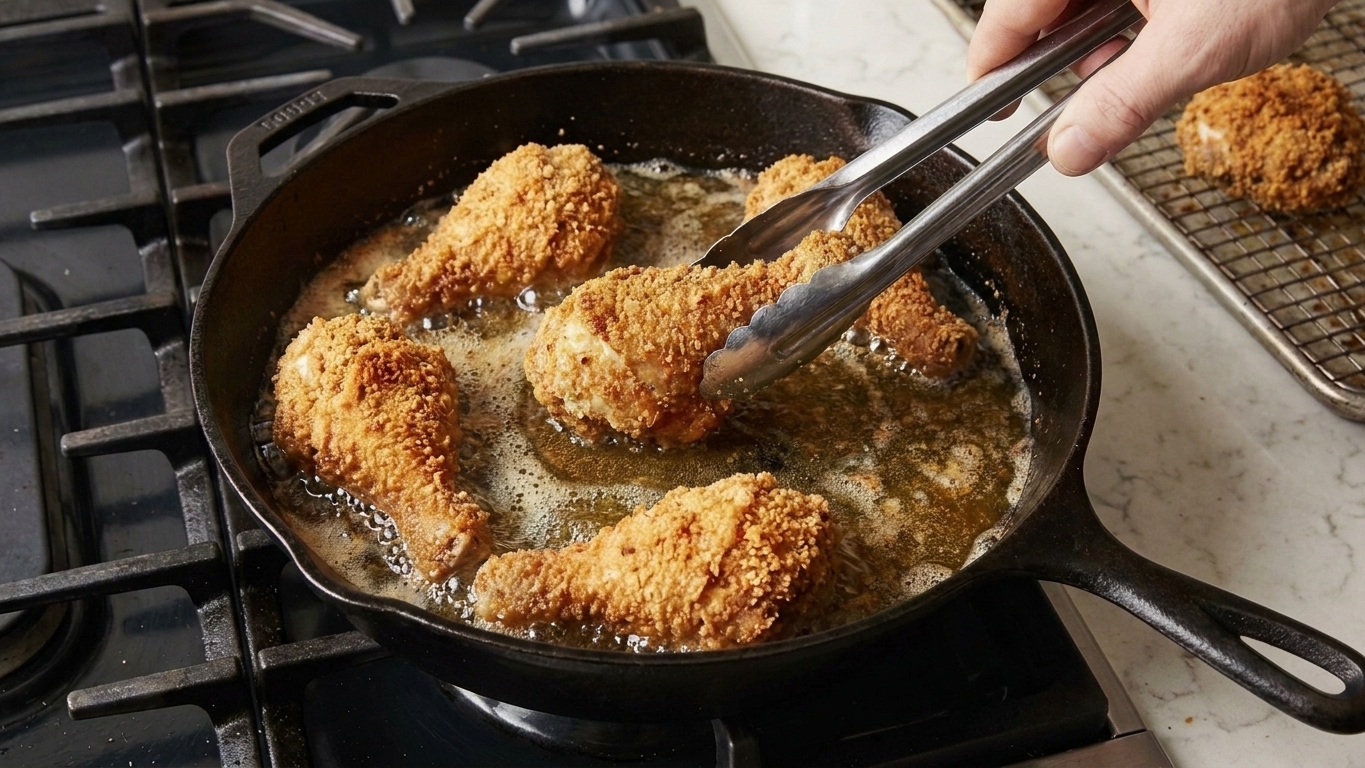
  • Moving them too soon. Once they hit the oil, let the crust set for about a minute before nudging.

Can I bake these instead of frying?

Yes, but they will be more “crispy baked” than “fried crunchy.” Bake on a wire rack at 425°F, spray both sides with oil, and cook 16 to 20 minutes, flipping halfway. Cook until the thickest tender hits 165°F.

What oil is best for frying?

Use a neutral high-heat oil like peanut, canola, vegetable, or avocado oil. Olive oil is not ideal here.

Do I need to double dredge?

Nope. This recipe is a single dredge for quick, weeknight-friendly crunch. If you want extra craggy edges, you can dip the floured tenders back into the buttermilk briefly, then dredge one more time, then rest 10 minutes before frying.

I used to think fried chicken at home had to be an all-day event, like you needed a special apron and a game plan taped to the fridge. Then I started making tenders instead of full pieces, and suddenly it was weeknight possible. The buttermilk soak is my little practical-skills-over-perfection moment. It is low effort, high reward, and it makes you look like you know what you are doing even if you are still figuring it out mid-sizzle.