Mom's Best Recipes
Recipe

Cherry Pie Filling

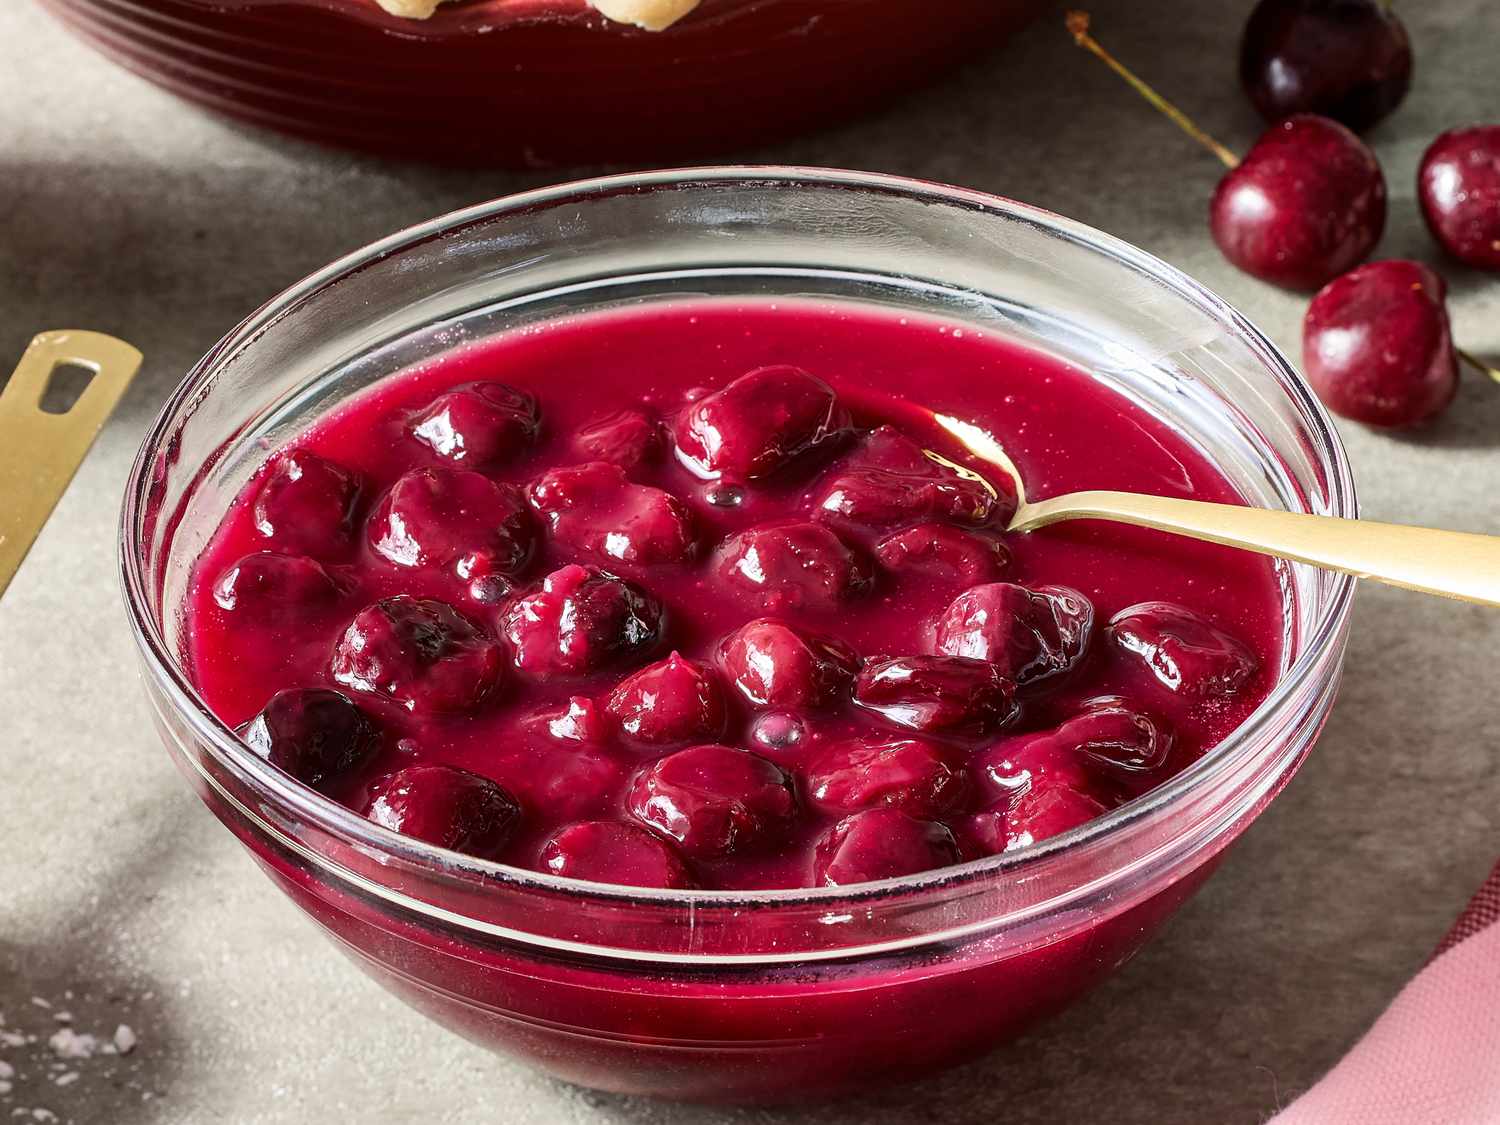
Juicy cherries in a glossy, thickened sauce that tastes bright, not cloying, and sets up for clean pie slices.

Author By Matt Campbell
4.8
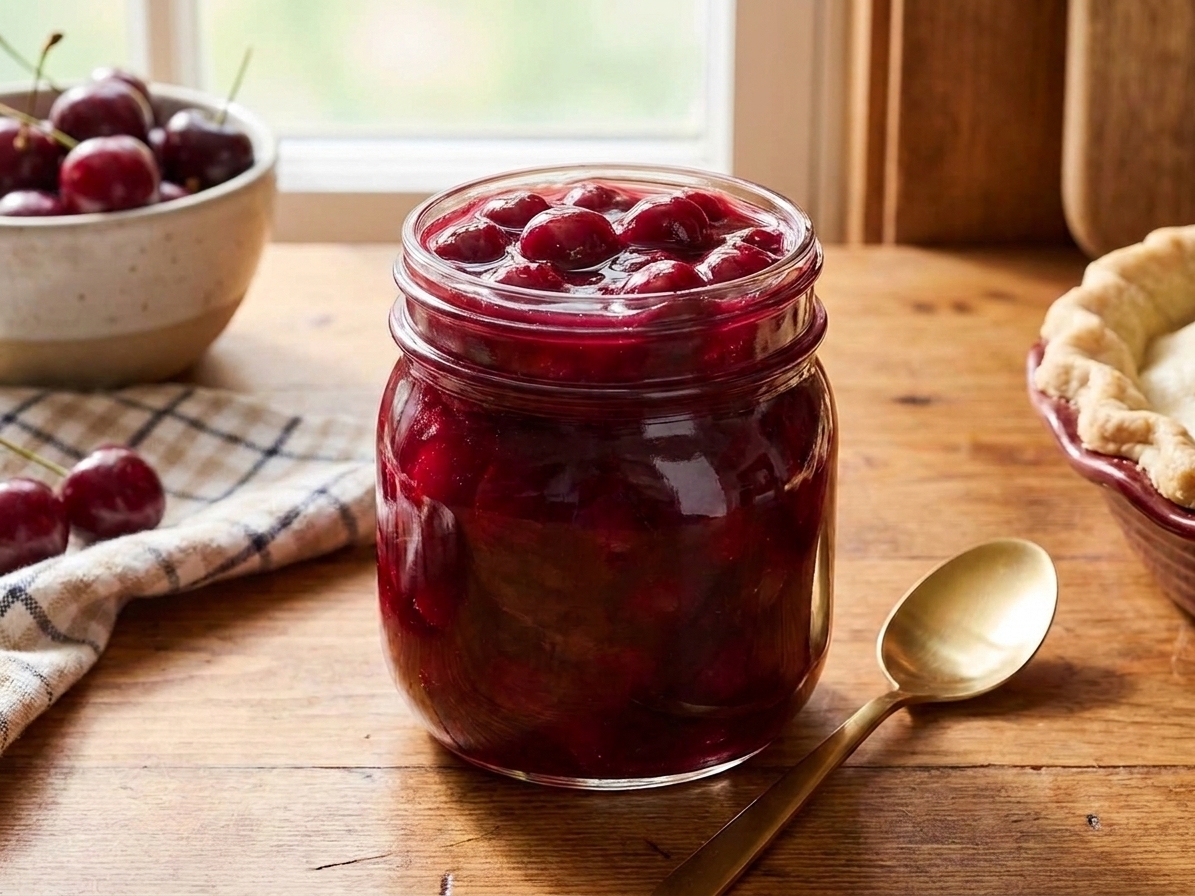
A glass jar of glossy homemade cherry pie filling with whole cherries and a spoon resting beside it on a warm-toned kitchen counter, soft natural window light

Cherry pie filling should do three things: taste like cherries, hit that sweet-tart balance that makes you go back for another bite, and set up enough that your slice does not collapse into a puddle. This is my go-to, from-scratch filling that pulls it off without weird ingredients or complicated steps.

Use it for classic pie, sure. But also keep it in your back pocket for spooning over cheesecake, swirling into yogurt, stacking in parfaits, and turning plain vanilla ice cream into something that feels like a decision you made on purpose.

Fresh sweet cherries, granulated sugar, a lemon, and small bowls of cornstarch and salt arranged on a light kitchen counter

Why It Works

  • Thick, sliceable filling: Cornstarch does the heavy lifting so the filling sets as it cools, with a glossy finish. Choose your thickness level with the cornstarch range.
  • Bright flavor: Lemon juice and a touch of almond extract make the cherry flavor pop without tasting like candy.
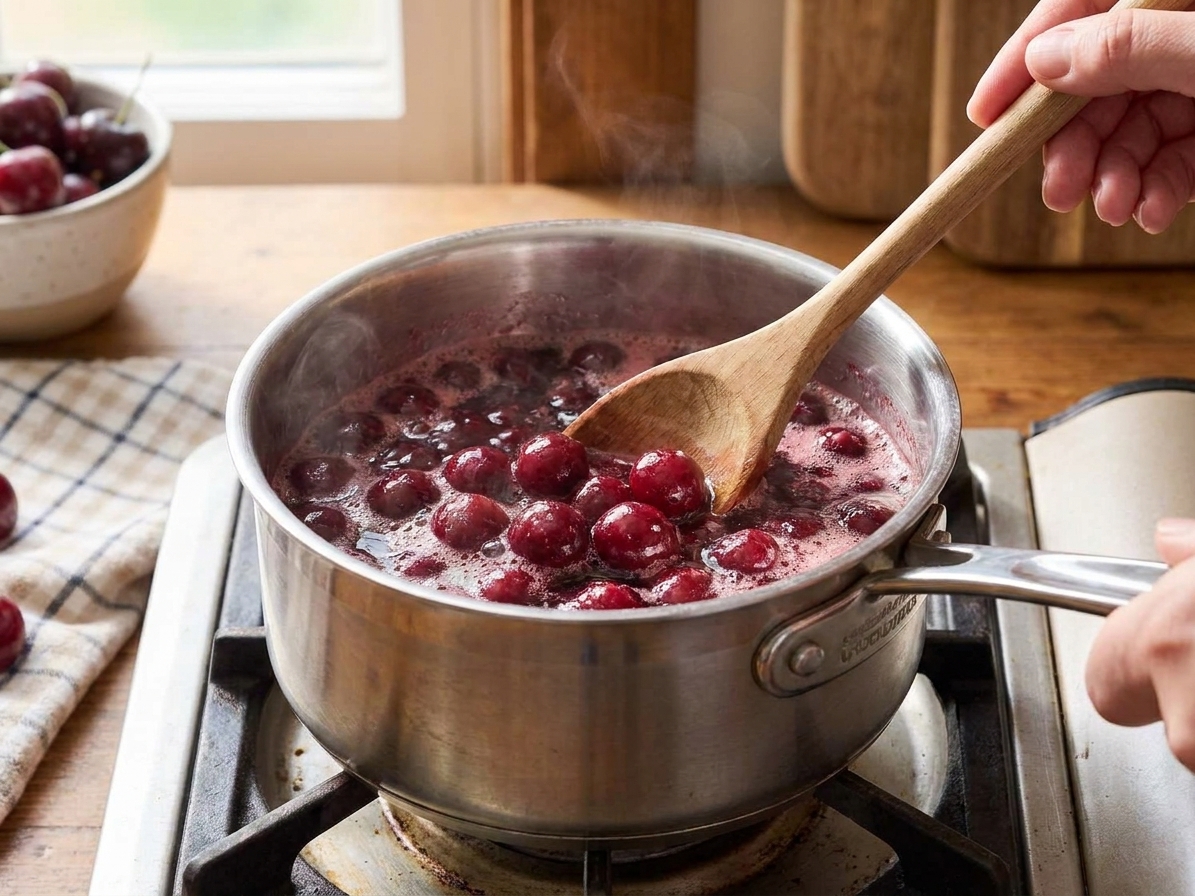
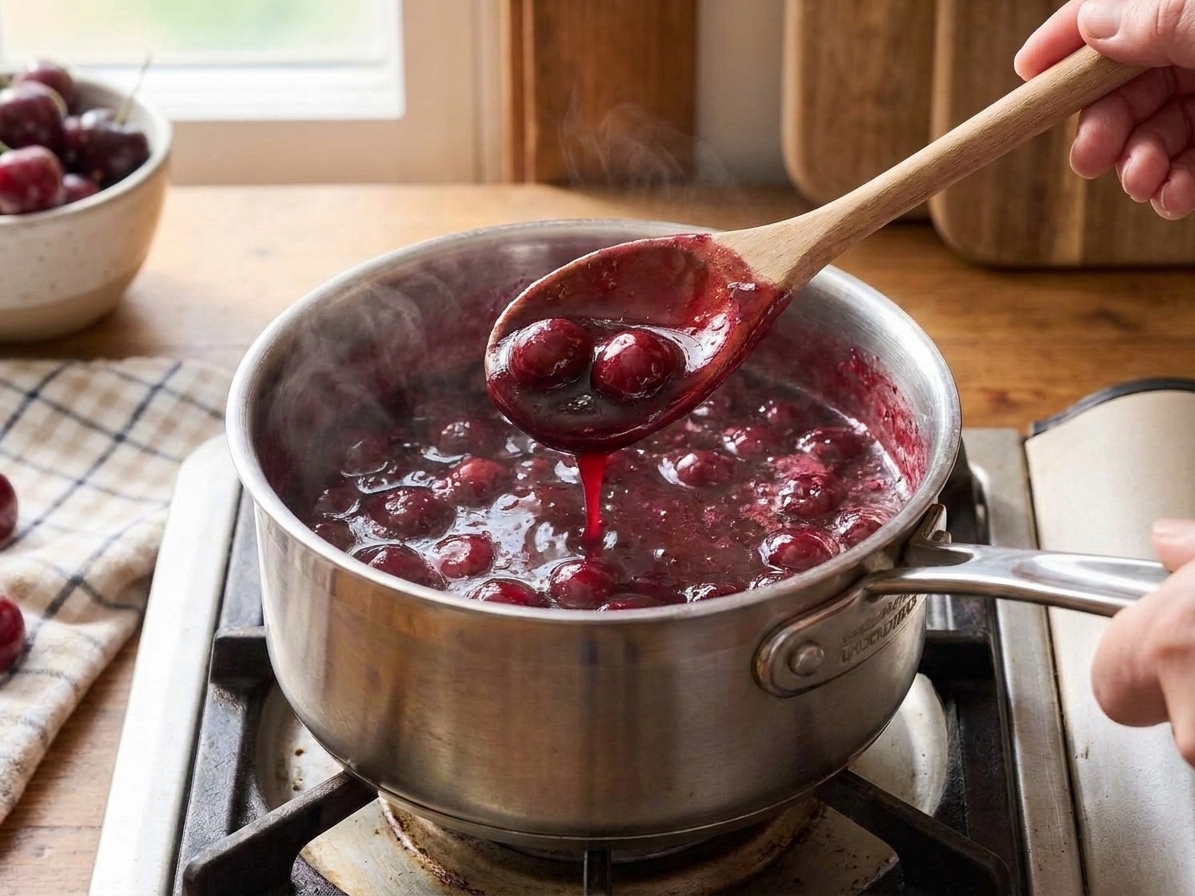
  • Whole fruit texture: We simmer just long enough to soften the cherries and build sauce, but not so long they turn to jam.
  • Flexible: Works with fresh or frozen cherries, and you can adjust sweetness based on how tart your fruit is.

Pairs Well With

Storage Tips

How to Store Cherry Pie Filling

  • Refrigerator: Cool completely, then store in an airtight container for up to 5 days. The filling will thicken more as it chills.
  • Freezer: Freeze in a freezer-safe container (leave a little headspace) for up to 3 months. Thaw overnight in the fridge. Note: cornstarch-thickened fillings can loosen slightly after freezing and thawing. If needed, warm gently and simmer for 30 to 60 seconds to tighten it back up.
  • Reheating: Warm gently in a saucepan over low heat or in the microwave in 20-second bursts, stirring between. If it looks too thick after chilling, add 1 to 2 teaspoons water and stir.
  • For pie: For the neatest slices, fill your crust with fully cooled, chilled filling. If you are using it in a baked crust, do not add it hot or it can soften the crust.

Common Questions

Common Questions

Can I use frozen cherries?

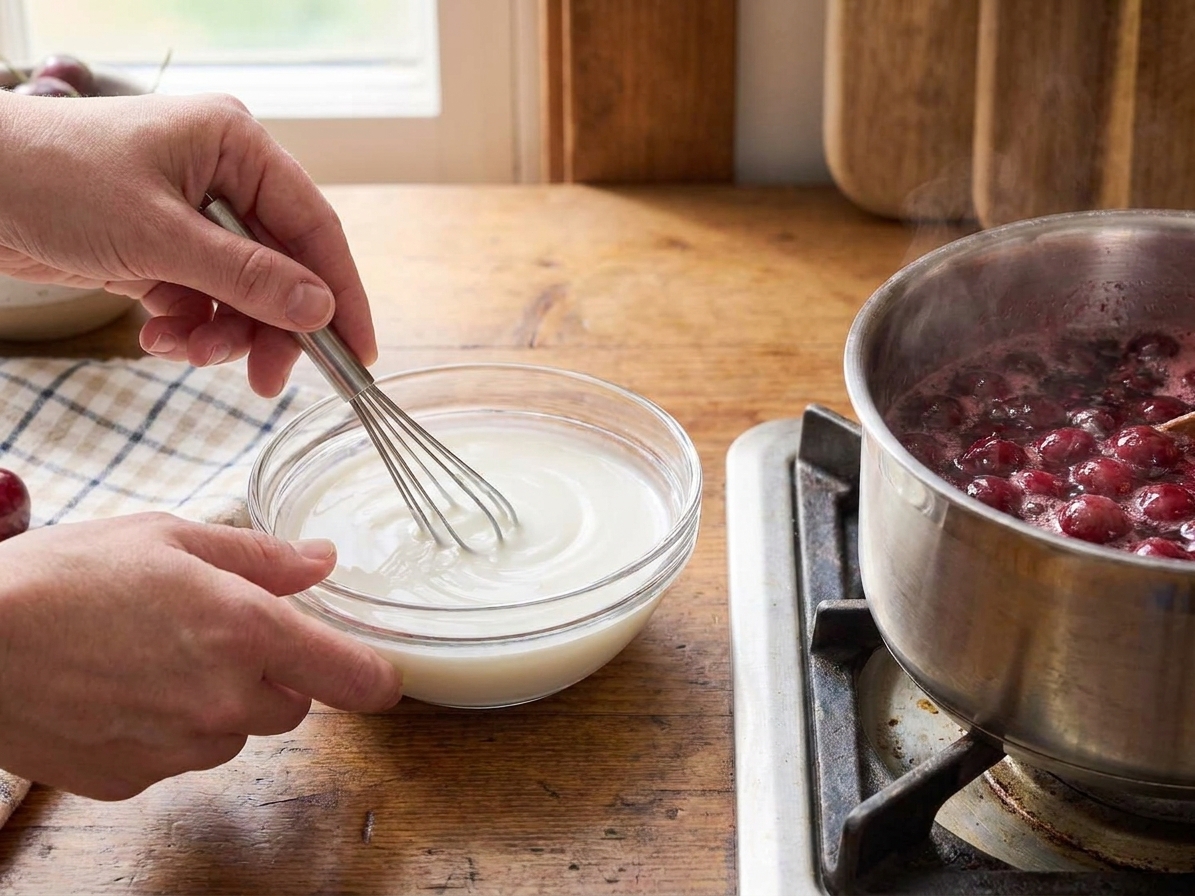
Yes. Use them straight from frozen. Frozen cherries usually release more liquid, so you will typically need less added water for the slurry. Start by whisking the cornstarch with 1/2 cup water (this water goes in the slurry bowl, not the pan). If your cherries are very dry or your pot looks like it is scorching before you add the slurry, add 1 to 2 tablespoons water to the pan just to get things moving.

How do I pit cherries fast?

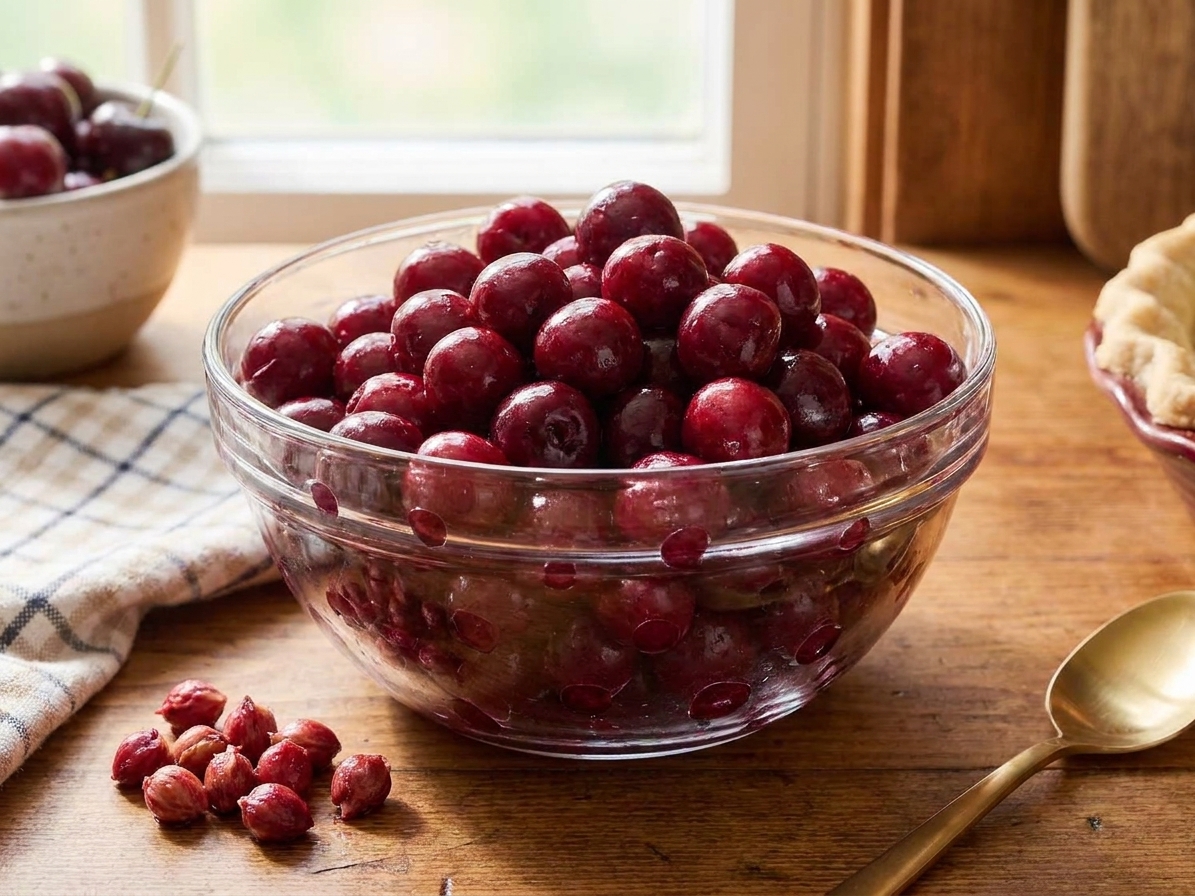
A cherry pitter is easiest. No pitter? Use a metal straw or chopstick: push straight through the stem end and pop the pit out the other side. Do it over a bowl to catch juices.

Why is my filling runny?

Three usual suspects: it did not simmer long enough after adding cornstarch, it did not cool fully (it sets as it cools), or your measurements were light on thickener. Bring it back to a gentle simmer with small bubbles for 1 to 2 minutes to re-thicken, then cool again.

Why is my filling gummy or too thick?

That can happen if there is too much cornstarch or it cooked too long at a hard boil. Fix it by whisking in a splash of water (1 tablespoon at a time) over low heat until it loosens.

Can I make it without almond extract?

Absolutely. It is optional. Vanilla works too, or just skip extract entirely and let the cherries lead.

How much filling do I need for a 9-inch pie?

This recipe yields about 4 1/2 to 5 1/2 cups depending on your cherries and how long it simmers, which is right in the sweet spot for a standard 9-inch pie.

How do I use this for a baked cherry pie?

Option 1: Classic double-crust baked pie. Even though the filling is cooked, bake it in an unbaked bottom crust so the pastry has time to properly bake. Spoon the cooled filling into an unbaked 9-inch pie crust, add a top crust (or lattice), vent, then bake at 400°F for 15 minutes. Reduce to 350°F and bake 35 to 45 minutes more, until the top is deeply golden and the filling is bubbling in spots. If the edges brown too fast, use a pie shield or foil.

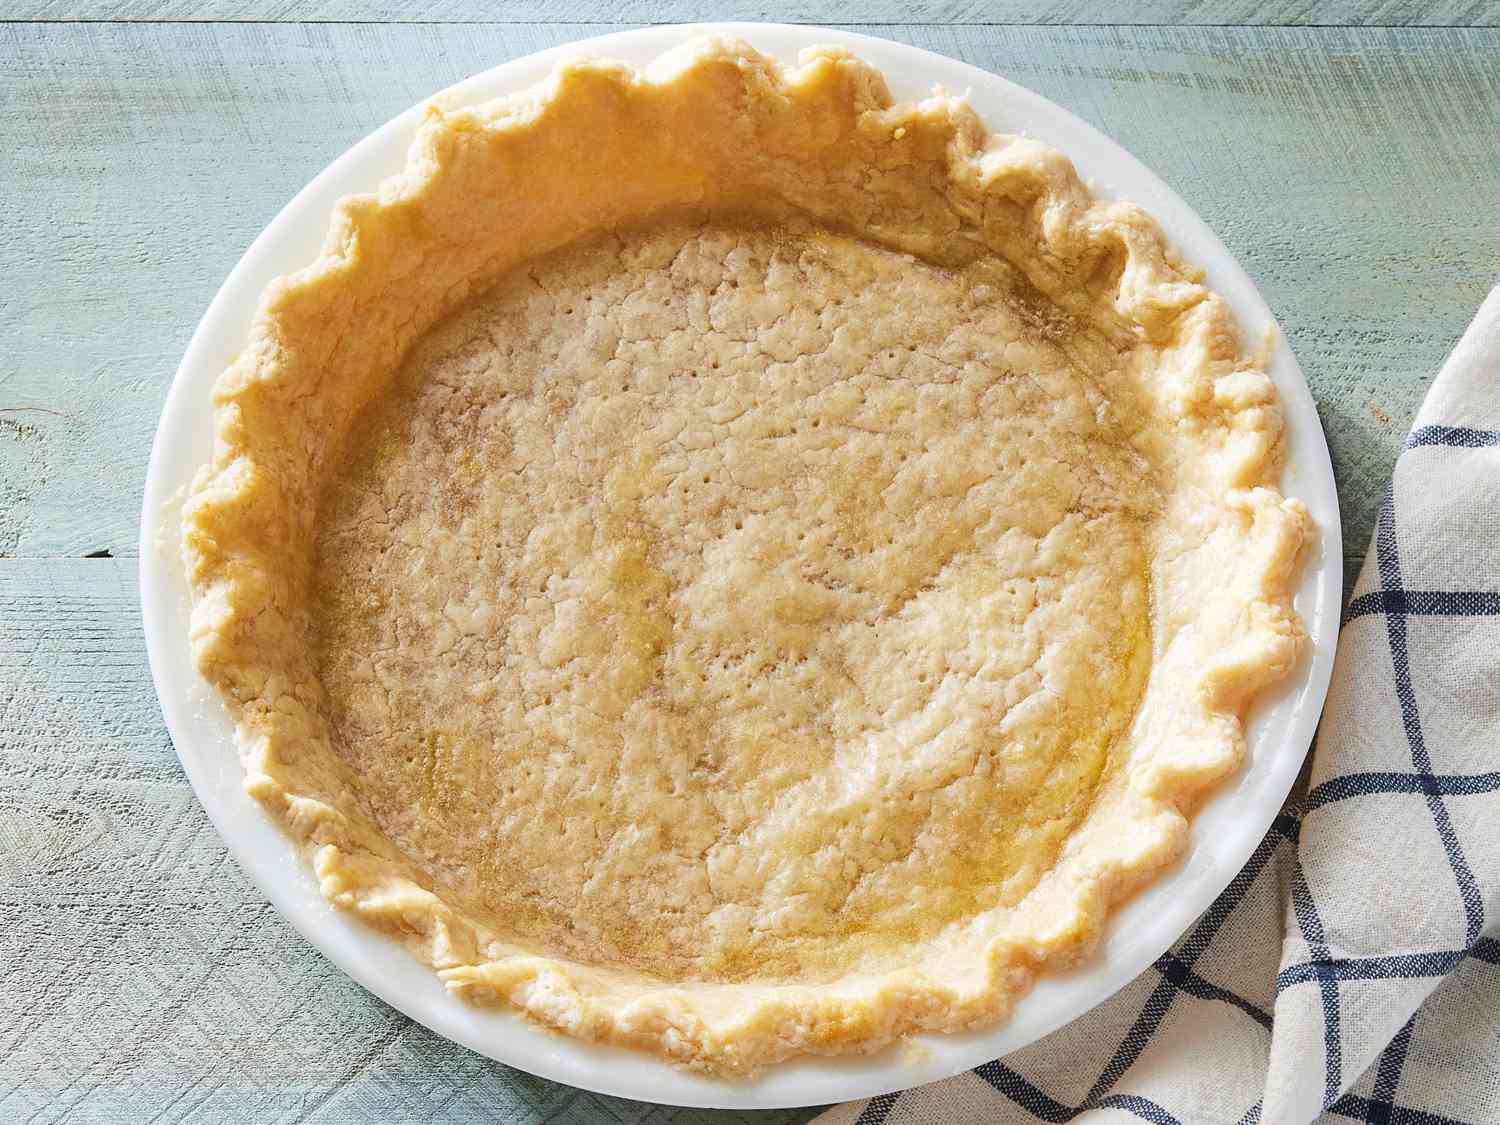
Option 2: No-bake vibe (fully baked crust). Bake your crust fully, cool it completely, then spoon in fully cooled filling. Chill until set. Skip a raw top crust here. If you want a topping, go for whipped cream, a crumb topping baked separately, or a pre-baked lattice cookie-style top.

Note on thickness for baking: If you plan to bake a double-crust pie, use the lower end of the cornstarch range for a softer set, since it will thicken a bit more as it bakes and cools.

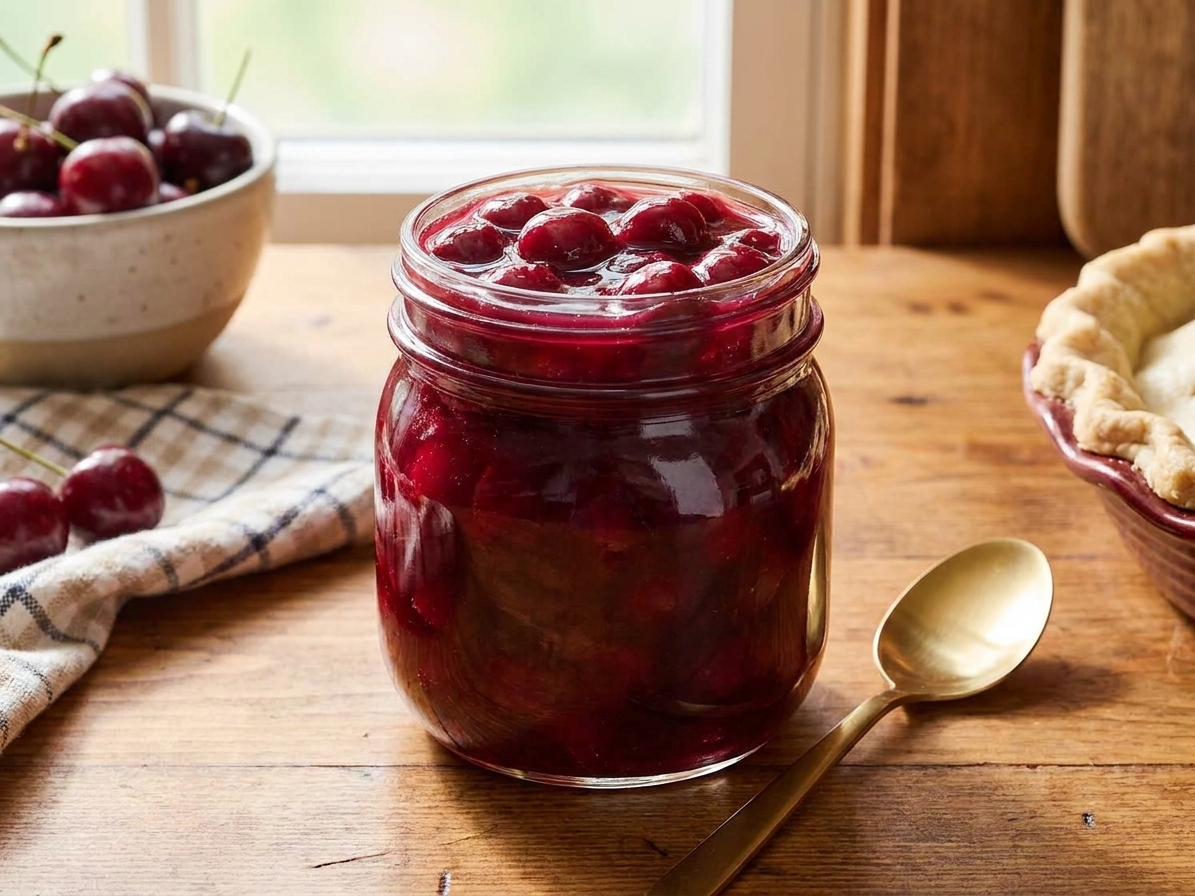
I used to think cherry pie filling was one of those “just buy it” things. Then I made it once on a random weeknight because I had a bag of frozen cherries and exactly zero plans. Ten minutes later my kitchen smelled like a bakery, and I had this glossy ruby pot of filling that tasted like actual fruit, not syrup.

Now it is my favorite kind of recipe: a little chaotic (cherry juice gets everywhere, accept it), ridiculously useful, and powerful enough to make any dessert feel like you tried.