Mom's Best Recipes
Recipe

Crispy Baked Chicken Tenders

Juicy chicken, crunchy coating, and a no-fuss oven method that actually delivers crisp edges.

Author By Matt Campbell
4.8
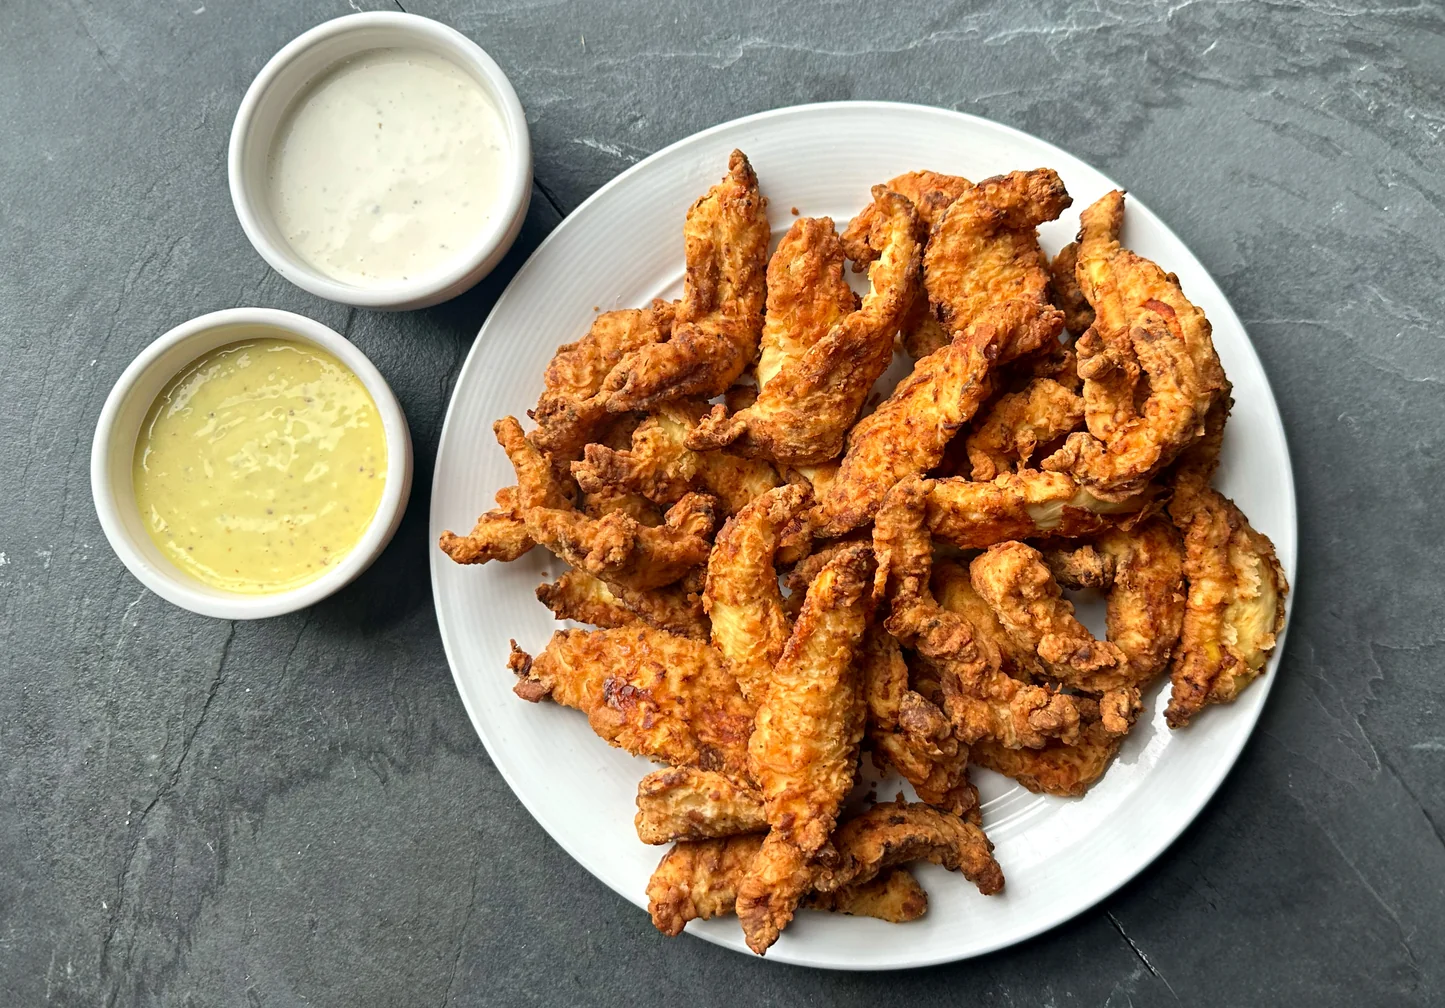
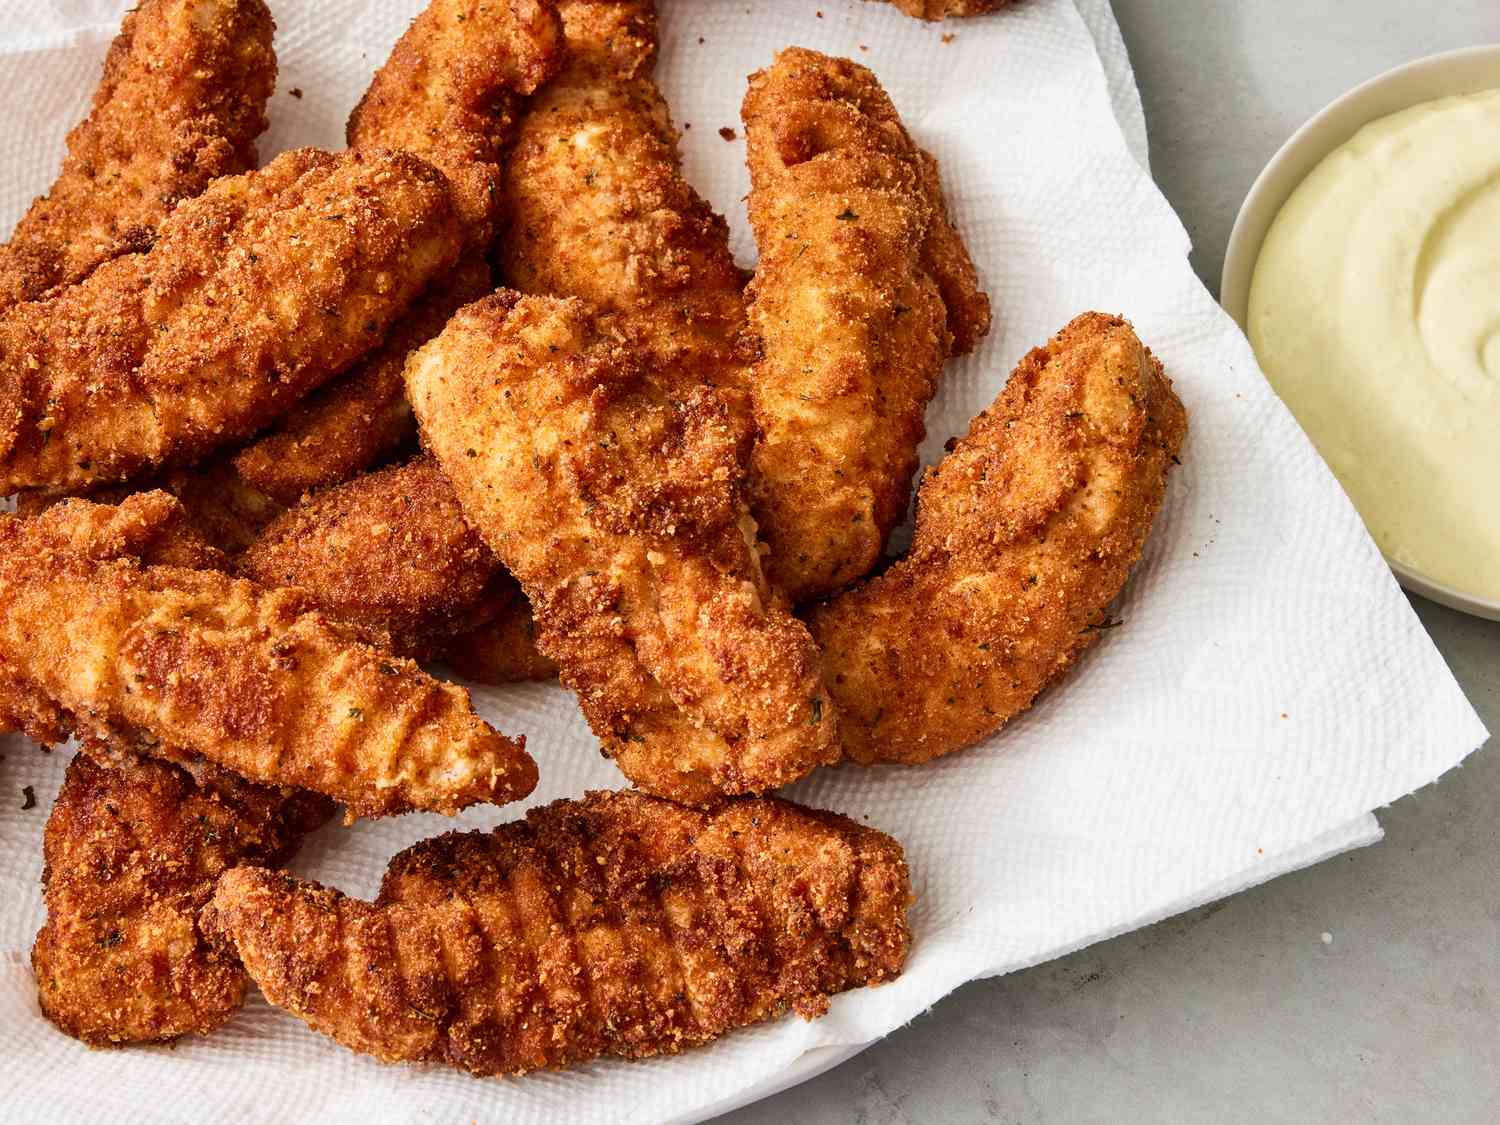
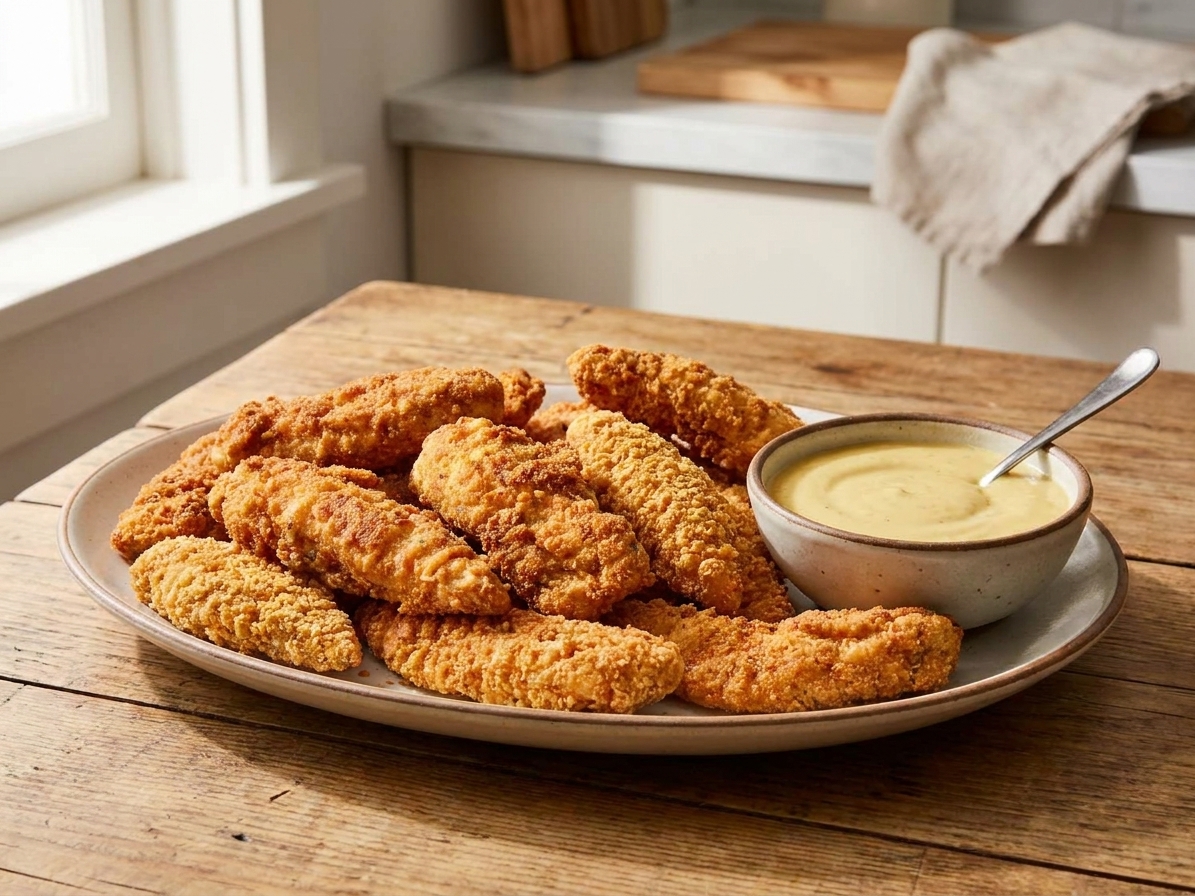
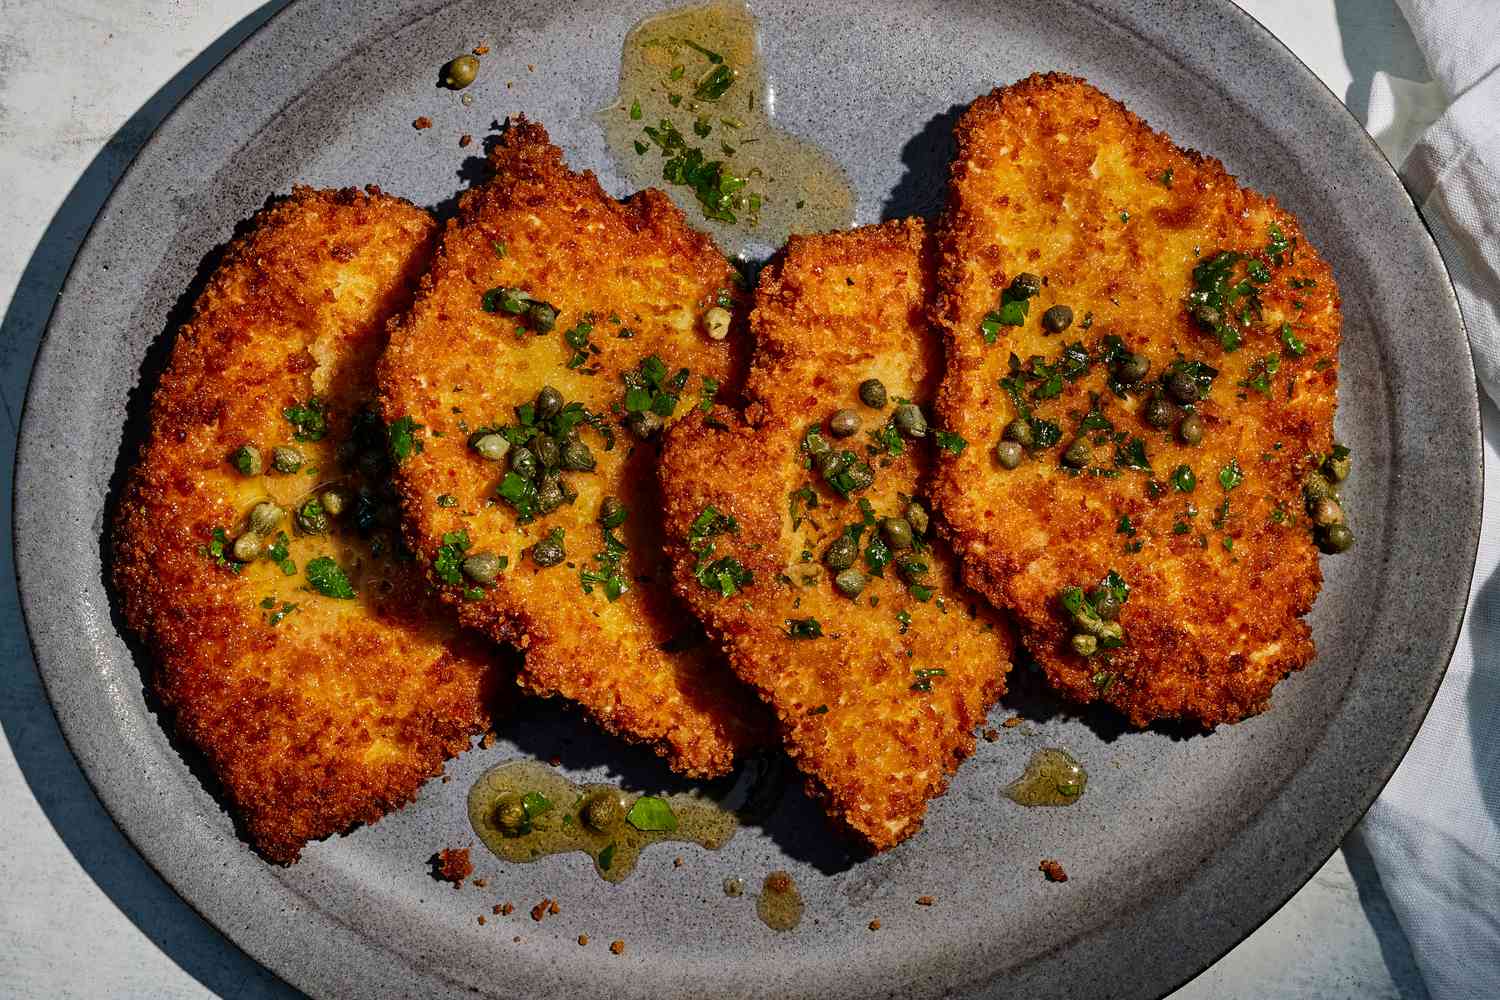
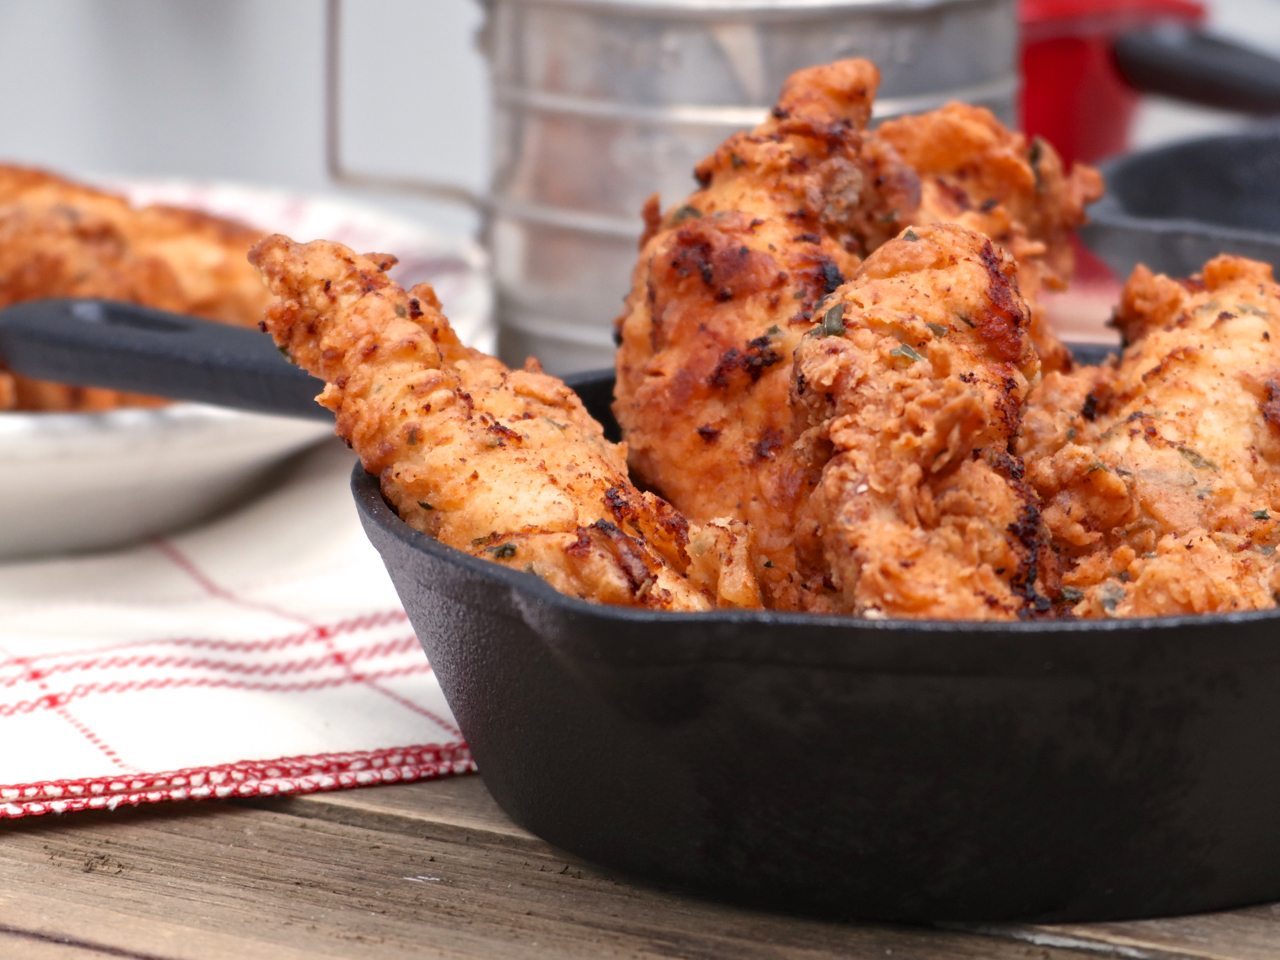
A platter of golden crispy baked chicken tenders with a small bowl of honey mustard on a simple wooden table, warm natural kitchen lighting

If you have ever made baked chicken tenders that came out pale, soft, and kind of sad, I have been there. The goal is not “technically cooked chicken.” The goal is crisp edges, a crunchy coat that sticks, and tender chicken you actually want to dunk in sauce like it is your job.

This version keeps ingredients easy (hello, pantry breadcrumbs) and uses a couple small tricks that make the oven act more like a fryer: toasting the crumbs first, using a wire rack when you can, and seasoning the coating like you mean it. The result is weeknight-friendly, kid-friendly, and fully adult-approved.
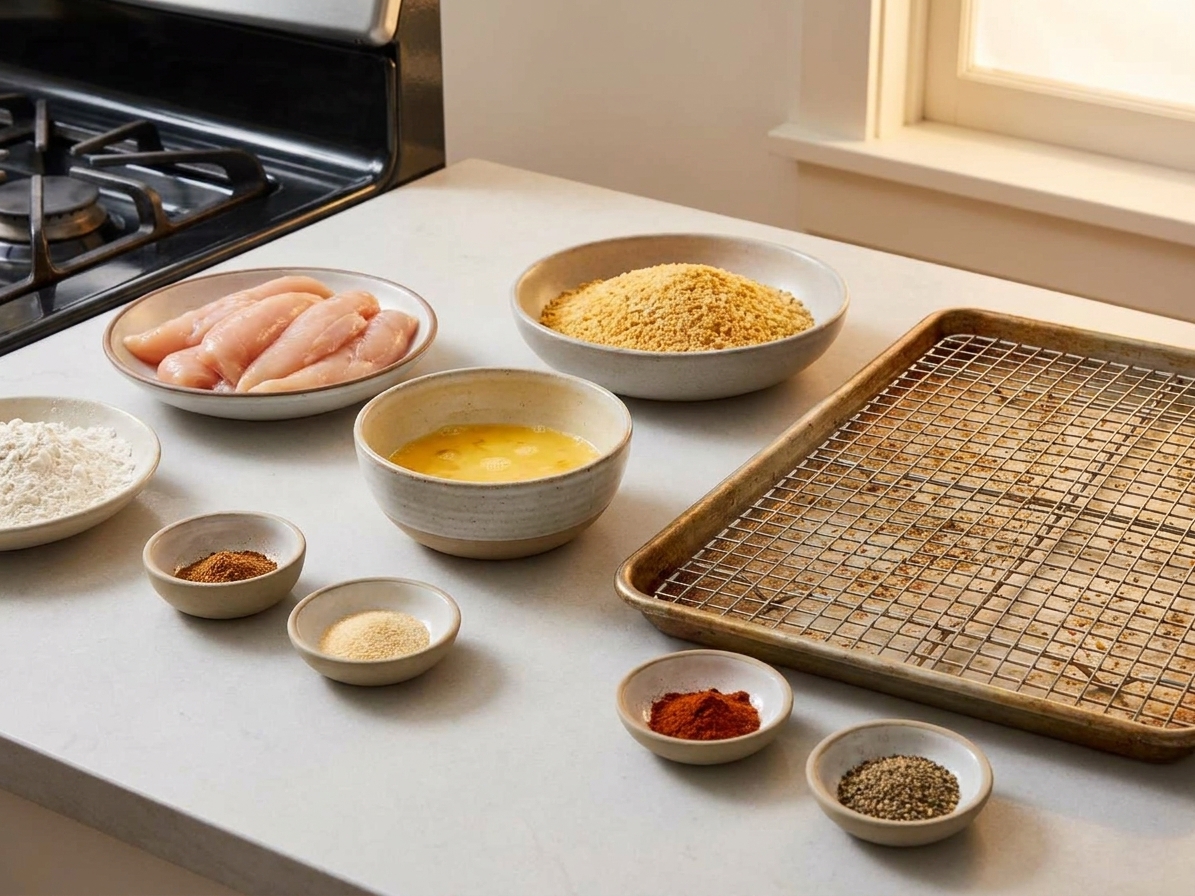
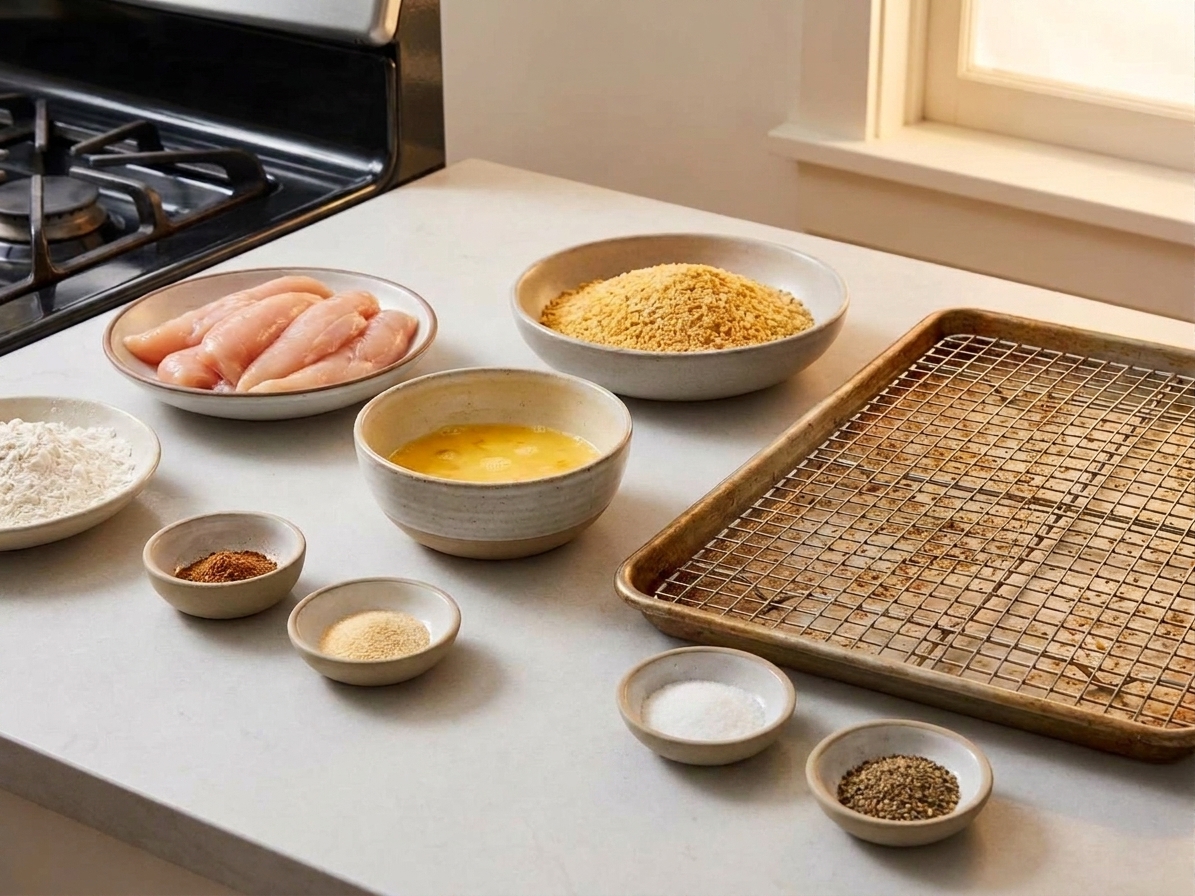
Bowls of chicken tenderloins, breadcrumbs, eggs, flour, and spices arranged on a clean kitchen counter with a sheet pan nearby, consistent warm kitchen lighting

Why It Works

  • Crunch without frying: Toasting the breadcrumbs first jumpstarts browning so you get that golden crust in the oven.
  • Coating that stays put: A simple flour and egg setup helps the breadcrumbs cling instead of sliding off in sad sheets.
  • Juicy chicken: High heat bakes quickly, keeping the tenders tender while the outside crisps.
  • Easy to scale: Double it for a crowd, or bake once and reheat for quick lunches.
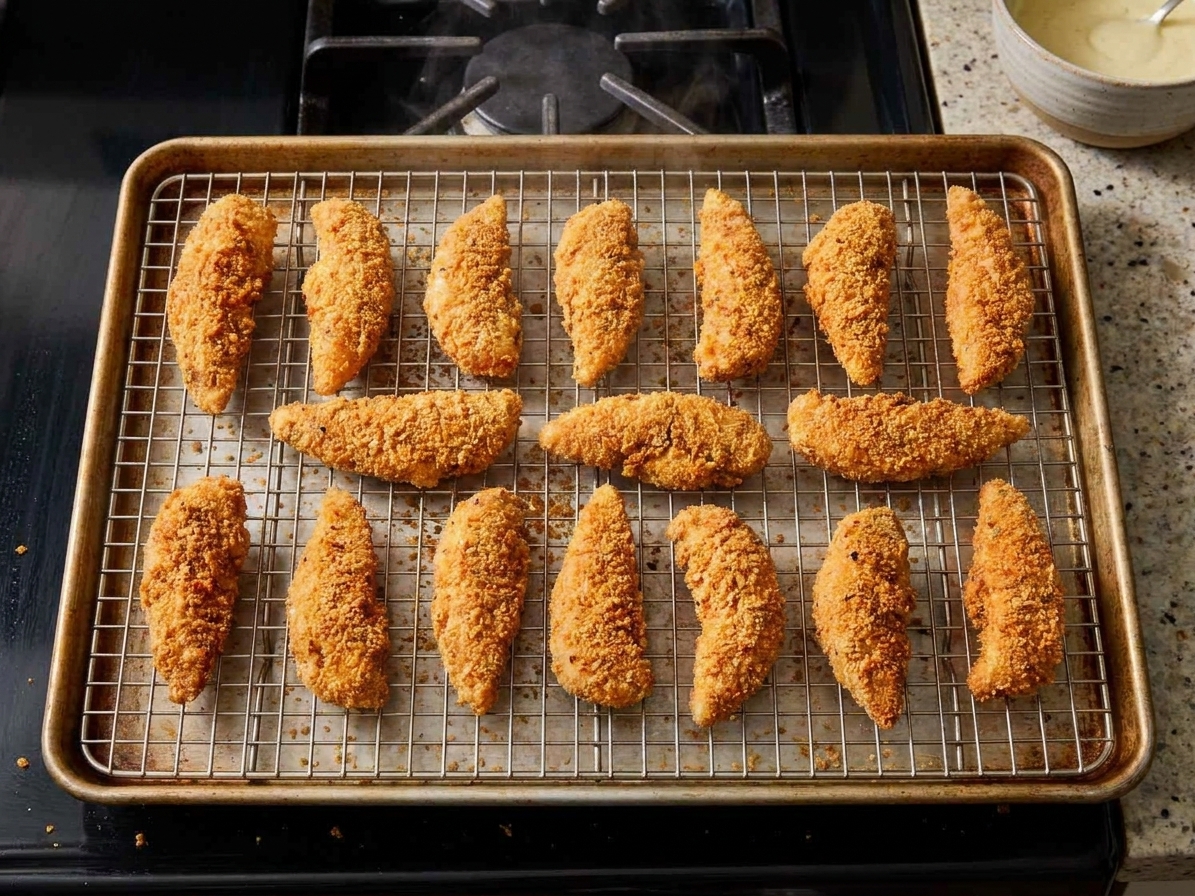
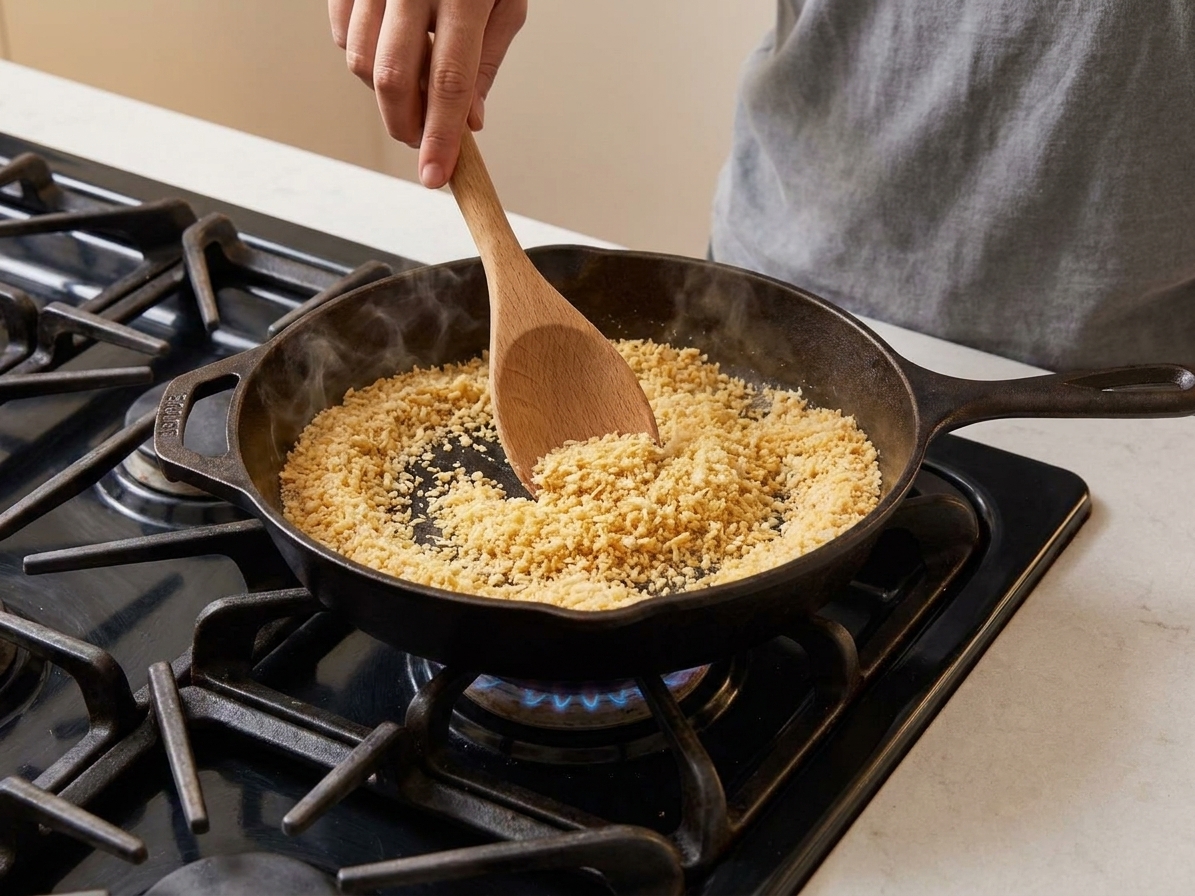
Panko breadcrumbs being toasted in a skillet until lightly golden, with a wooden spoon stirring on a stovetop under warm kitchen lighting

Pairs Well With

Storage Tips

How to Store and Reheat

Fridge: Cool tenders completely, then store in an airtight container for up to 3 to 4 days. If you can, place parchment between layers to keep the coating from going soft.

Freezer: Freeze cooked tenders on a sheet pan until solid, then transfer to a freezer bag for up to 2 months for best quality. This keeps them from freezing into one giant nugget brick.

Best reheat (stays crispy): Bake at 400°F for 8 to 12 minutes (less if refrigerated, more if frozen) until hot and crisp.

Air fryer reheat: 375°F for 4 to 7 minutes, shaking once.

Microwave note: It works in a pinch, but you will lose the crunch. If you microwave, finish in a hot oven or air fryer for a minute or two to bring the coating back to life.

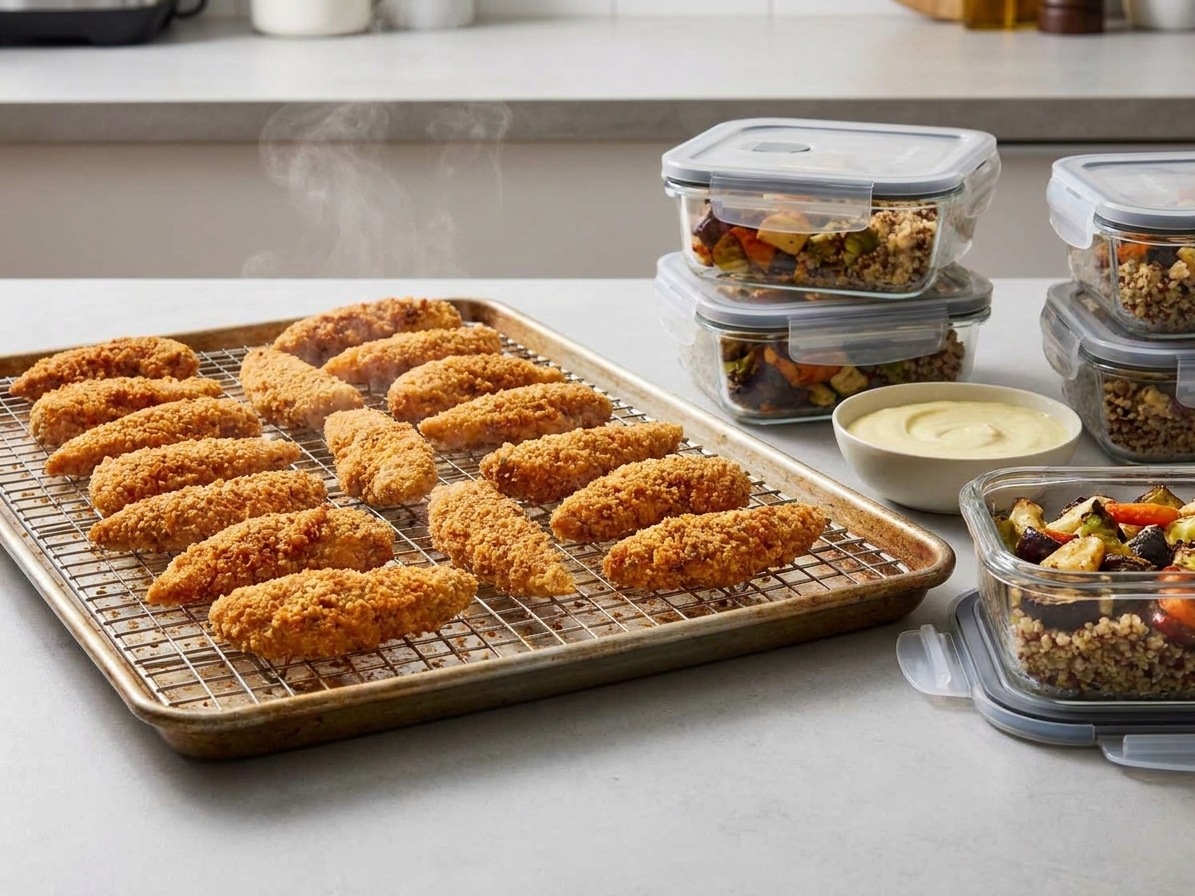
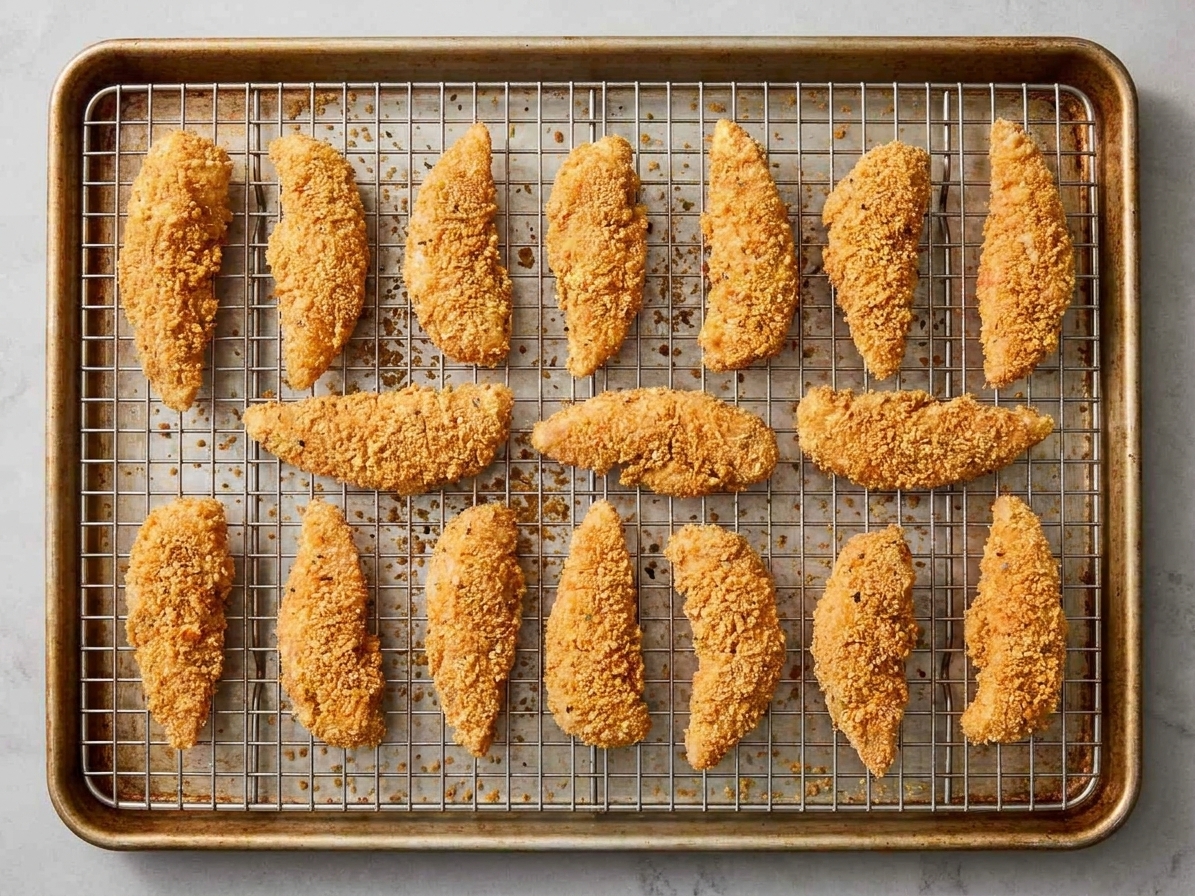
Cooked baked chicken tenders cooling on a wire rack beside meal prep containers on a kitchen counter, warm consistent lighting

Common Questions

Common Questions

How do I keep baked chicken tenders crispy?

Three things: toast the breadcrumbs, use a wire rack so air circulates under the chicken, and do not overcrowd the pan. If the tenders are touching, they steam each other and the coating softens.

Do I have to use a wire rack?

No, but it helps. If you do not have one, line the sheet pan with parchment and flip the tenders halfway through baking. They will still be good, just slightly less evenly crisp.

Can I use chicken breasts instead of tenderloins?

Absolutely. Slice chicken breasts into even strips, about 3/4 to 1 inch wide. Try to keep them similar in size so they bake at the same rate. Slightly thicker pieces will take longer, so lean on the thermometer.

How do I know they are done?

Chicken is safe when the thickest piece hits 165°F in the center. If you do not have a thermometer, you can check by cutting the thickest tender: the center should be opaque with no pink. Color and juices are helpful clues, but they are not as reliable as temperature.

Can I make these gluten-free?

Yes. Use a gluten-free all-purpose flour and gluten-free panko or crushed gluten-free crackers. The method stays the same.

What dipping sauces go best?

Honey mustard, BBQ, ranch, buffalo sauce, or a quick lemony yogurt sauce. I also love mixing mayo and hot sauce with a squeeze of lemon when I want maximum payoff for minimal effort.

Chicken strips being dipped into egg and pressed into breadcrumbs over three shallow bowls on a kitchen counter with warm, consistent lighting

I started making baked tenders when I was in my “I can totally cook every day if I keep it simple” era. The problem was my tenders kept coming out like they were wearing a sweater instead of a crisp jacket. Once I started toasting the breadcrumbs first, it was game over in the best way. Now this is my default when I want something cozy and crunchy, but I do not want to deal with frying oil or the smell that lingers like an uninvited guest.