Mom's Best Recipes
Recipe

Crispy Fried Oysters

Golden, crunchy oysters with a cornmeal kiss and a bright, tangy dipping sauce.

Author By Matt Campbell
4.8
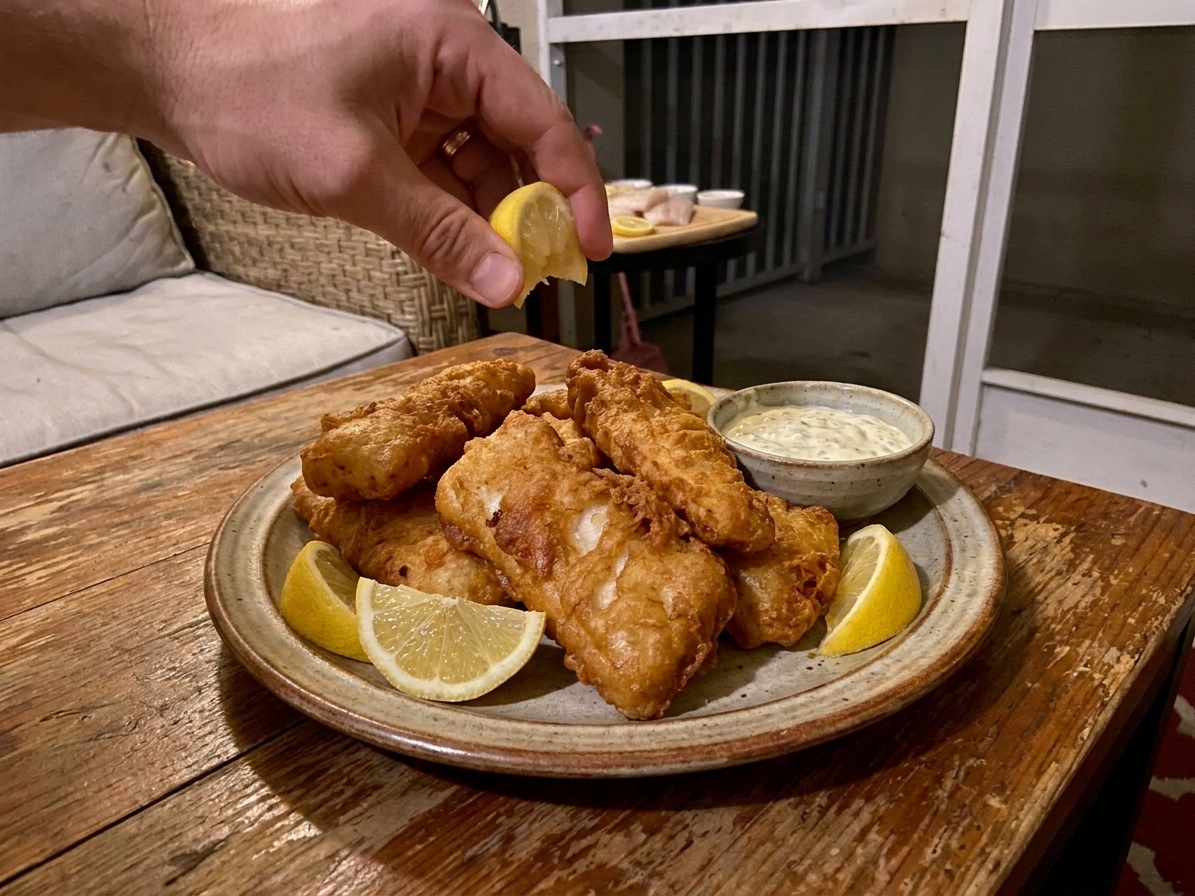
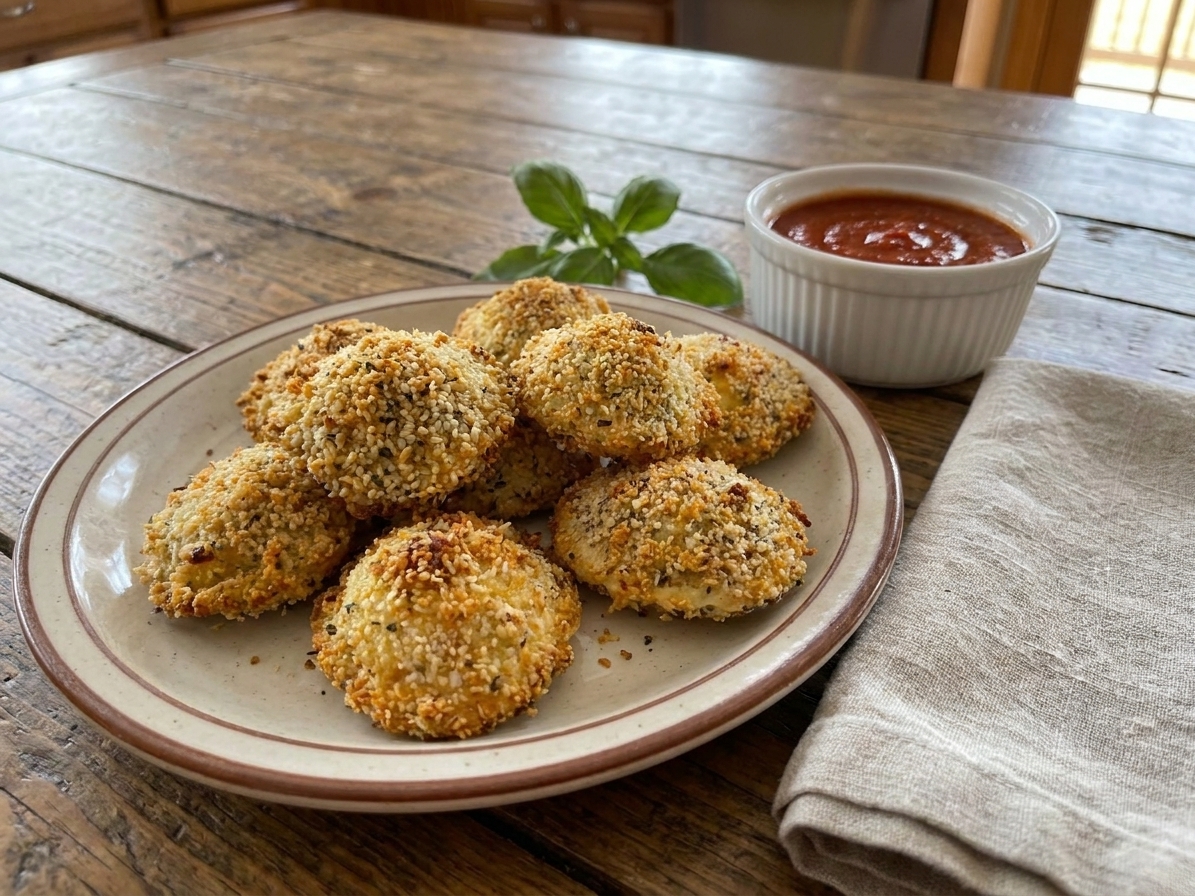
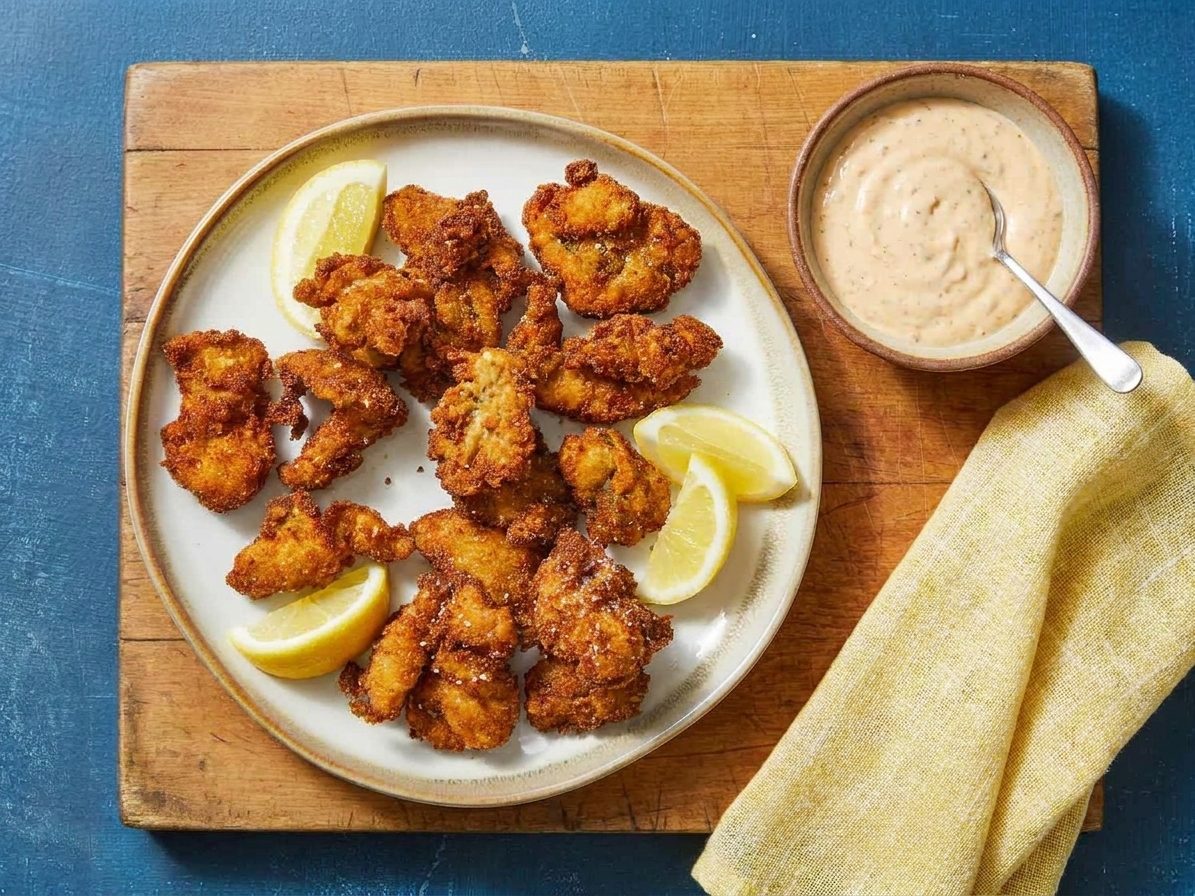
A platter of golden brown crispy fried oysters with lemon wedges and a small bowl of creamy dipping sauce on a rustic kitchen table

Fried oysters are one of those snacks that make people hover around the stove like it is a campfire. The goal is simple: shatter-crisp coating, juicy oyster, and a bright sauce that keeps the whole thing from feeling heavy.

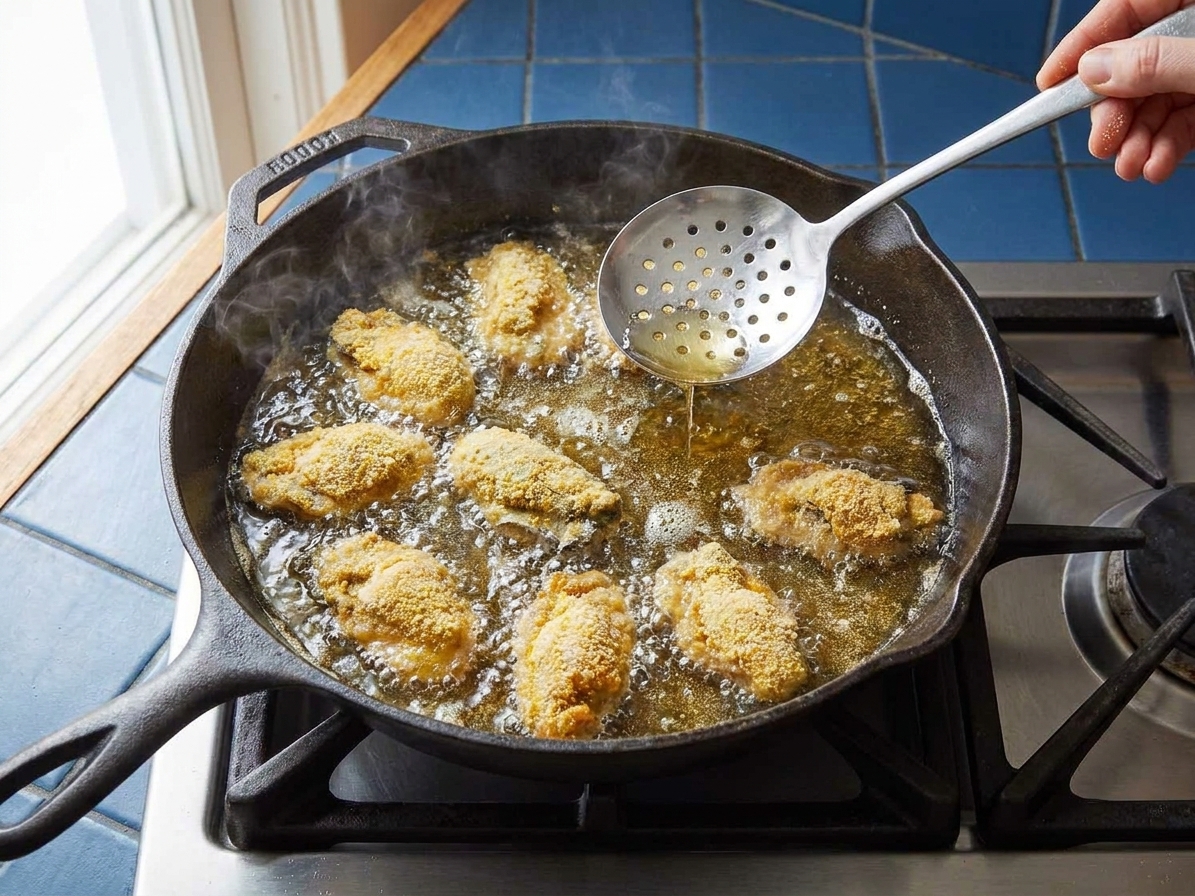
This version is weeknight-friendly (yes, really), uses easy-to-find ingredients, and leans on a cornmeal and flour dredge for extra crunch. The only real rule: hot oil, quick fry, and do not walk away. Oysters wait for no one.

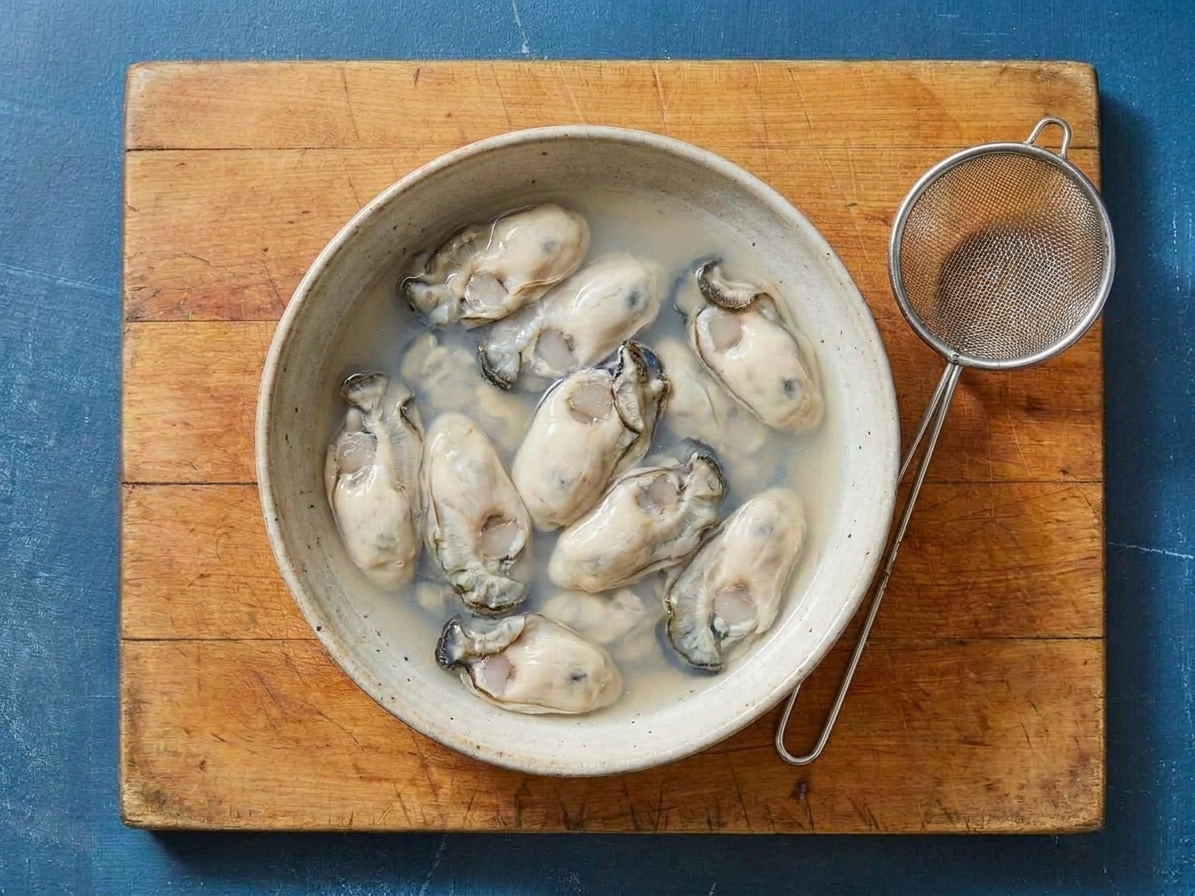
A bowl of freshly shucked oysters resting in their liquor on a kitchen counter with a small strainer nearby

Why It Works

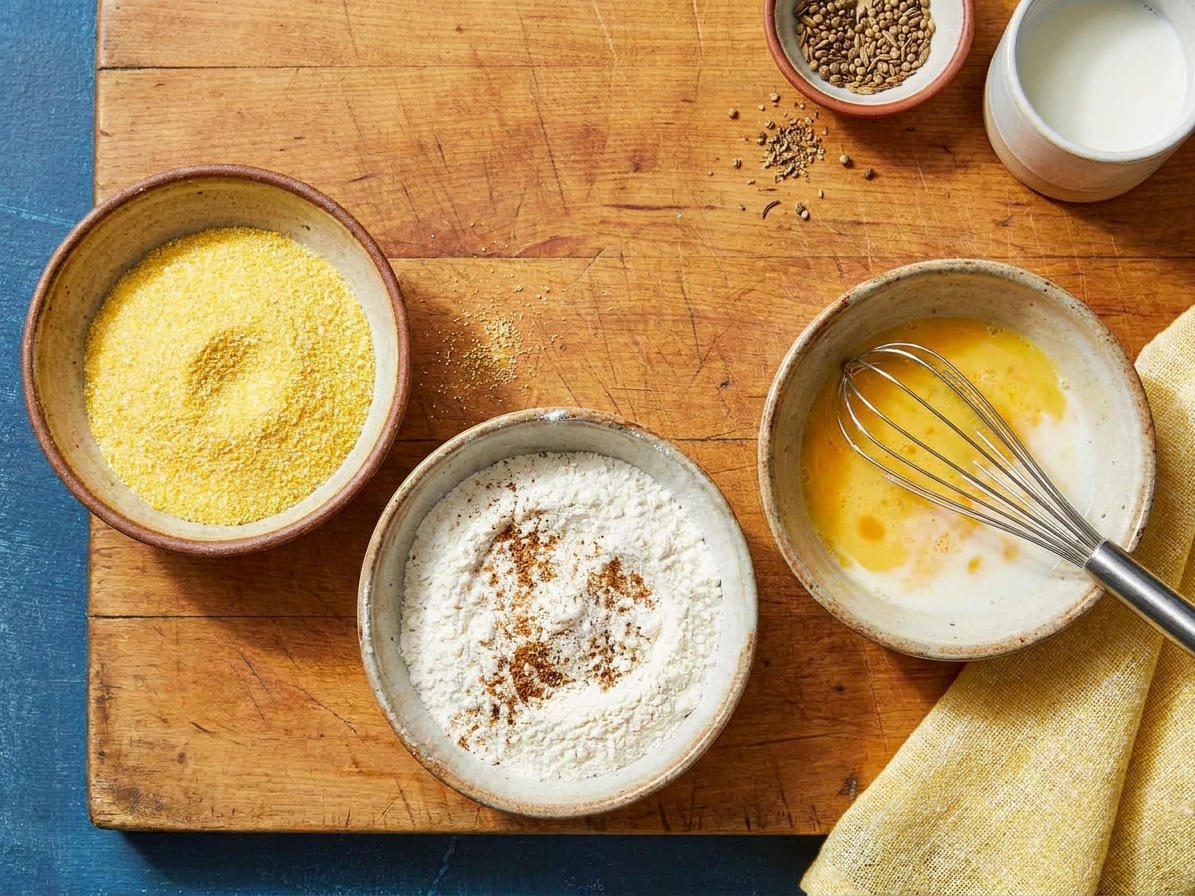
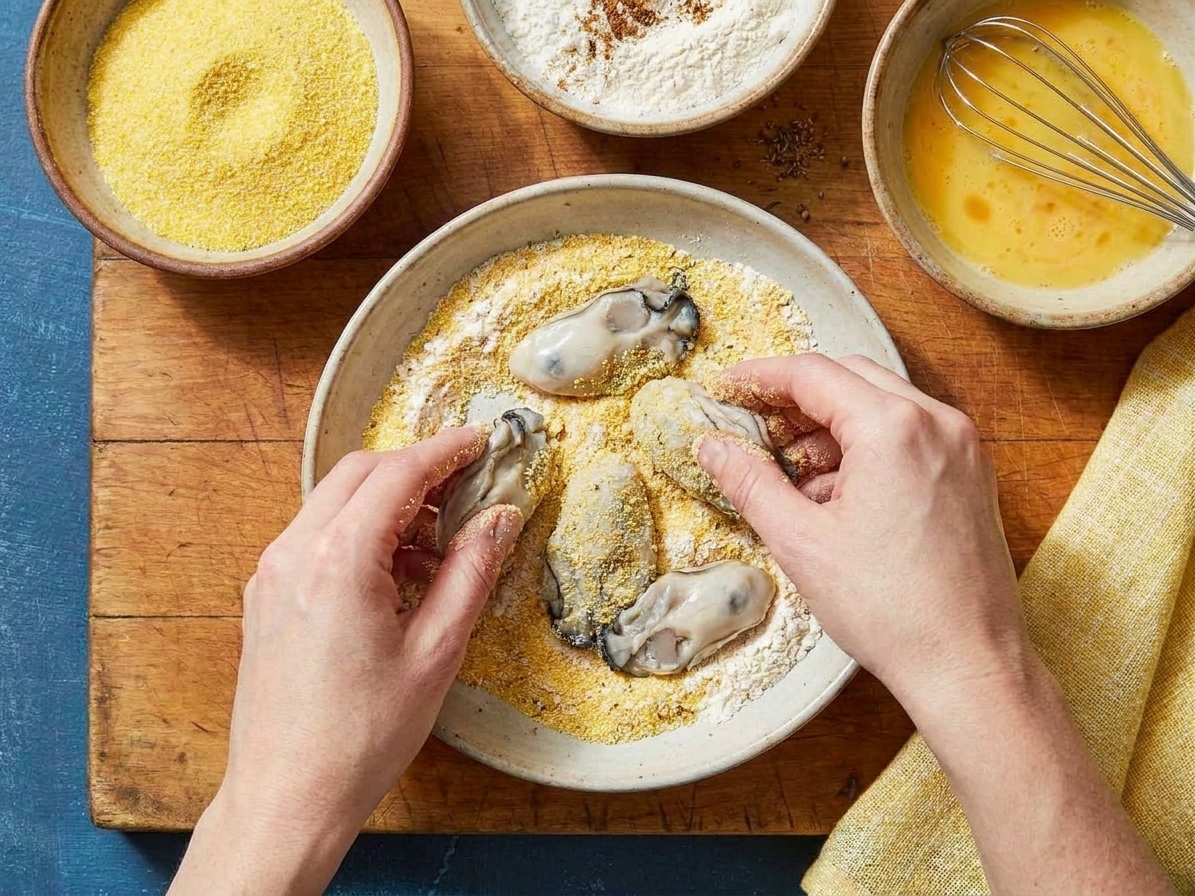
  • Crisp that stays crisp: A flour and cornmeal dredge gives you crunchy edges and a sturdy coating.
  • Tender oysters, not rubber: High heat and short cook time means they stay plump and briny.
  • Fast flavor boost: A quick lemony remoulade style sauce pulls everything together.
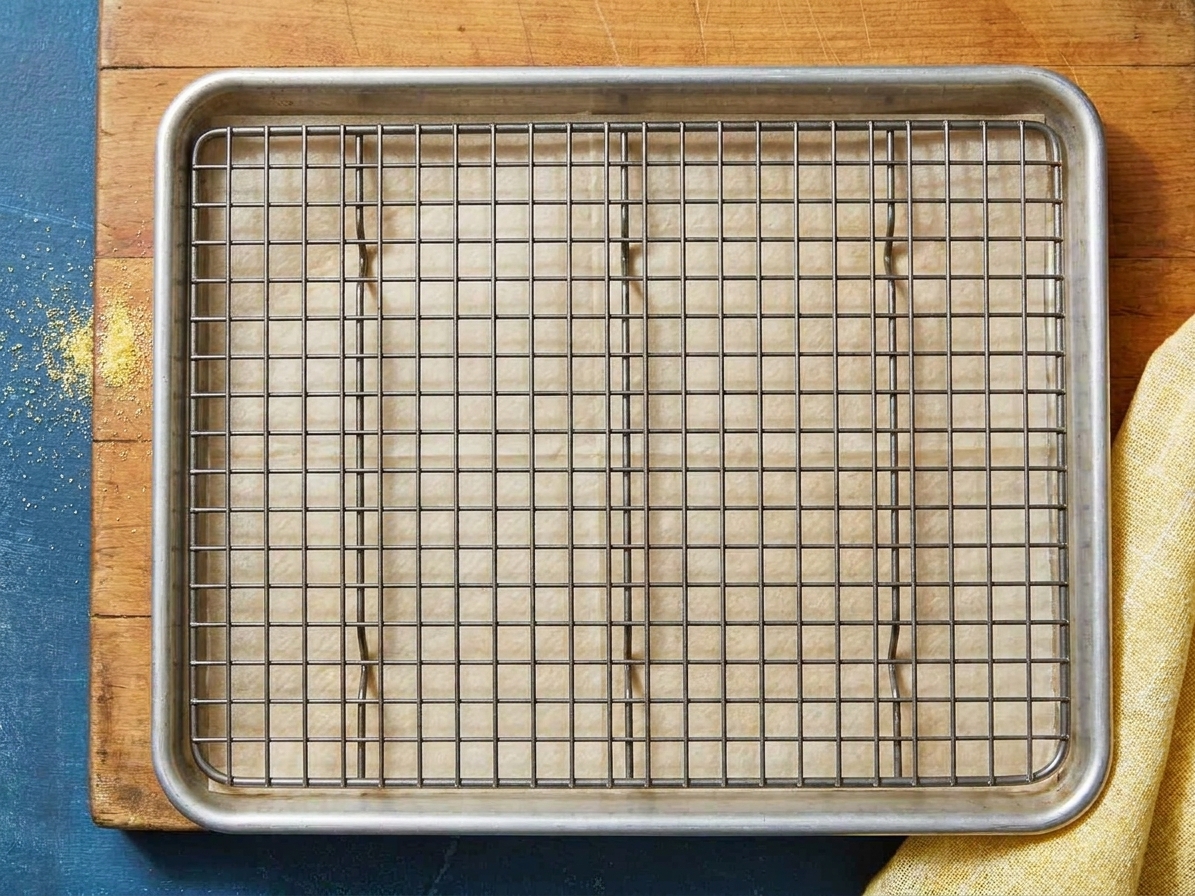
  • No complicated setup: One skillet or Dutch oven, one wire rack, and you are in business.

Pairs Well With

Storage Tips

Fried oysters are best right away, but if you have leftovers, you can still make them enjoyable.

Refrigerate

Cool completely, then store in an airtight container lined with paper towels for up to 1 day. The sooner you reheat, the better.

Reheat (best method)

Reheat on a wire rack set over a sheet pan at 425°F for 6 to 10 minutes, flipping once, until hot and crisp. An air fryer at 400°F for 4 to 6 minutes also works great.

Skip the microwave

Microwaving makes the coating soft and the oysters chewy.

Leftover sauce

Keep the sauce covered in the fridge for up to 5 days. It gets better after a few hours.

Common Questions

Do I need fresh oysters, or can I use pre-shucked?

You can use either. Fresh-shucked oysters are amazing, but pre-shucked oysters from the seafood case are totally fine and make this recipe easier. Drain well, check for any shell bits, and pat dry so the coating sticks.

What oil is best for frying oysters?

Use a neutral, high-heat oil like peanut, canola, vegetable, or avocado oil. Extra-virgin olive oil is not ideal for frying at 350°F, but refined olive oil can work in a pinch.

How do I know when fried oysters are done?

Look for cues first: the coating should be deep golden and the oysters should look plump and feel firm at the edges. Timing depends on size, but it is usually about 45 to 90 seconds per side. Overcooking happens fast, so pull them as soon as the coating is set and crunchy.

Why is my breading falling off?

Common culprits: oysters are too wet, the oil is not hot enough, or the pan is crowded. Pat dry, keep oil around 350°F, and fry in batches. A short 5-minute rest after breading also helps the coating cling.

Can I make these gluten-free?

Yes. Swap the flour for a 1:1 gluten-free flour blend (or rice flour) and double-check your seasonings. Cornmeal is naturally gluten-free, but confirm the label if needed.

Are fried oysters safe to eat?

Cooked oysters are generally safe when properly handled and cooked. Buy from a reputable source, keep them cold, and cook them promptly. For doneness, rely on practical cues: deep-golden coating, oysters hot throughout, and just plump (not shrinking and tough). If you are pregnant, immunocompromised, or have specific health concerns, follow your doctor’s guidance on shellfish.

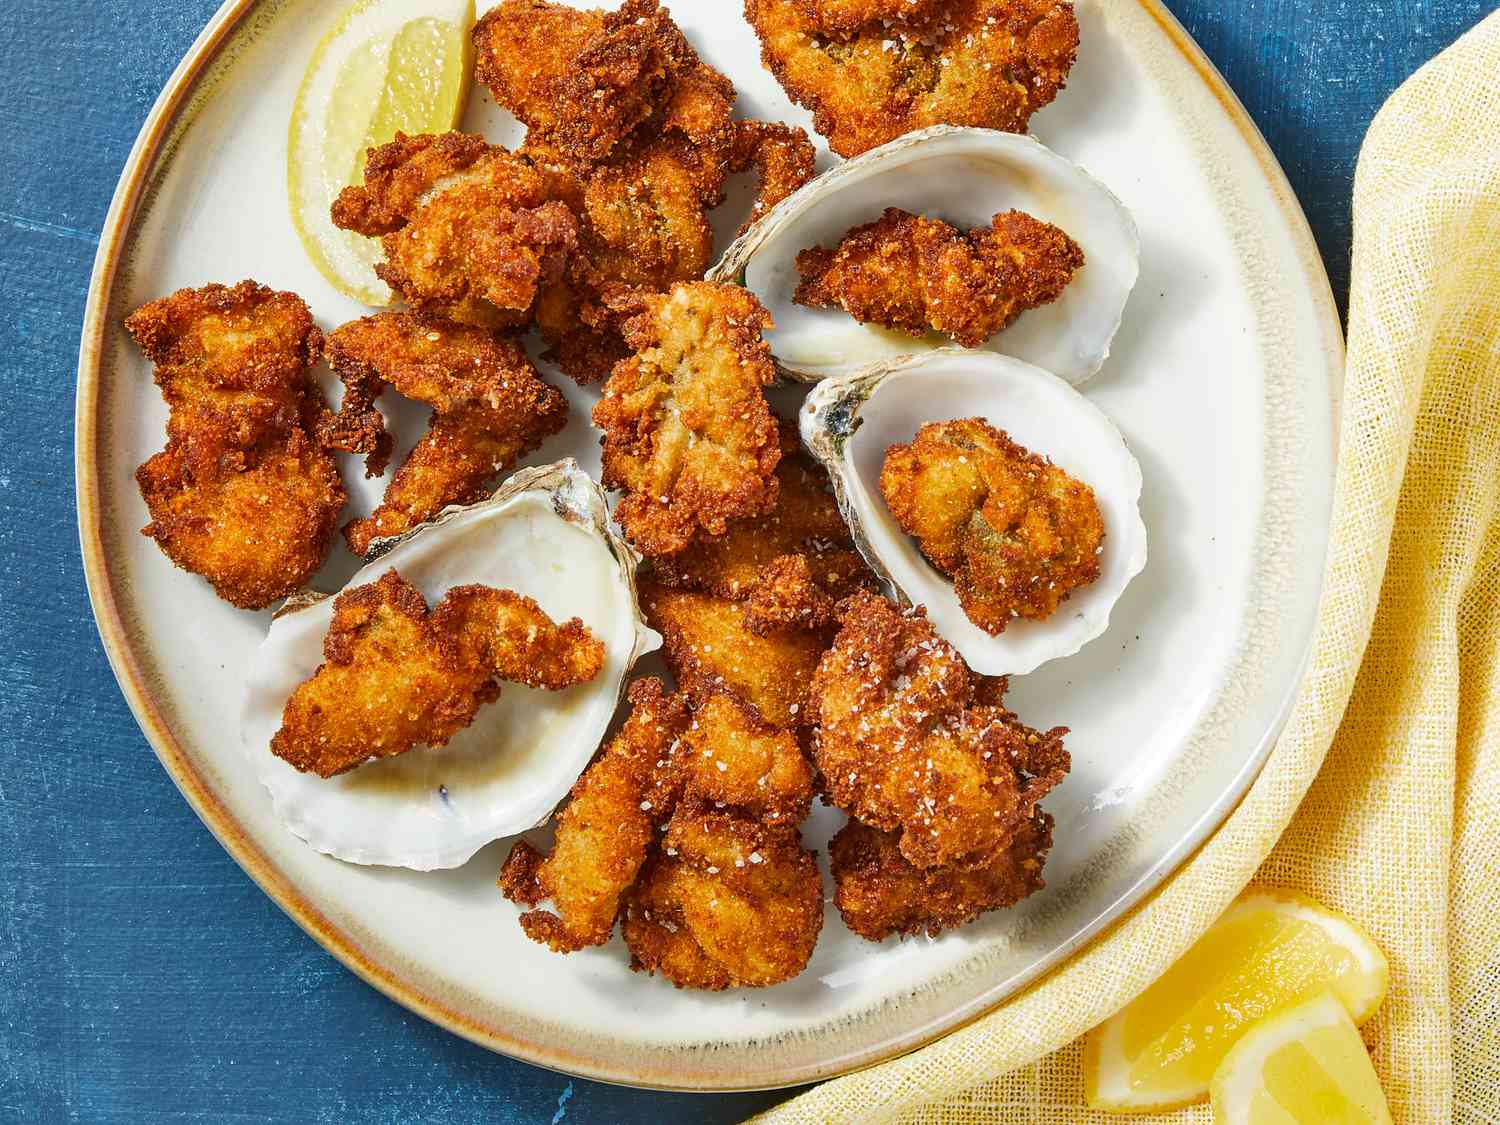
I love fried oysters because they are a little dramatic in the best way. You go from a bowl of slippery little ocean nuggets to a pile of crunchy, golden bites that disappear before you can even sit down. The first time I made them at home, I overcrowded the pan, got impatient, and basically steamed the breading right off. Lesson learned. Now I treat it like a quick rhythm: dry them well, fry in batches, salt the second they come out, and keep a lemon wedge nearby like it is part of the job description.