Mom's Best Recipes
Recipe

Glow Lip Balm

A glossy, softly shimmery lip balm that feels like skincare but looks like you tried.

Author By Matt Campbell
4.8
A small metal tin of glow lip balm with a subtle shimmery surface on a light kitchen counter near a wooden spoon

Some days you want a balm that just does its job. Other days you want hydration plus a little main-character shine. This glow lip balm is my sweet spot: it melts on contact, feels cushiony, and leaves lips looking smooth and softly glossy, like you drank water and slept eight hours (even if you did neither).

We are using a classic balm base (butters + oils + wax) and finishing it with a tiny pinch of cosmetic-grade mica for that lit-from-within sheen. No gritty sparkle, no weird taste, no drama.
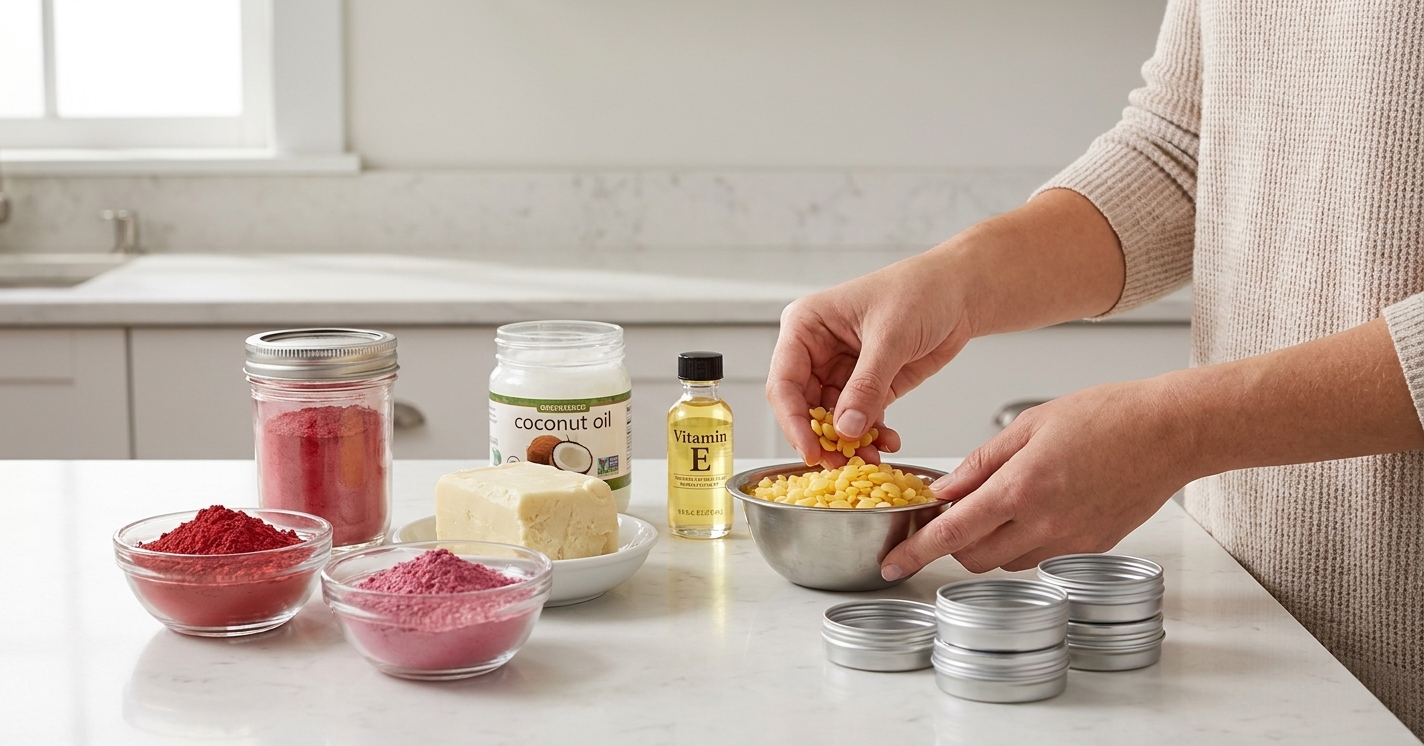
Cosmetic-grade mica, beeswax pellets, shea butter, coconut oil, vitamin E oil, and small empty lip balm tins arranged on a clean kitchen counter

Why It Works

  • Gloss without the goop: A balanced wax-to-oil ratio gives glide and shine without feeling sticky.
  • Comfort that lasts: Shea butter and coconut oil soften, while beeswax helps the moisture hang around.
  • Custom glow: You control the finish. A whisper of mica looks natural. A little more reads like a subtle gloss topper.
  • Small batch friendly: Makes a few tins or tubes, which is perfect because homemade balm is best fresh.

Pairs Well With

Storage Tips

Room temperature: Store closed tins or tubes in a cool, dry spot for about 3 to 6 months. It lasts longest when your oils are fresh, your tools stay dry, and you include vitamin E. Discard if the smell changes or it starts to smell “crayon-like.”

Hot car rule: Do not leave it in a car or near a window. This is balm, not a heat-proof candle.

If it sweats: Sometimes natural balms develop tiny oil beads on top (especially with coconut oil). It is harmless. Pop it in the fridge for 10 to 15 minutes to reset the surface.

Leftover melted balm: Pour extras into a small jar and use as a cuticle balm or dry patch spot treatment.

Common Questions

Is mica safe for lips?

Use cosmetic-grade mica from a reputable supplier and check that it is approved for lip products. Craft mica is not the same thing.

Can I make this vegan?

Yes. Swap beeswax for candelilla wax. It is firmer, so start with about half the amount and adjust in your next batch if you want it softer (see the ingredient notes).

Why is my balm grainy?

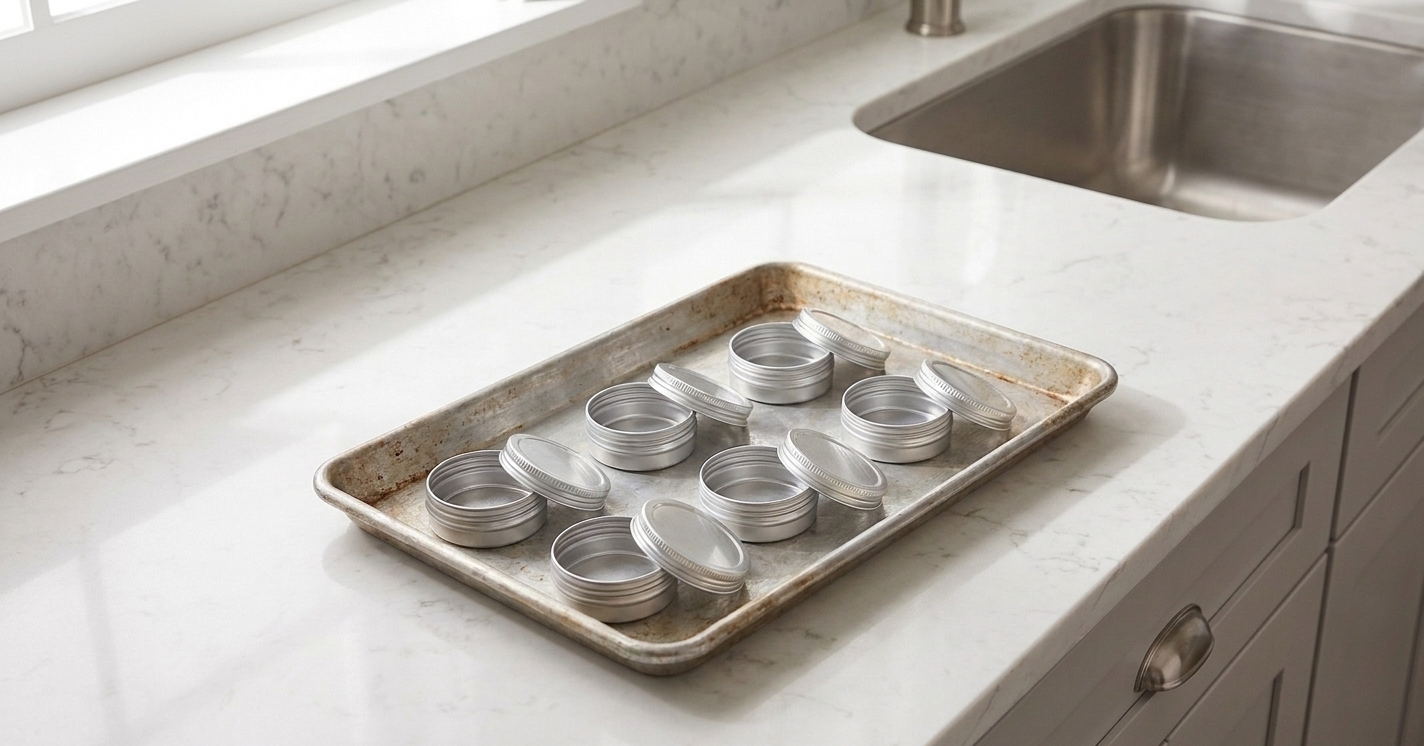
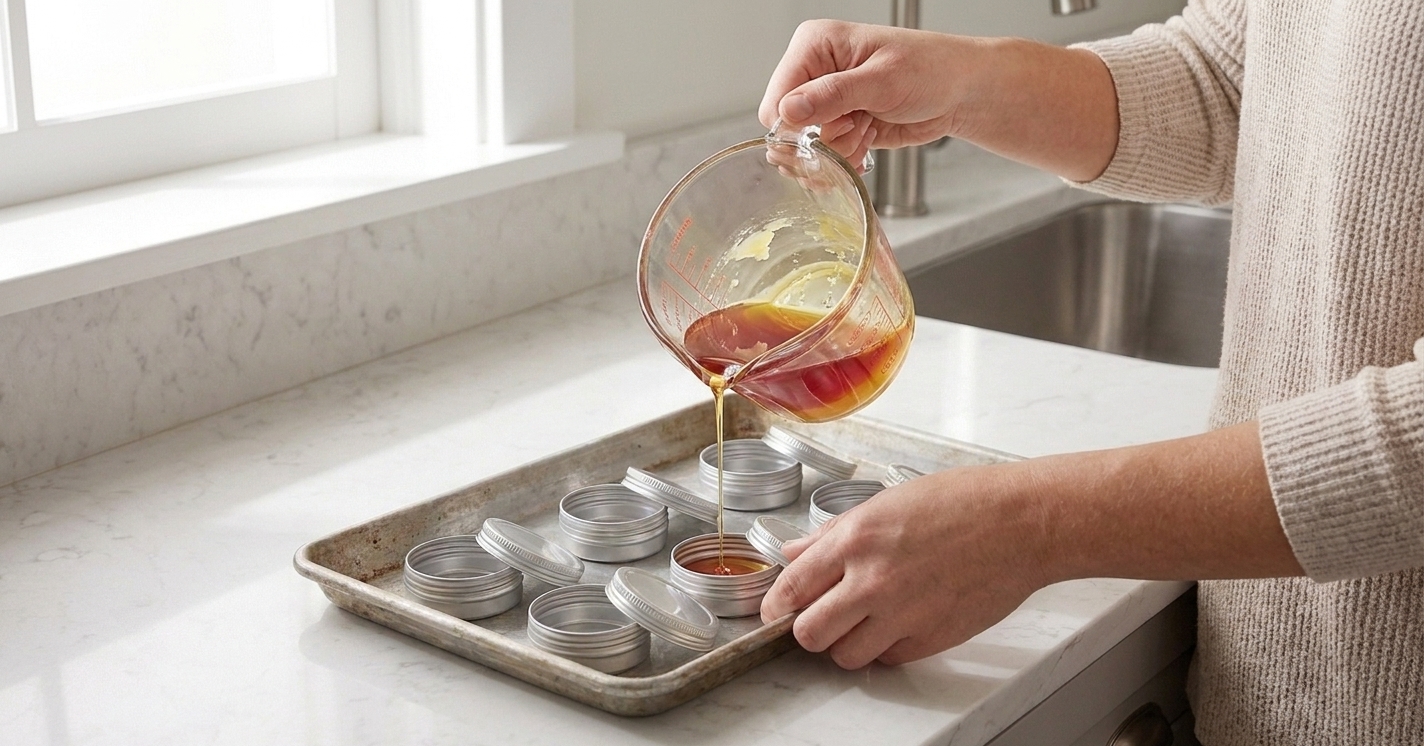
That is usually shea butter crystallizing. Melt the mixture fully, then cool it a bit faster: set the filled tins on a sheet pan and refrigerate for 15 to 20 minutes. Also avoid repeatedly melting and re-melting shea.

How do I make it glossier?

Add 1/2 teaspoon castor oil (great slip and shine) and reduce coconut oil by the same amount. You can also slightly reduce beeswax, but go slow or it can get too soft.

Can I tint it?

Totally. Add a tiny amount of lip-safe colorant, like a pinch of cosmetic-grade beetroot powder (sheer and natural, but it can feel a little gritty) or a lip-approved pigment. Start small and test on your wrist first.

Can I use essential oils?

If you want scent, lip-safe flavor oils are usually the easiest choice. Essential oils can irritate, and some (especially certain citrus oils) can be phototoxic. If you use them, keep it minimal and make sure they are documented as lip-safe.

I started making lip balm for the same reason I started learning to cook without a safety net: I wanted control. Not perfection, just control. Store-bought balms are either too waxy, too perfumey, or somehow both. This one is my kitchen-counter staple. I make a batch, inevitably spill a drop of shimmer somewhere, and then feel slightly more put together every time I reapply.